Quick Links
- How To Unlock The Aery
- Dungeon Walkthrough
- Rangda
- Gyascutus
- Nidhogg
The Aery is a level 55 dungeon in Final Fantasy 14: Heavensward. After the defeat of Tioman, Nidhogg has retreated to the Aery, strengthening the defenses around his lair. With the help of Cid's Manacutter and Estinien, you'll need to breach the Aery and put an end to the Dragonsong War.
As expected of a lair of dragons, you'll be fighting mainly dragons in this dungeon. Be on the lookout for lots of AoEs and dragon minions as you progress through Nidogg's lair. Let's take a look at each boss of the Aery, their attacks and mechanics, and how to beat them.
How To Unlock The Aery
This dungeon is unlocked through the following main story quest.
- Accept the Main Scenario Quest 'Into the Aery'
- NPC Location: Estinien – Foundation (X:13.3, Y:11.0)
Dungeon Walkthrough

In the second section of this dungeon, after the first boss, you will come across Slumbering Dragons. If attacked, these enemies will wake up and attack like normal enemies. If you want to get through this section of the dungeon easier, avoid waking up the Slumbering Dragons as you pick up the other trash mobs. Keep in mind, however, that the smaller nearby trash mobs will explode when they die, which can wake up the Slumbering Dragons if you're too close.
Right before the final boss, you will enter a large room where small dragons will repeatedly spawn and charge towards you. Group these up and defeat them with AoE attacks before proceeding.
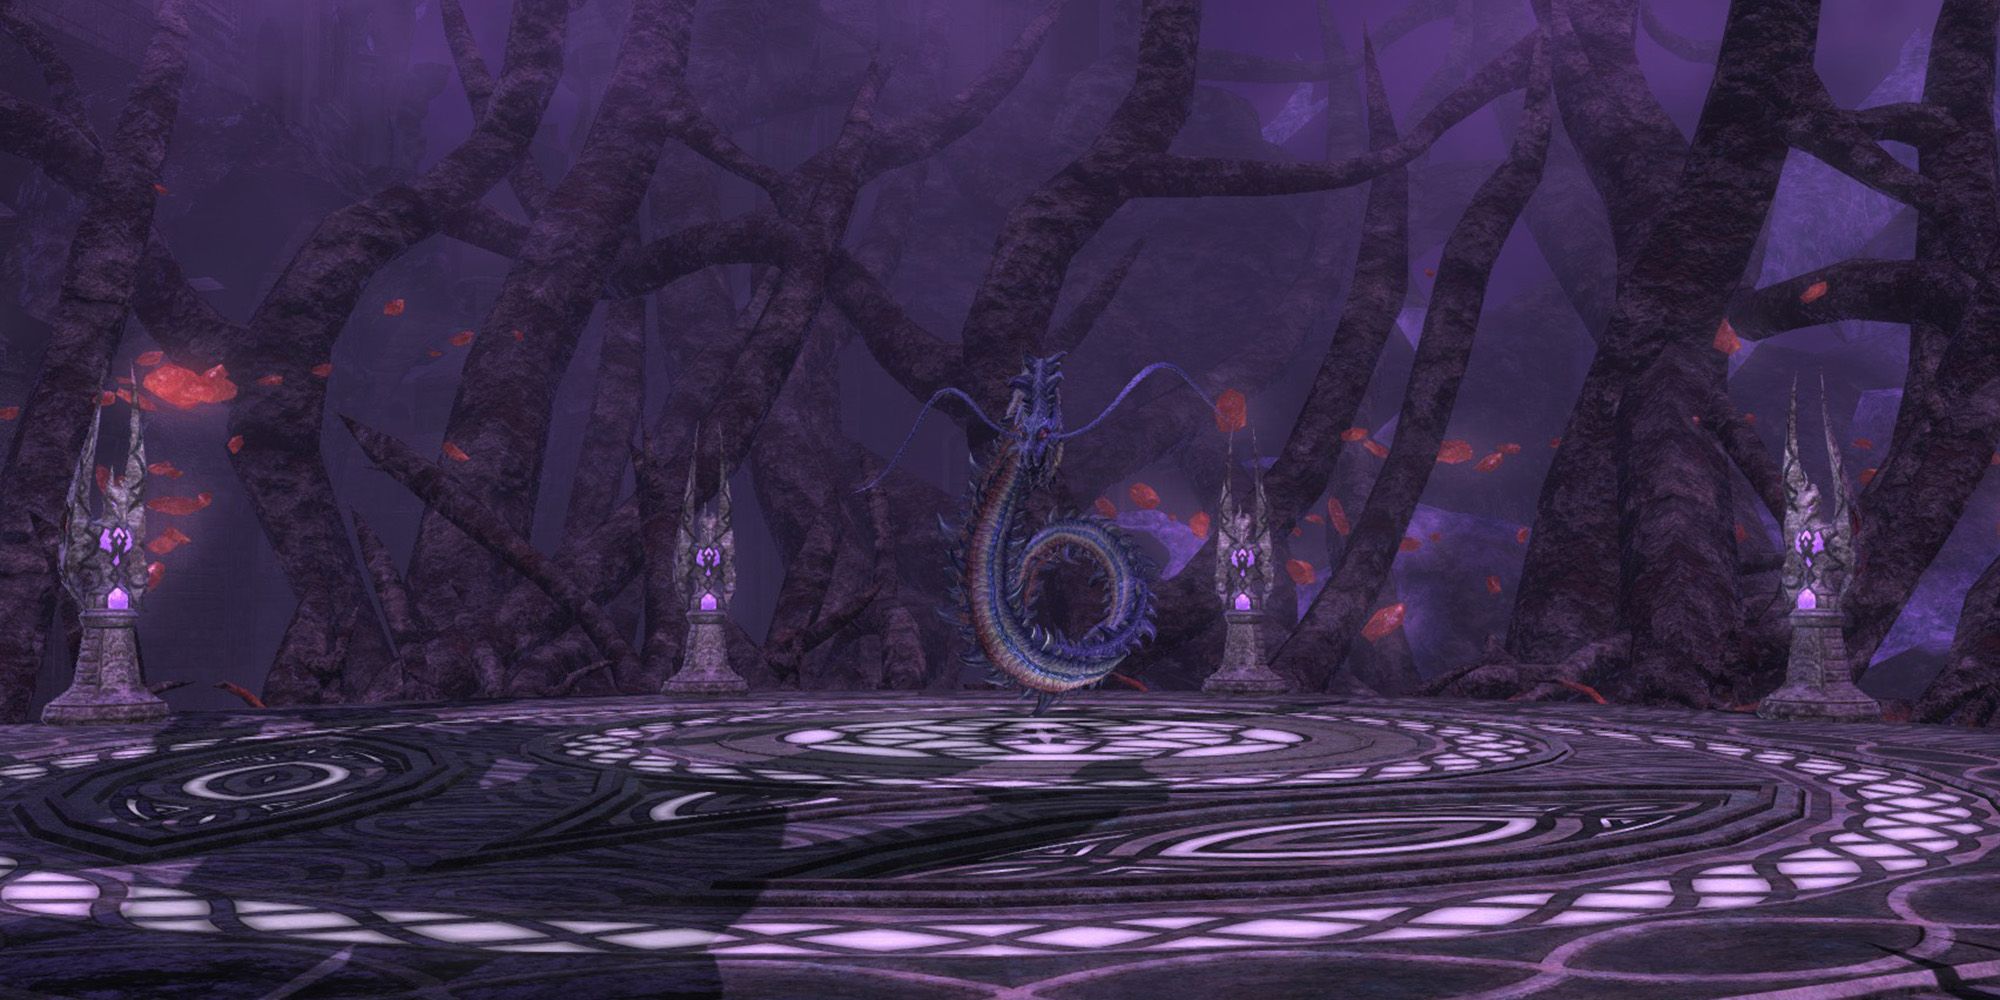
Rangda
The first boss of the Aery is Rangda. There are several pillars around the edge of the arena that you should make note of for a mechanic later. Rangda's attacks and mechanics are outined below.
- Electric Predation: A wide breath attack to the front of the boss. The Tank should face Rangda away from the rest of the party to prevent other players from taking damage.
- Electric Cachexia: A large ring-shaped AoE centered on the boss. Move close to Rangda to avoid getting hit.
- Ionospheric Charge: Lightning strike AoEs will target players at random. Move out of the AoE indicators to avoid.
- Prey: Rangda will tether to a random player, who will take high damage and be inflicted with paralysis after a few seconds. To avoid this, the tethered player should move towards one of the pillars around the edge of the arena. This will move the tether to the pillar, making the player safe.
- At the same time, a Leyak add will spawn. The Tank should gain enmity on this add while other players defeat it.
- Electrocution: Rangda will knock back all players towards the edge of the arena. This attack is used immediately before Electric Cachexia, so players will need to quickly run back towards the boss after being knocked back.
- Fall of Man: The boss will target a random player with an AoE circle that leaves behind a poison cloud, which will grant the boss a stacking damage buff. Move out of the AoE indicator and avoid entering the poison cloud, as it will deal damage and inflict an undispellable poison debuff.
- Body Slam: A point-blank AoE centered on Gyascutus. Move away from the boss to avoid taking damage.
- Mustard Gas: A Mustard Gas add will spawn and will make its way towards the poison cloud. If this enemy eats two poison clouds, it will explode, dealing damage to all players. To prevent this, allow the Mustard Gas to eat one poison cloud to clear it from the field, then kill it before it eats another.
- Original Sin: Gyascutus will inflict random players with the Disease debuff, slowing movement speed and reducing the amount of health restored through healing actions. This debuff can be dispelled with Esuna.
- The Scarlet Whisper: Nidhogg will deal damage in a large cone to his front. The Tank should face the boss away from the rest of the party to prevent them from taking damage from this attack.
- The Scarlet Price: Nidhogg will fire flaming orbs at two players. After a short delay, the orbs will fire line AoEs targeted at random players. Move out of the AoE indicators to avoid.
- Deafening Bellow: Deals damage to all party members, Estinien included. The Healer should use AoE heals to restore the party's health.
- The Sable Price: Nidhogg will trap a random non-Tank player in the Sable Price, making them unable to move or attack. After a few seconds, the jail will detonate, killing the trapped player. The other party members, except the Tank, should destroy the Sable Price and save the trapped player as quickly as possible.
- Horde Phase: Various dragons will spawn around the arena and begin to attack Estinien. Group them up and defeat them while the Healer restores any health Estinien may lose.
- Massacre: After all the dragons have been defeated, Nidhogg will cast Massacre, dealing extremely high damage to all players. To avoid this, enter the protective bubble that Estinien creates just before the attack goes off.
After Nidhogg uses Massacre, the fight will resume as normal until he is defeated. Be sure to save your allies from the Sable Price when it occurs, and keep Estinien safe.
Source: Read Full Article
Rangda will repeat these attacks until it is defeated. The main thing to watch out for the is tether from Prey, as this will deal extremely high damage if not dealt with quickly.
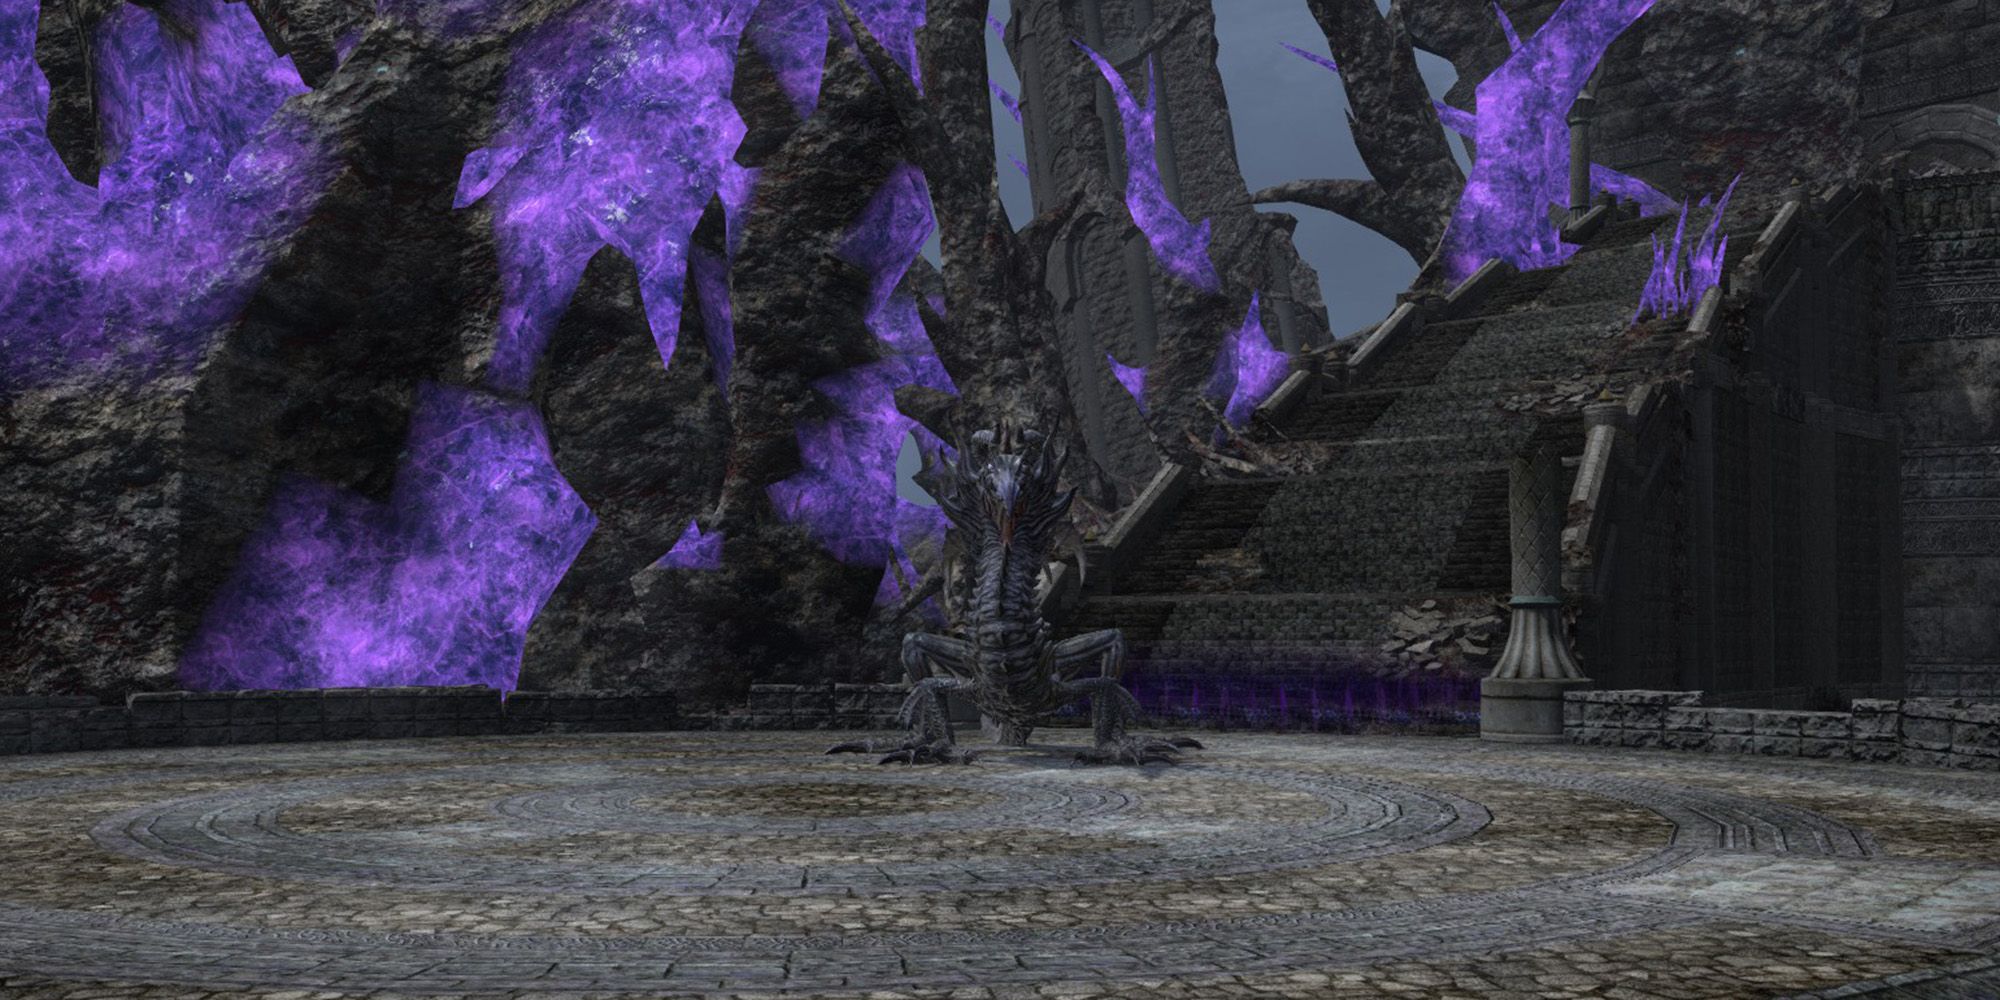
Gyascutus
The second boss of the Aery is Gyascutus, whose attacks and mechanics are listed below.
Gyascutus will repeat these attacks until it is defeated. Remember to avoid moving into the poison clouds, and take care of the Mustard Gas enemies before they get too big.
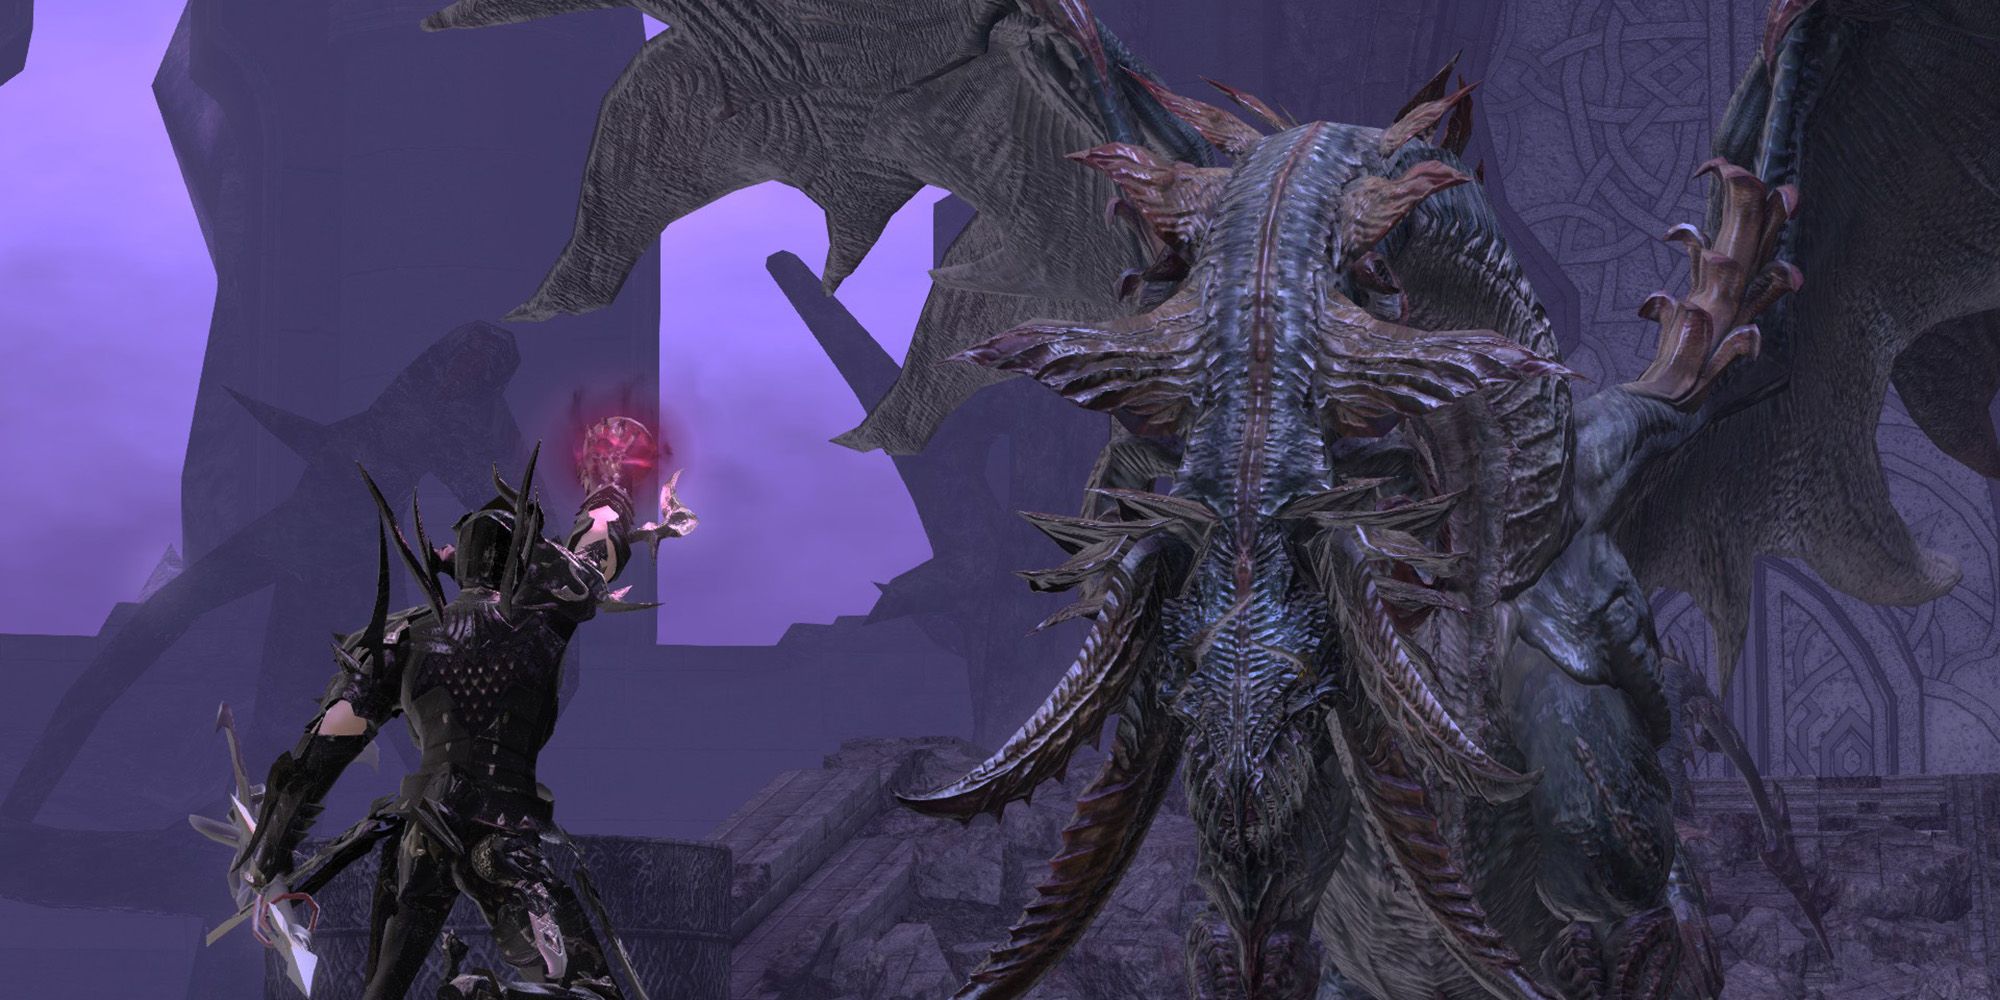
Nidhogg
The final boss of the Aery is Nidhogg. Estinien will use the power of Nidhogg's eye to reduce Nidhogg's strength. The Healer should keep an eye on him throughout the fight, as a dead Estinien will result in failure. Nidhogg's attacks and mechanics are detailed below.