Fire Emblem games have been running for a long time, across many Nintendo consoles. And though the series almost met its end before Awakening, it's never been as popular as it is now after Three Houses, whether it's your favorite game or not. And though multiple campaigns are by no means new to Fire Emblem, Three Houses interestingly weaves its story.
Though choosing a house at the beginning may seem like an innocuous choice of choosing your favorite characters, it ends up changing the story in rather drastic ways. And though many of the routes can share plenty of missions with only contextual differences between some of them, the Black Eagles route offers a dramatically different experience as soon as you reach the time skip.
8 Conflict In The Holy Tomb
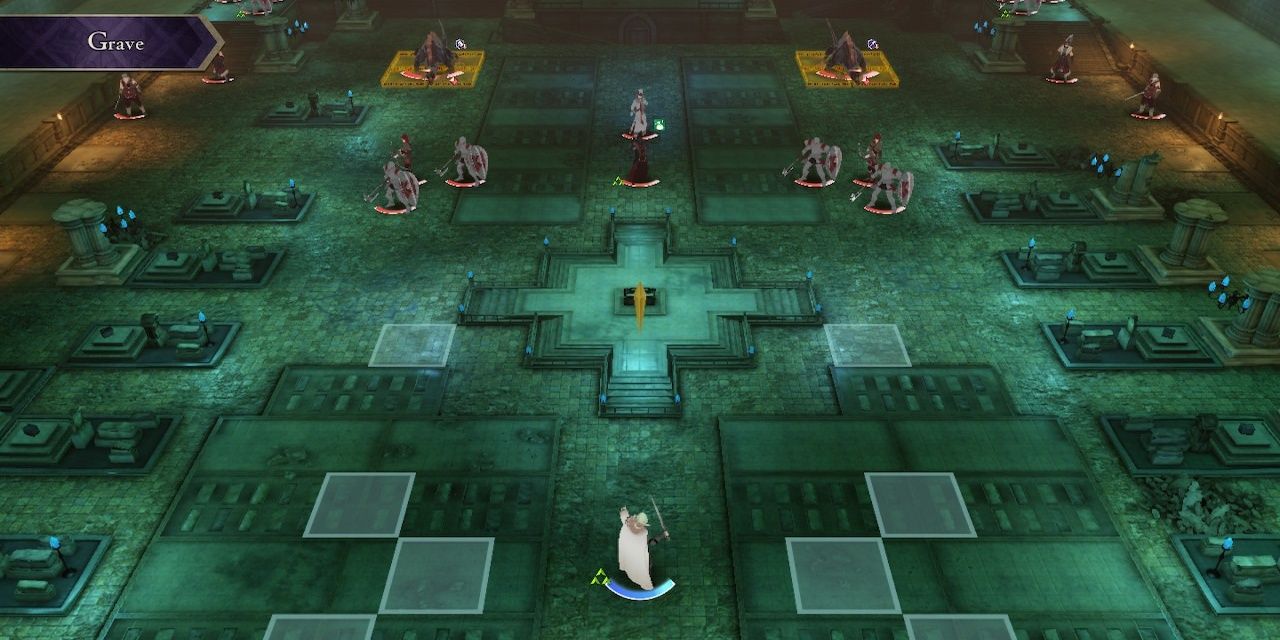
A constant presence throughout your time in the monastery is the Flame Emperor, a mysterious masked being that seems to oppose you at every turn, yet professes they only seek a world improved, to root out the evil at its core. An odd gesture for one opposing you. Until, of course, you learn that the Flame Emperor is indeed Edelgard.
Though this mission functions much the same as in other routes, halting the Empire from stealing crest stones, Edelgard now remains unmasked during the fight. And though you still attempt to halt her, you are given the choice by the end to continue to support her, much to Rhea's dismay. A choice that will change the rest of the game.
7 Protecting Garreg Mach
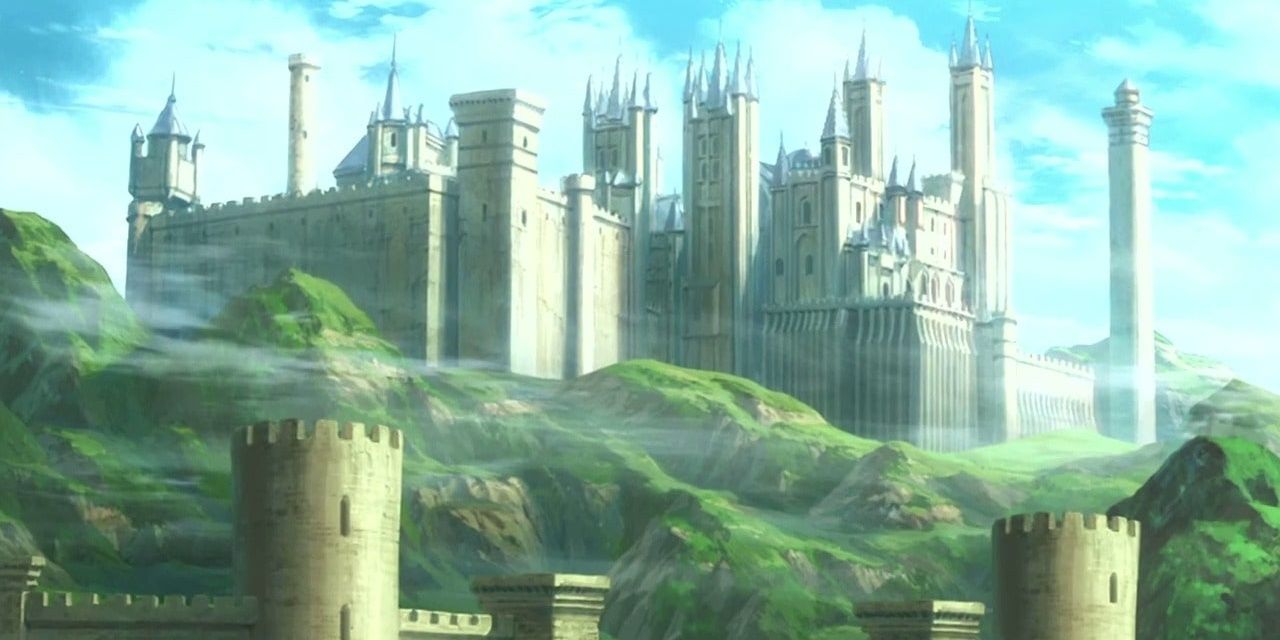
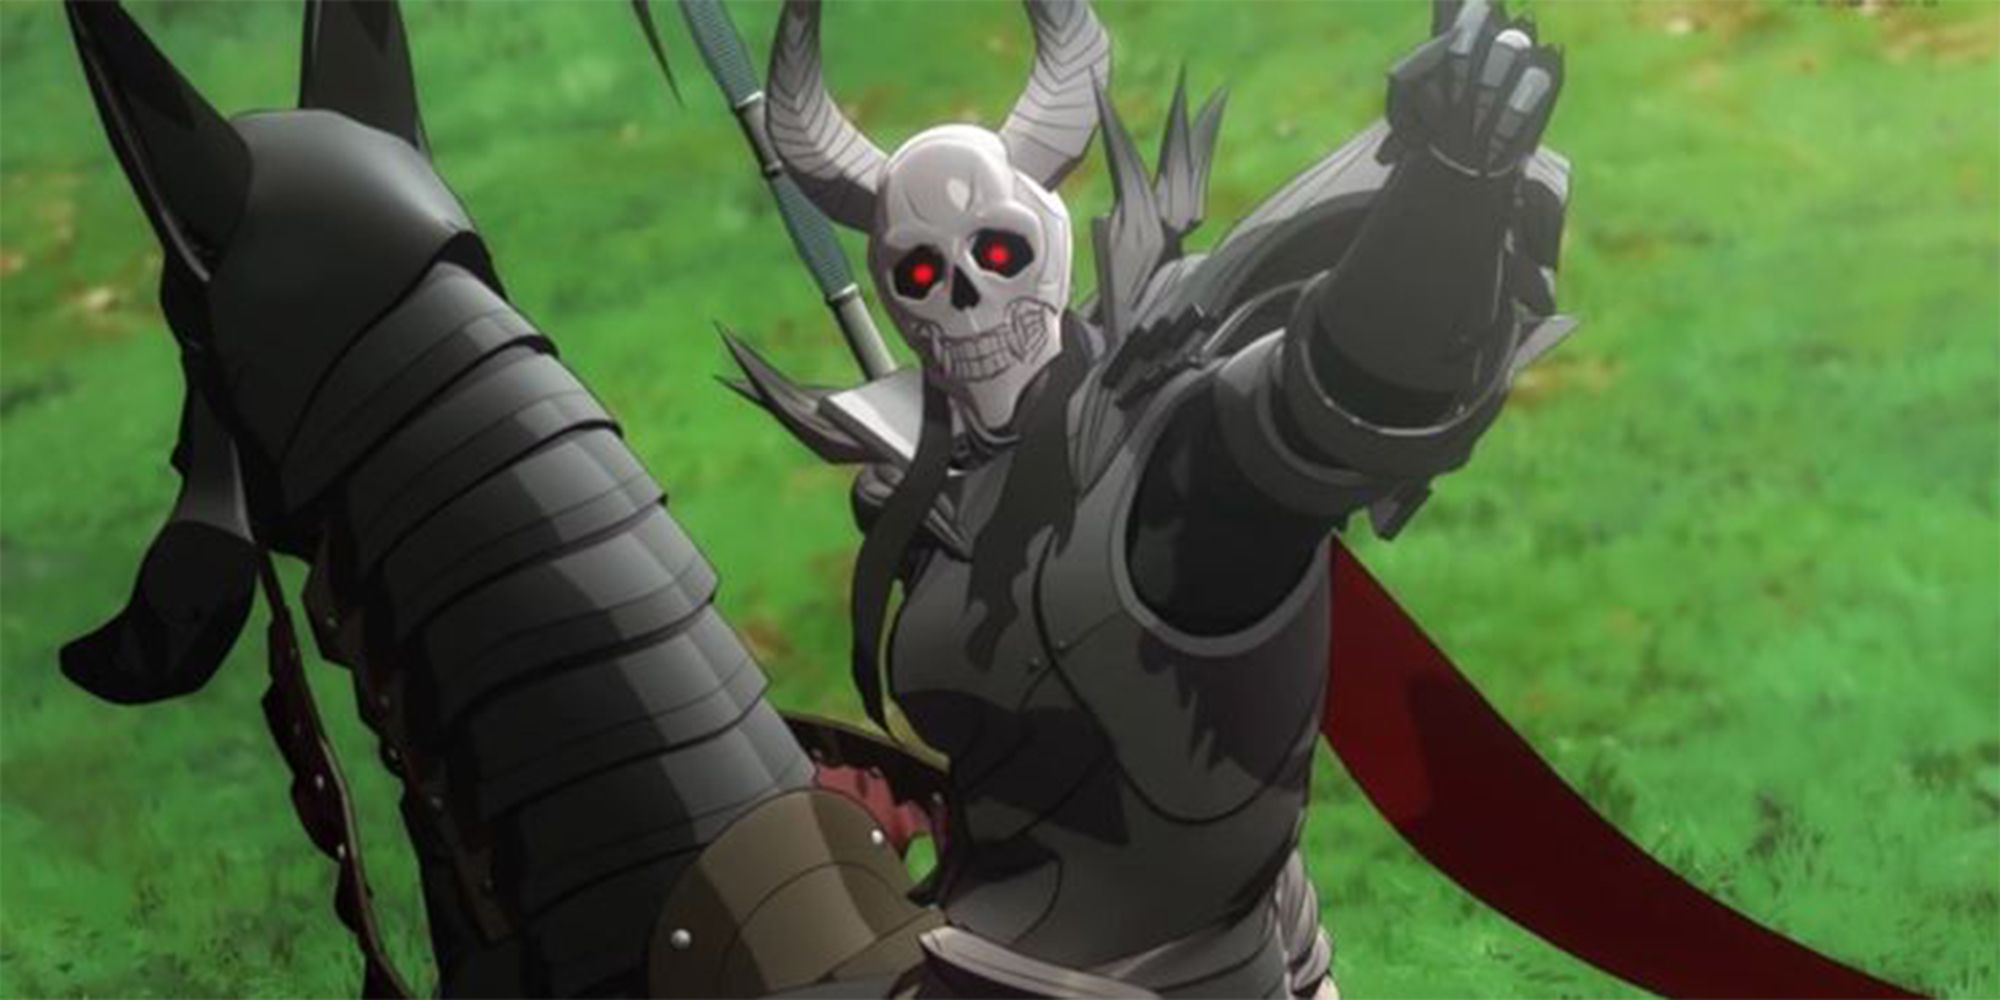
Garreg Mach sure does see a lot of battle in Three Houses no matter what route you take, but it takes a real battering in the Black Eagle route. After the Empire's initial assault at the end of chapter 12, you must now defend it from a secret attack by Rhea's forces seeking to reclaim the monastery for the church.
Here, you play defender, those same walls and defenses you destroyed before now being your ally. But now, your enemies no longer retreat. Seteth and Flayn may well be killed (though there's a chance you may spare them, too). Shamir and Alois are granted no such mercy, previous peers now ground to dust for imperial ambition.
6 The Great Bridge Coup
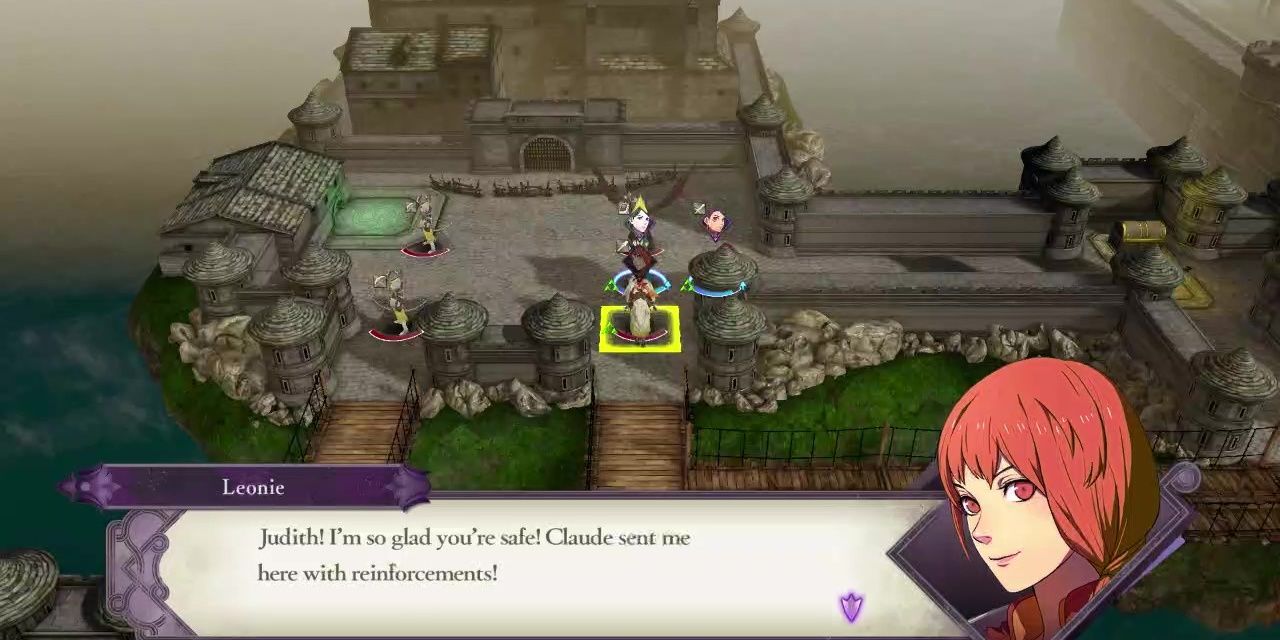
Spoken of throughout the game, the Great Bridge of Myrddin is a key strategic location, the gateway between the Empire and the Alliance. Whoever holds that controls the flow of the war, and Edelgard means to win the war. Claude has no allusions that she won't attempt to, however, and has left Judith to defend it.
Starting from the west, Edelgard's forces will be split, one section along the main route of the bridge and another to the side passages. This is a major jump in difficulty from missions before and requires more deft use of the environment to succeed. But this is also the first time old allies become enemies and will meet their end in the name of the Empire.
5 The Siege Of Arianrhod
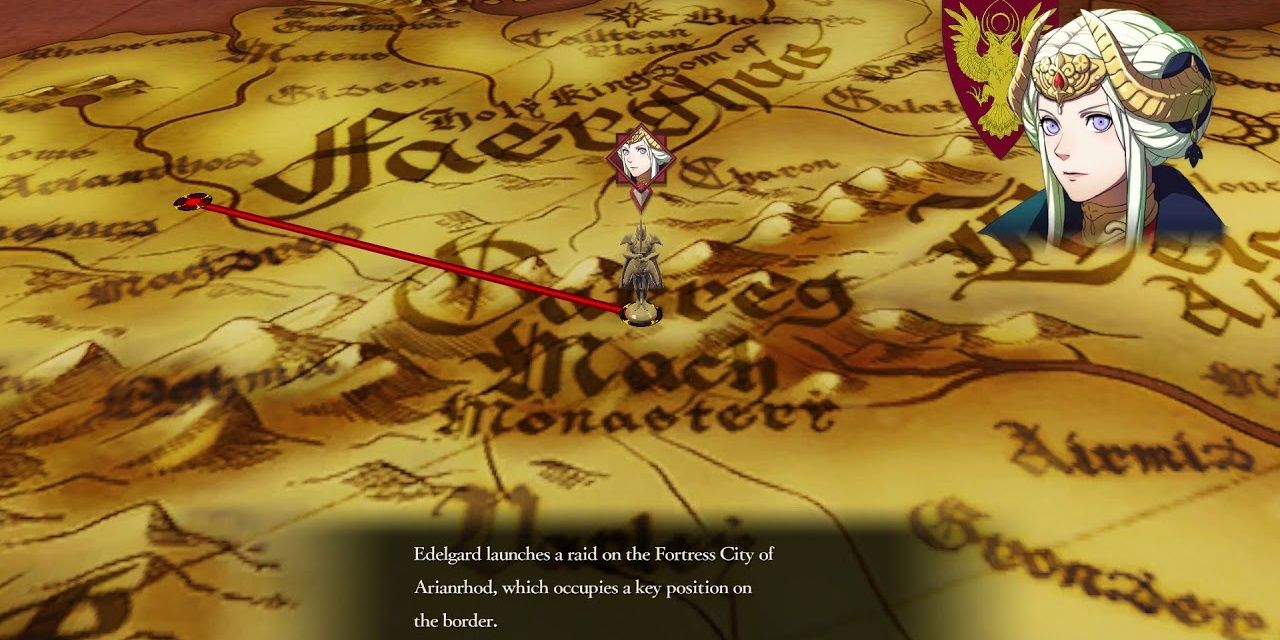
Within the Kingdom of Faerghus, two major cities exist. The capital of Fhirdiad, and now the base of Rhea and the Church of Seiros, and Arianrhod, a city famed for its magical academia. Seeing this as a threat, and wanting to dispose of Cornelia, a secret subordinate of her mischievous Uncle Arundel, Edelgard plans a secret strike against Arianrhod.
Cornelia is informed of your plan of course and has the city peppered with soldiers (including Ingrid, Felix, and his father) as well as giant machines called Titantus (perhaps familiar if you've played through the Golden Deer route). Your attack is still secret enough, so there are no reinforcements, but Cornelia is not a mage to be trifled with all the same.
4 Capturing Derdriu
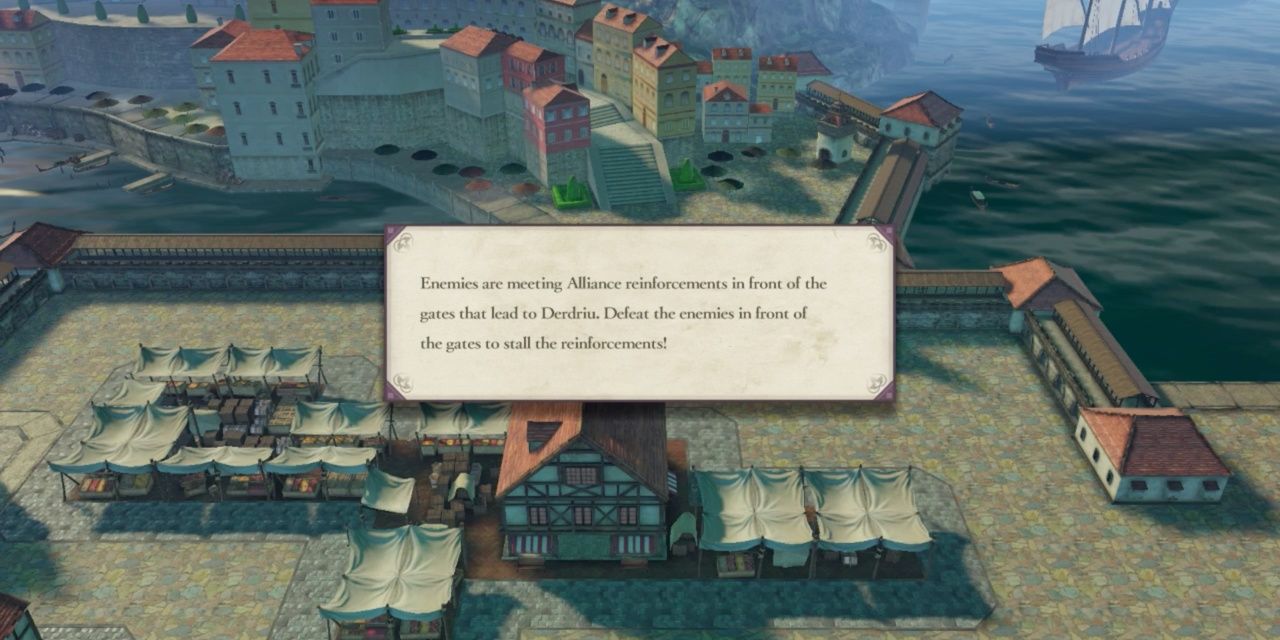
Following the defeat of the Alliance at the Great Bridge of Myrddin, there is only one more step for Edelgard. Strike them at the heart, and capture the capital of the Alliance, the floating city of Derdriu. And with that, pillage all their relics, and remove the Alliance from the war. But knowing Claude, it would never be a straightforward fight.
Arriving by the gates of the city, Edelgard's forces make their march against what appears to be a surprisingly minimal force, the Alliance's forces seemingly dwindled. But then, just as your first phase is completed, boats come ashore carrying plenty of reinforcements, a seemingly endless supply. But here still, the Alliance ends, though whether in mercy or blood is yours to choose.
3 The Battle Of Garreg Mach
Following Edelgard's reveal as the Flame Emperor and her declaration of war against the Church of Seiros and that of all other nations of Fódlan, she takes her initial assault to the Garreg Mach Monastery. And though every other route here defends the monastery from this excursion, here you march side-by-side with Edelgard.
The monastery is a fierce opponent, and some allies you may have been used to will no longer be by your side. Seteth and Flayn are now opposing you, as well as Cyril and Catherine, and even Rhea herself. But the Death Knight now fights alongside you, and walls become trivial things against the might of an Empire.
2 Fight For Fhirdiad
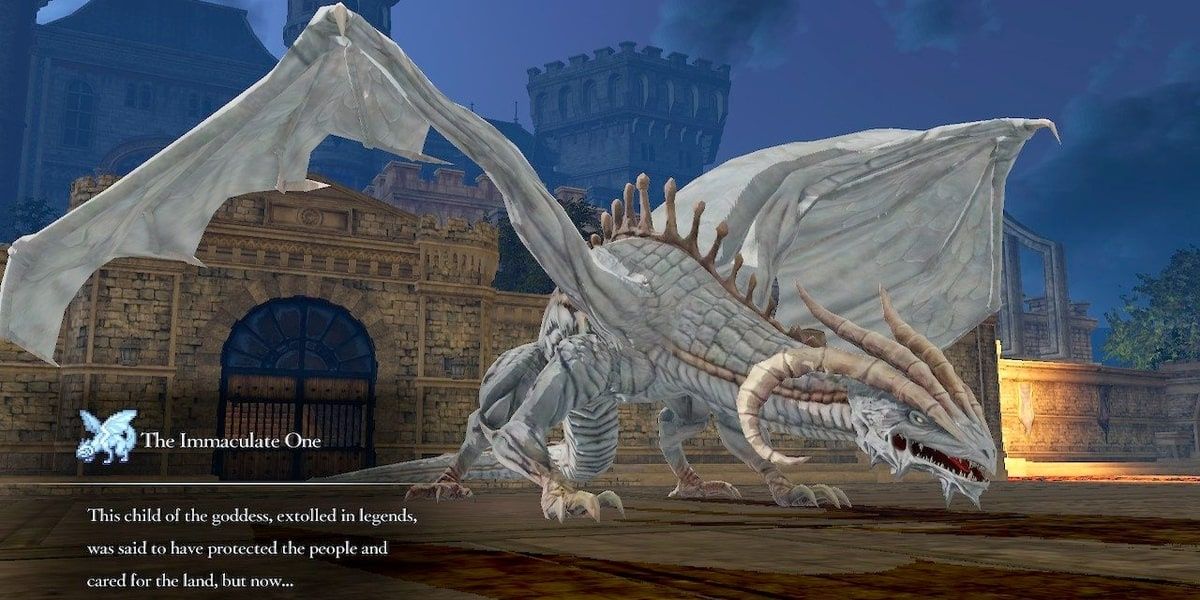
Here, at the end of a years-long campaign to root out the hypocrisy of the church and those who control the world from the shadows, you face the Immaculate One, the true form of Seiros and the remainders of the Church and Kingdom of Faerghus. But Seiros here is deranged, a goddess who fear the loss of her nature, and orders the city burned to the ground to stop your approach. But the flame of ambition burns brighter.
Naught much remains, a city turning to ash, old allies clinging to faltering beliefs because nothing else remains, and the Immaculate One itself (and a Switch struggling to run). The city is aflame, every tile a danger to step in, and a pincer attack around the city is the only surefire method to stop your entrapment. But even despite it all, you emerge victoriously. Fódlan united under one rule, and another crumbling rule just needing to be rooted out.
1 Combat At Tailtean Plains

Being at the penultimate chapter, you expect resistance. The Tailtean Plains are littered with history, the founding of the Church, the Empire, and even the Kingdom of Faerghus. But today on these plains, only one will remain. Rhea no longer masks her true self, revealing that she is indeed the very same Seiros that formed all these great nations, and Dimitri, bloodlust clouded, proclaims your death is nigh.
The plains are wide and littered with troops. Dimitri waits to one end with Dedue, and Seiros and her forces lie far below them, a pincer attack to hold you back. But the Empire has come this far, and it is too late to lose. Seiros chases in vain, Dedue gives up his very humanity and transforms into a beast to halt your advance, and Dimitri dies in Edelgard's arms, a great conflict finally at its end.
Source: Read Full Article