Quick Links
- Overview
- Battle Above Yavin 4
- Woola-man’s Best Friend
- Run Run Runyip
- Raiders Of The Great Temple
- Operation: Stardust
Yavin 4 is the forest planet that homes the rebels in Star Wars: A New Hope. Famously, this is where the briefing on the Death Star is given to the rebel pilots. In Lego Star Wars: The Skywalker Saga you have a chance to wander around this classic location, trekking through the rebel headquarters and even venturing into the surrounding jungle.
Here you will have to contend with the rampaging runyips, deliver messages to missing rebel officers, and even participate in a sneak attack on the empire itself. Along the way, you will clash with bounty hunters and TIE Fighters. But you won't be alone; with the help of this guide, you will easily work your way through every single side mission Yavin 4 has to offer.
Overview
| # | Point Of Interest |
|---|---|
| 1 | Garven Dreis |
| 2 | G8-R3 |
| 3 | Rebel Soldier (The Recipient Of G8-R3's message) |
| 4 | Dramatic Droid |
| 5 | Mon Mothma |
| 6 | Rebel Engineer |
| 7 | Thief With Death Star Plans |
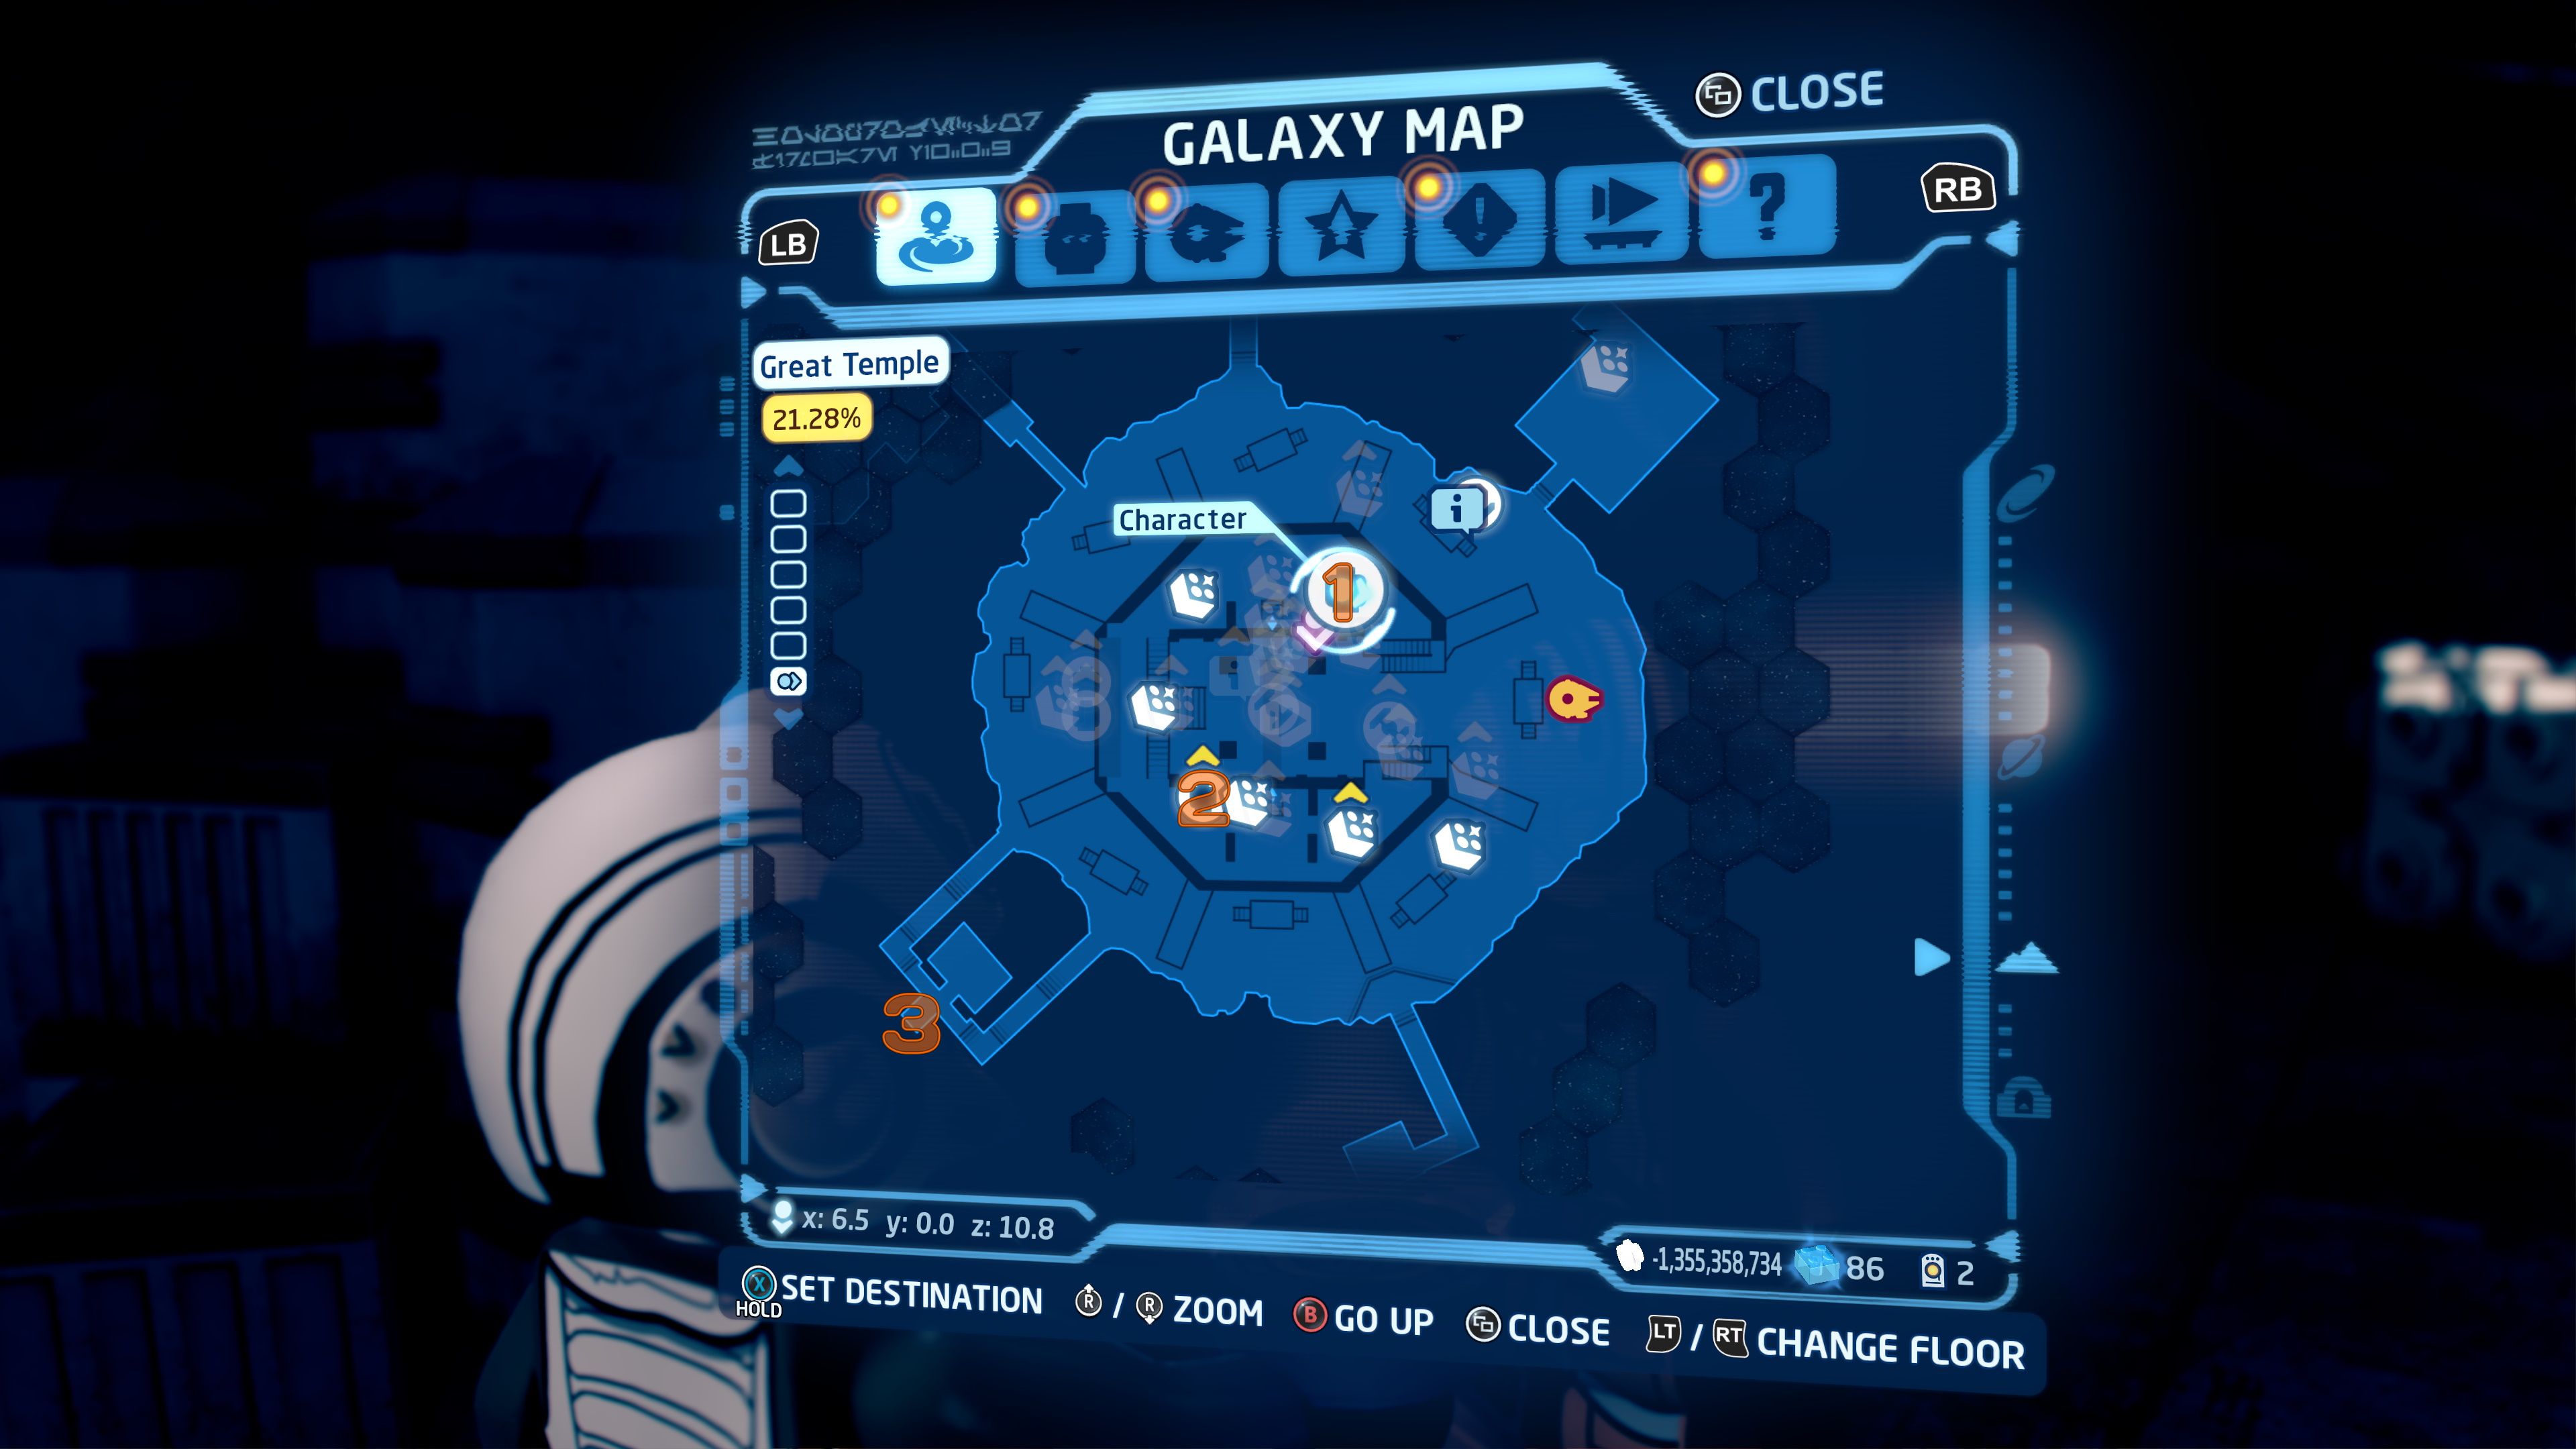
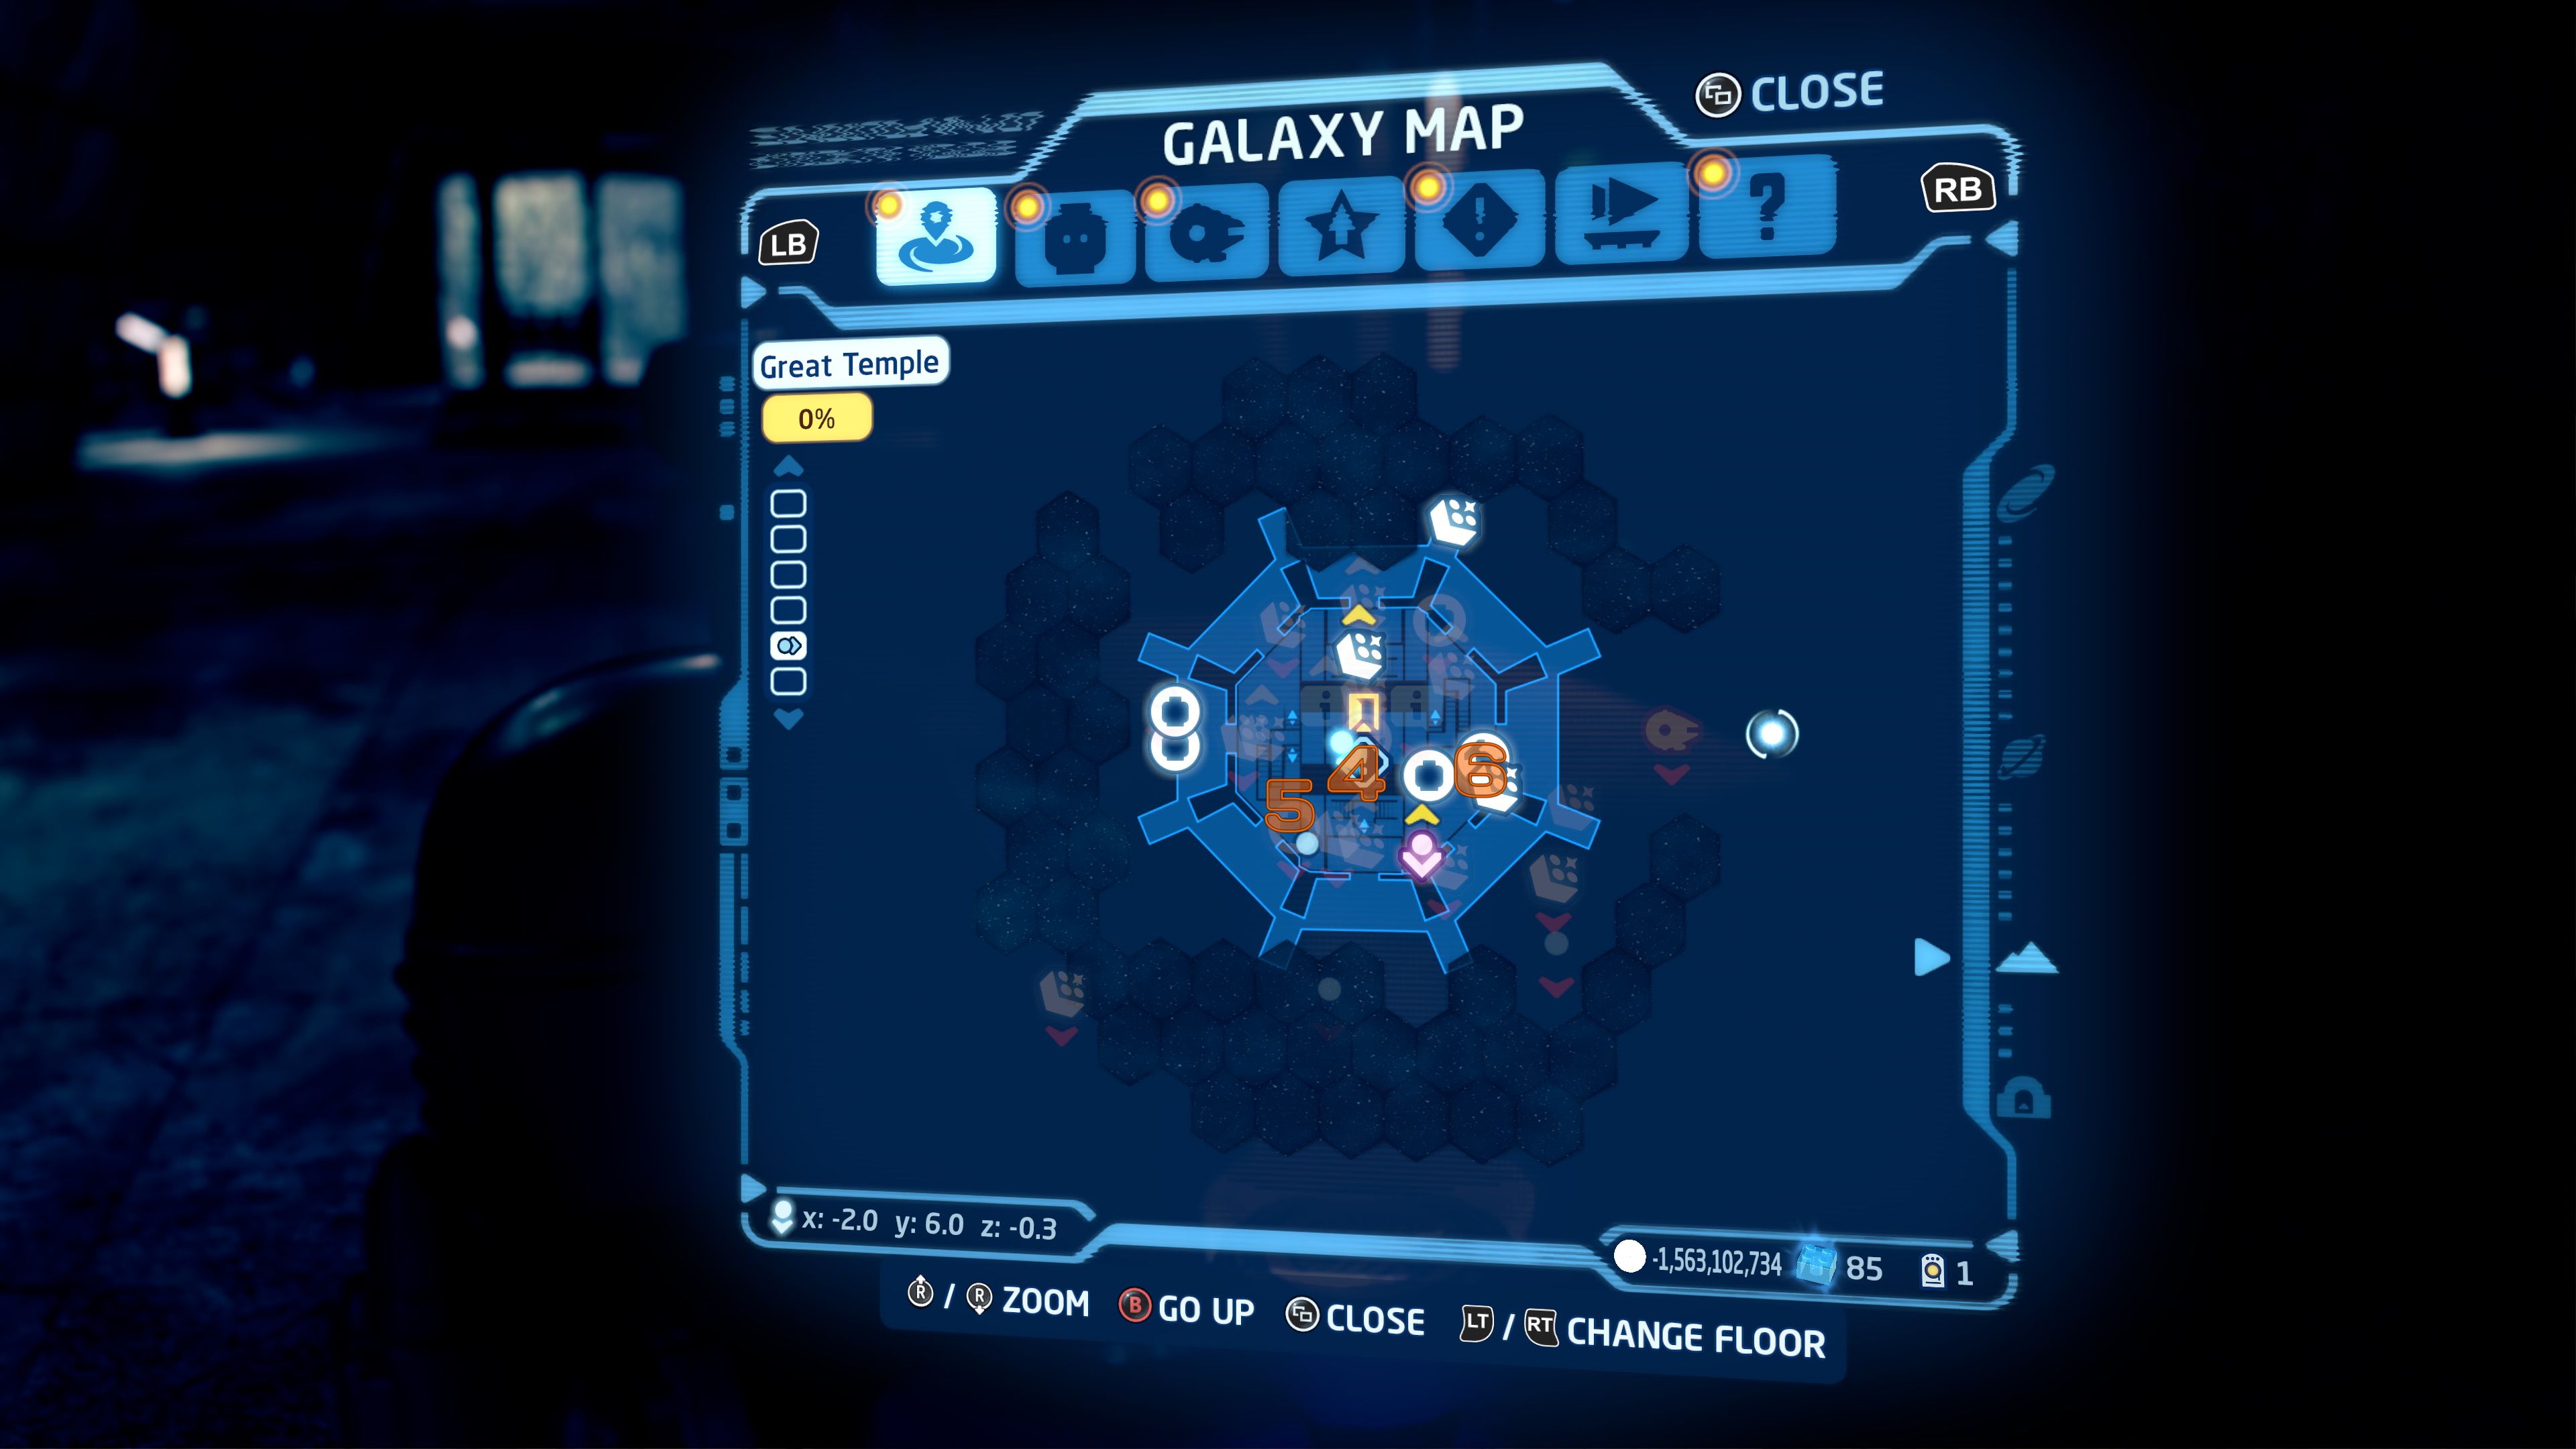
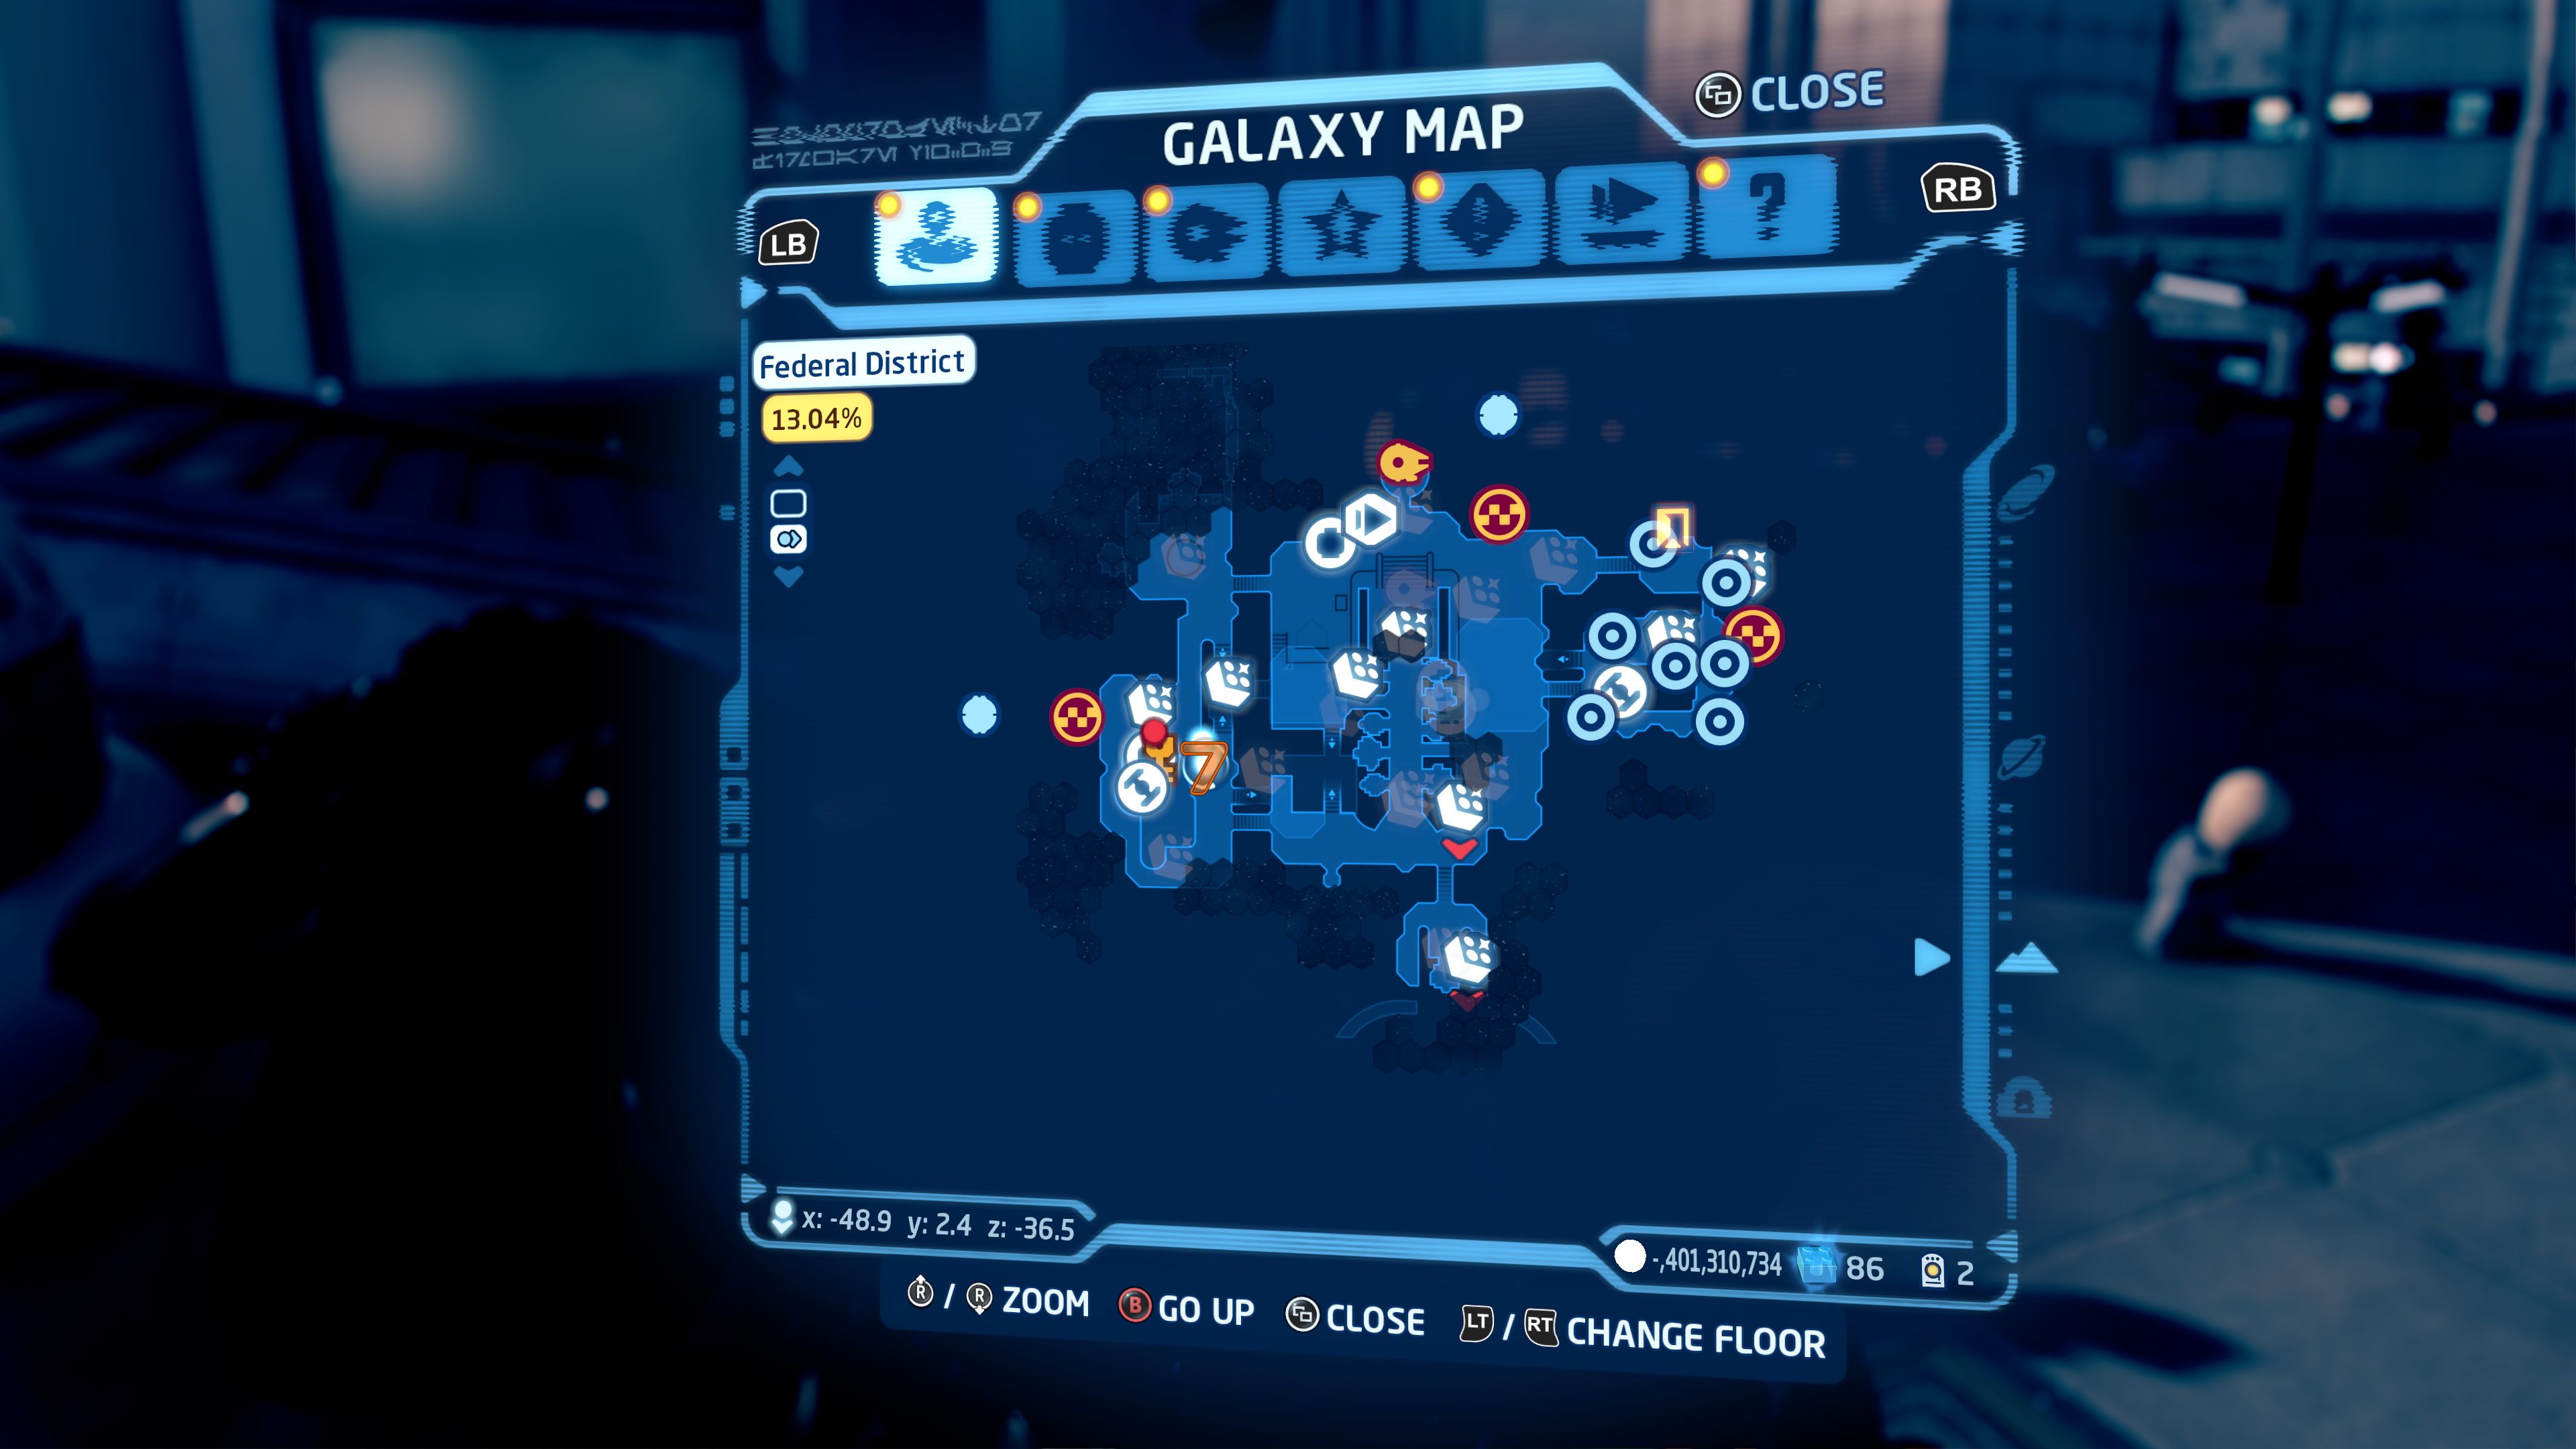
Yavin 4 consists of six levels. While it is a pretty massive map, it is important to note that all the quest givers are located on the same two levels (the fifth and the sixth). So, those two levels are the only ones you really need to deal with. We have also included a map of Couscant's Federal District, as your quest to recover the Death Star blueprints will inevitably take you there.
The sixth floor has two levels. While they are both considered to be the same floor according to the map, there is a raised area above the hanger that is functionally another floor. This is important to note as both Garven Dreis and G8-R3 are located there.
Battle Above Yavin 4
| Location | Yavin 4 (6th Level) |
|---|---|
| Requirement | Complete "Episode IV – A New Hope" |
| Reward | Garven Dreis |
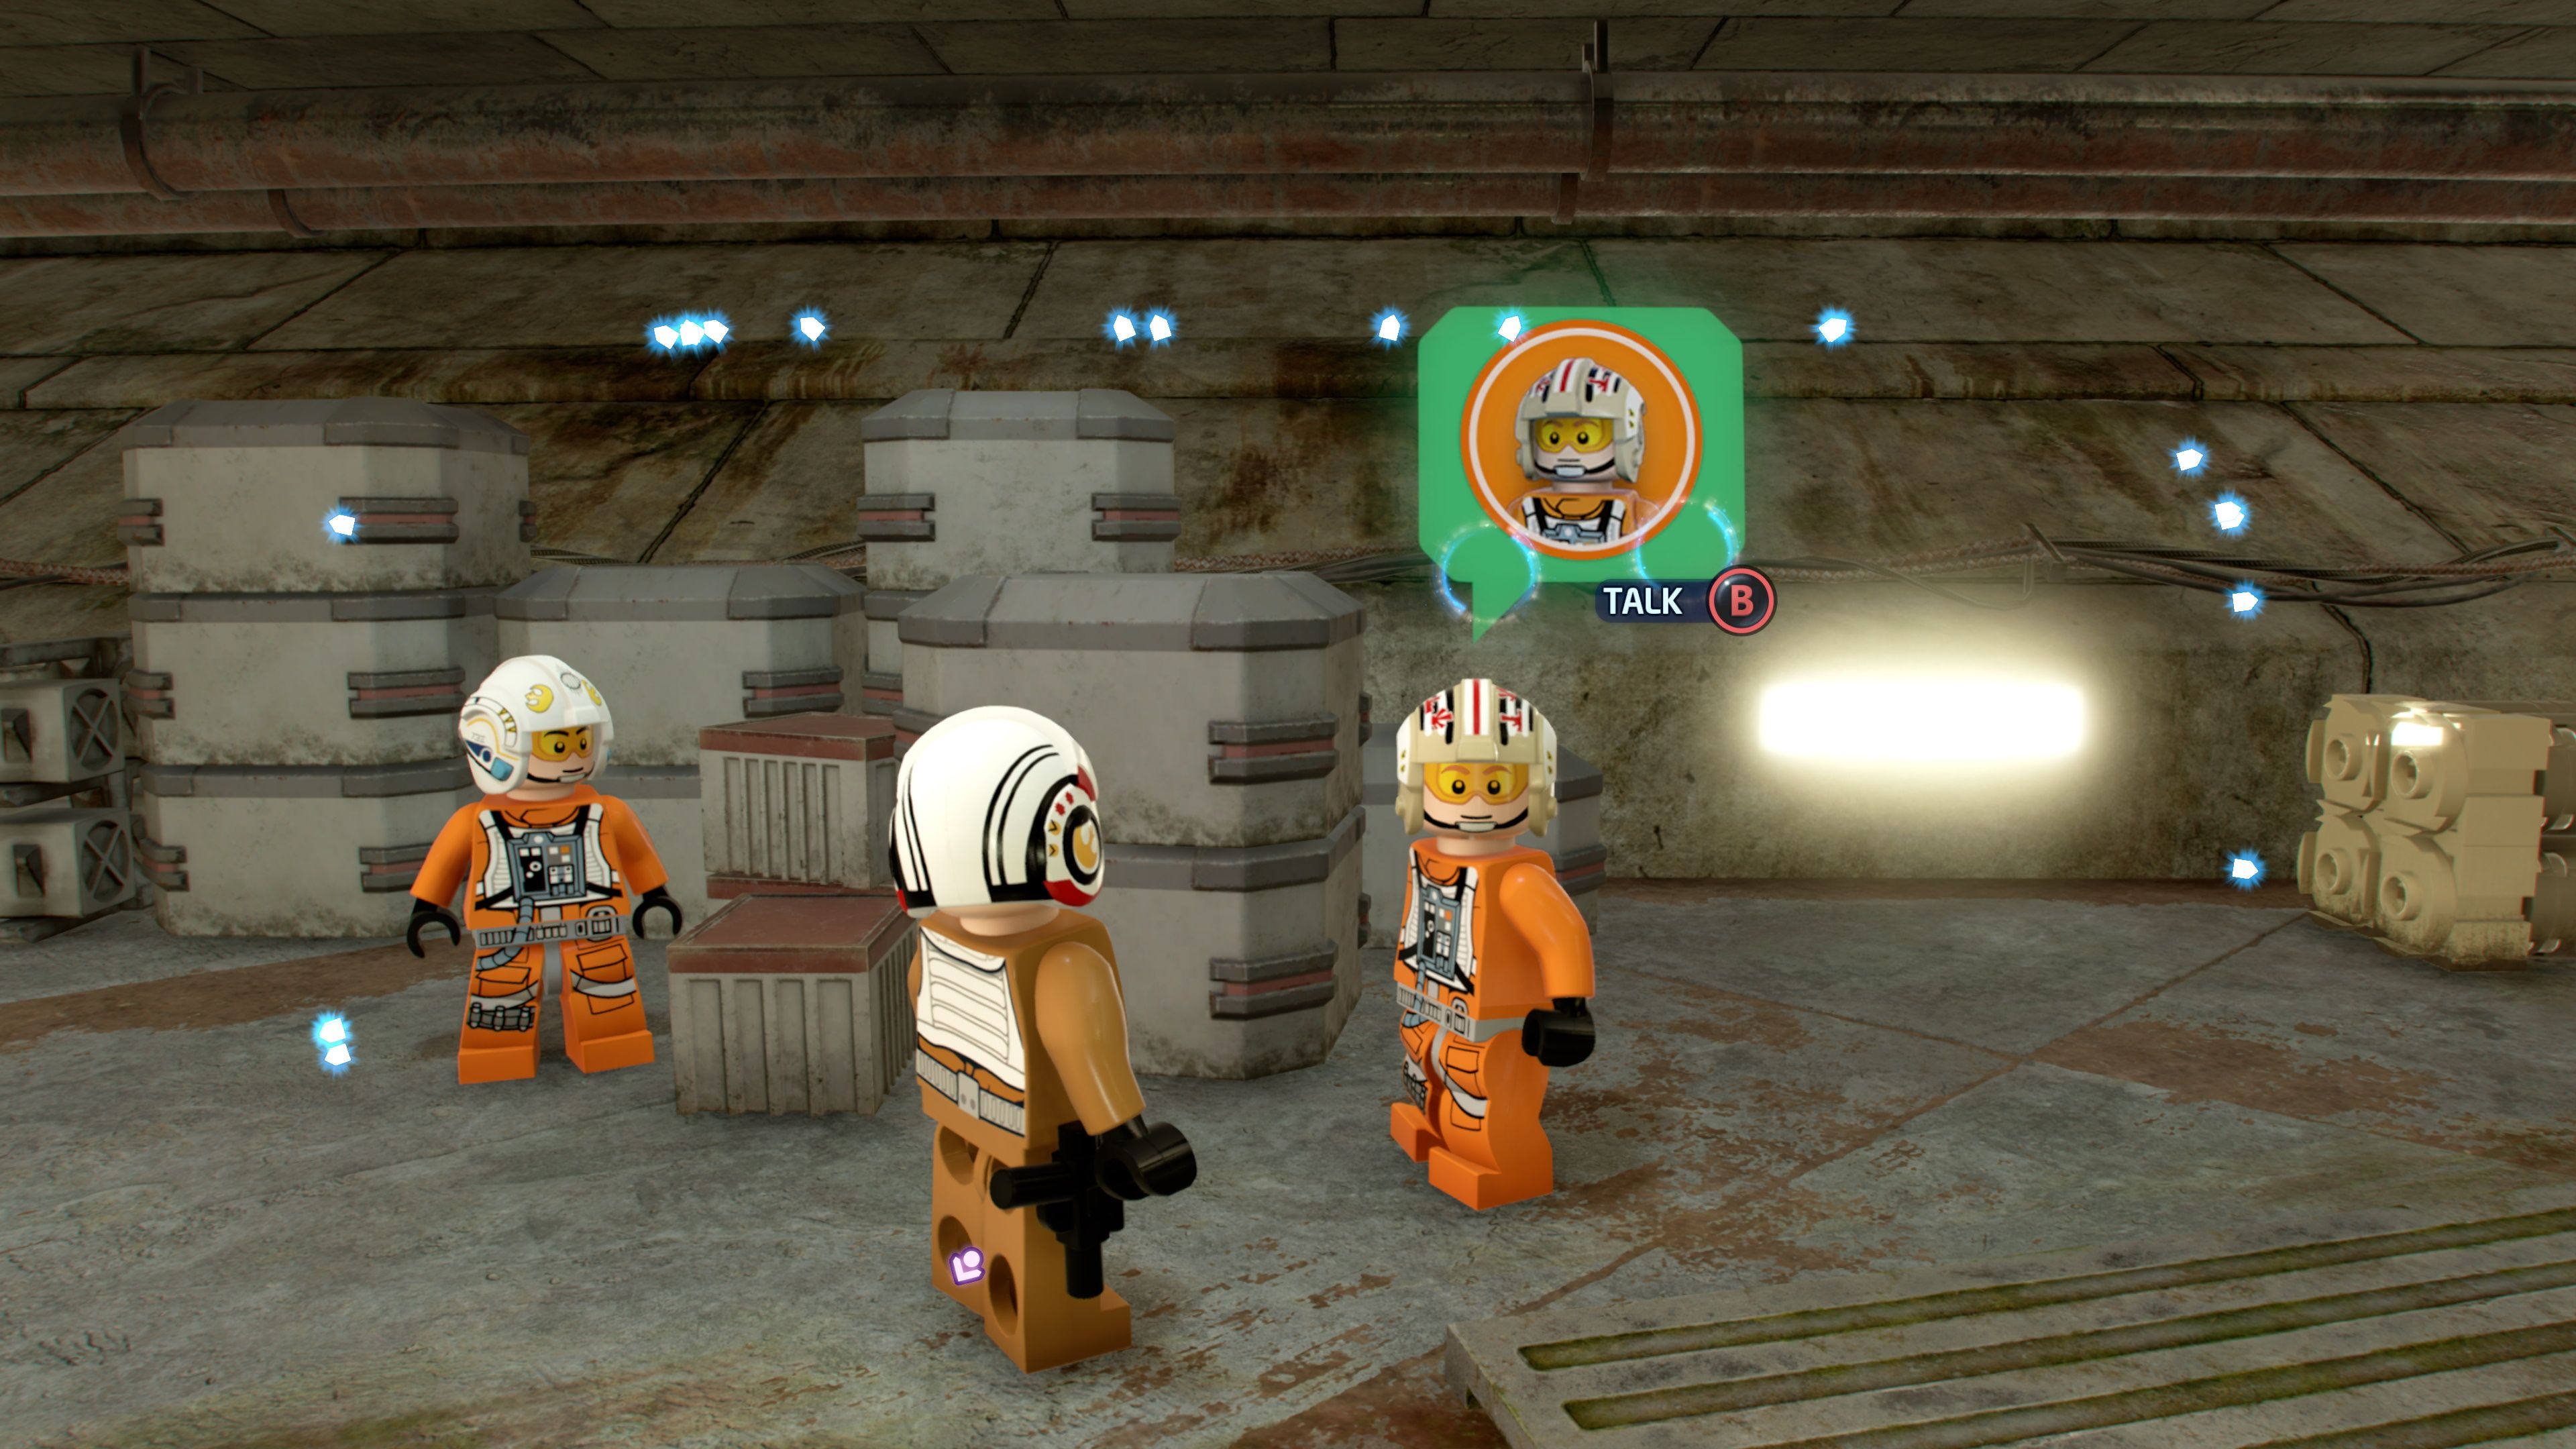
From the bottom section of the map, travel through the hanger and climb the stairs (you will still technically be on the sixth floor) and head to the inner section of the northeast corner of the map. Talk to commander Garven Dreis. He is amped up to get into space and dogfight some Imperial TIE Fighters. Next, head to Yavin 4 Space and track Garven down. Once you catch up to him, confirm that you are ready to go.

Now, you will face multiple waves of TIE Fighters. Just keep shooting them down as they come. Once you have taken them all out, stay in Yarvin 4 Space and track Garven Dreis down. He is floating around in space somewhere. Once you talk to him, you will complete the mission and be rewarded with the ability to play as Garven himself.
For some odd reason, the quest marker may fail to track Garven Dreis after you are finished fighting the TIE Fighters (at least it didn't for us), so you may have to just fly around and look for his ship.
Woola-man’s Best Friend
| Location | Yavin 4 (6th Level) |
|---|---|
| Requirement | Complete "Episode IV – A New Hope" |
| Reward | G8-R3 |
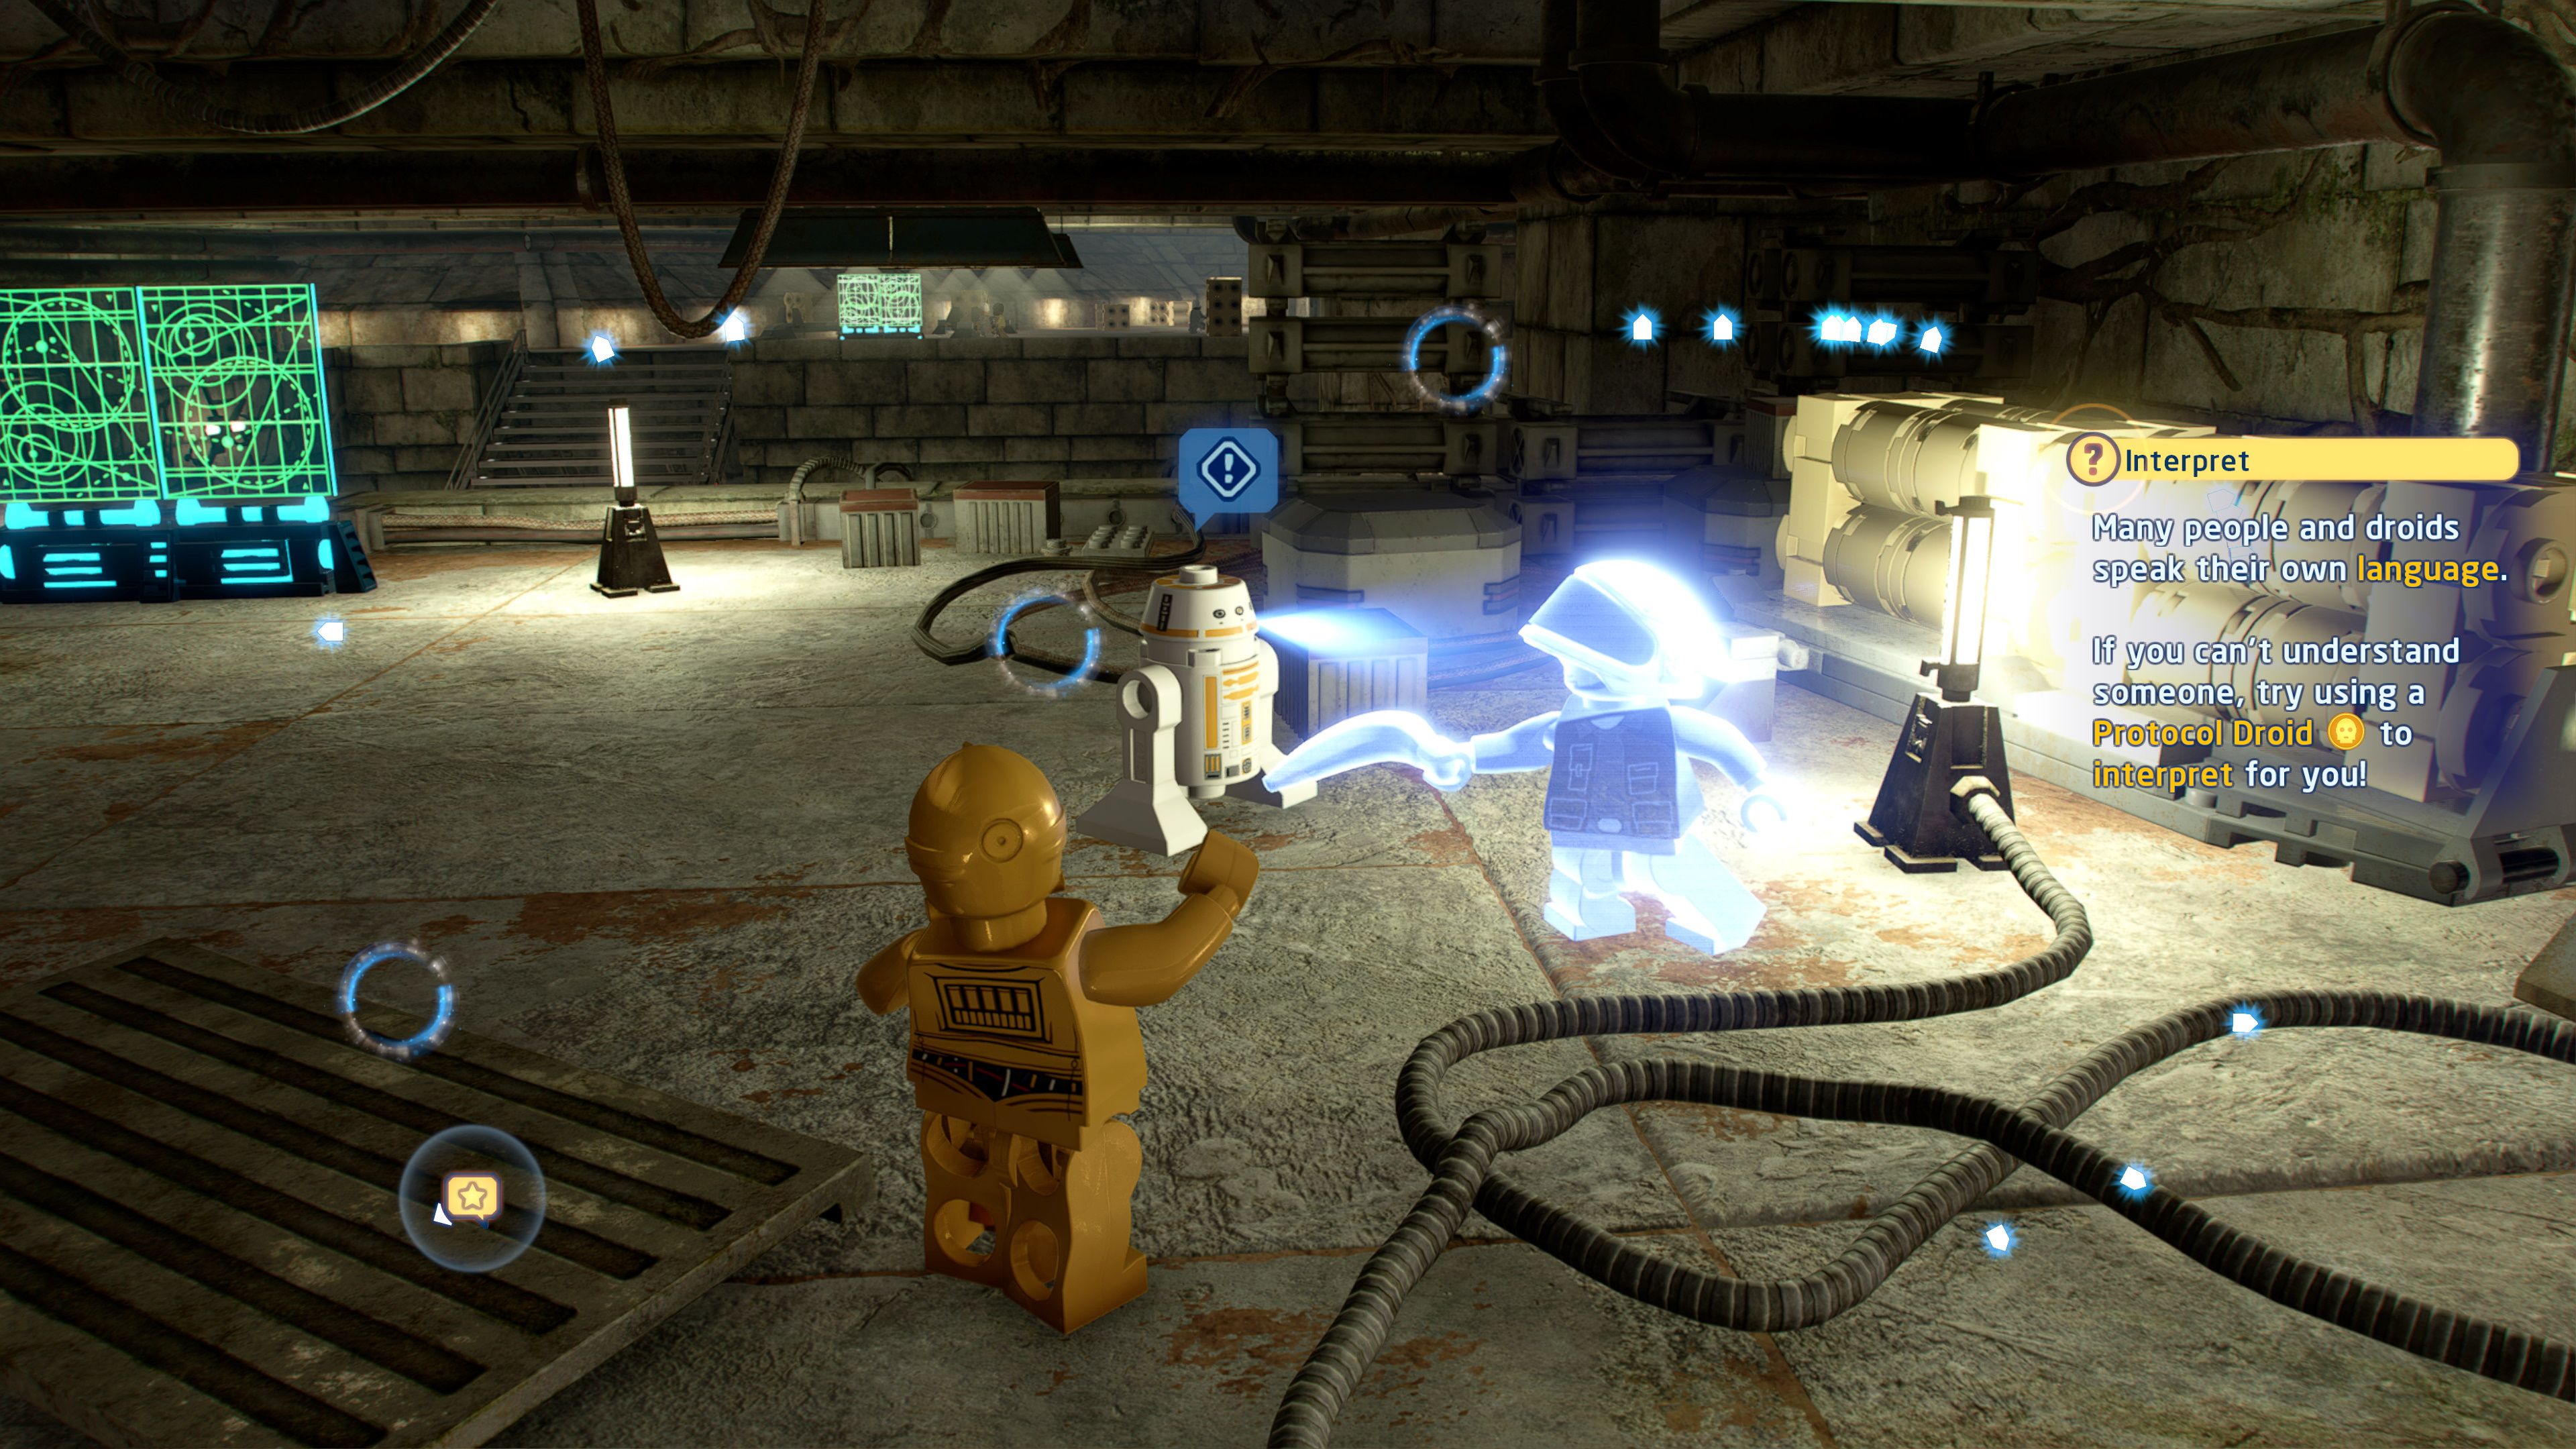
From the hanger, climb the stairs and head to the inner segment of the southwest section of the map. Here you will find G8-R3. Speak to G8-R3 using a protocol droid. It wants you to deliver a message to a rebel soldier. Agree to deliver the message to begin the quest. G8-R3 will show you a hologram of a rebel soldier holding a banana. You need to track them down. The soldier you are looking for is in the southwest corner of the map. Talk to him and you will complete the quest. As a reward, you will now have access to G8-R3.
Run Run Runyip
| Location | Yavin 4 (5th Level) |
|---|---|
| Requirement | Complete "Episode IV – A New Hope" |
| Reward | Mon Mothma |
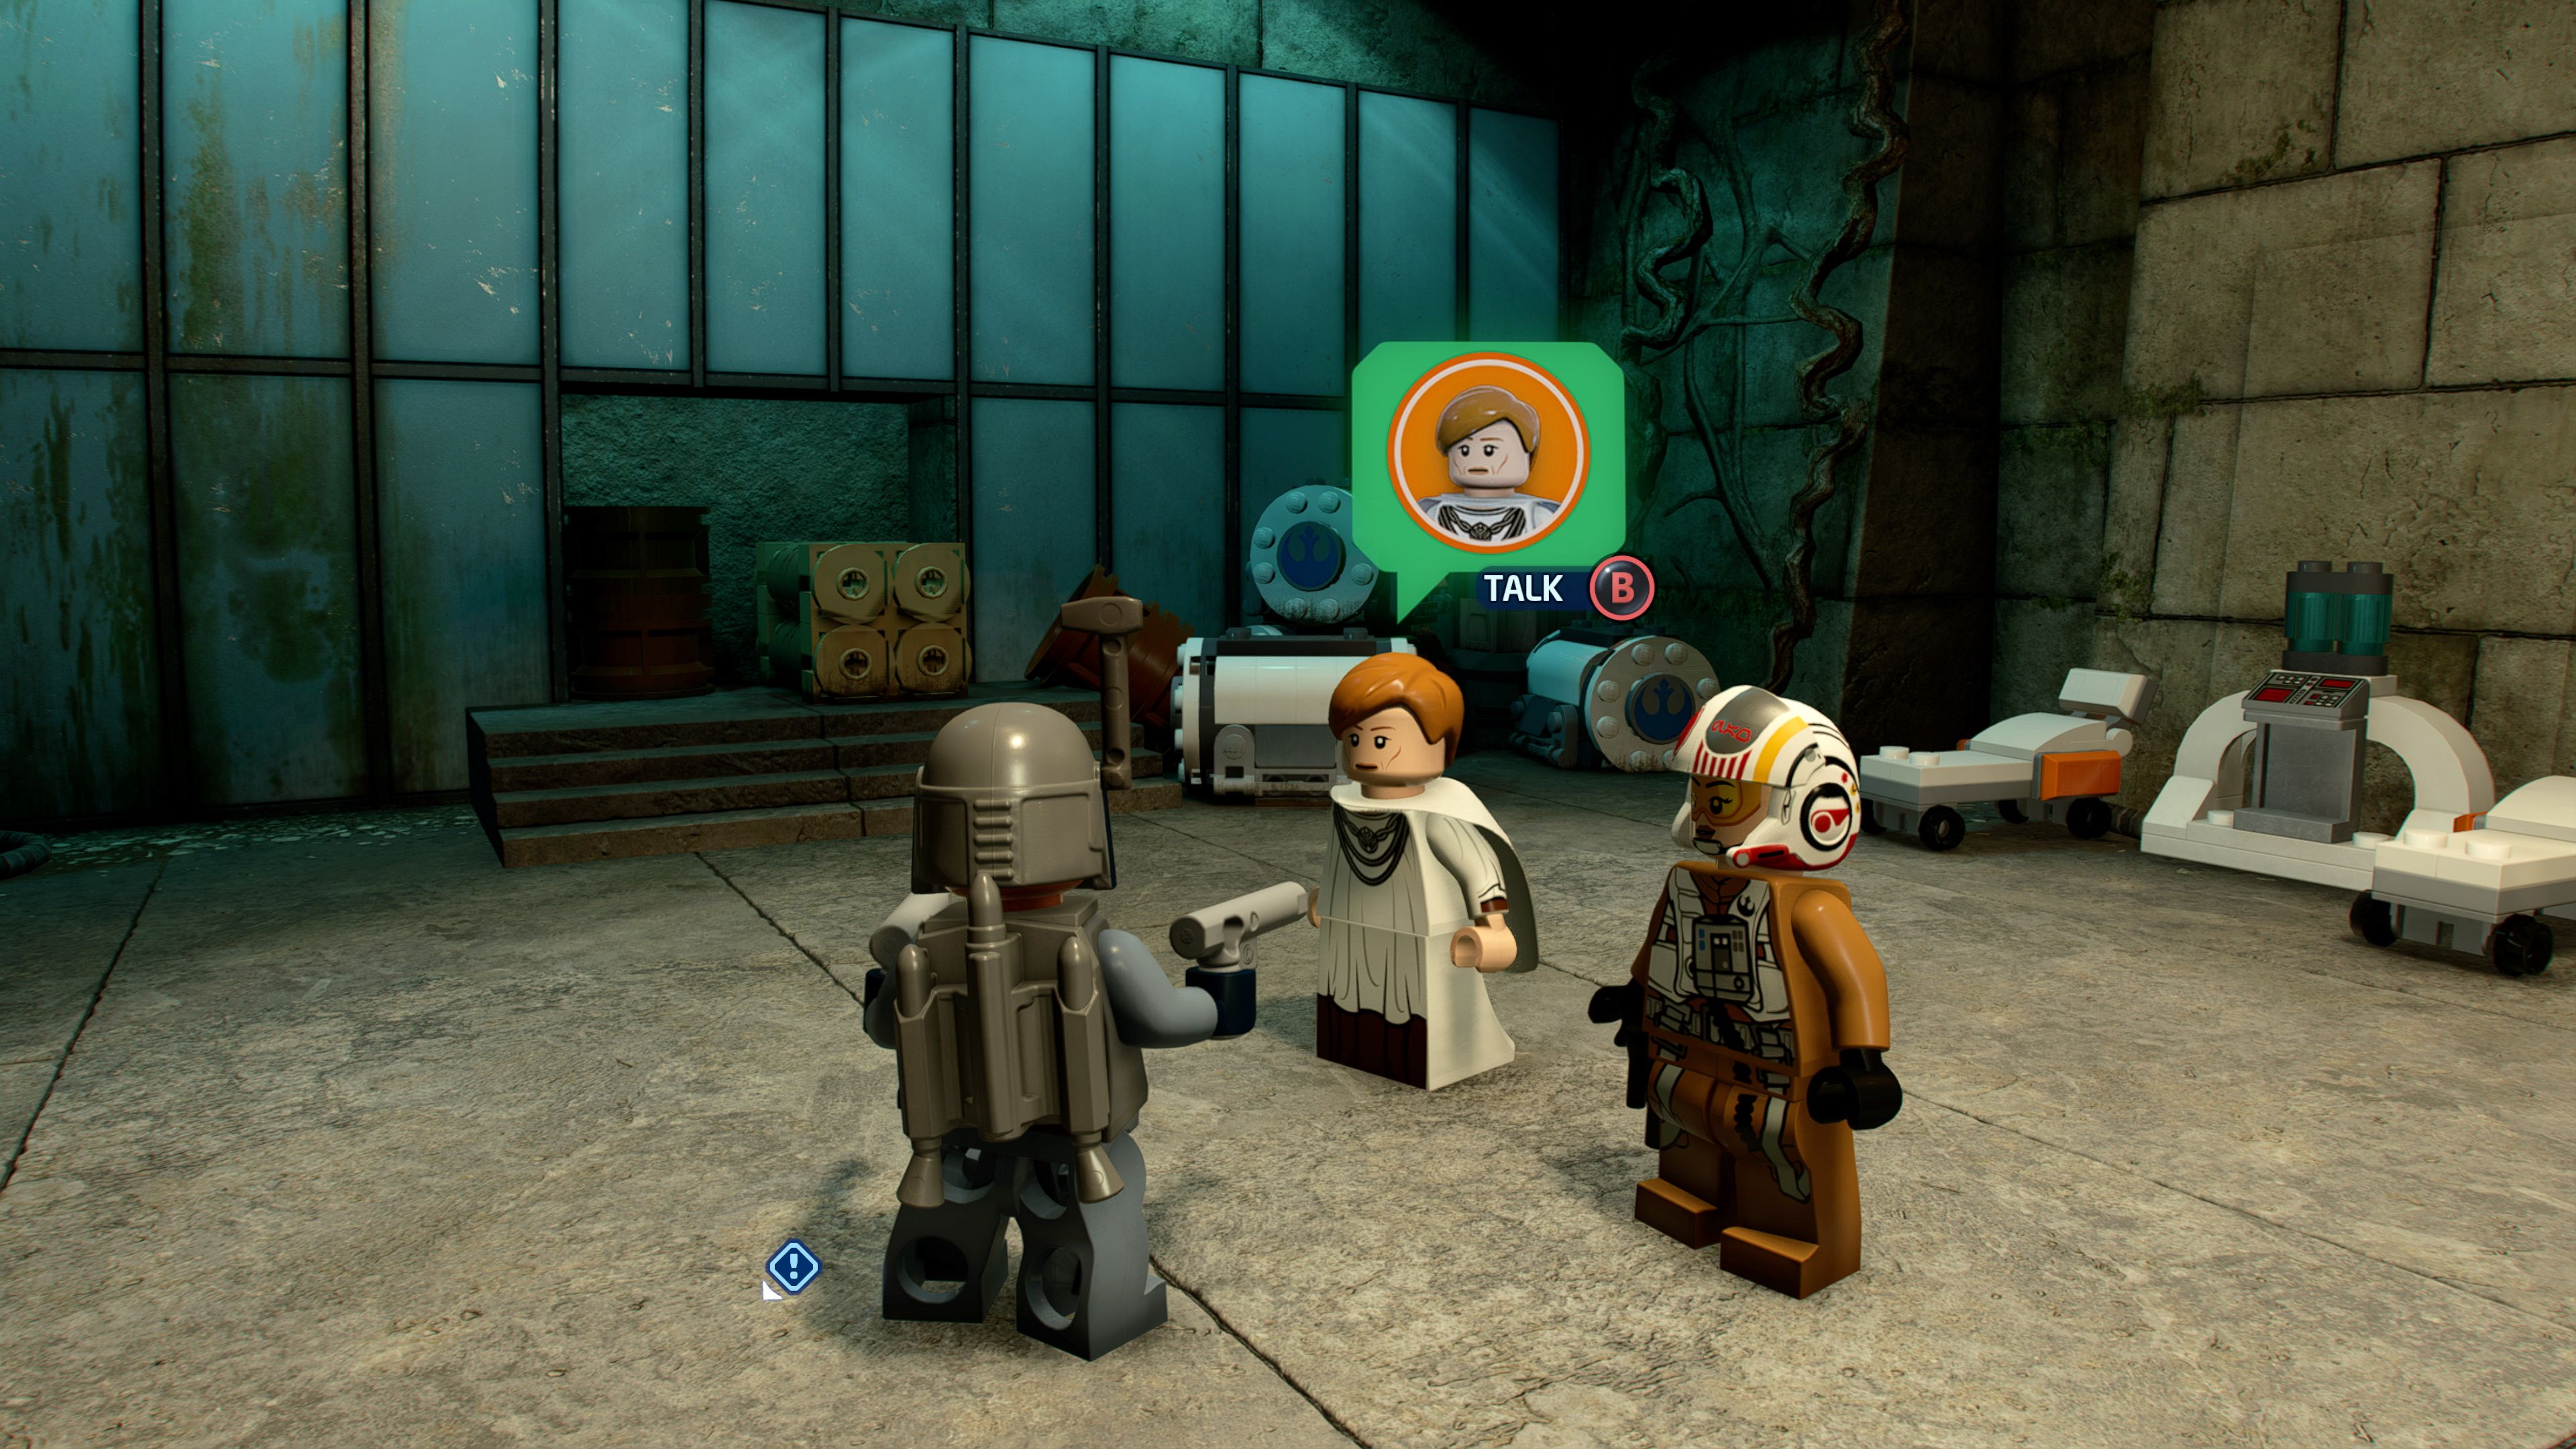
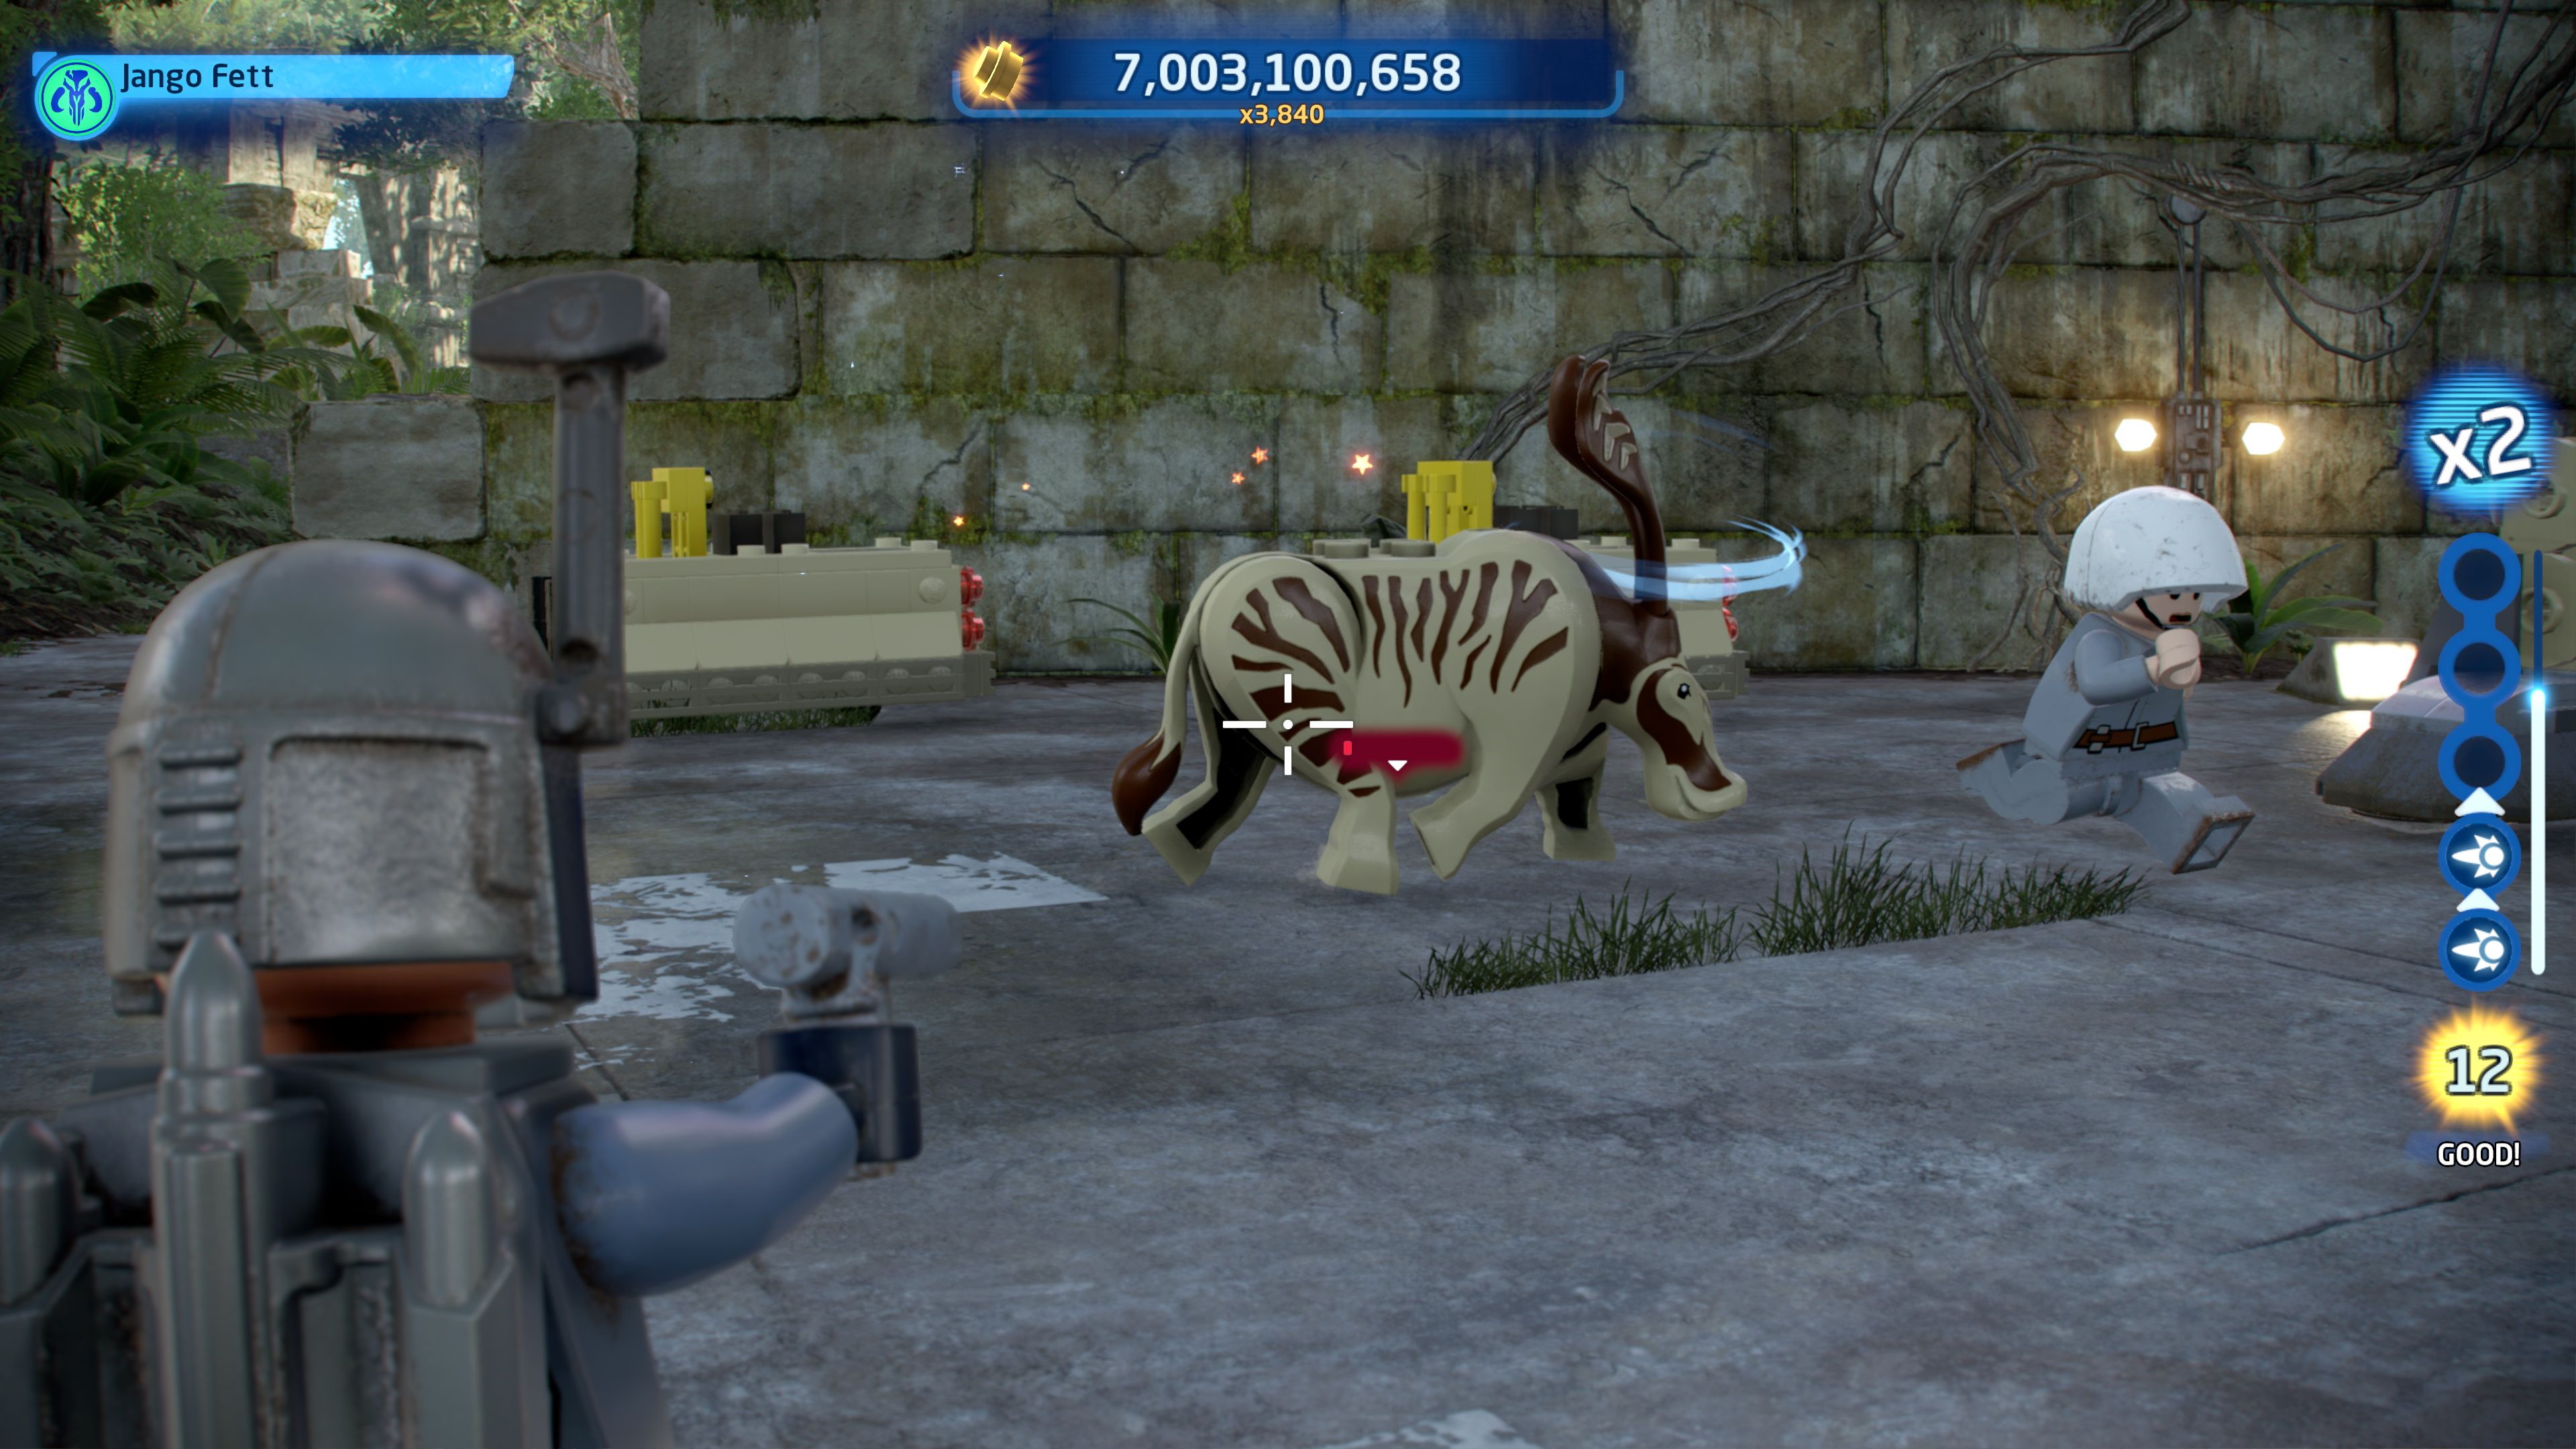
On the fifth floor, there are two rooms in the center. Enter the southern room and talk to Mon Mothma using a bounty hunter. She has a runyip problem that needs solving. Follow the quest markers to the outside perimeter and hunt down the three runyips. Now, head back to Mon Mothma. She will inform you that the runyips have been exposed to a spore that is driving them wild. You need to hunt down the “suspicious-looking” plants.
The plants in question are purple and hard to miss (once you see them). However, your quest markers can be a little misleading, as you may think one is on the top floor when it is actually on the roof of the building. All of these plants are found outside. There are two plants hanging out on the building itself. The last one is in the maze-like forest area. Your goal isn’t simply to destroy them, but to gather their seeds as well. So make sure you don’t leave without running through the glowing spot after taking the plants out.

After you track down all the plants, Mon Mothma will inform you that someone is planting another as you speak. You are going to need to chase them down. Follow the quest marker to a clearing and encounter the group of (evil) horticulturists. Take them out and Mon Mothma will rush to your location. Just talk to Mon Mothma to complete the mission. You will be rewarded with the ability to play this legendary Rebel leader.
Raiders Of The Great Temple
| Location | Yavin 4 (5th Level) |
|---|---|
| Requirement | Complete "Episode IV – A New Hope" |
| Reward | Emperor's Royal Guard |
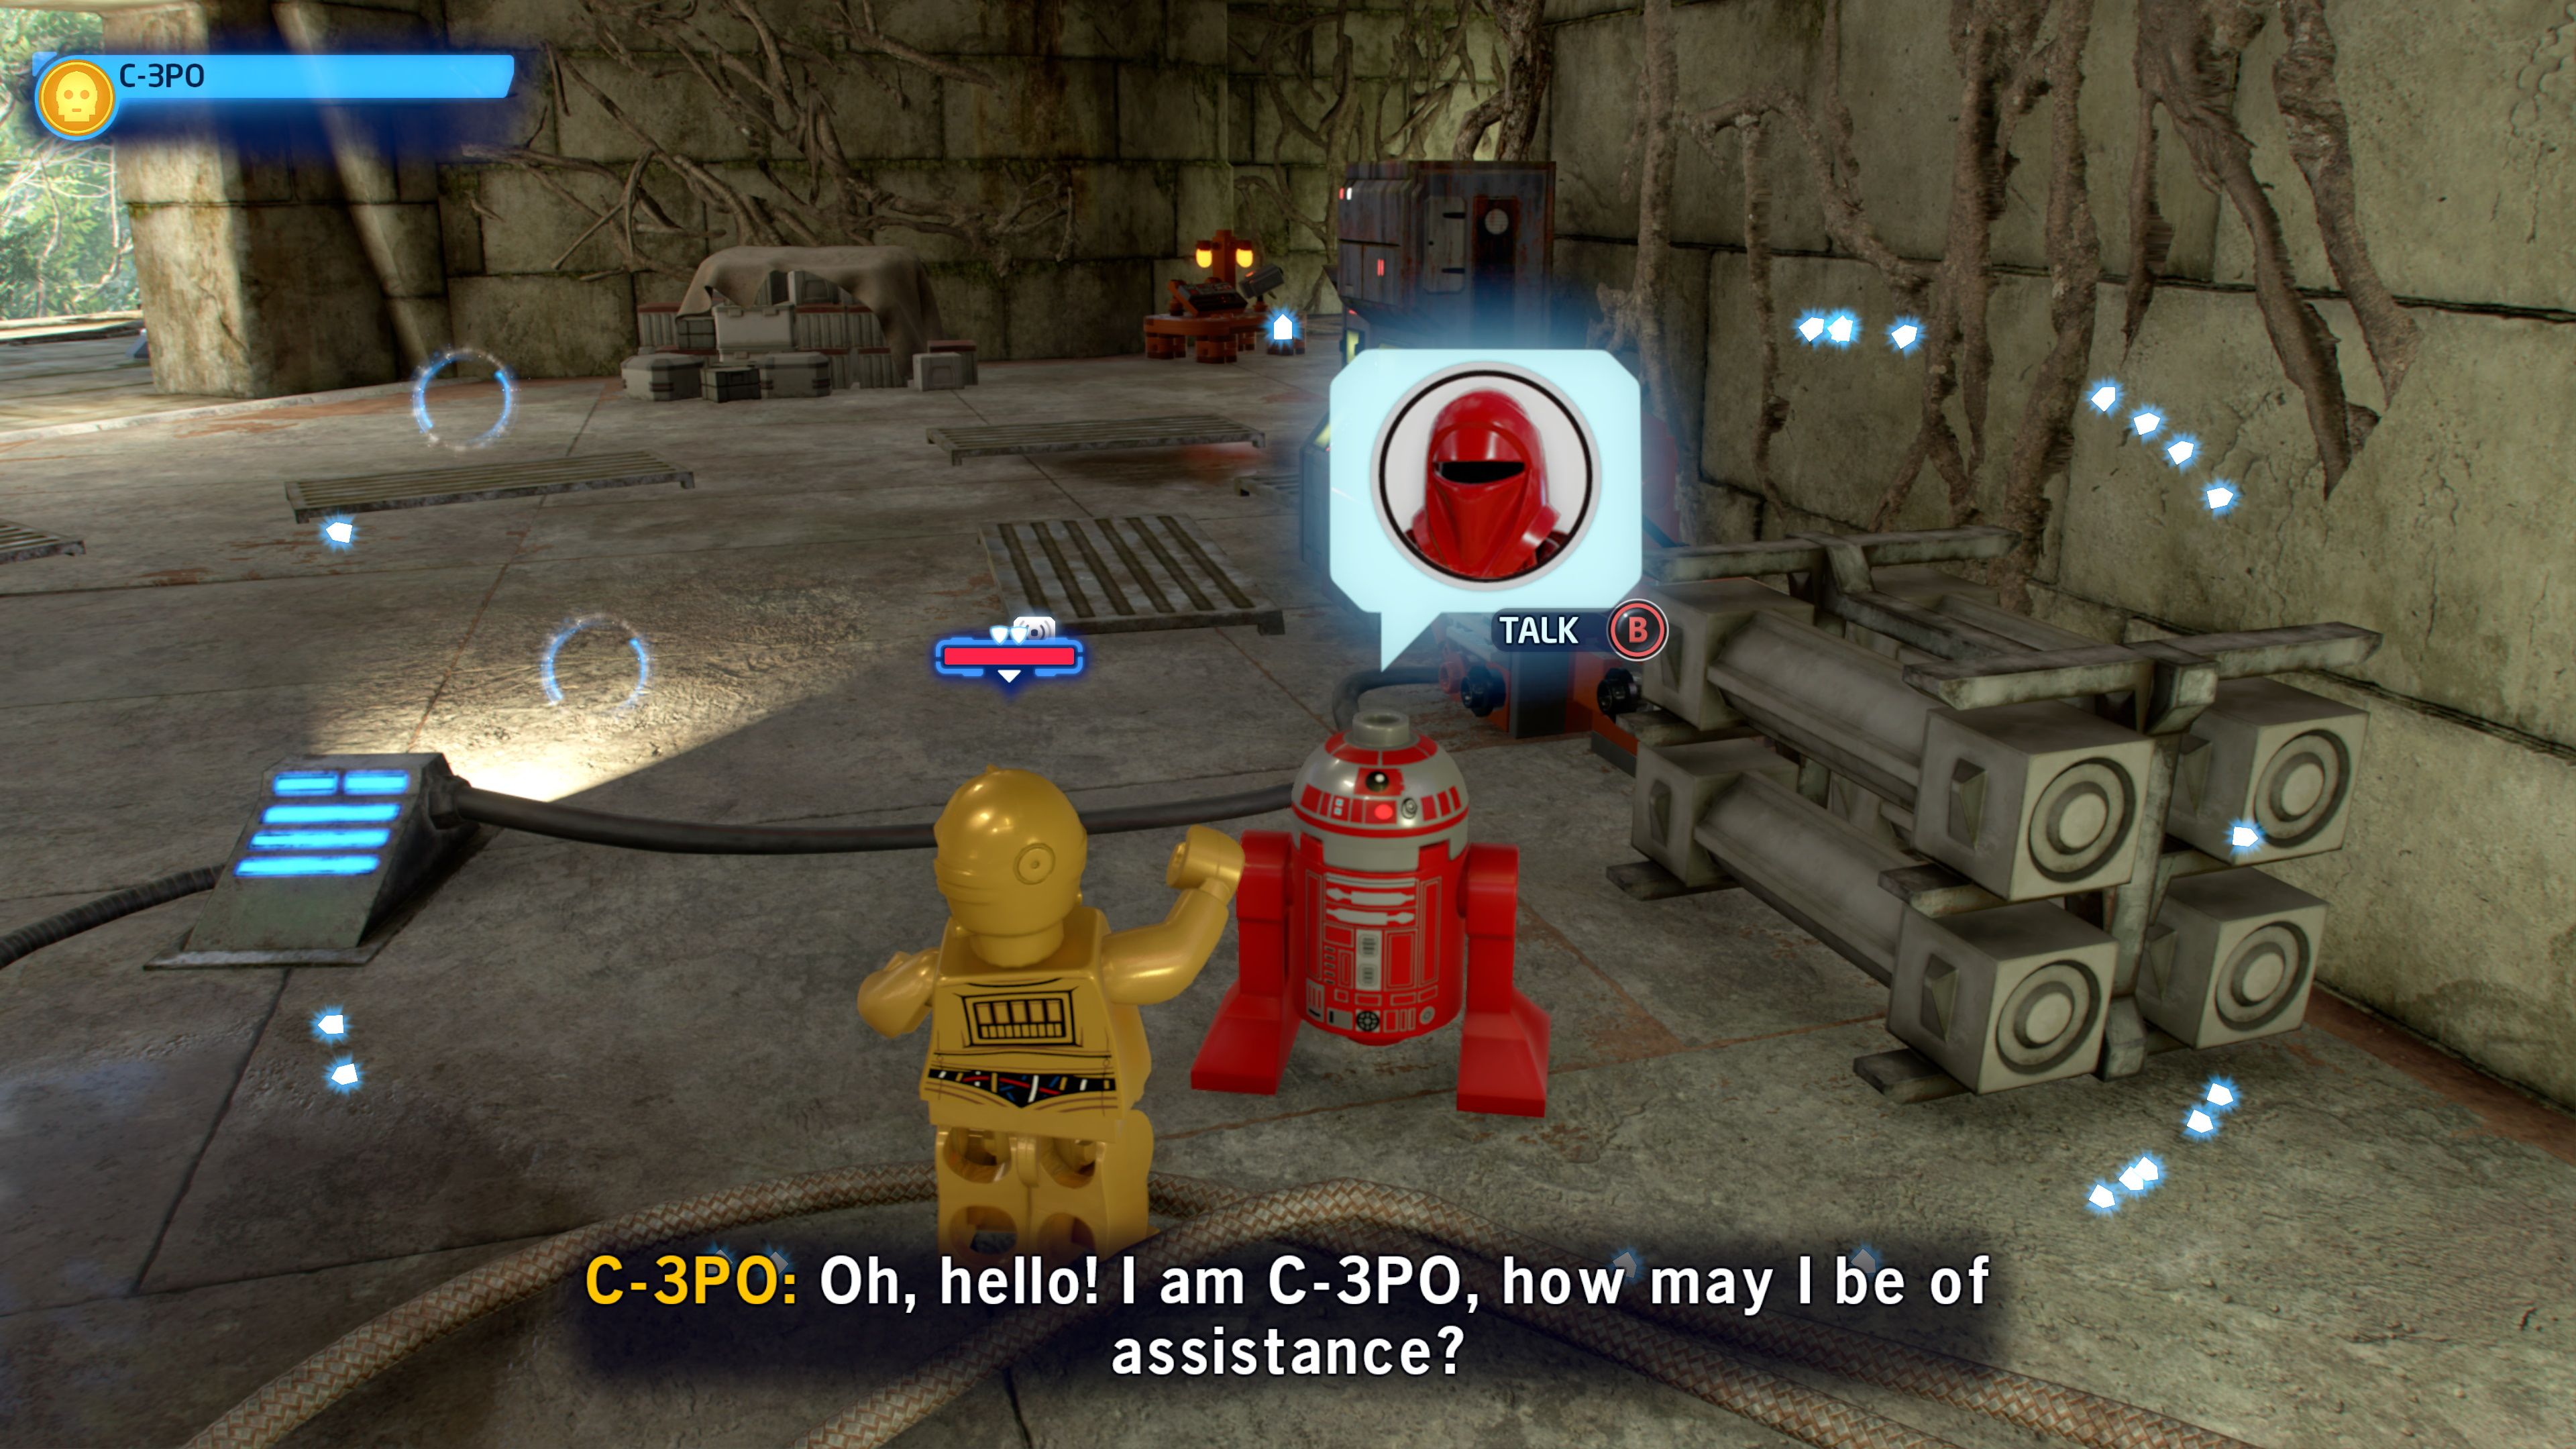
First, start this mission by speaking to the Dramatic Droid (it is the red astromech droid) of the fifth floor. It will tell you that there are bounty hunters invading the surrounding temple and request that you deal with them. Sure enough, there are three groups of bounty hunters positioned around the perimeter of the temple. Just follow the quest markers and clear them out. Once you are finished, you will be able to teleport back to the Dramatic Droid and complete the mission. As a reward, you will receive the Emperor’s Royal Guard.
Operation: Stardust

| Location | Yavin 4 (5th Level) |
|---|---|
| Requirement | Complete "Episode IV – A New Hope"
Travel to Coruscant – Federal District |
| Reward | The Death Star |
Talk to the Rebel Engineer. He wants you to get the Death Star plans from Grand Moff Tarkin. Now, fly to the Federal District in Coruscant. From there, find a taxi and go to the Coruscant Senate Building. Follow the quest marker to the Irate Imperial. He will tell you that the blueprints have been stolen. Apparently, the thief left in an AT-ST. Go back to the taxi and fly to the North Landing Pad.
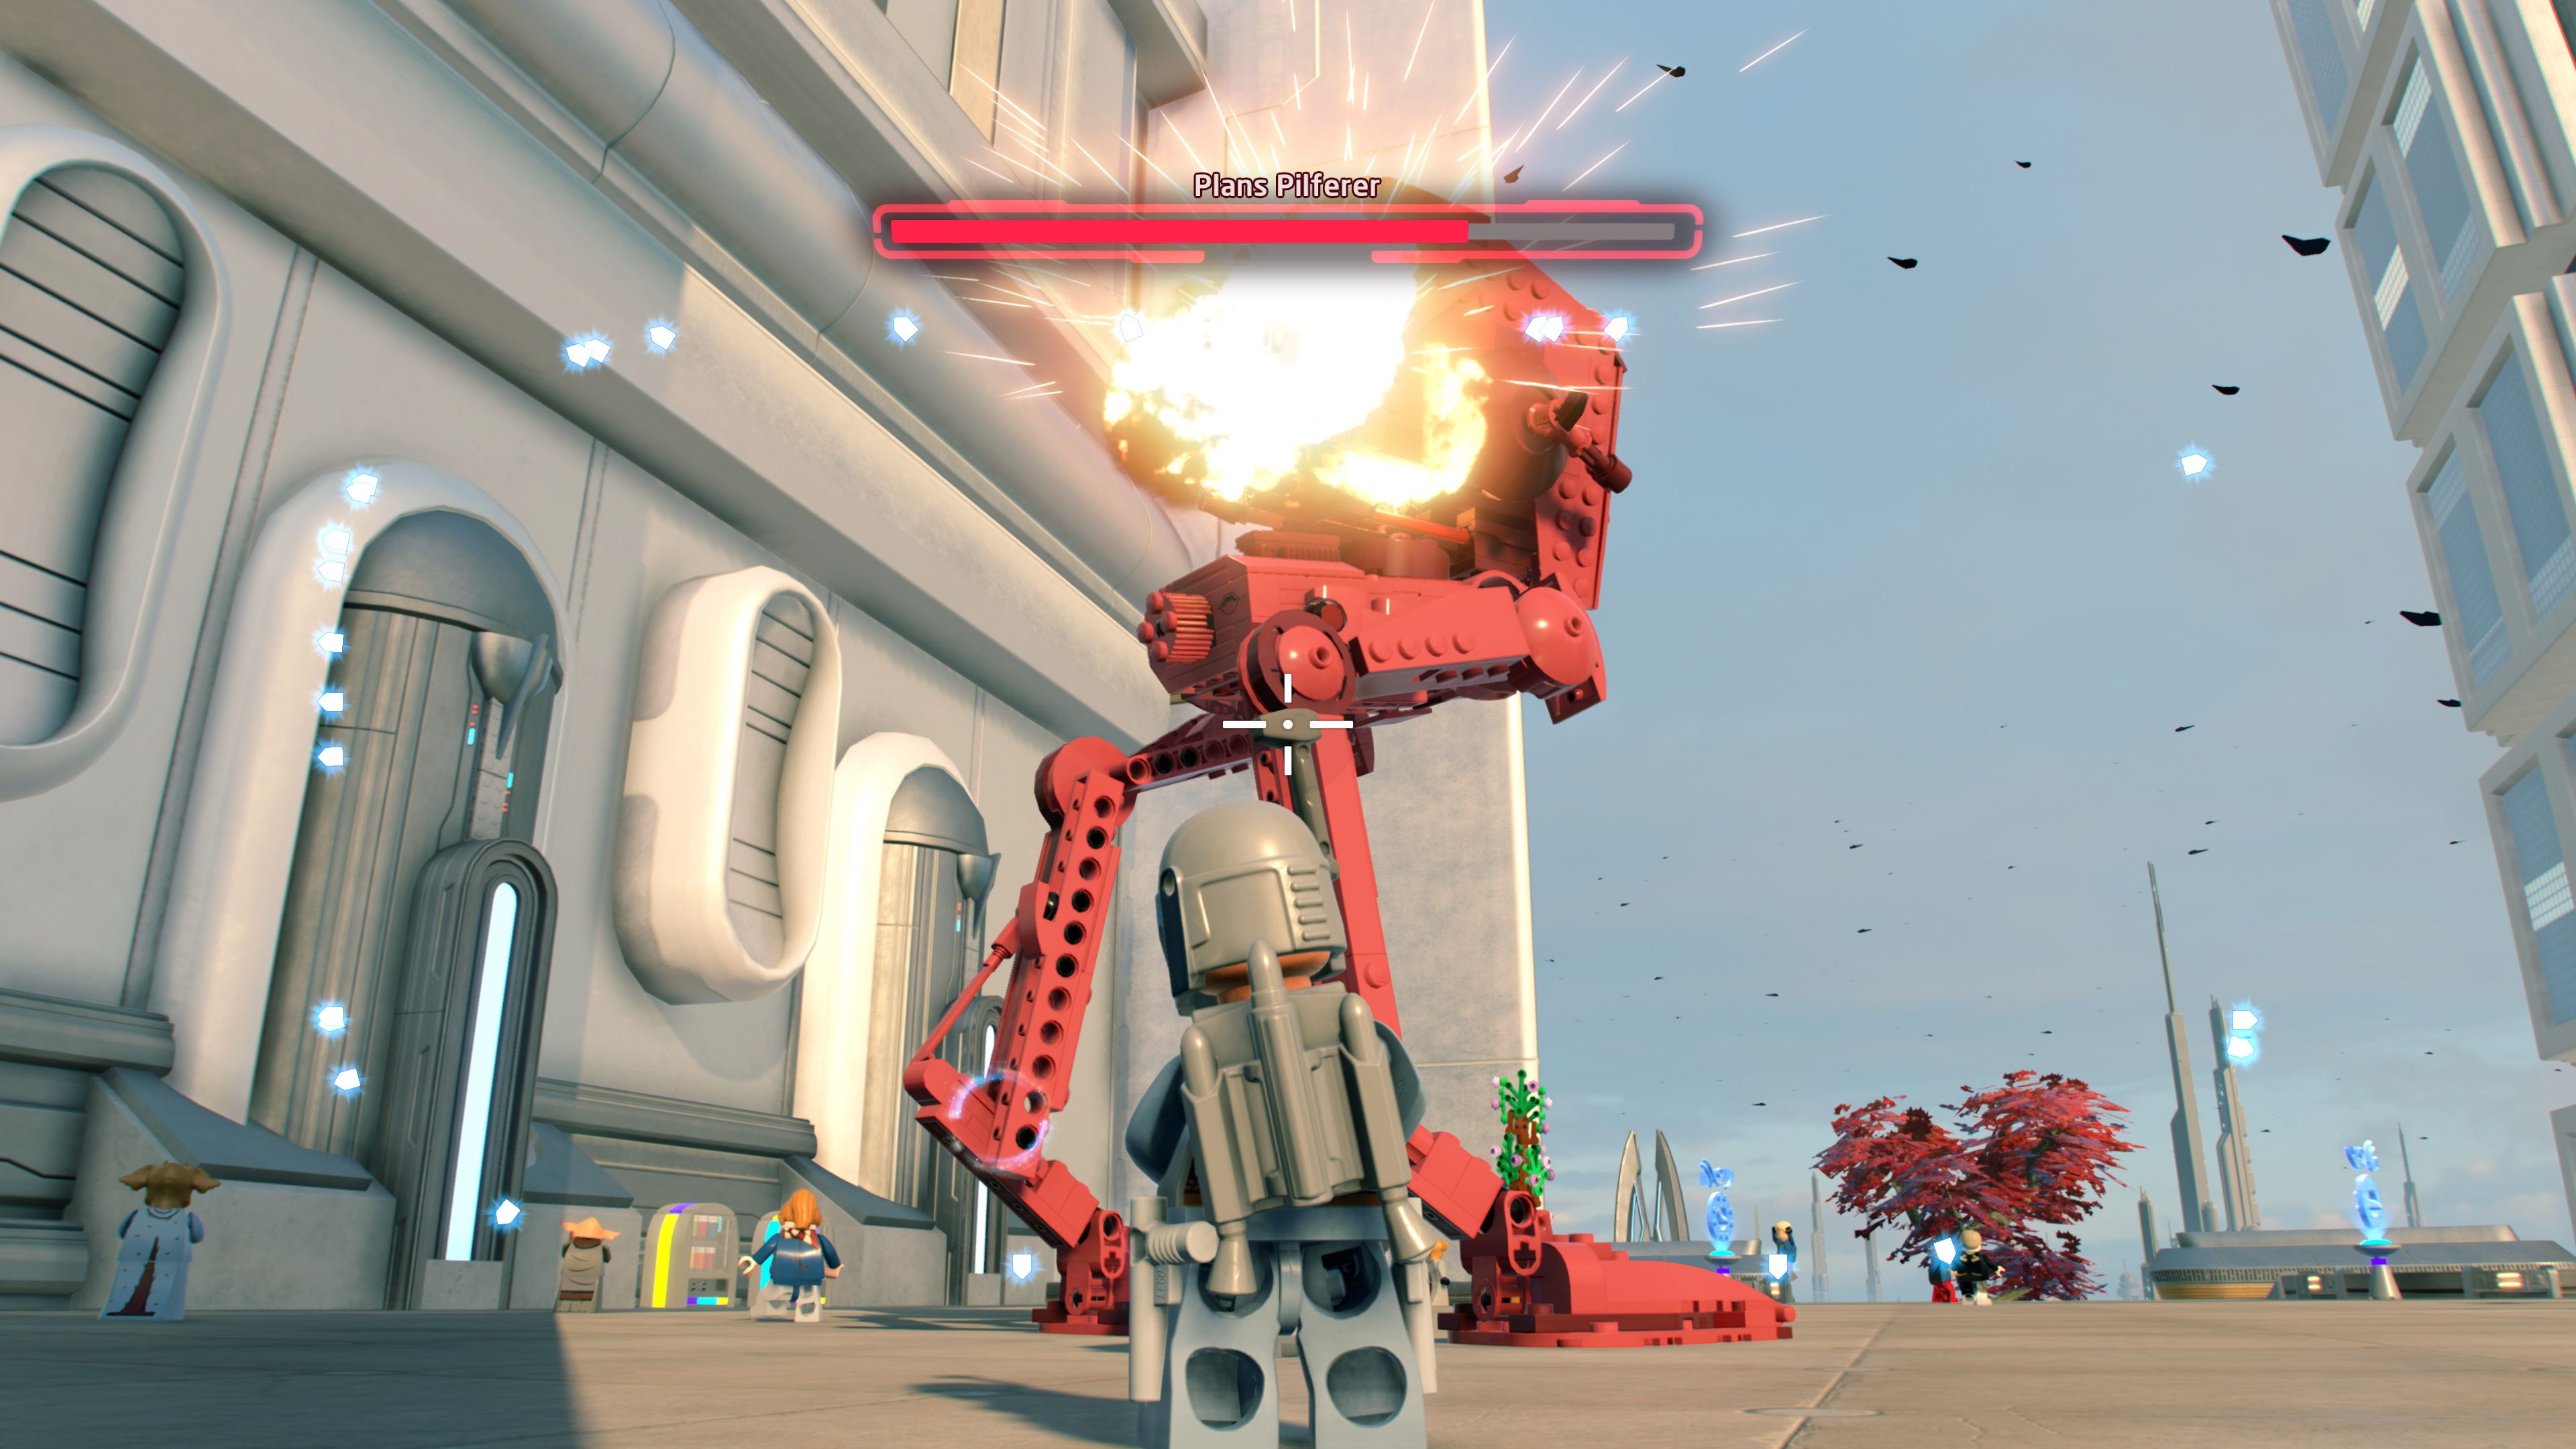
Now, follow the quest marker until you are close to a squadron of Stormtroopers. Your goal here is to look for an alien with a quest marker above their head (not in an AT-ST). You can find them in the northwest section of the search area. After you confront them, they will use a smoke grenade and make a run for it. Chase after them. They will lead you back to the aforementioned AT-ST and hop into it. Now you have to fight them.
Don’t bother trying to shoot the AT-ST; instead, look for the nearby grenades. Grab them and toss them at the mech. Once you have hit it with four of them, it will come crashing down. You will now be the proud owner of the Death Star plans. Travel back to Yavin-4 and give them to the Rebel Engineer. This will complete the mission and unlock the mighty Death Star.
Source: Read Full Article