One of the often-missed optional assignments in Mass Effect is Citadel: Signal Tracking. This little assignment is likely overlooked as it’s hidden away at the back of the upper floor of Flux. It’s worth completing this assignment to bag yourself some extra credits, though the amount earned varies depending on your reaction time.
For everything you need to know about the Citadel: Signal Tracking assignment, we have a complete walkthrough right here, including where you need to go to track the signal, and what code you need to use to be able to wrap up the assignment quickly and earn the most credits.
How to Unlock the Citadel: Signal Tracking Assignment
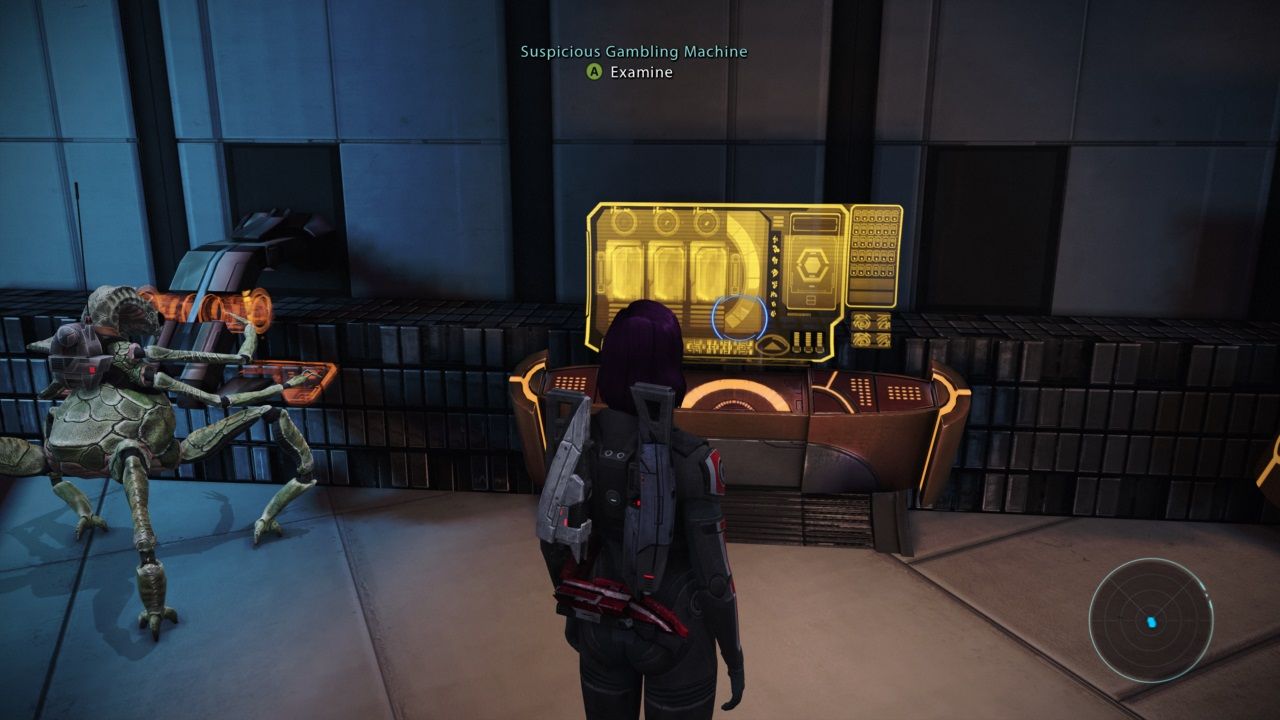
Head into Flux (upstairs from the Upper Markets) and go onto the upper level where the Quasar gambling machines are. At the very back, you can find a Suspicious Gambling Machine to the right of a Keeper.
Examine the machine to prompt one of your squadmates to tell you that the machine has been rigged to funnel credits. The same squadmate will also offer to track the signal for you so that you can find the culprit.
Tracking the Signal
Your Journal will tell you where to track the signal next and each location will be marked on your map. We’ve got each one listed right here for easy viewing.
Wards Access Corridor
Fast travel to the Presidium: Wards Access and then take the northern elevator (behind you) down to the next level. In the next area, continue forward, then take a left, and you’ll find the Signal Source on a screen at the back of this seating area.
Financial District
Fast travel to the Presidium: Financial District. Go into the Bank just behind the Rapid-Transit terminal and you’ll find the next Signal Source just behind Barla Von.
Emporium
Leave the Bank and take a right into the Emporium. You want to travel to the back of this area and take a right, where you will find your final Signal Source and the culprit behind the credit funneling.
Confronting the Culprit
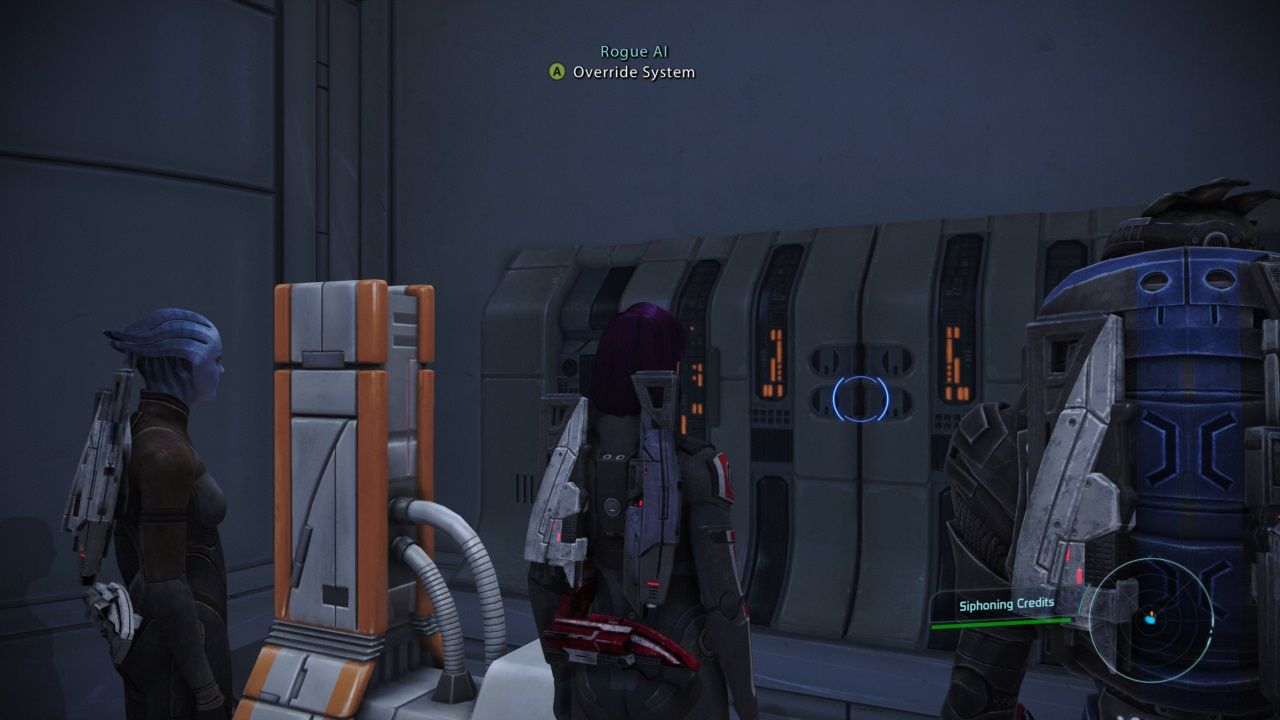
Interacting with the final Signal Source will reveal that the person funneling the credits is not a persona at all, but an AI. As the AI begins to initialize its self-destruct sequence, you get a chance to find out a little more about it.
You can discover the reason for the credit-funneling and how the AI came to be, but ultimately, you can’t reason with it. It will begin warming up to self-destruct and as it does so, it will begin to delete all credits it has accumulated.
If you attempt to walk away, it will kill you, so this leaves you with the following options:
- Shoot out the Power Junction on your left to destroy the AI before it can self-destruct. — No reward and you may cause damage to yourself/your squad.
- Disarm the AI’s self-destruct sequence by choosing the “Override System” option. — You will be rewarded with whatever credits remain, so the quicker you solve the puzzle, the more credits you receive.
Puzzle Solutions Legendary Edition:
- Xbox: Y, X, Y, A, and X.
- PS4: Triangle, square, triangle, cross, and square.
- PC: Up, Left, Up, Down, and Left.
Puzzle Solutions Legendary Formats:
- Xbox 360: Y, X, Y, A, X, A, and A.
- PS3: Triangle, square, triangle, cross, square, cross, and cross.
- PC: Randomly generated.
Source: Read Full Article

