Quick Links
- Shadow Madarame's First Form
- Shadow Madarame's Second Form
Welcome to your second boss battle for Persona 5 Royal. This time you're against Ichiryusai Madarame, the artist you’ve seen is taking advantage of the students he teaches and has built a career shamelessly passing their work off as his own. You’ve got one of his students with you now, Yusuke Kitagawa, who can no longer look away from who his sensei really is.
But to change Madarame’s heart and make him admit to his life of falsehoods and forgeries, you’ve first got to fight him in a somewhat peculiar, creatively artistic boss battle. If you’re looking for an assist on how to take him down, you’ve come to the right place.
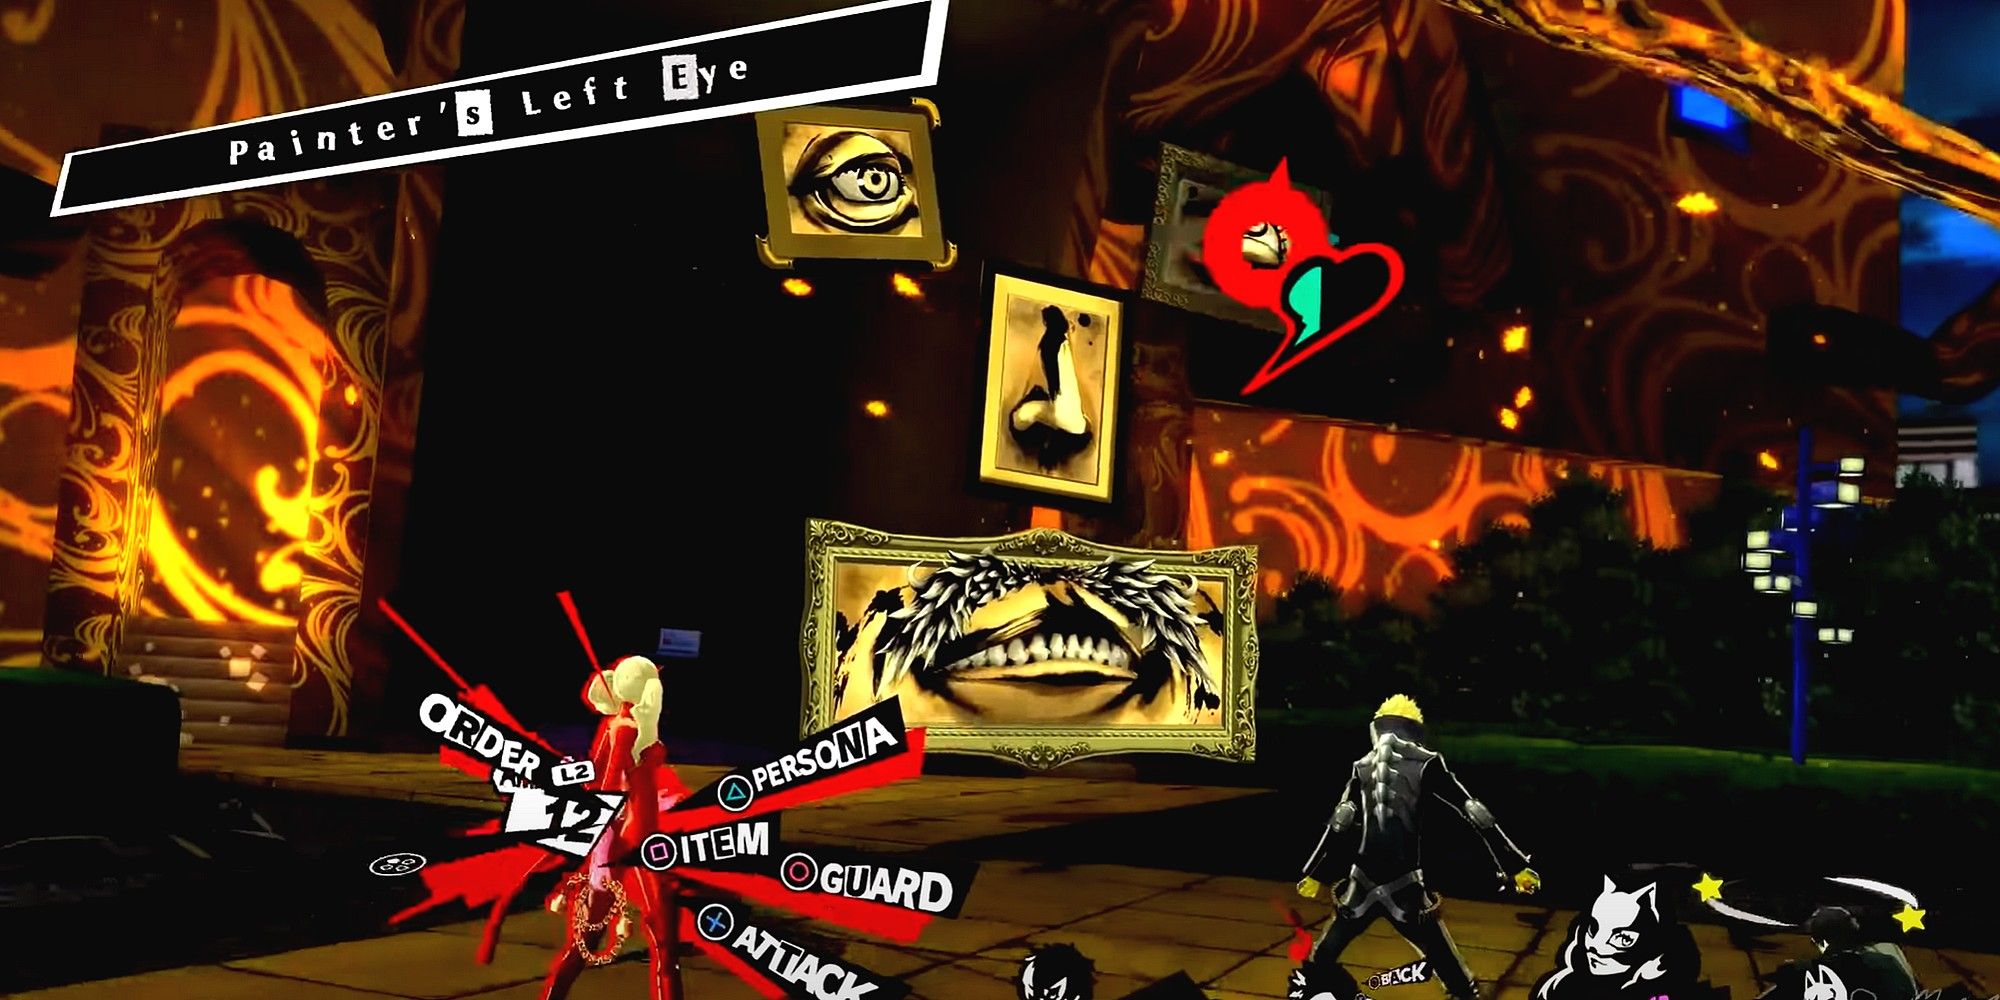
Shadow Madarame's First Form
![]()
You’ll learn very quickly that Shadow Madarame is not one individual shadow like Kamoshida was, but rather several individual paintings making up a face. The bad news here is that attacks that hit all enemies at once will probably be a detriment since his two eyes, nose, and mouth all have different affinities and weaknesses. The good news is that you can let each Thief focus on a separate piece for a relatively even distribution of force.
The eyes each have the same stats, but you'll need to attack them separately since each eye functions as its own shadow.
We've got a stat breakdown on each piece's affinities chart below.
Table Key
- St: this shadow is strong against this element, and the attacks deal less damage
- Wk: this shadow is weak to this element, and the attacks deal more damage
- Rp: this shadow will repel attacks of this type, reversing the damage onto you
- Nu: this shadow nullifies attacks of this type, and they do no damage to the shadow
- Dr: this shadow gains health from attacks of this type, and they heal the shadow
- A dash denotes the attack will deal normal damage to the shadow
Shadows' Affinities
| Shadow | Affinities And Weaknesses | |||||||||
|---|---|---|---|---|---|---|---|---|---|---|
| Phys | Gun | Fire | Ice | Elec | Wind | Psio | Nuke | Bless | Curse | |
| Painter's Eyes | – | – | Dr | Dr | Dr | Dr | – | – | – | – |
| Painter's Nose | – | – | – | – | – | – | Dr | Dr | Dr | Dr |
| Painter's Mouth | Dr | Dr | – | – | – | – | – | – | – | – |
As well as having individual affinities, each piece will have its own set of attacks, which we've listed below so that you can try to plan accordingly.
Shadows' Attacks
| Shadow | Attacks | Effect |
|---|---|---|
| Painter's Eyes | Tarukaja | Buff attack of one ally for three turns |
| Rakunda | Debuff defense of one foe for three turns | |
| The Artist's Grace | Makes one foe weak to all affinities for one turn | |
| Restore | Revive one piece of the painting with 25 percent HP | |
| Painter's Nose | Flame Dance | Medium fire damage to one foe |
| Silent Snowscape | Medium ice damage to one foe | |
| Thunderclap | Medium electric damage to one foe | |
| Maelstrom | Medium wind damage to one foe | |
| The Artist's Grace | Makes one foe weak to all affinities for one turn | |
| Restore | Revive one piece of the painting with 25 percent HP | |
| Painter's Mouth | Bite | Medium physical damage to one foe |
| The Artist's Grace | Makes one foe weak to all affinities for one turn | |
| Restore | Revive one piece of the painting with 25 percent HP |
Each piece can use two of the same attacks: The Artist's Grace and Restore. The first will be easy enough to overcome with planning and buffs to your team, but the ability to revive itself makes this thing an absolute pest.
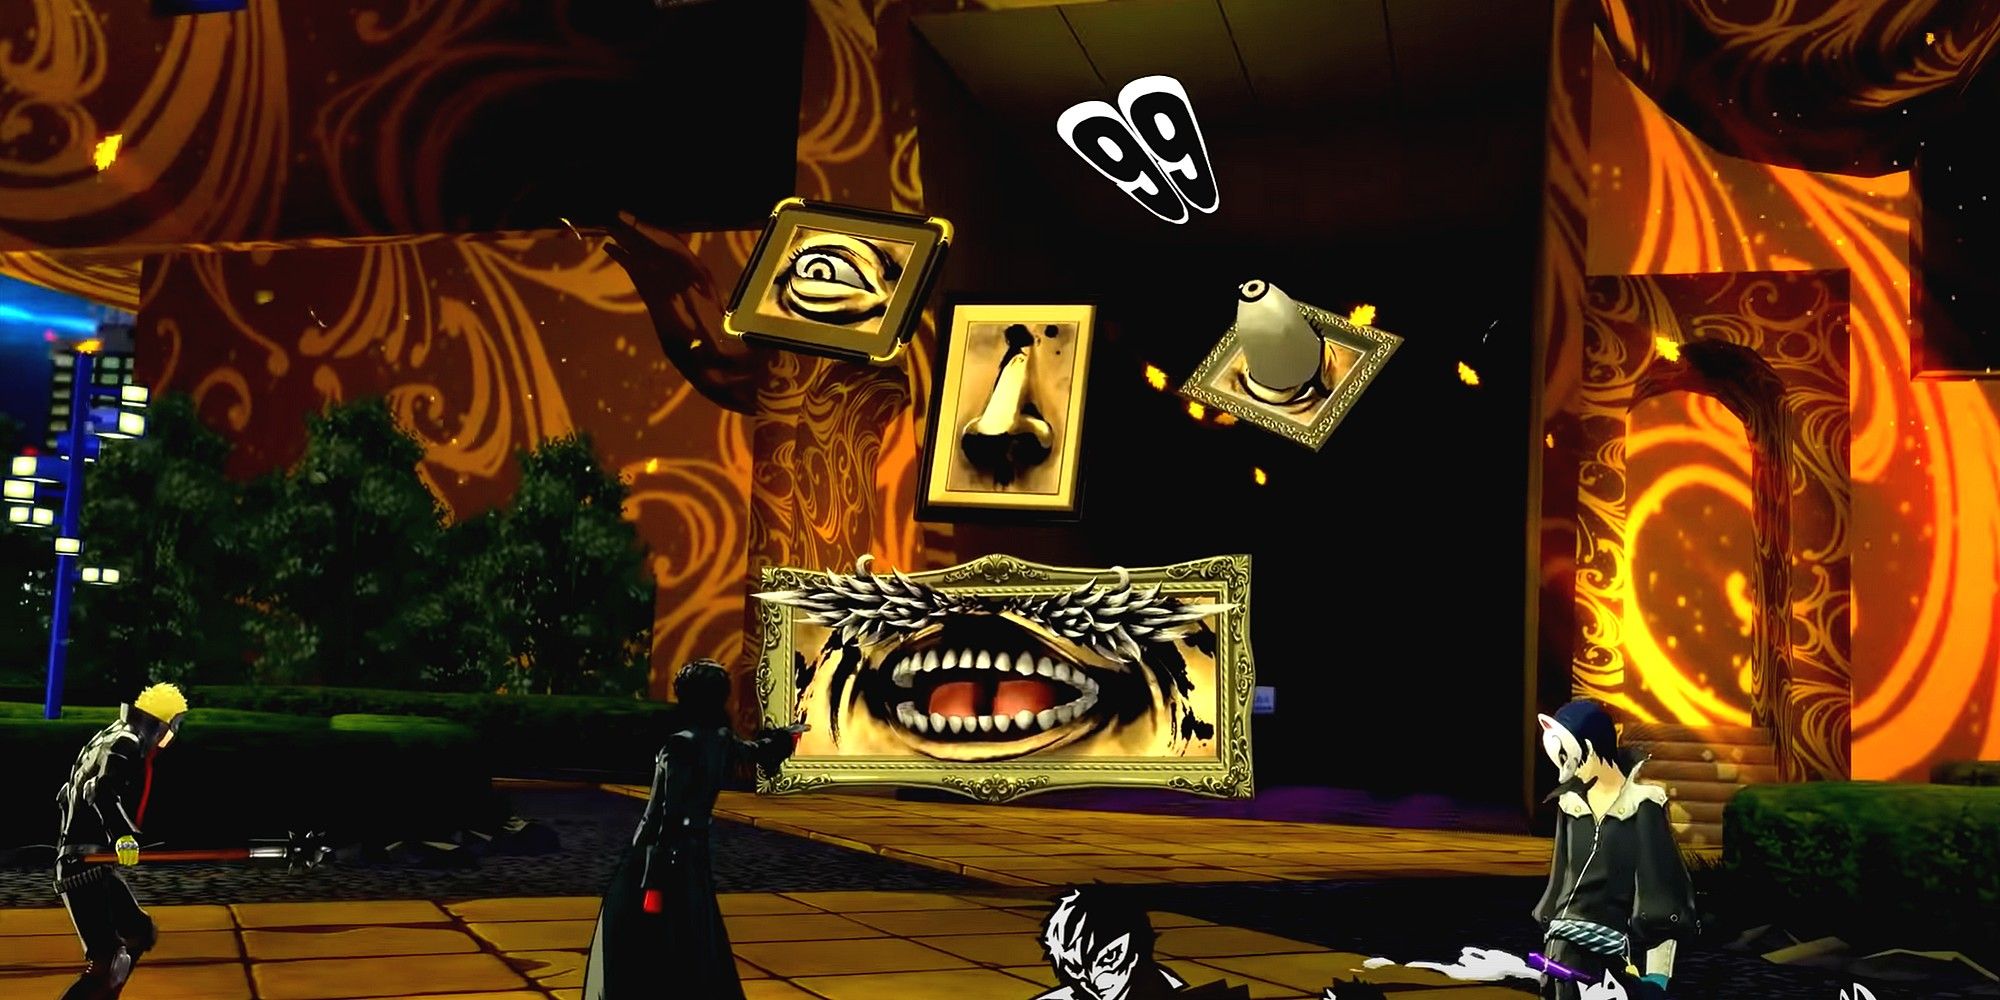
The pieces will continue to revive one another until all four are defeated. There's a good strategy for dealing with this irritation: when a piece is initially revived and is at a fraction of its HP, make it a priority to take that piece out again. The other frames will prioritize bringing the pieces of themselves back to life, so make it waste a turn to revive the piece, just to kill it again.
No matter who you've brought into the palace with you, their attacks will be able to hit the nose, while it's best to equip Joker with Personas that know the affinities you've not met friends for yet: psio, nuke, bless, and curse. Pay particular attention to Personas with nuke attacks, as Madarame's painting seems to take those especially hard.
The most effective way we've found to handle this boss is to dispatch the eyes and nose first with carefully-planned magic attacks, then wail on the mouth with any magic attacks. Getting the painting down to one piece means that the remaining segment will only almost always try to restore the others, which you can take out again quickly enough.
Continue like this, healing your team and hitting your enemies until, at long last, the pieces have all been defeated. But you didn't think this was over, did you?
Shadow Madarame's Second Form

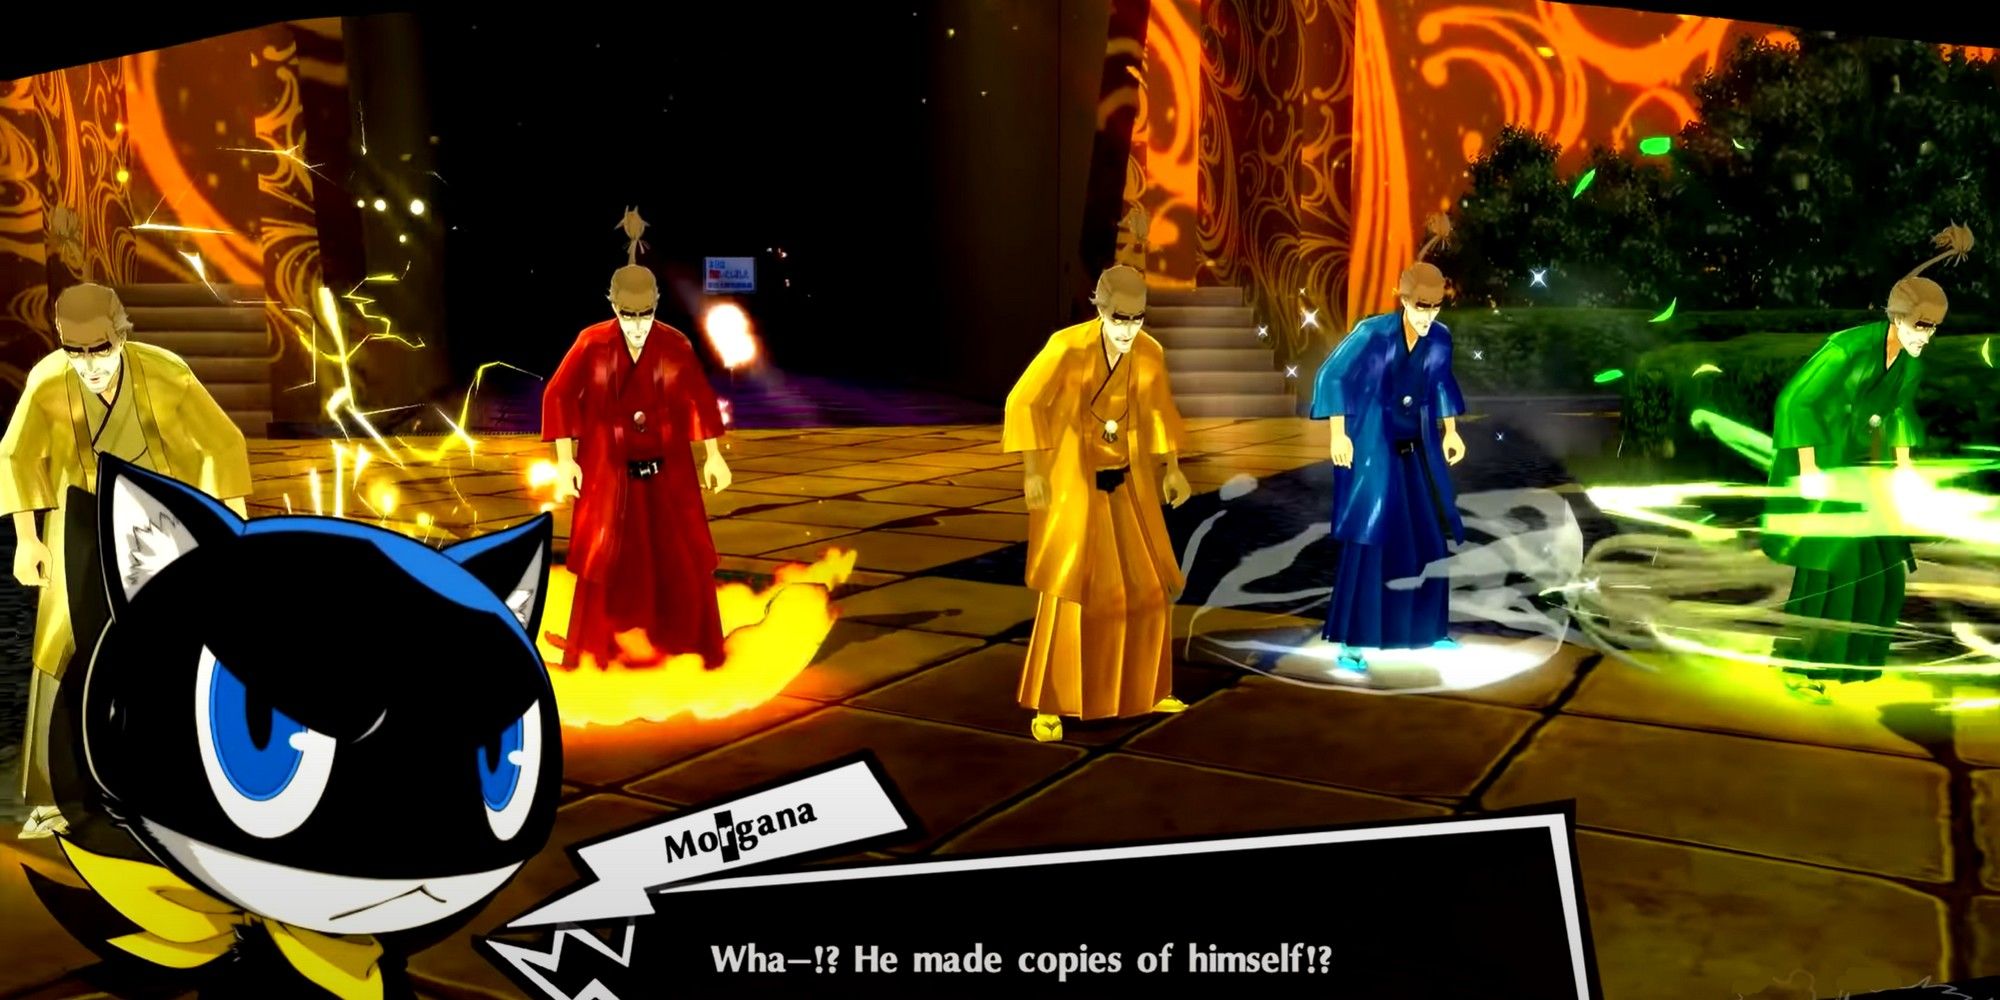
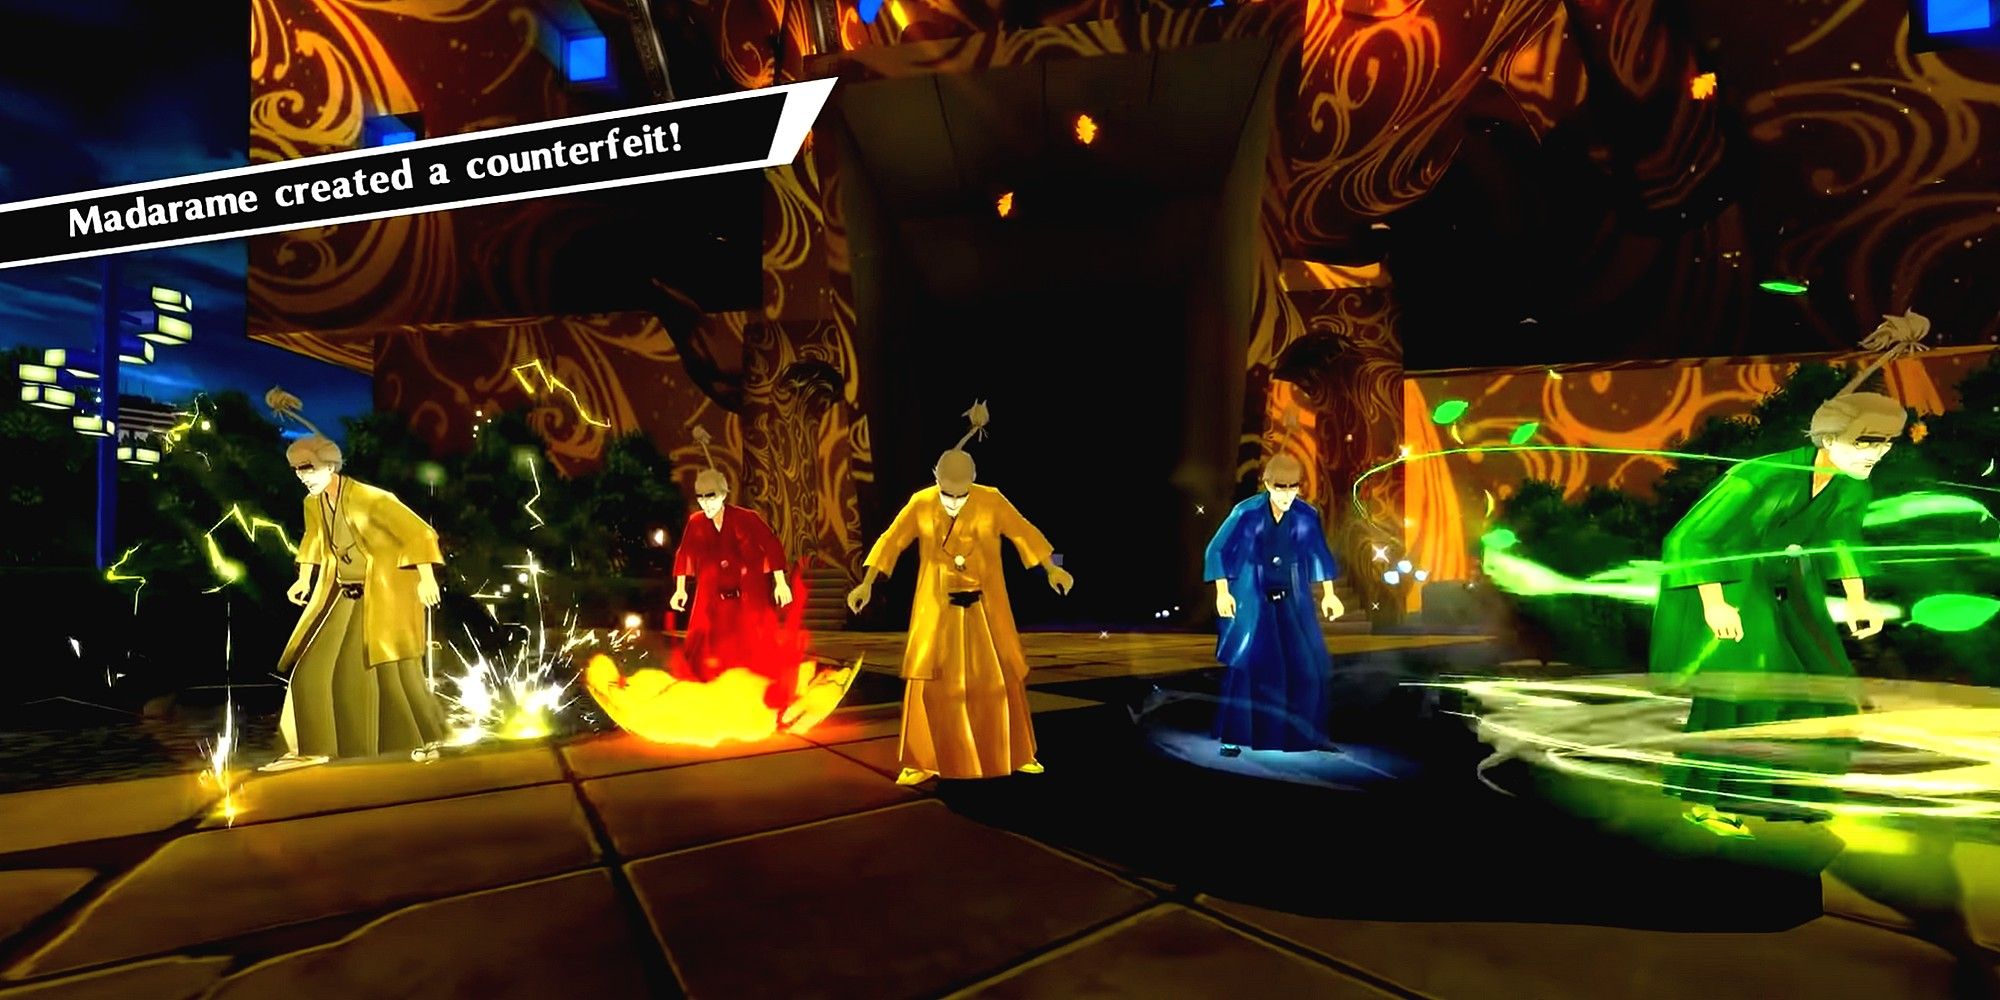
When all four of the painting segments are defeated, Shadow Madarame will appear humanoid again. The assault continues because he's not done fighting just yet.
You've dealt with the paintings, sure, but Madarame isn't done with being a multi-target shadow. His next form involves him creating four Ersatz clones of himself, each represented by different colors, emotions, and affinities.
Shadows' Affinities
| Shadow | Affinities And Weaknesses | |||||||||
|---|---|---|---|---|---|---|---|---|---|---|
| Phys | Gun | Fire | Ice | Elec | Wind | Psio | Nuke | Bless | Curse | |
| Shadow Madarame | – | – | – | – | – | – | – | – | – | – |
| Ersatz Fury (Red) | St | – | Rp | Wk | Rp | – | – | – | – | – |
| Ersatz Joy (Yellow) | St | – | Rp | – | Rp | Wk | – | – | – | – |
| Ersatz Sorrow (Blue) | St | – | Wk | Rp | – | Rp | – | – | – | – |
| Ersatz Mirth (Green) | St | – | – | Rp | Wk | Rp | – | – | – | – |
Meanwhile, the five will be attacking you with the following offensive moves.
Shadows' Attacks
| Shadow | Attack | Effect |
|---|---|---|
| Shadow Madarame | True Fake | Summons more Ersatz Madarames to fill the party, up to four at once |
| True Artist's Grace | Makes all foes weak to all affinities for one turn | |
| Ersatz Fury (Red) | Flame Dance | Medium fire damage to one foe |
| Tarukaja | Buff the attack of one ally for three turns | |
| Ersatz Joy (Yellow) | Thunderclap | Medium electric damage to one foe |
| Tarukaja | Buff the attack of one ally for three turns | |
| Ersatz Sorrow (Blue) | Silent Snowscape | Medium ice damage to one foe |
| Tarukaja | Buff the attack of one ally for three turns | |
| Ersatz Mirth (Green) | Maelstrom | Medium wind damage to one foe |
| Tarukaja | Buff the attack of one ally for three turns |
With each of the Ersatz clones having a clear specialization (which they were even kind enough to color-code for you), your best bet for dealing with them is to exploit their weaknesses and make great use of Baton Pass within your team when one of them is getting weak.
Shadow Madarame will continue to summon Ersatz clones until he is defeated. The only good news here is that, as the fight ticks on, the Ersatz clones will get progressively weaker as they spawn and may even enter the battle afflicted with sleep. If the fight goes on long enough before you defeat Shadow Madarame, it may get to a point where all he can summon are sleeping Ersatz clones.
Though you'll start with one of each Ersatz clone, the one he summons to replace the one that died can be any of the four Ersatz clones, not necessarily the one of the same affinity.
Thankfully, Shadow Madarame doesn't repel or drain anything you're going to throw at him, so anything will hit as long as he doesn't dodge it. Since he's focused on keeping a full party, force him to spam True Artist's Grace and designate party members to take on each one. You can use multi-target attacks if there are more than one Ersatz clone with the same affinity, but keep the other ones in mind, as they may repel the attack or drain it.
Once Shadow Madarame's health has been depleted, his treasure will be stolen, and you'll watch him confess to having been a sham before you're onto the next dungeon.
Source: Read Full Article