Quick Links
- Quell Hende's Remnants
- A Merchant's Request
- I Have To Help Them
- The Ultimate Ingredients
- End The Riots
- Fawnbrea Region II
- Rivengale Docktown
Did anyone say boss rush? Yes, in fact, that is exactly what The DioField Chronicle's chapter 5 side missions are saying. While it has not been uncommon for the Side Missions in The DioField Chronicle to feature past bosses, there are two Side Missions featured here that are nearly exclusively composed of these former bosses.
The Ultimate Ingredients
| Recommended Level | 30 | |
|---|---|---|
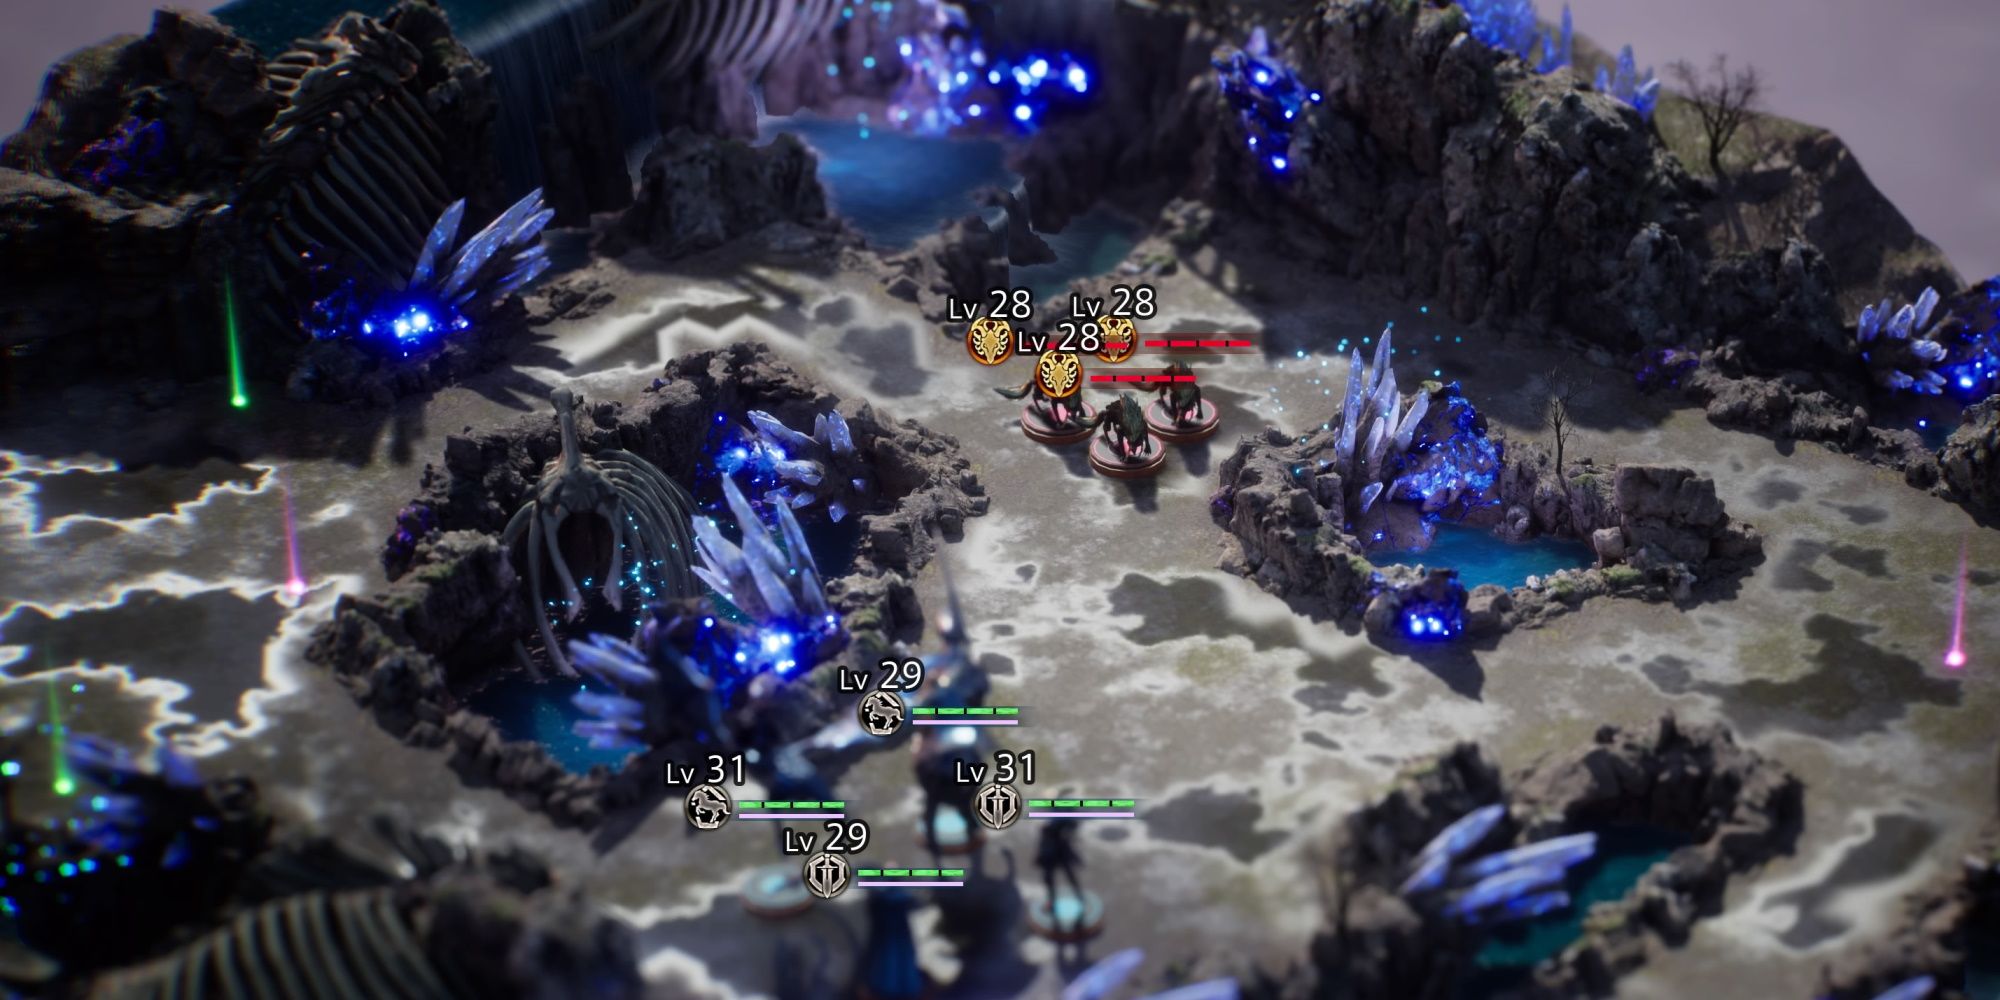
| Enemies | Phase 1 | 3x Lv 28 Wolves, |
| Phase 2 | 3x Lv 28 Wolves, 1x Lv 30 Ogre | |
| Phase 3 | 3x Lv 28 Wolves, 1x Lv 32 Fenrir | |
| Objective | Defeat all enemies | |
| Defeat | All allies defeated | |
| Rewards | Complete the mission | 16800 Gold |
| Allow no allies to fall in battle | 2 SP | |
| Complete mission in 6 min | Platinum bar | |
| Difficulty | ★☆☆☆☆☆☆☆☆☆ (1/10) |
This mission is a total softball. The majority of the enemies you will face are weak, they rush to your position, so you don't have to worry about how you are going to approach them, and they don't even come in large numbers.
Your approach here is going to be simple: let the Wolves come to you, then blast them with spells. In the second phase go straight for the Ogre (who only has one health bar). The wolves will cluster around you, so take them out with AOE spells. Once they are finished with the Wovles, polish off the Ogre with Andrias. Handle the third phase the exact same way.
Once you have returned to the base, go talk to Izelair and you will max out your kitchen facilities' level.
End The Riots
| Recommended Level | 31 | |
|---|---|---|
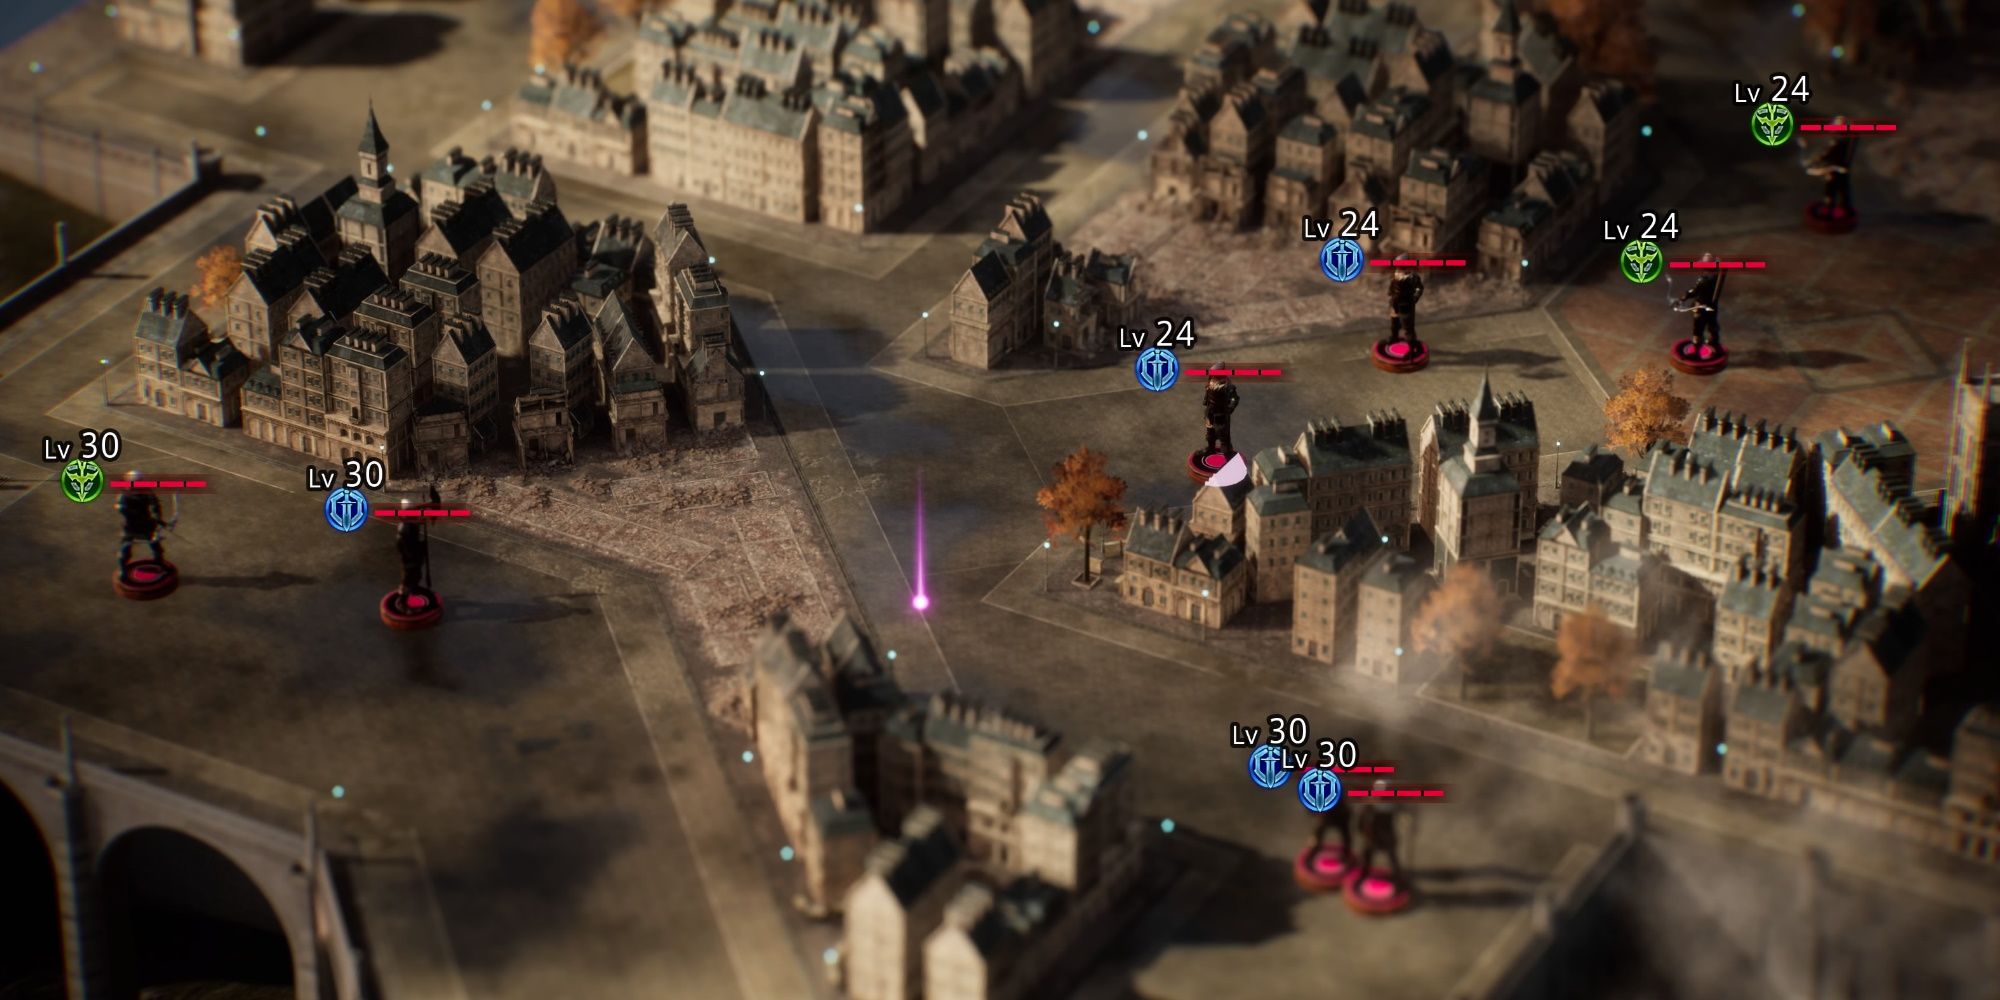
| Enemies | Phase 1 | 2x Lv 24 Archers, 2x Lv 24 Soldiers, 4x Lv 30 Soldiers, 2x Lv 30 Archer, |
| Phase 2 | 3x Lv 20 Archers, 4x Lv 23 Soldiers, 1x 20 Cavalier, 1x Lv 25 Cavalier, 1x 29 Soldier | |
| Objective | Defeat all enemies | |
| Defeat | All allies defeated | |
| Rewards | Complete the mission | 17400 Gold |
| Allow no allies to fall in battle | 2 SP | |
| Complete mission in 6 min | Platinum bar | |
| Difficulty | ★★★☆☆☆☆☆☆☆ (3/10) |
While there aren't many troops here, they are all relatively beefy. They are also pretty spread out, which can undermine your endlessly helpful AOE attacks. Thankfully, we have a pretty useful way to get around that: mounted units. So, you are going to want to enter into this mission with two mounted units. This isn't mandatory, but it will absolutely make your life easier and help you finish the stage fast.
During the first phase, always send your troops towards the archers. All but one, that is. The straggler will be one of your mounted units. They are going to run around, get the attention of melee units, and kite them back to your main force. Then as a united group, you will clear all these enemies out using you AOE attacks. Once you are close to finishing off the first phase, you should be around the center of the stage, fighting a Soldier and an Archer. At this point, peele off both mounted units and send them north to deal with the Cannon Tower.
Once the first wave of enemies is cleared out, a large group of enemies will appear right around where that Cannon Tower was previously. Which means that you should have two troops here to start fighting them immediately. Meanwhile, you are going to send your other two party members south to clear out the two Soldiers at the bottom of the map. Once they are finished, have them meet the mounted units back up in the northern corner. They will probably be down to the final soldier. With all four troops, he will fall pretty quickly. Talk to Iscarion afterward and you will conclude his quest.
Fawnbrea Region II
| Recommended Level | 35 | |
|---|---|---|
| Enemies | Phase 1 | 2x Lv 31 Fenrirs |
| Phase 2 | 2x Lv 33 Salamanders | |
| Phase 3 | 1x Lv 40 Ouroboros | |
| Objective | Defeat all enemies | |
| Defeat | All allies defeated | |
| Rewards | Complete the mission | 19200 Gold |
| Allow no allies to fall in battle | Platinum bar | |
| Complete mission in 6 min | Platinum bar | |
| Difficulty | ★★★☆☆☆☆☆☆☆ (3/10) |
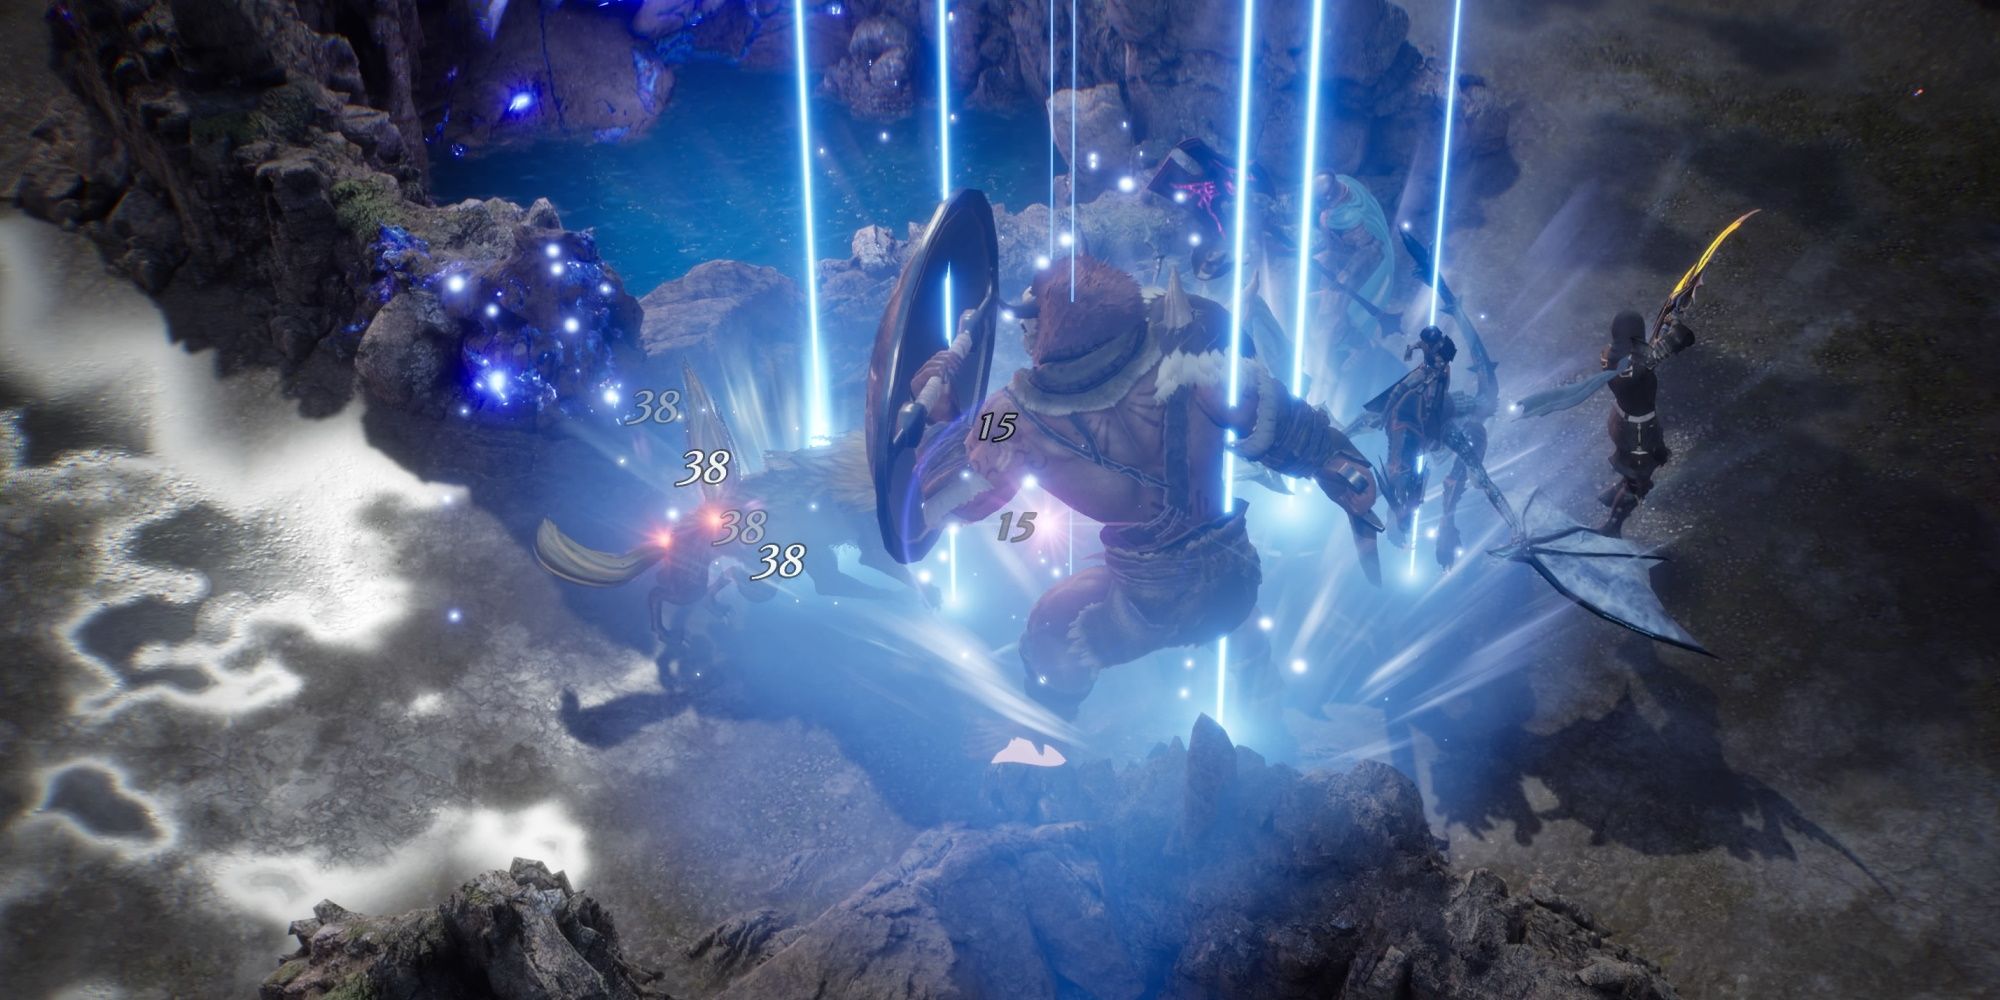
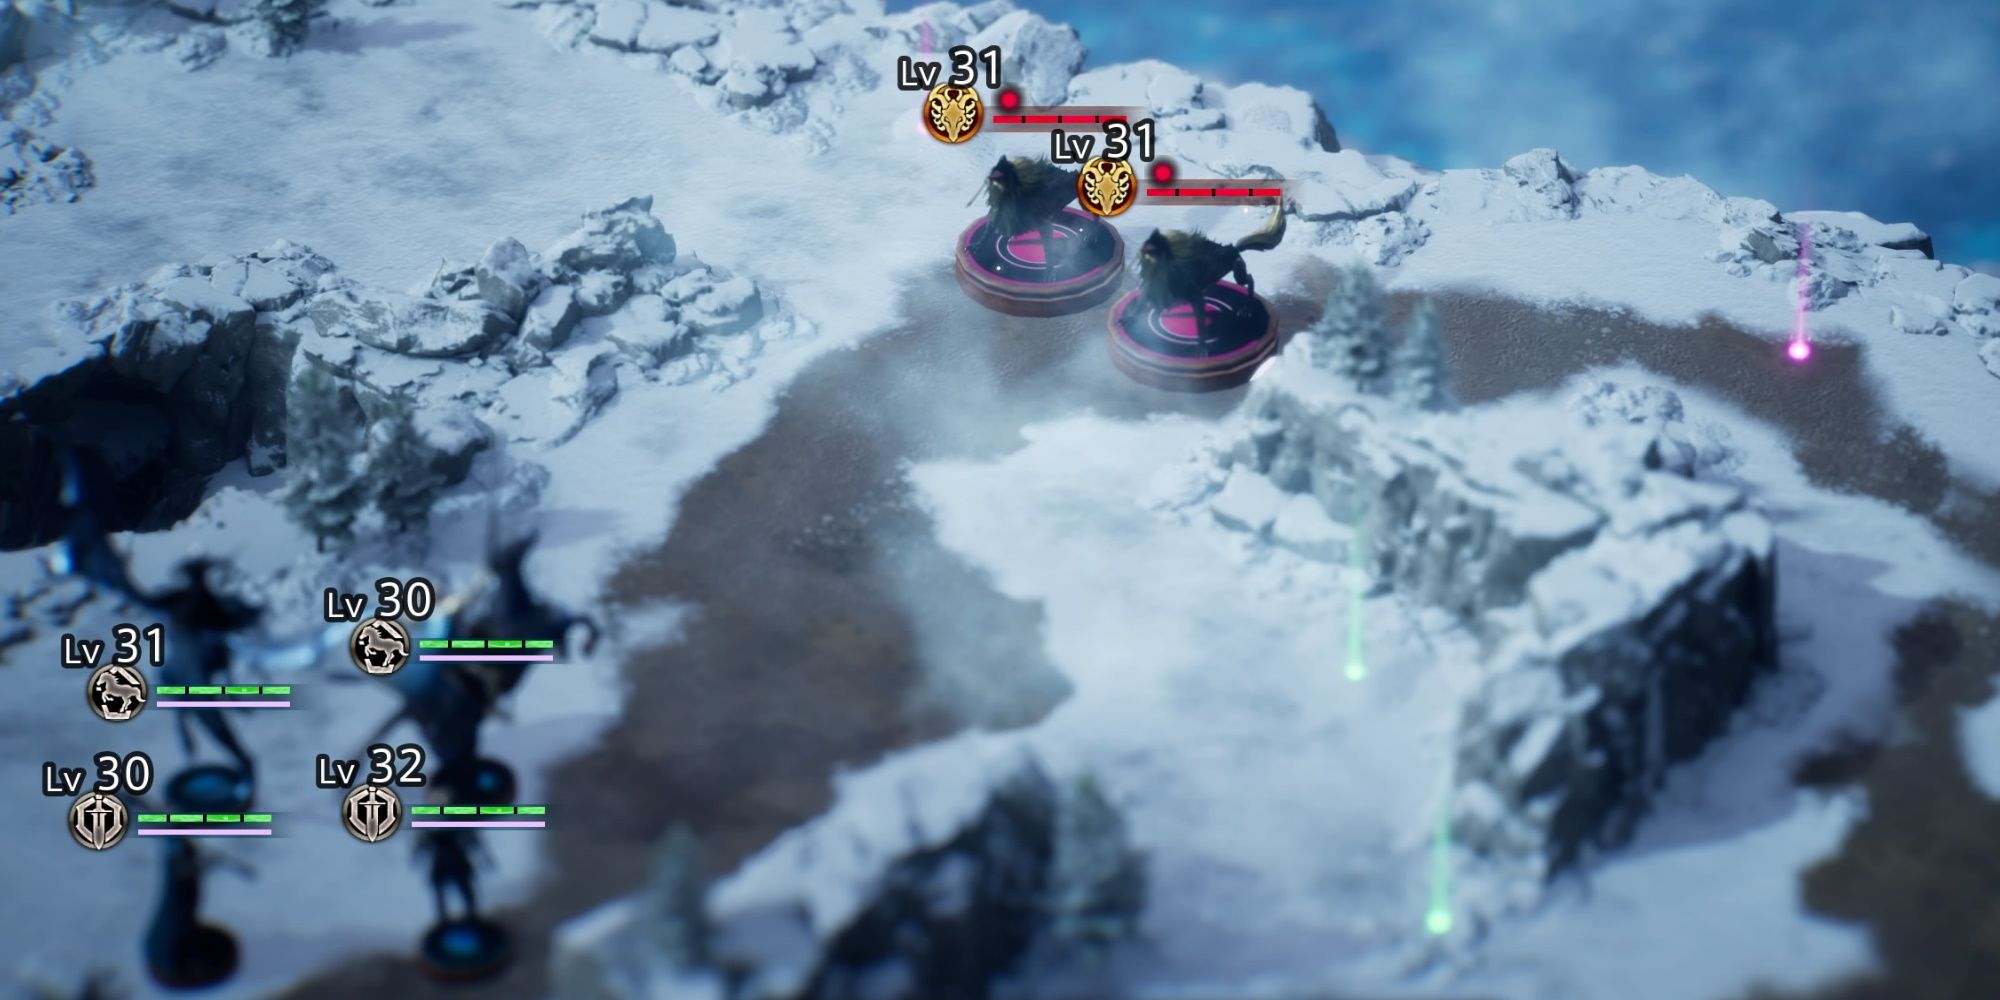
With the "We Have To Help Them" mission, we mentioned that it felt like a bit of a boss rush. But that is exactly what the "Fawnbrea Region II" mission is: Doubled! You will fight two Fenrirs, then two Salamanders, and finally you will face off against the giant Ouroboros. This mission is all about team composition. You will want all your heaviest hitters here.

AOE attacks just don't matter here, as there are never going to be more than two enemies on the screen. The only reason to use AOE attacks are for the status effects they can apply. Make sure to have at least one mounted unit on hand. When you are running low on EP, you can have them run around and scoop up shards; they are scattered all over the place.
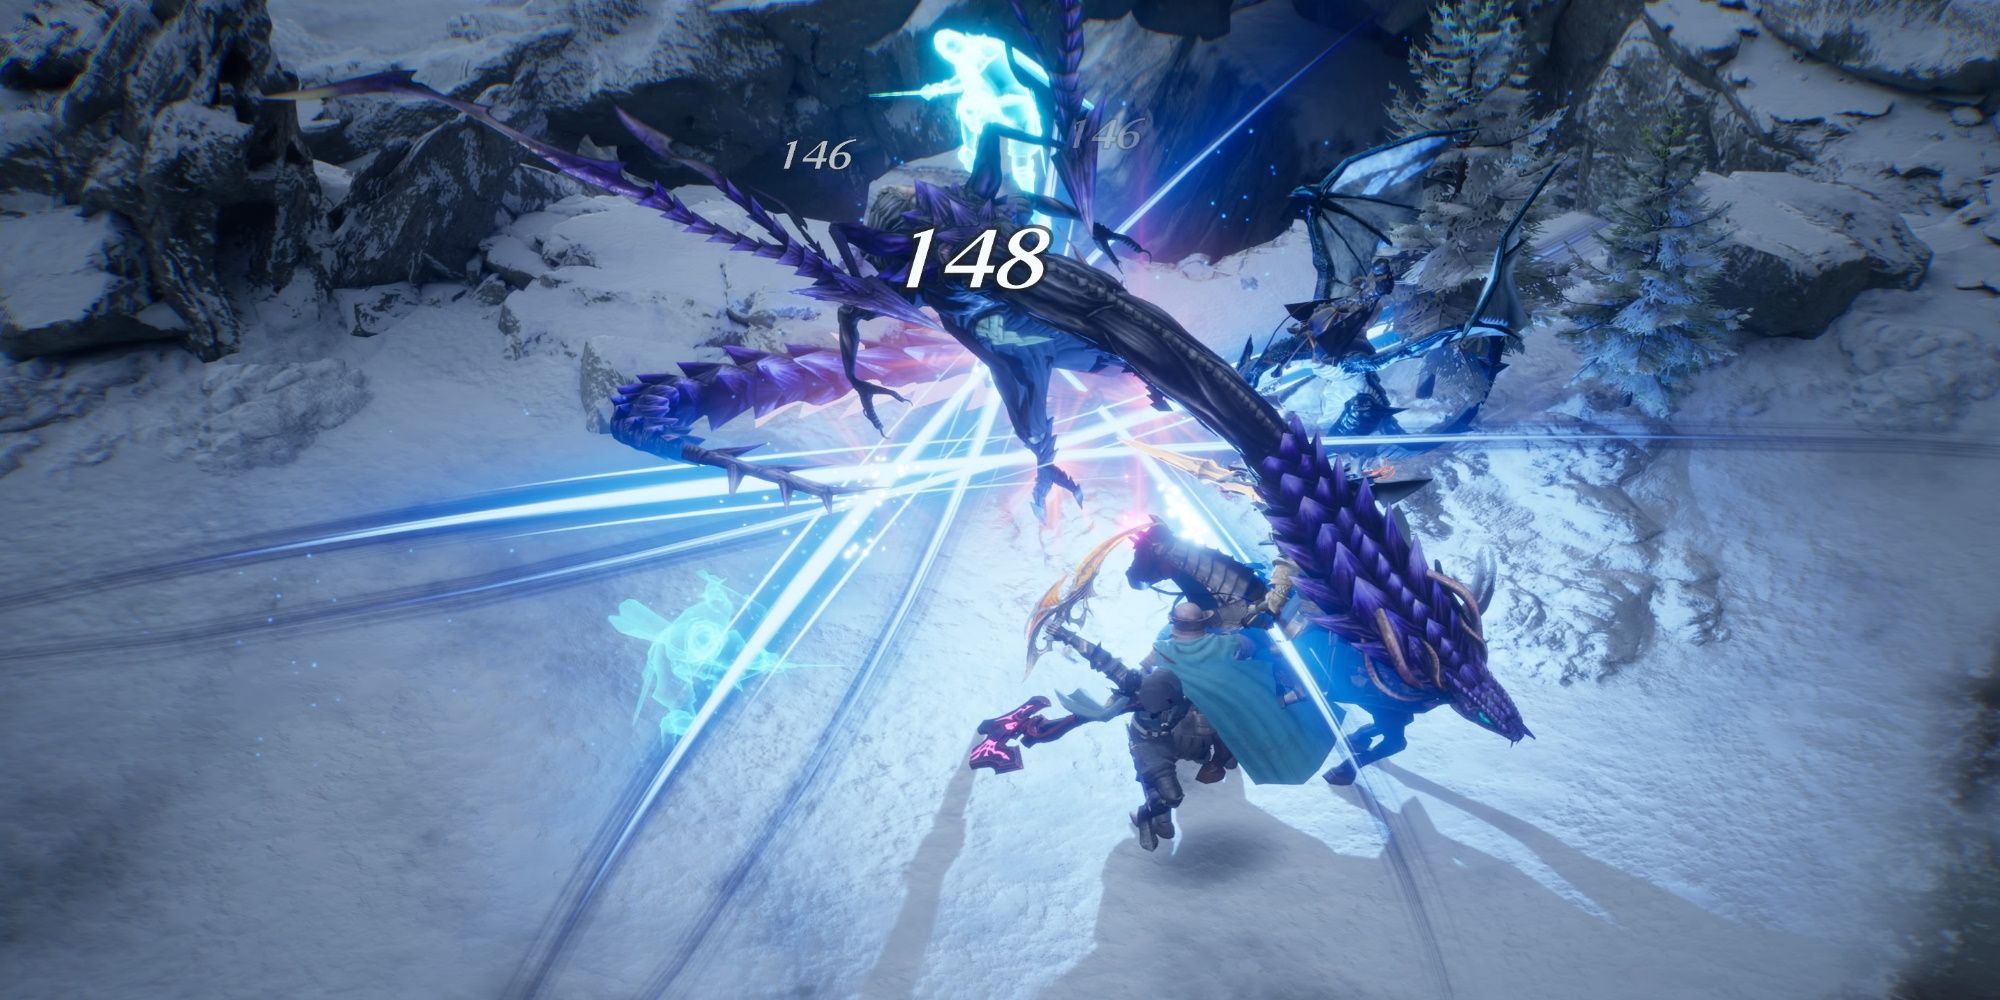
While this is not a particularly difficult battle, don't get caught slipping. If you fail to dodge any of the big attacks, they can deal pretty staggering damage. We had our Andrias go from full health to death's door due to this type of carelessness. However, as long as you are playing actively, and dodging all the attacks thoughtfully, you should be able to clear this mission without too many issues.
Rivengale Docktown
| Recommended Level | 35 | |
|---|---|---|
| Enemies | Phase 1 | 3x Lv 27 Soldiers, 2x Lv 27 Gunmen |
| Phase 2 | 7x Lv 28 Soldiers, 5x Lv 28 Gunmen | |
| Phase 3 | 4x Lv 30 Soldiers, 2x Lv 30 Gunmen | |
| Phase 4 | 1x Lv 34 Wyvern Rider, 1x Lv 34 Shield Gigas, 1x Lv 34 Crossbow Gigas | |
| Objective | Defeat all enemies | |
| Defeat | All allies defeated | |
| Rewards | Complete the mission | 19200 Gold |
| Allow no allies to fall in battle | Jade Crystal | |
| Complete mission in 6 min | Jade Crystal | |
| Difficulty | ★★★★☆☆☆☆☆☆ (4/10) |
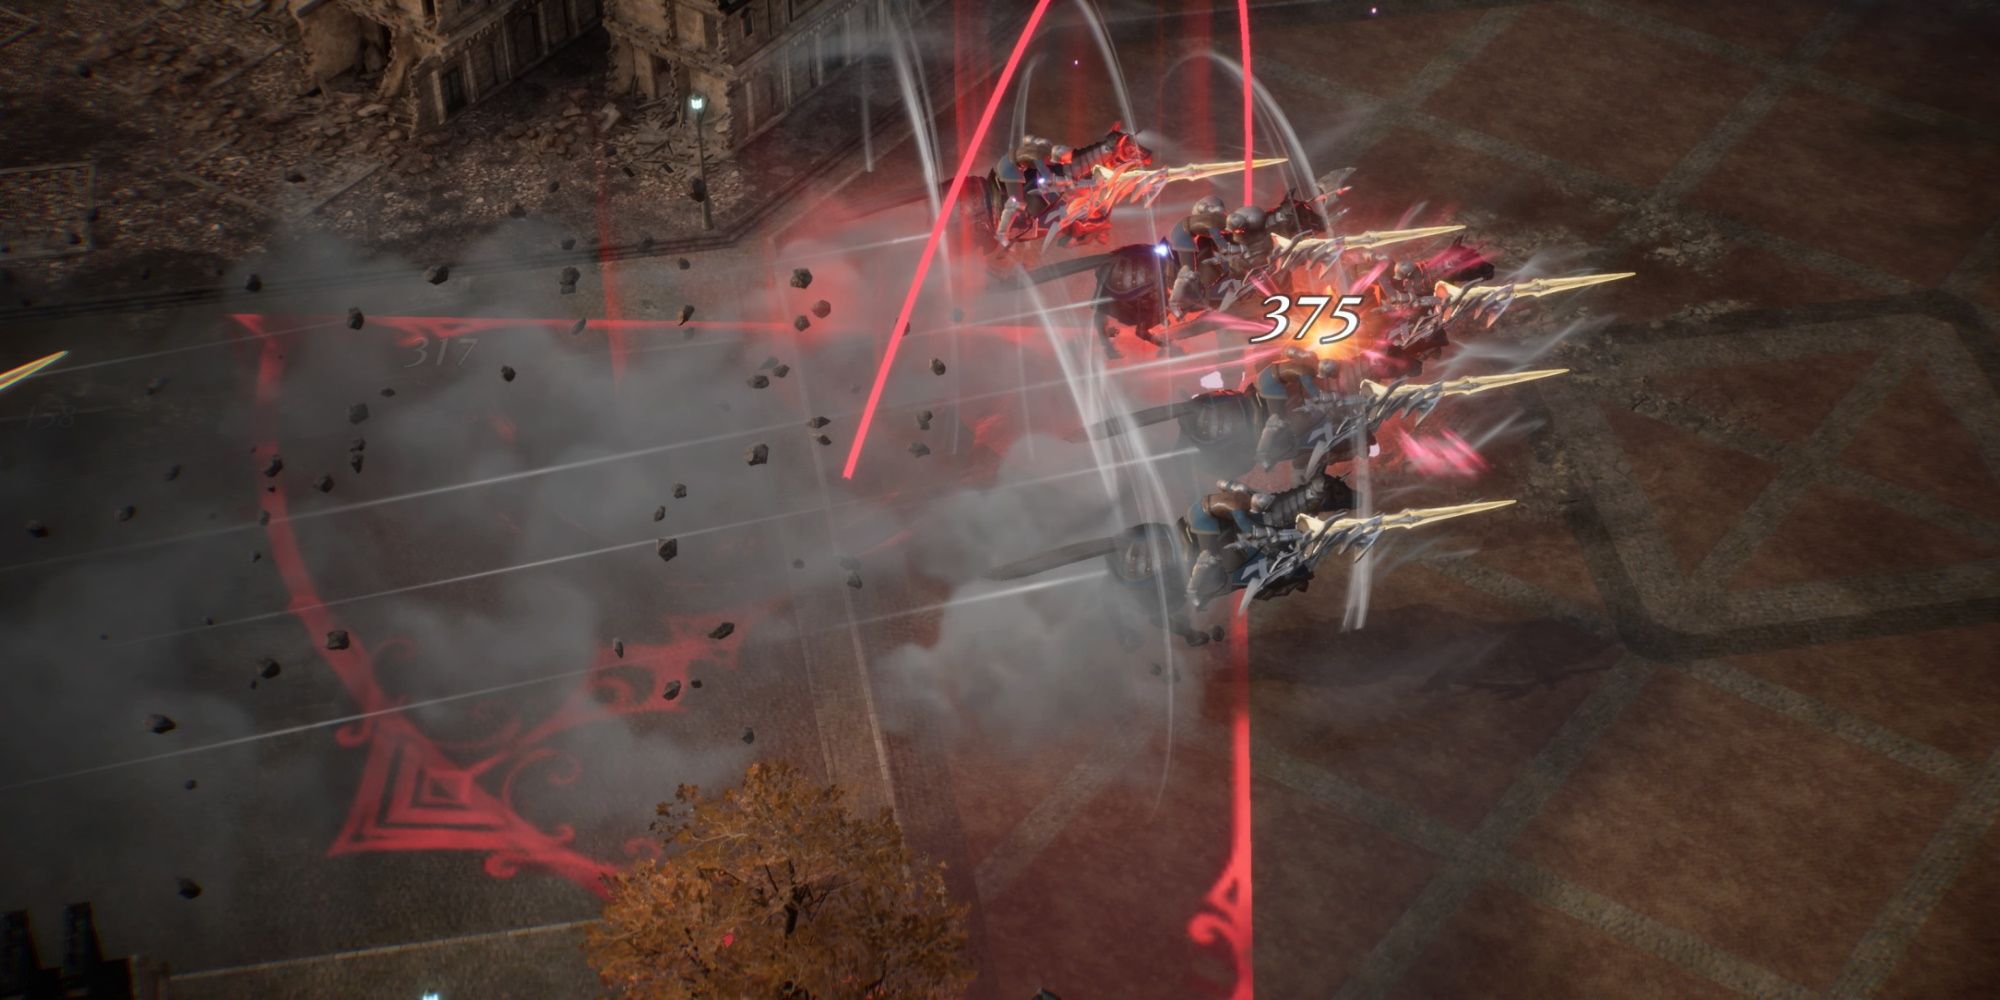
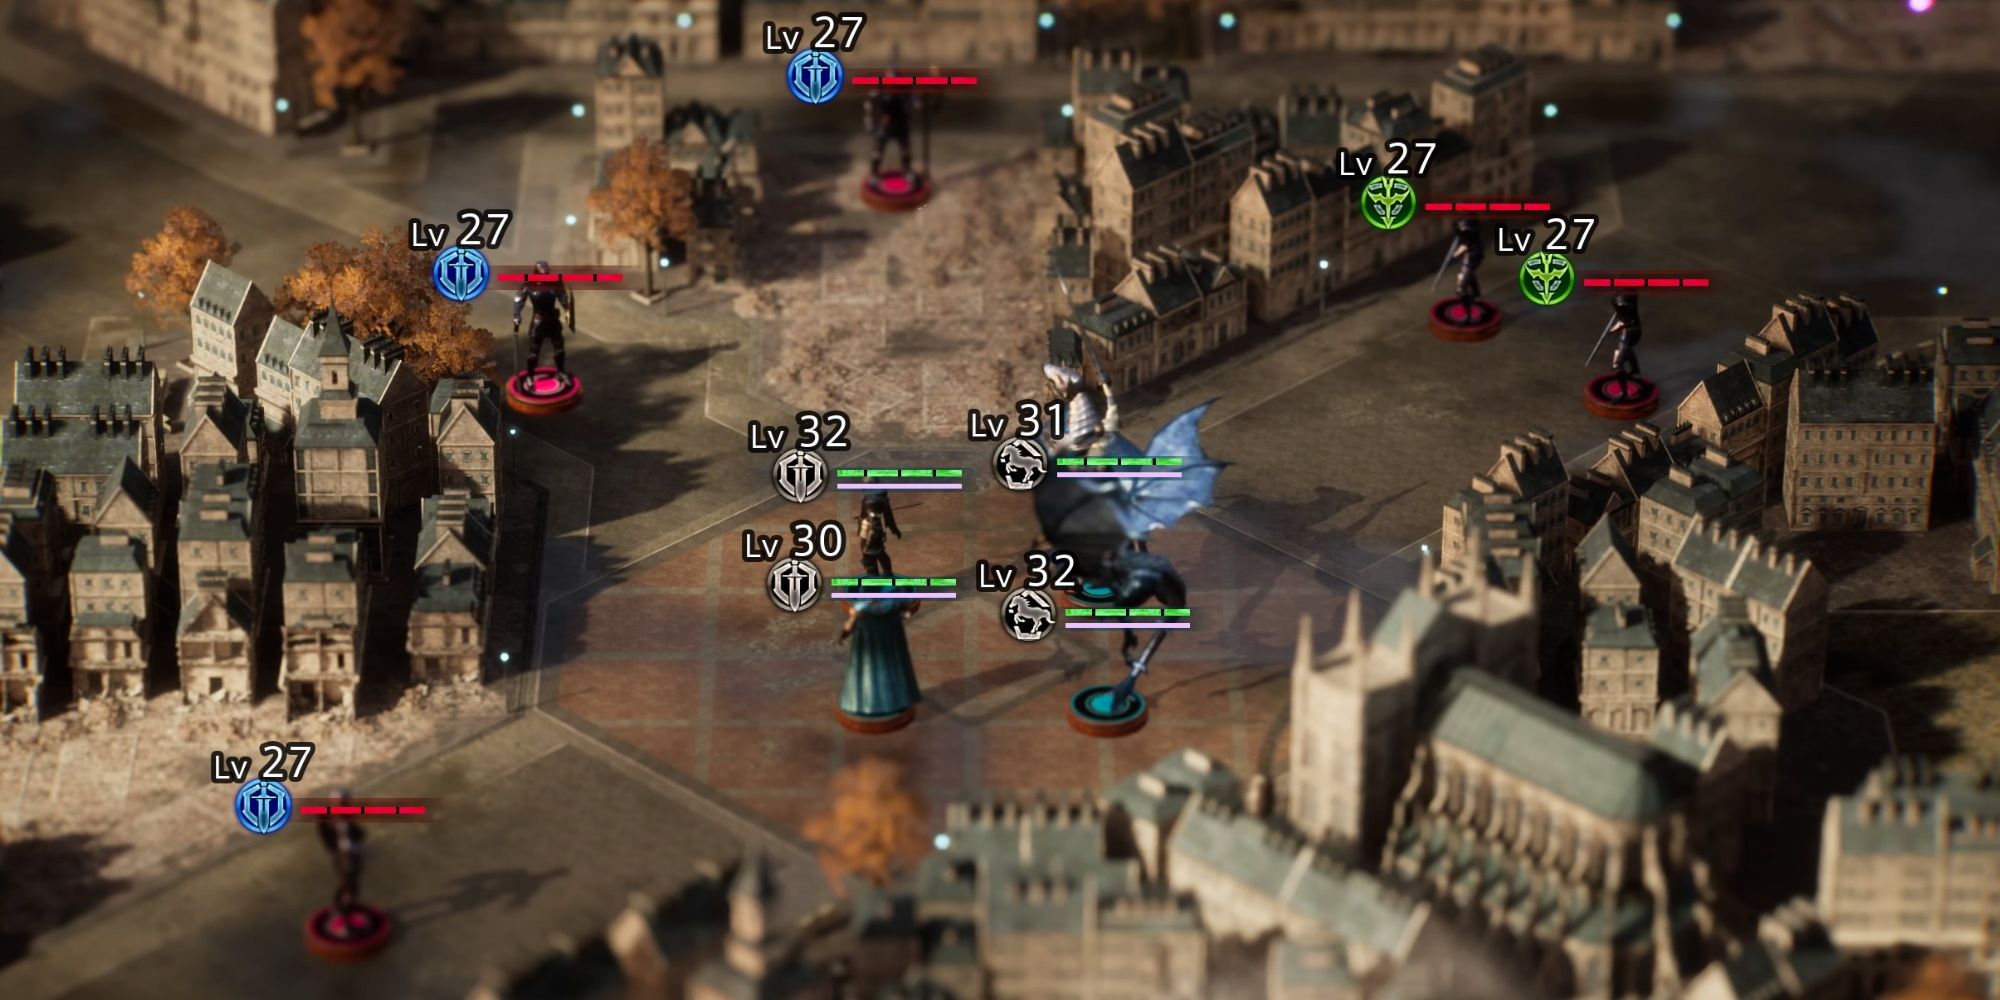
This is one of those delightful fights where all the enemies run directly at you. Which means, you are going to be able to group all your opponents together quite easily. And what happens to large groups of enemies? You murder them with a relentless barrage of AOE attacks. So, you want to come into this fight with your most potent AOE attacks at the ready. That is going to be your focus for the majority of this battle. Additionally, having a Cavalier on hand is useful, as they can further cluster enemies together.
For the first three phases, your approach is going to be the same every time. Let them come to you, once your enemies are getting close, charge the ranged units. As you are fighting them, the soldier will group up around you. As soon as that happens, blast them with AOE attacks. If after the first two waves of enemies you are low on EP, send your Cavalier to go grab some pink shards. They are all over this stage.
Now, the fourth phase is a little different. Now you are going to be facing two Gigases and a Wyvern Rider. Since you have been letting the enemies come to you (more or less), you should be closest to the Wyvern Rider. Throw all your troops at them. If you didn't come into this battle with Andrias, this is a good time to swap him in (the same for Donovar) as you will no longer be facing particularly large numbers of troops.
Once the Gigases arrive, head straight for the one with the crossbow. The other Gigas will then cluster around you (as will the Wyvern Rider if they are still alive). Unload on them with your summons. Then, use Andrias' Assassin techniques to whittle them down and finish them off. They won't last for too long.
Source: Read Full Article