Quick Links
- Laser Research Base Stage 1
- Laser Research Base Stage One Boss
- Laser Research Base Stage 2
- Laser Research Base Stage 2 – Mid-Boss
- Laser Research Base Stage 2 – End Boss
Vengeful Guardian: Moonrider's Laser Research Base stage is an interesting mixture of boss fights and tricky platforming. While some of your time will be spent doing the typical hacking and slashing, you will be spending just as much time jumping between platforms and avoiding lasers.
The Laser Research Base is also home to three boss battles. Alongside those three bosses, it also has a mini-boss of sorts. And there are multiple upgrades hidden throughout, as well. We will guide you through these encounters, and help you claim all those Upgrade Chips.
Laser Research Base Stage 1
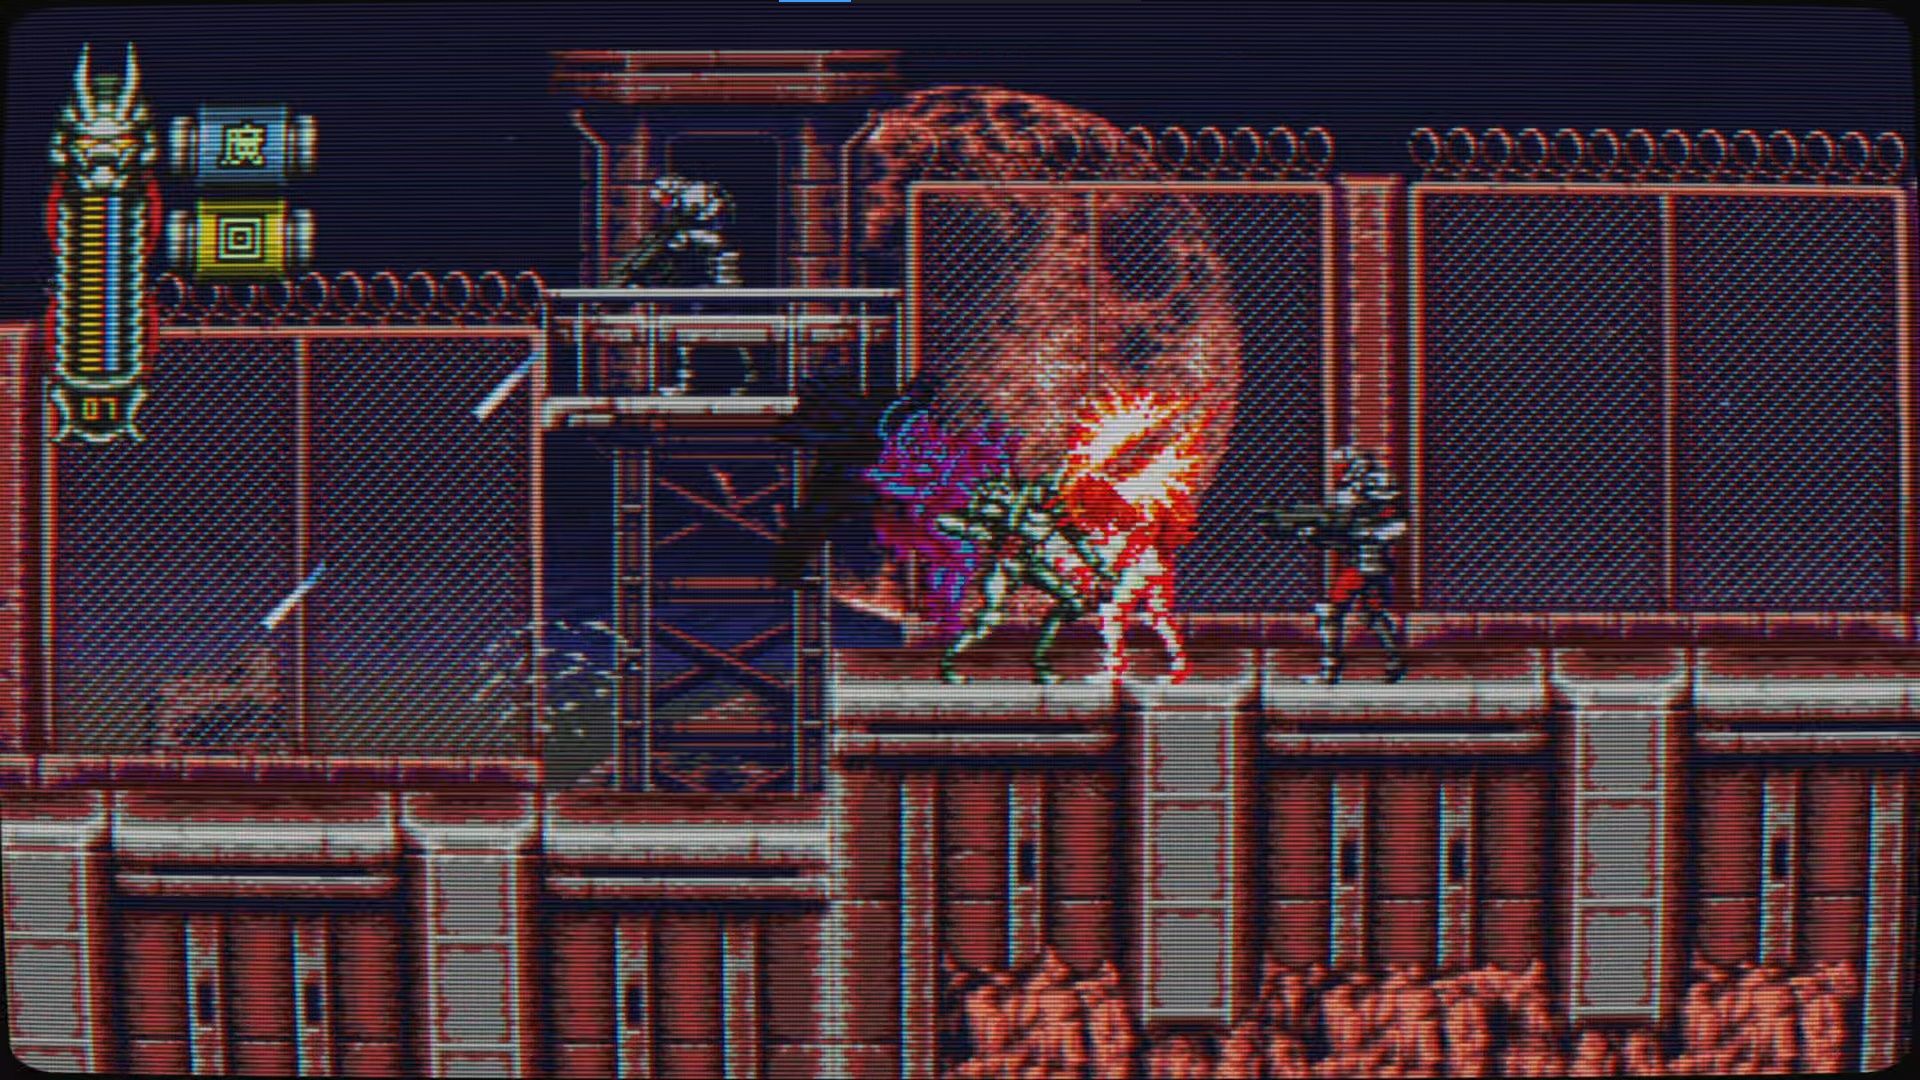
Immediately after bursting through the entrance, you will be confronted by Grenade Launcher Soldiers. Unlike their Assault Rifle-wielding counterparts, they will only fire a single round at you, but unsurprisingly, it is more powerful. However, if you hit one of the grenades they launch at you with your sword, you won't just stop their projectiles, you send their grenade back at them. You can also take them out with a single Dashing Attack.
As you work your way to the right, you will deal with three separate pairs of Grenade Launcher Soldiers. There will also be a few Assault Rifle Soldiers sitting in towers, and a few Minigun Droids along the way as well. These Minigun Droids exclusively come from behind, which means you will only have to deal with them if you hang around. Otherwise, you can keep sprinting to the right, use your Dashing Attack, and you won't have to worry about these aerial droids at all.
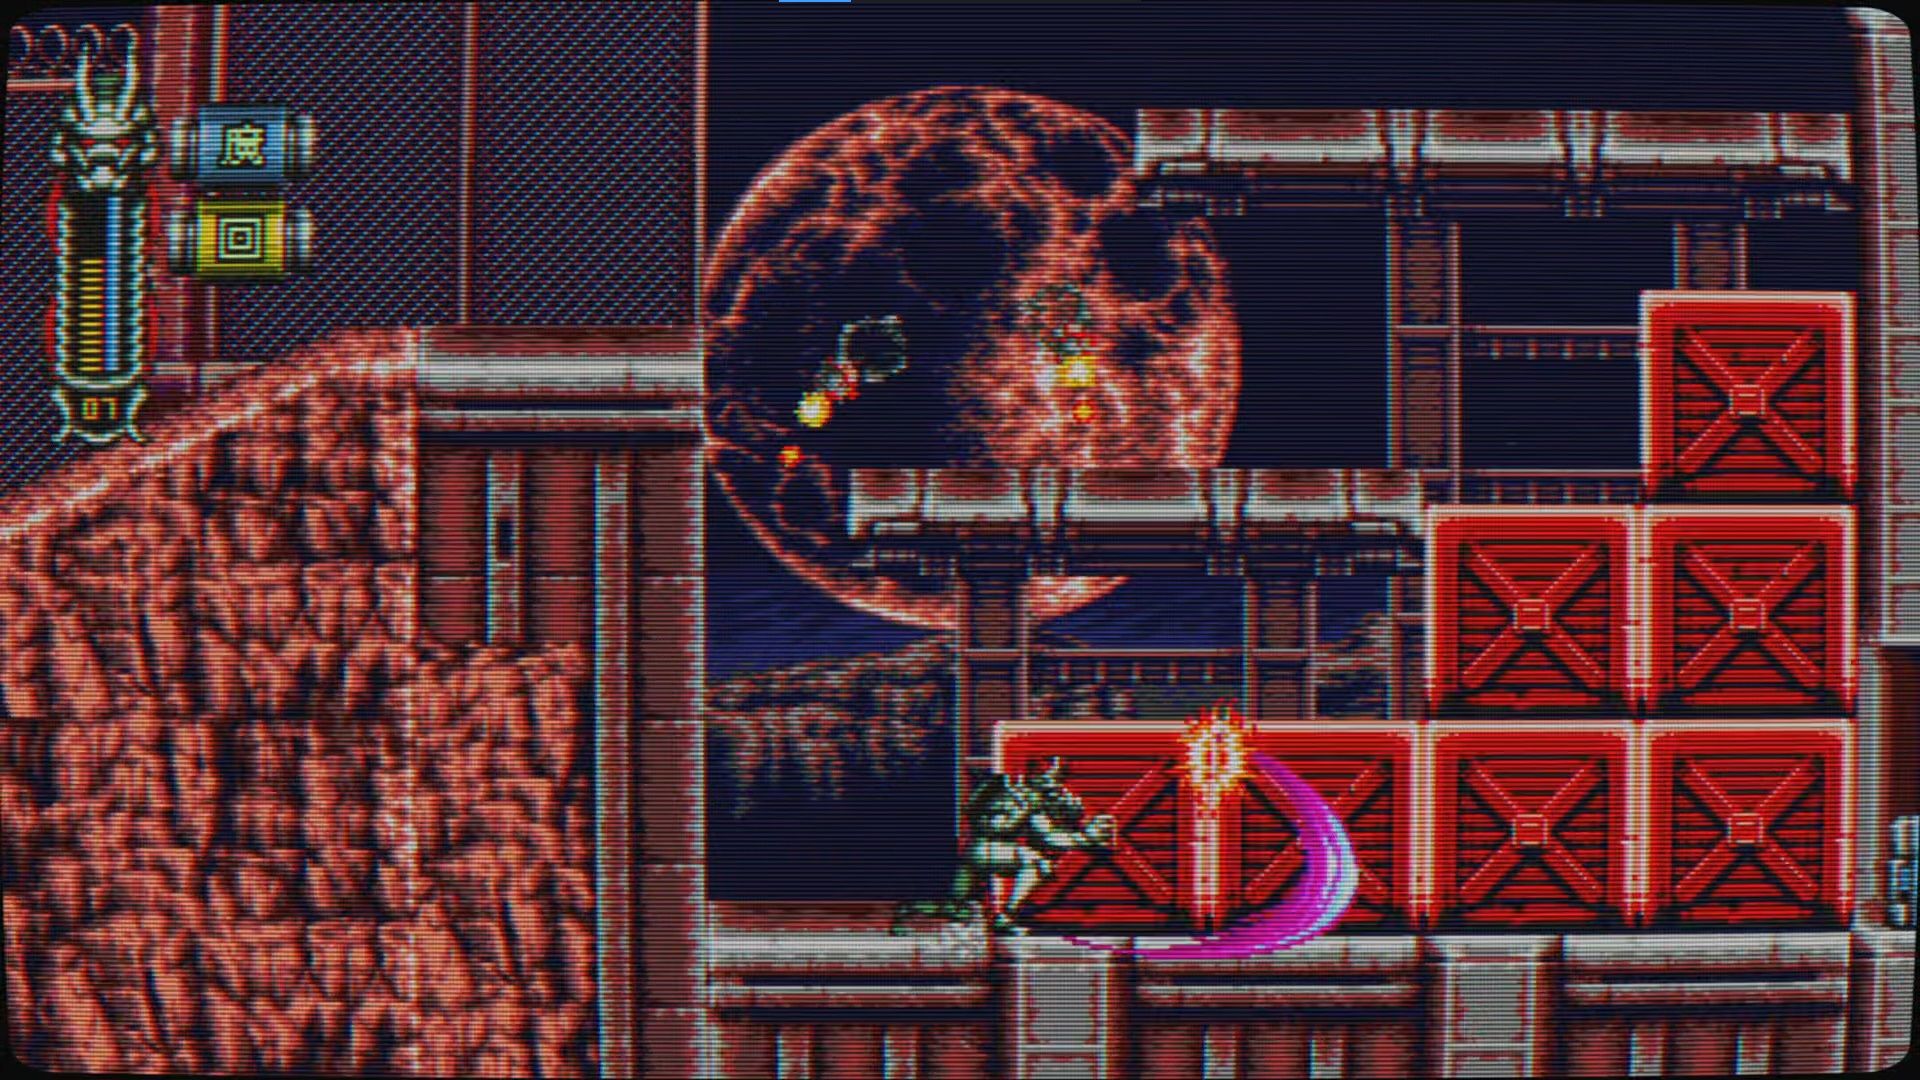
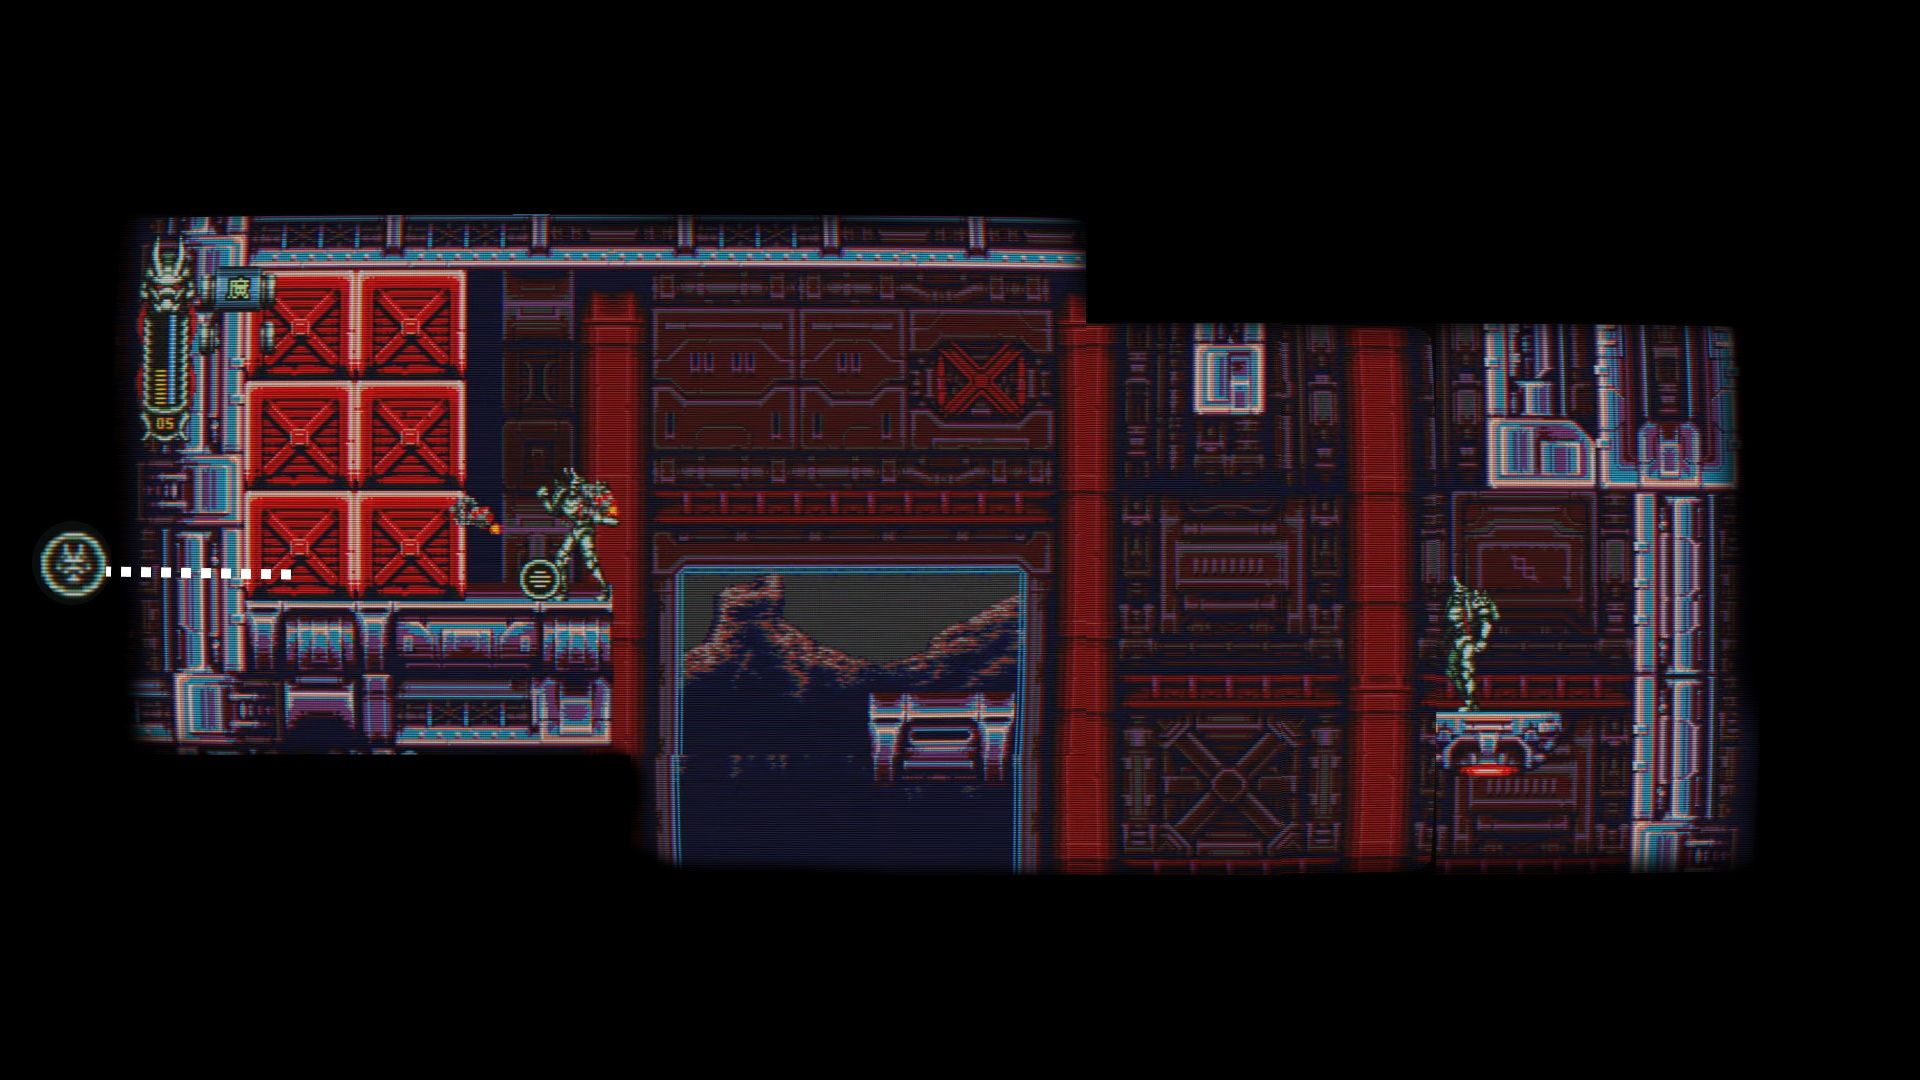
After you take out the third batch of Grenade Launcher Soldiers, you will see a giant stack of red crates with an item canister behind them. This holds an extra life, but getting to it will take quite some time. So, if you are going for a quick completion time, you may want to skip it.
After working your way through the top level, you will drop down a shaft guarded by a few Assault Rifle Soldiers (just ignore them and Dive Kick straight down the shaft). You will then face off against a heavily armored Gattling Gun Soldier. Unlike so many other enemies, they can take more than a single Dashing Attack, so make sure you do the attack far enough away that it doesn't carry you into them (causing you damage). You will have enough time to hit them with a Dash Attack and then follow up with a regular attack before they are able to attack themselves.
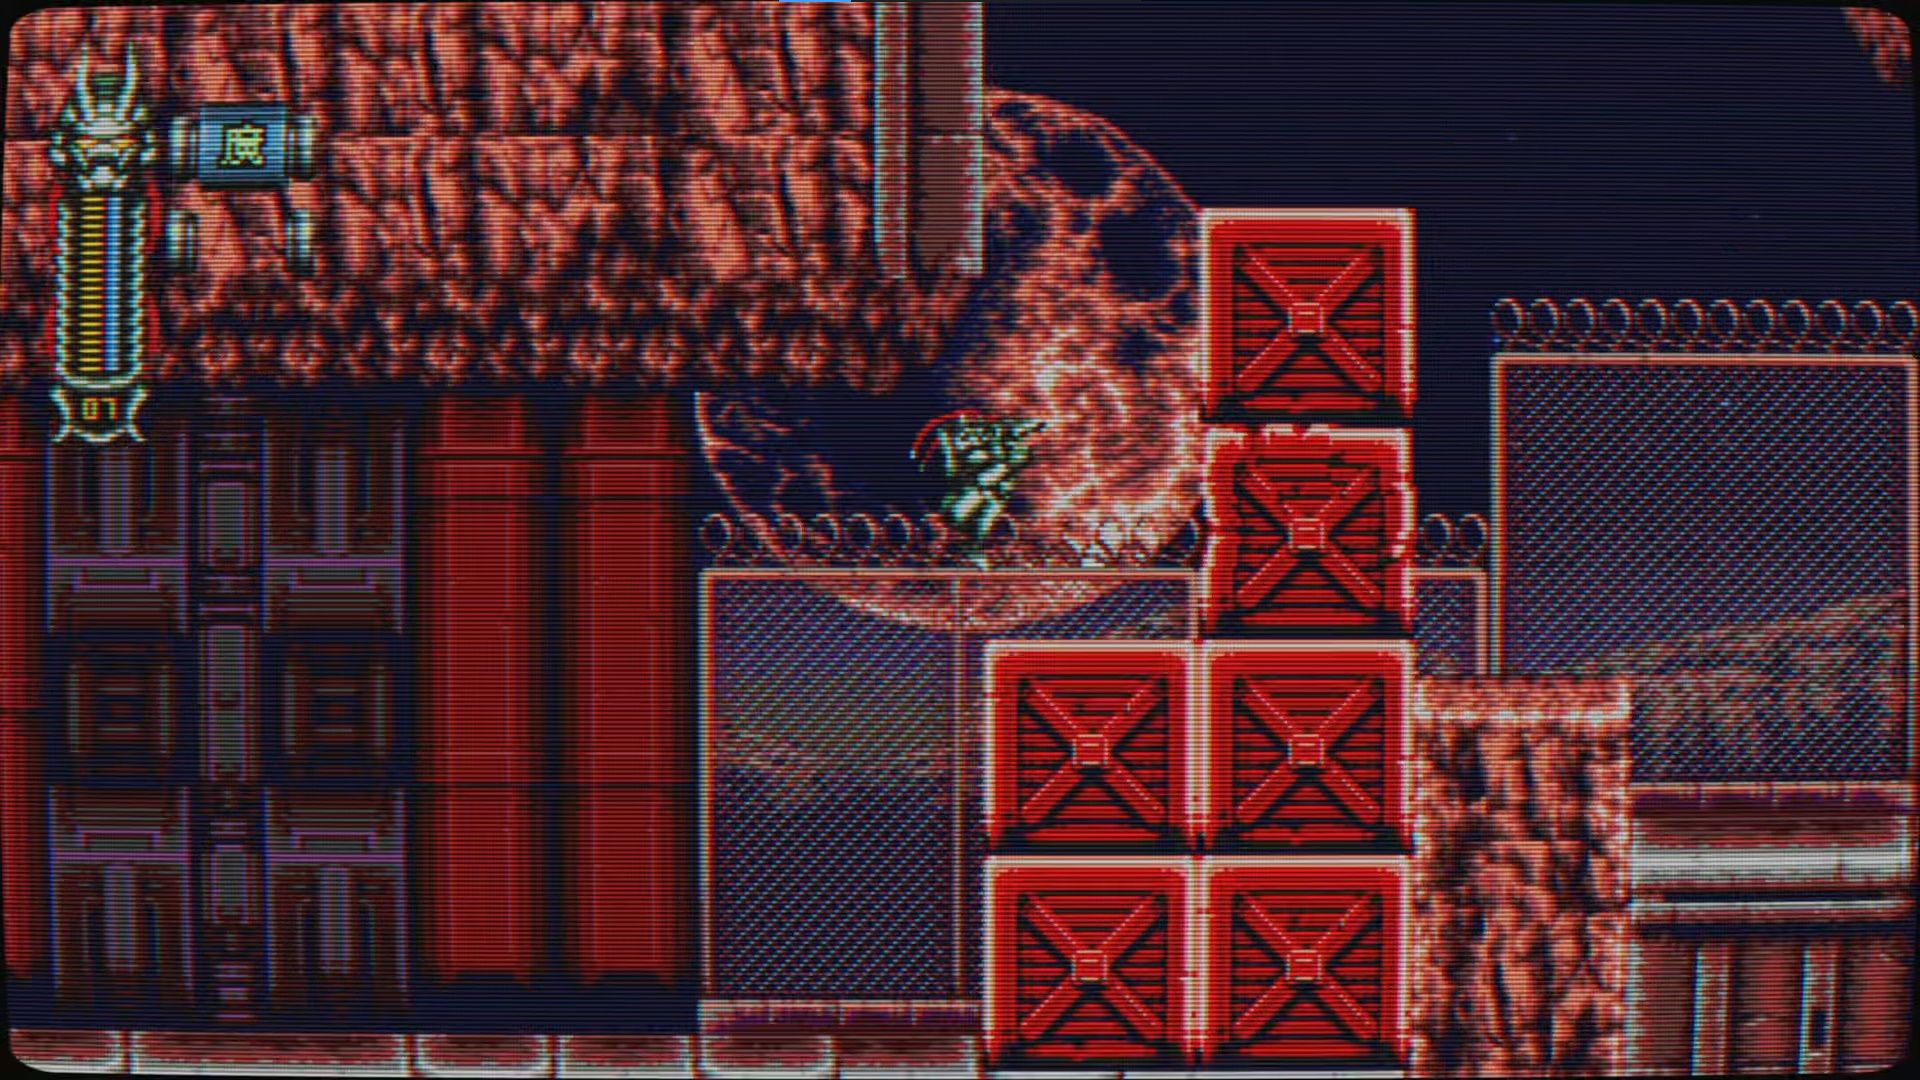
Now, be careful about how you take care of the red crates stacked behind the Gattling Gun Soldier. You want to make sure to leave the crates on the right side untouched. That way you will be able to hop off of the top of them and cling to the wall on the left. From there, jump to the platform on the right and get the Glass Cannon 'upgrade'. However, think twice before you agree to equip it, as it will make you extraordinarily vulnerable.
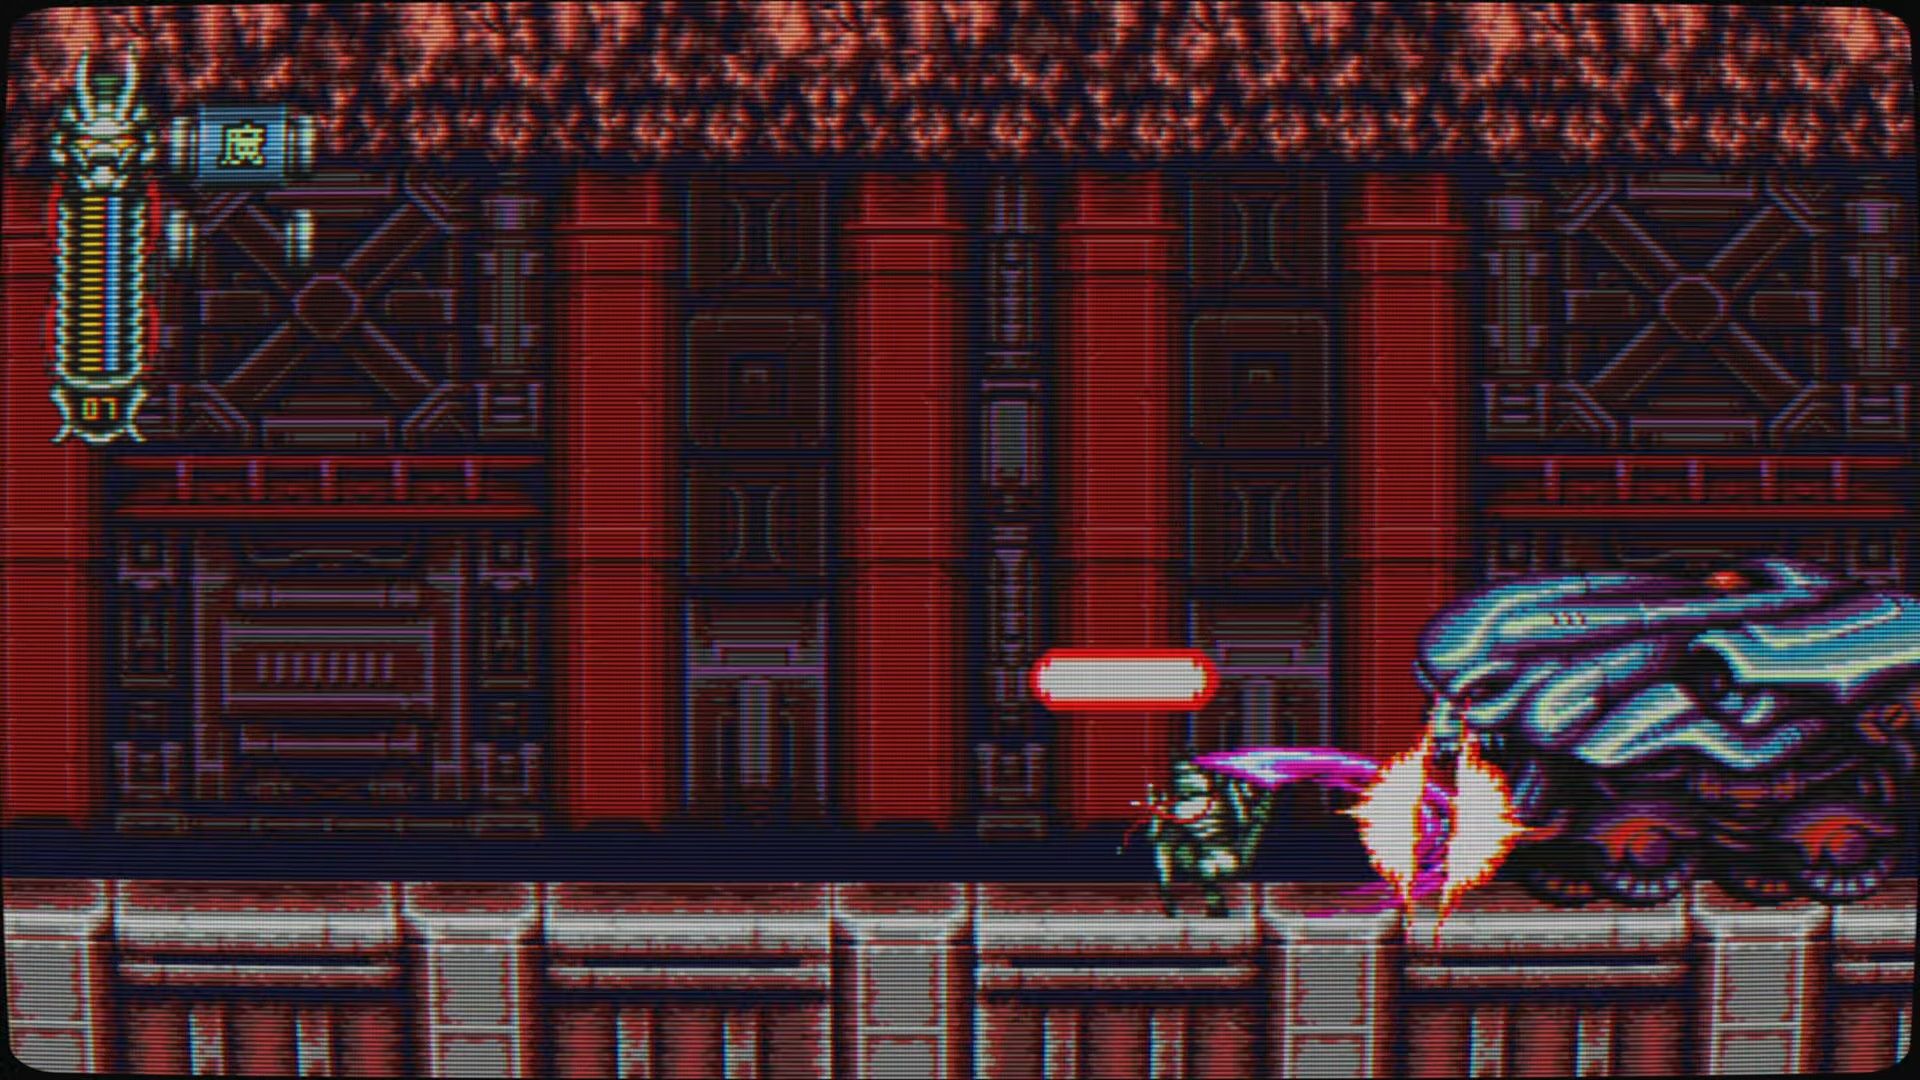
Continue forward and you will encounter an Armored Vehicle. This Vehicle will attack you one of two ways… It will either try to run you over, or it will shoot you with its laser cannons. When it tries to run you over just jump up and Dive Kick it; you won't do damage, but you won't take any either. Then, stand in front of it and use your full combo attack (just mash the attack button). Jump when the laser comes from its mouth, and duck when the laser comes from the cannon on its side.
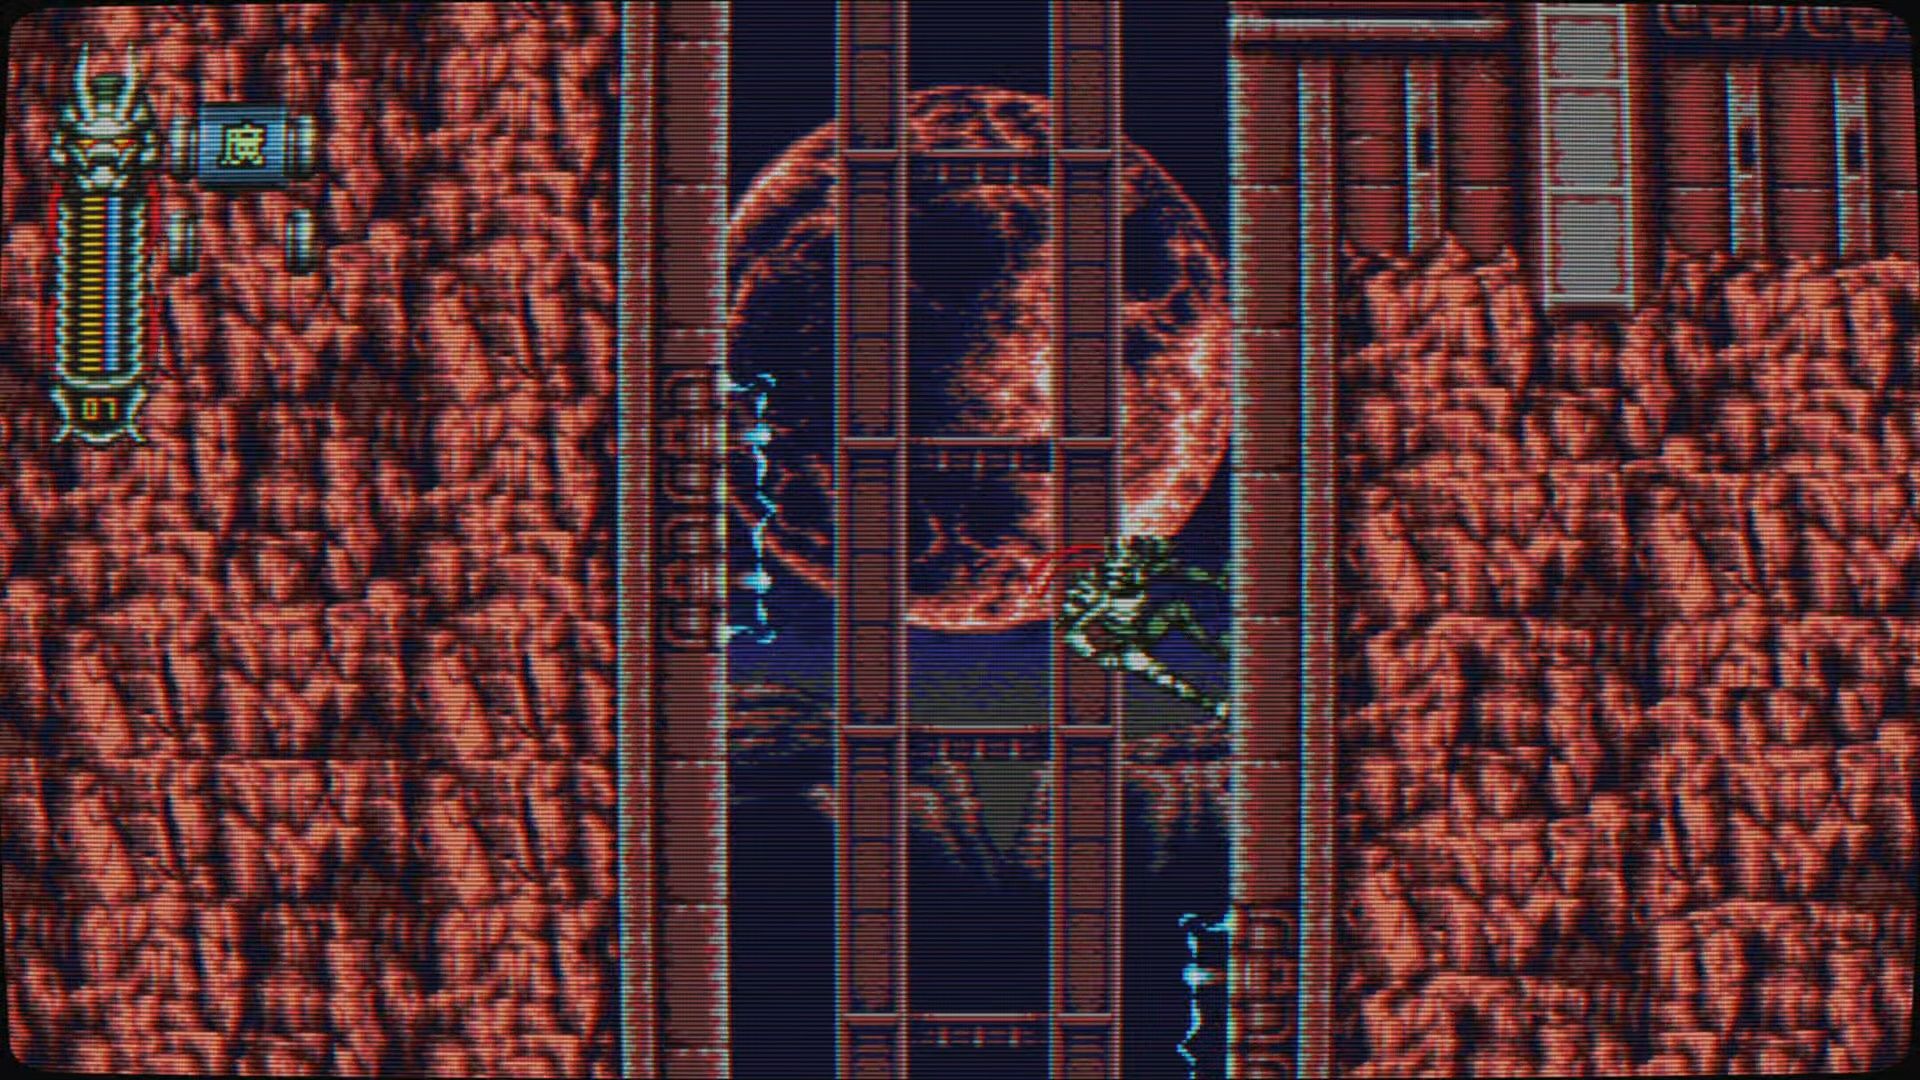
Once you take the Armored Vehicle out, you will climb another shaft, this time you will have to be careful to avoid the electricity traps lining the walls. Once you get up, there will be a Minigun Droid and an Assault Rifle Soldier. To pursue the best time, Dive Kick the soldier, propelling you upward, and just leave them behind.
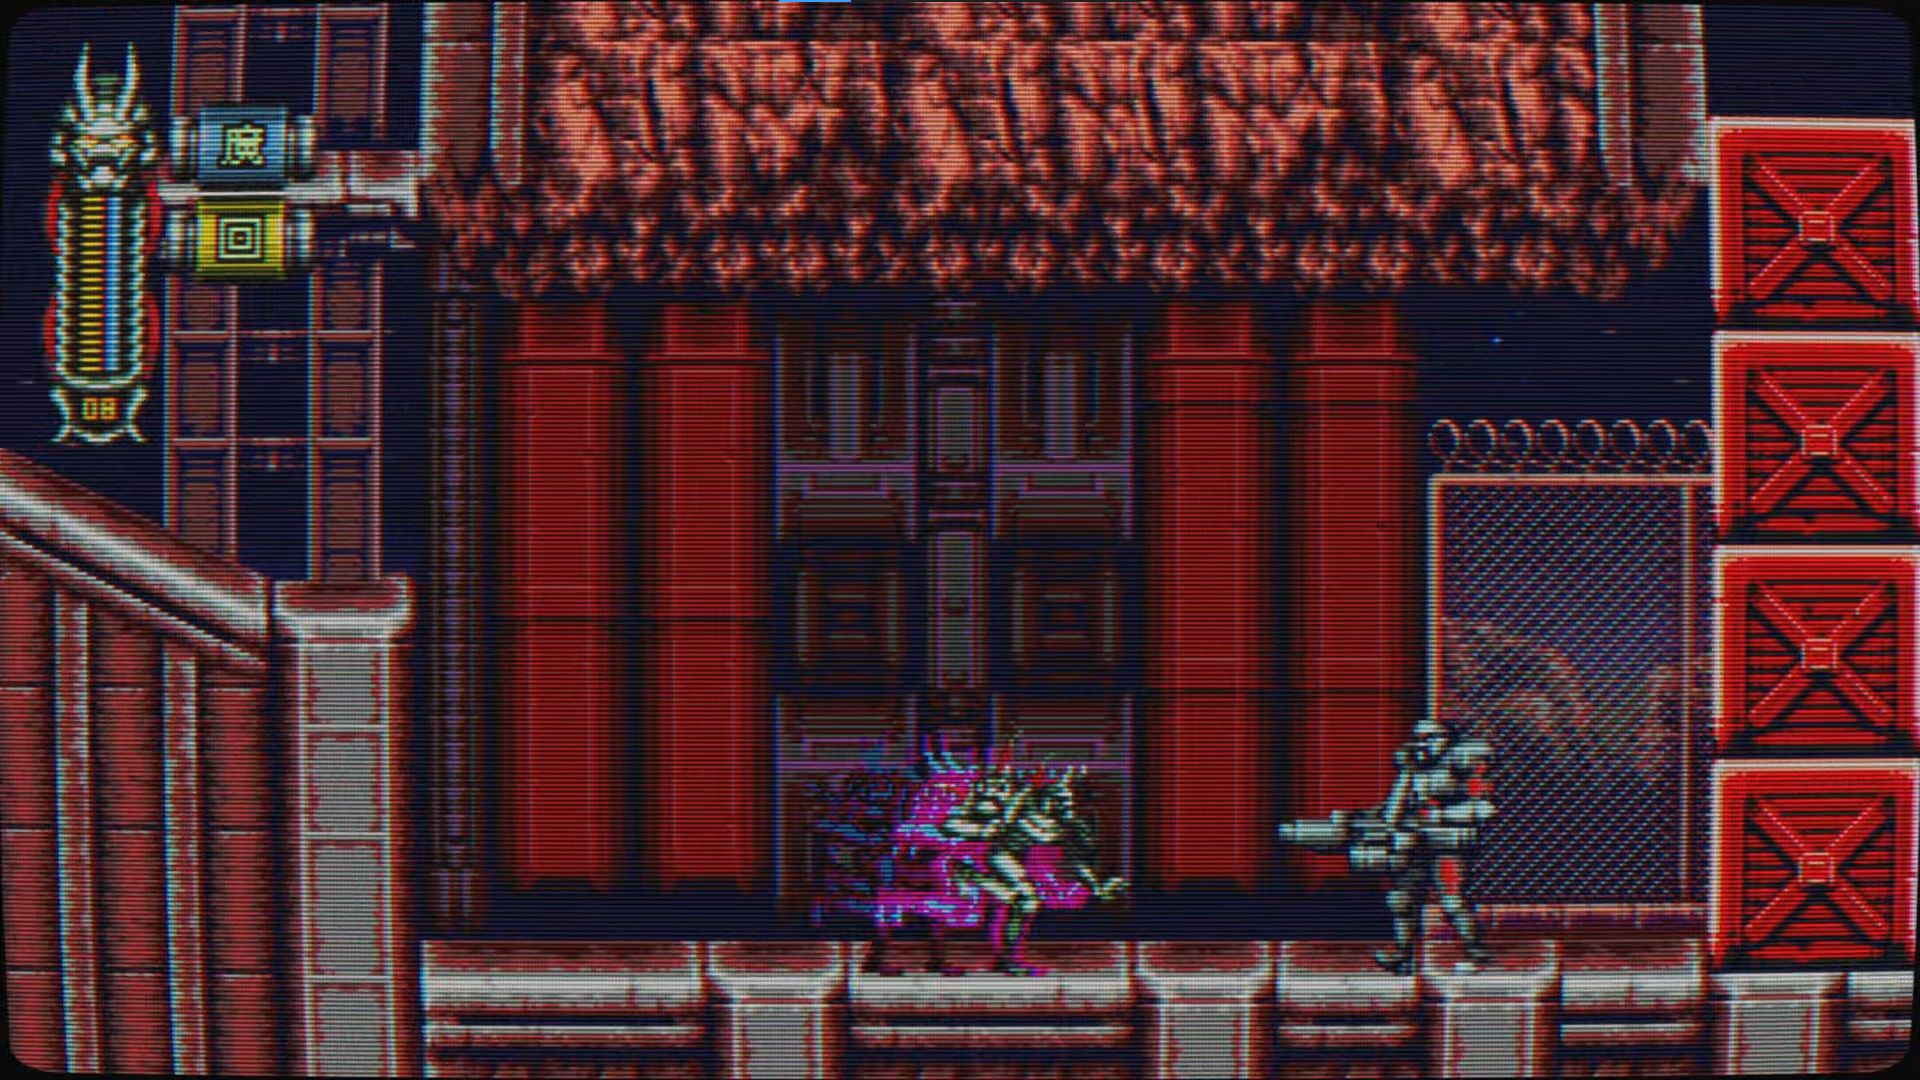
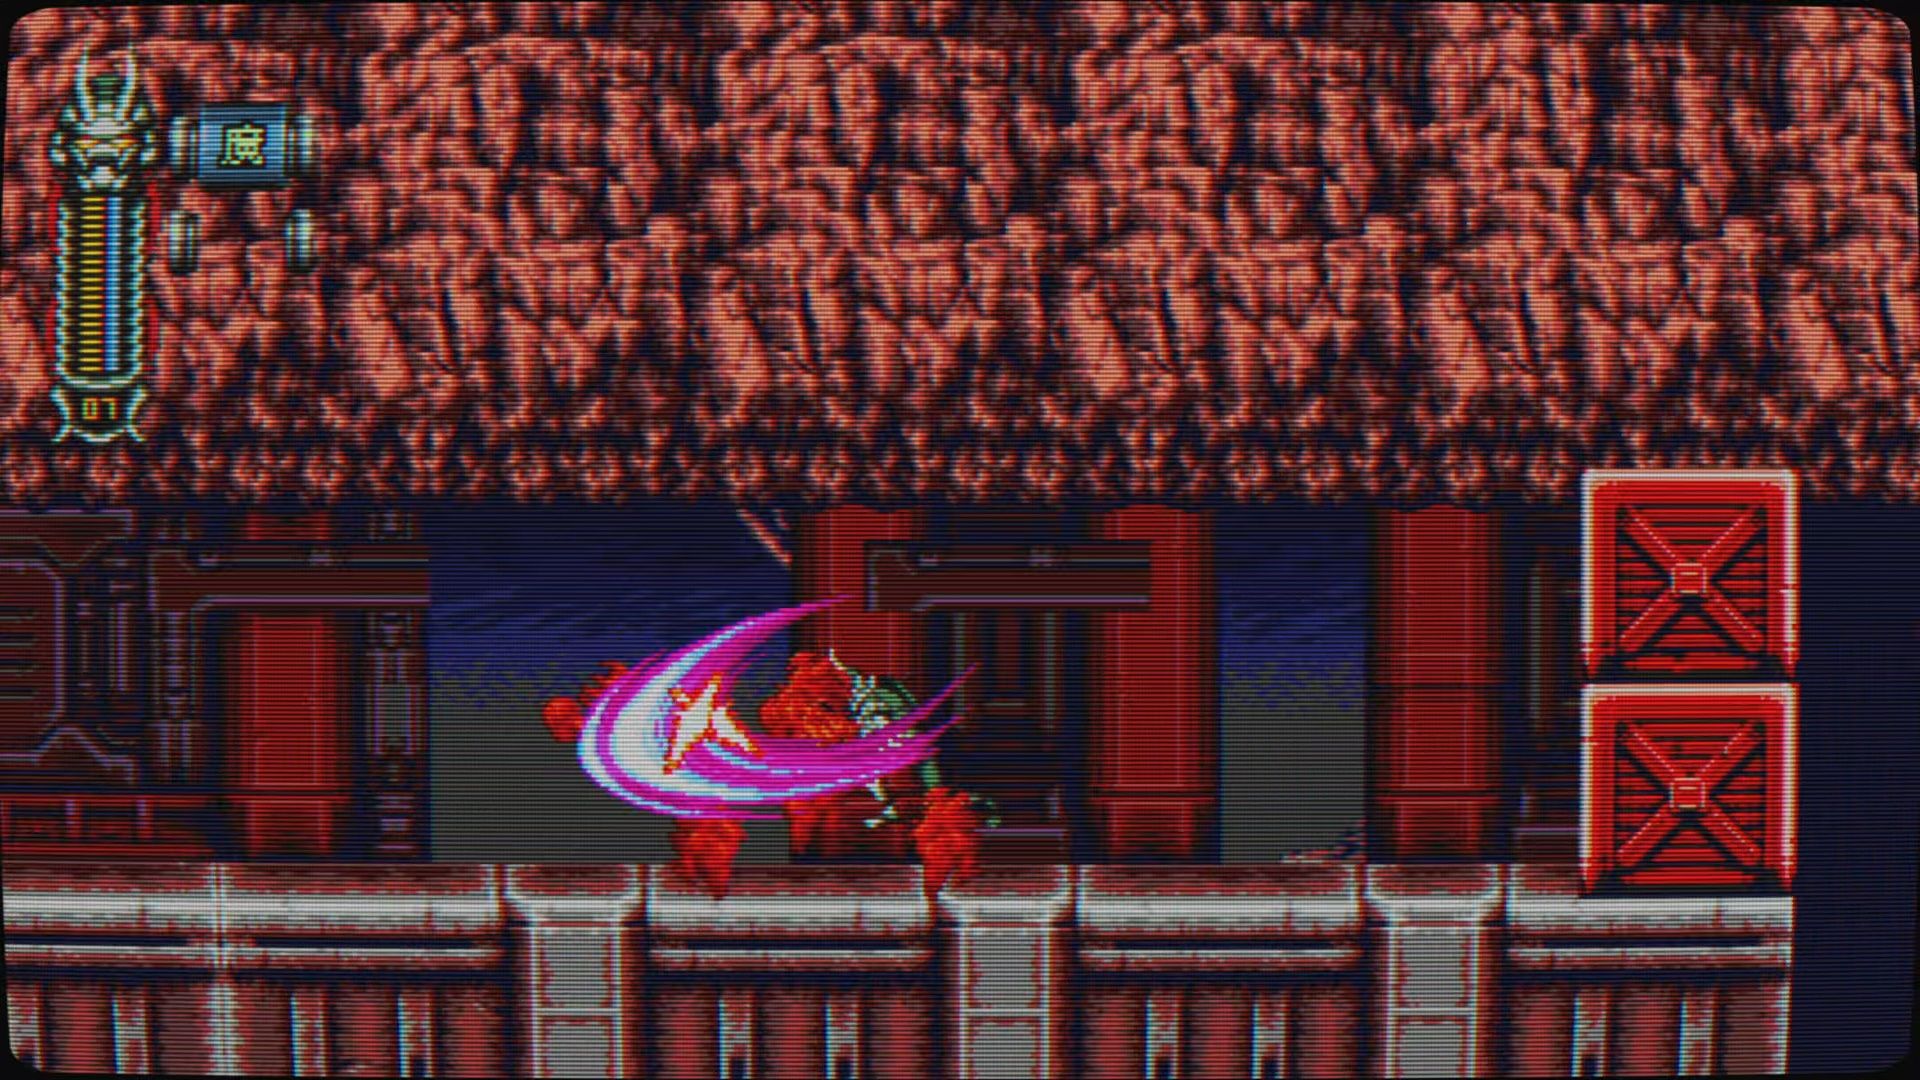
You will now enter into a narrow hallway stacked with those crates. Use your Dashing Attack to cut through them. You will be confronted by a pair of Grenade Launcher Soldiers as you are working through the first stack of crates, turn around, and perform a Dashing Slash to take them out. Another pair will confront you just as you are finishing off the second set of obstacles, you can either take them out or ignore them.
You will face off against that Armored Vehicle again. However, this time, there are traps on the floor. Hop over them, and face the vehicle head-on. Once again, jump when the laser comes out of their mouth, and duck when it comes out of the cannon on their shoulder. Clear the vehicle, and you will be facing off against the first boss.
Laser Research Base Stage One Boss
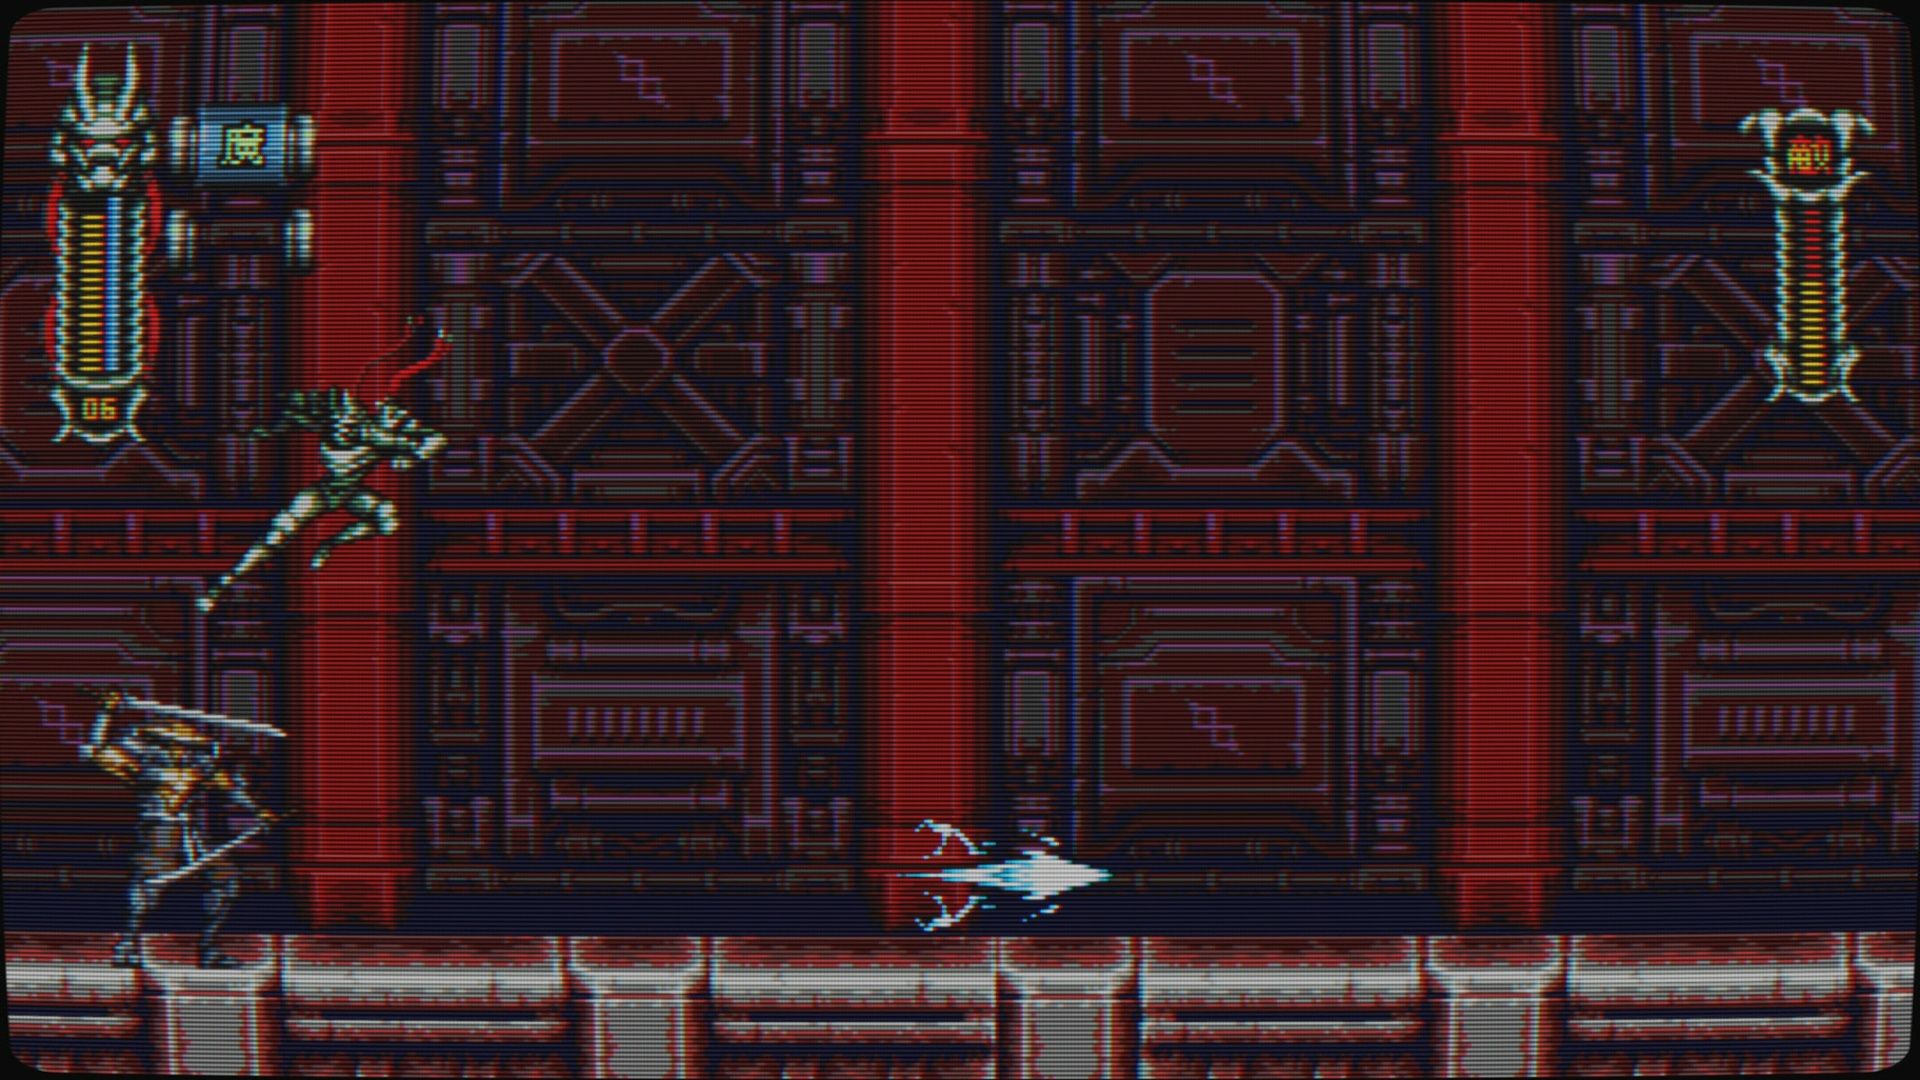
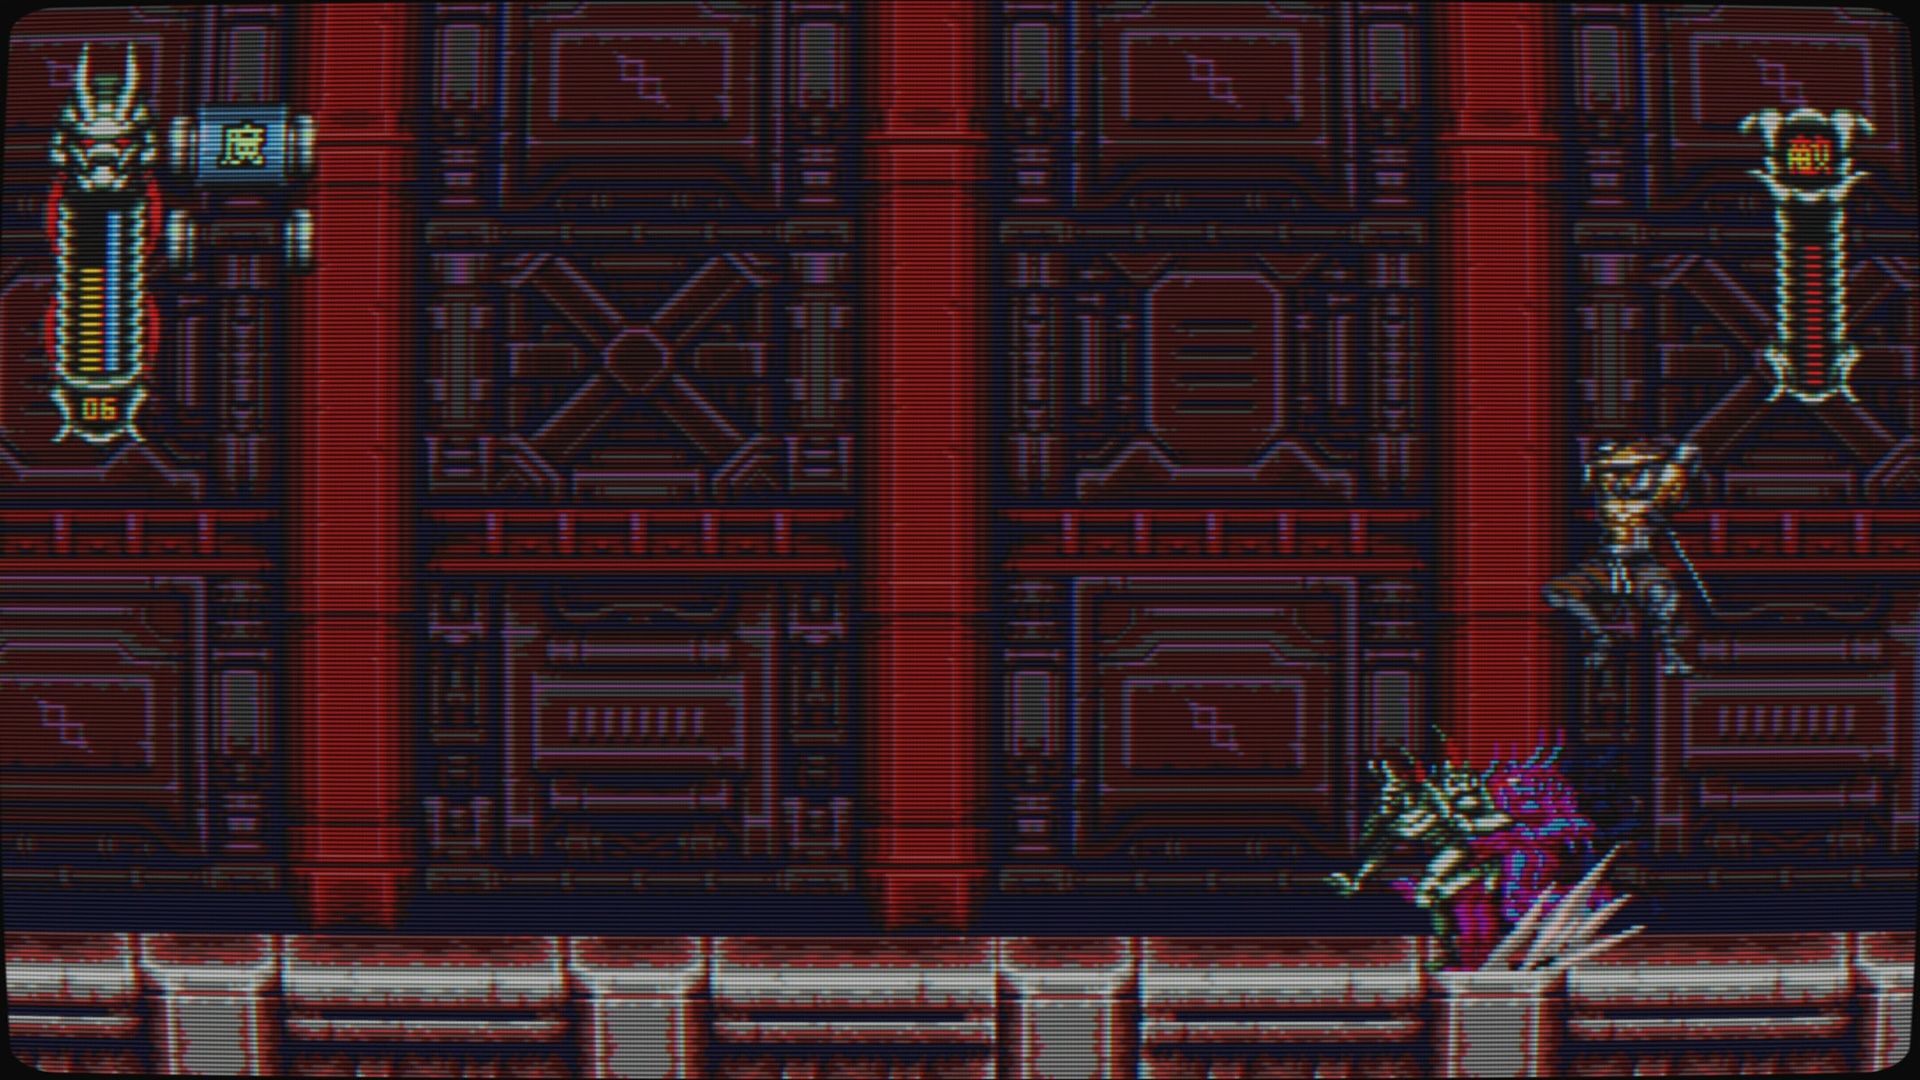
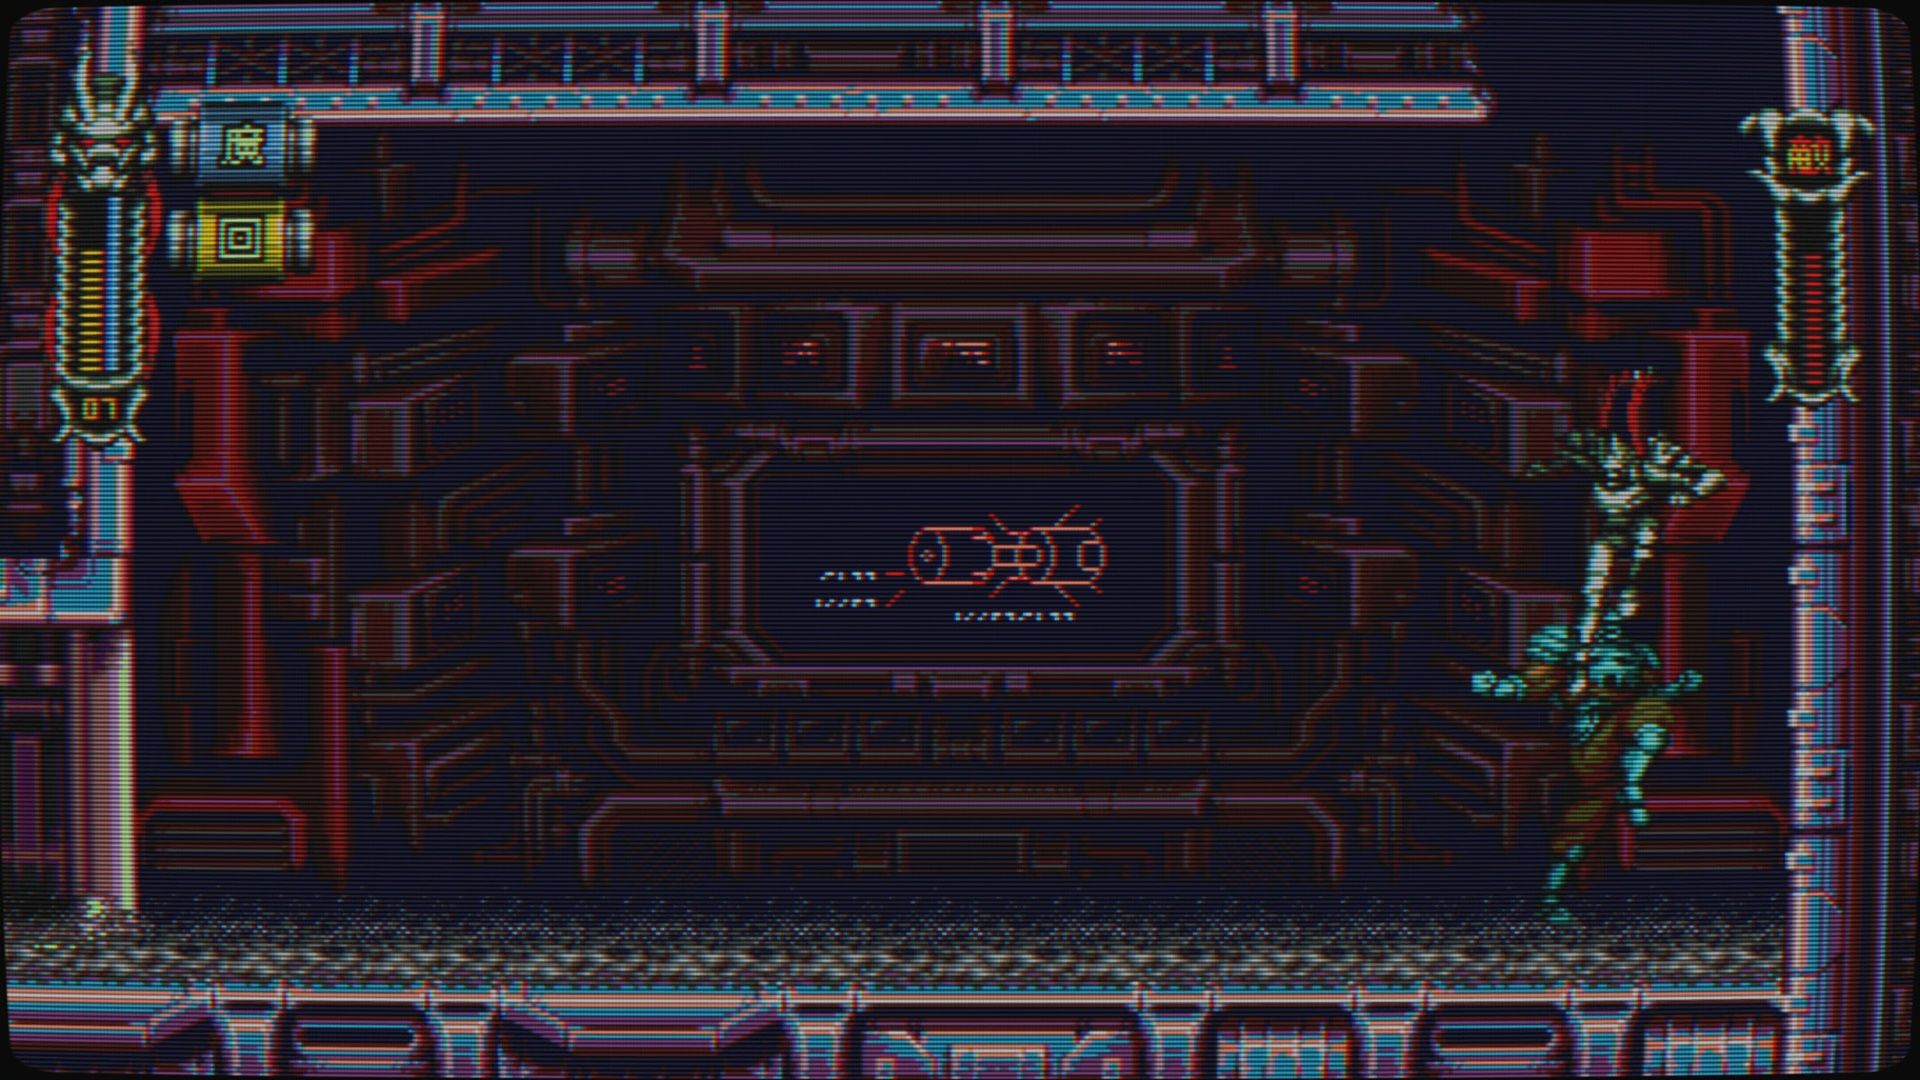
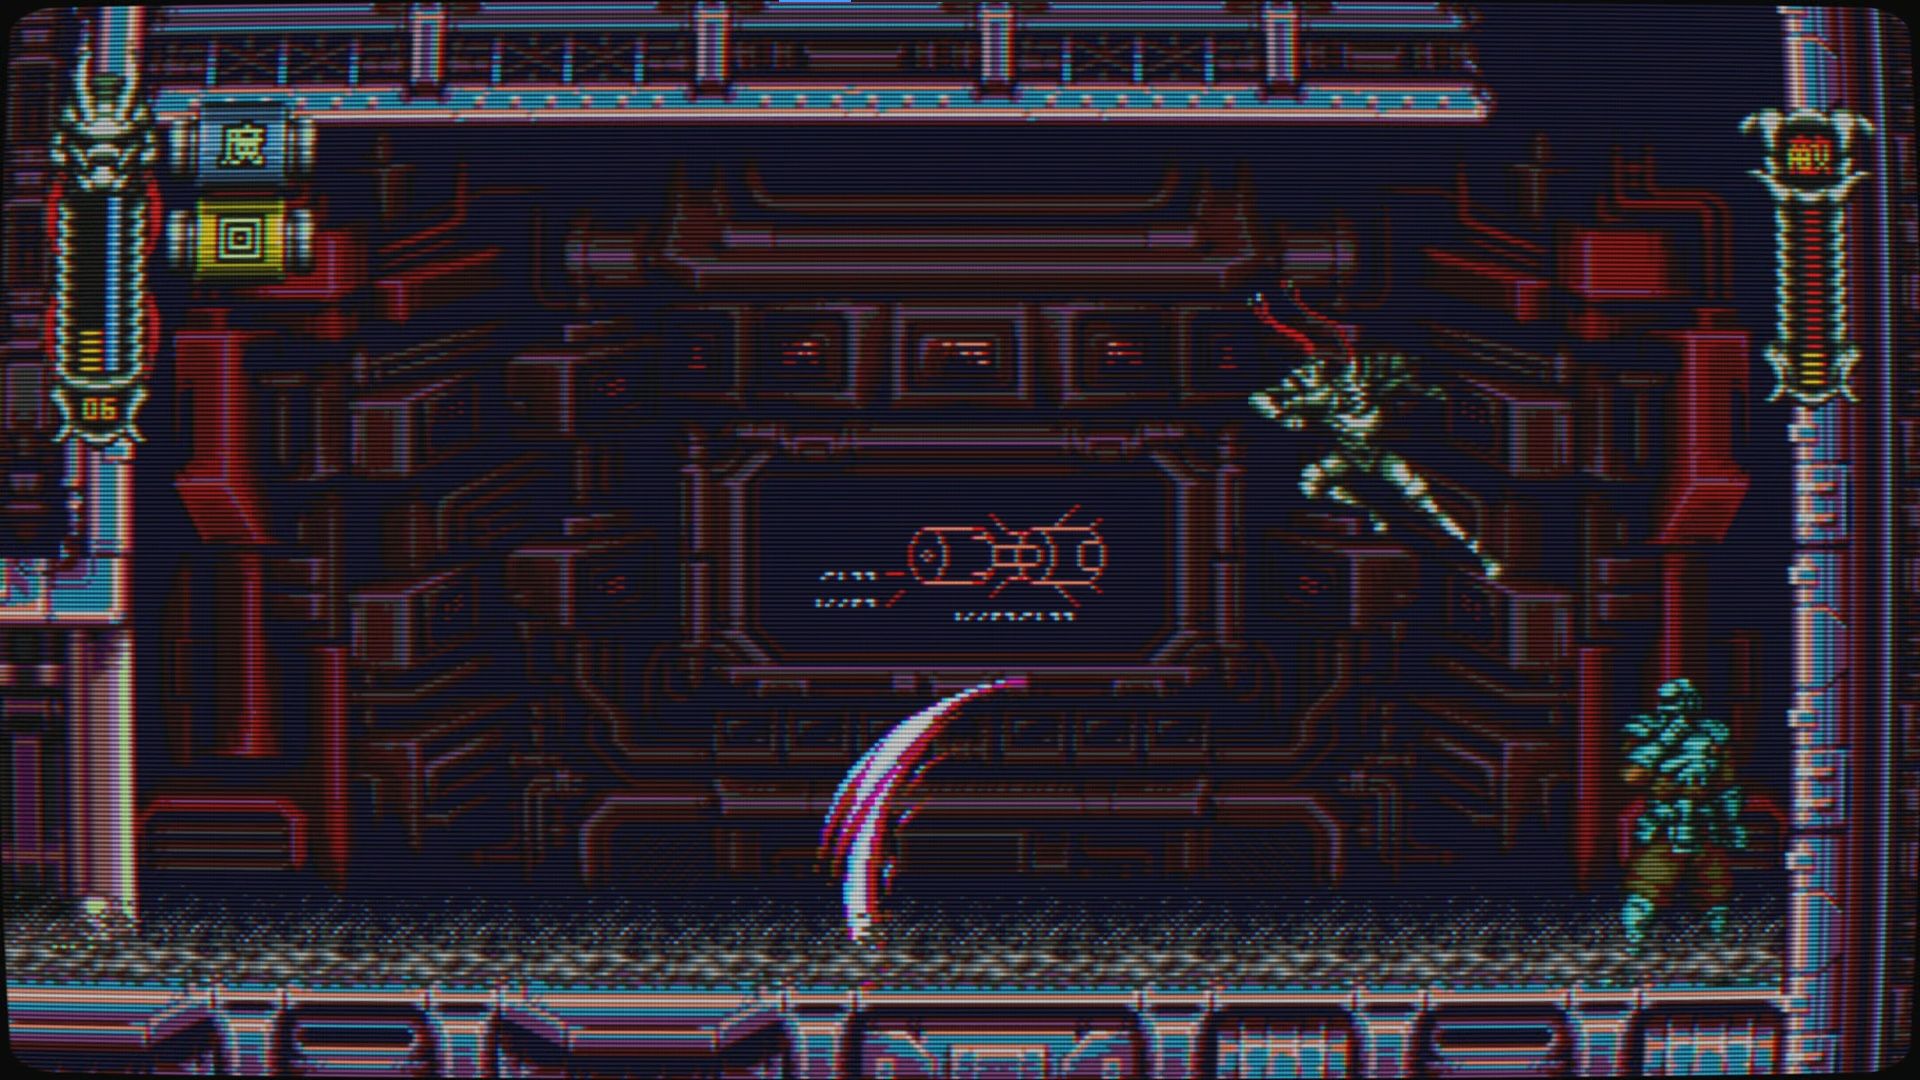
This dual katana-wielding foe has a few attacks up their sleeves. For starters, they will slash at you with their swords, they can throw projectiles at you, and they will teleport to the other end of the screen. However, we aren't interested in fighting fair. Take to the air and deliver an unending sequence of Dive Kicks. This will help you avoid all of his melee attacks as well as his projectile attacks.
After he takes a certain amount of damage, he will start teleporting into the air, at which point he will perform a downward slashing attack. This aerial attack will disrupt your Dive Kick. So, once he starts to do this, dash away whenever you see him teleport. If he appears above you, and you are dashing, his attack will miss. Then continue to Dive Kick him when he is throwing projectiles again. Use this strategy, and you will make short work of this boss.
Laser Research Base Stage 2
This second section has a few new enemies to contend with. There is now a Grenade-Firing Turret, which is best dealt with by deflecting its grenades and sending them back at them. There is also a version of the Minigun Droid on legs, they are pretty much the same as the flying variation, but they are grounded. Use your Dashing Attack to take them out in a single swipe.
Once you clear out the first few enemies (including a few of those heavily armored Gattling Gun Soldiers), you will enter into a wide-open room. A lift on the side will take upward. If you want to progress in the stage, jump up the shaft above, however, there is an extra life to your left. The catch is that it is buried under a bunch of those durable crates. So, once again, getting this extra life will hurt your completion time.
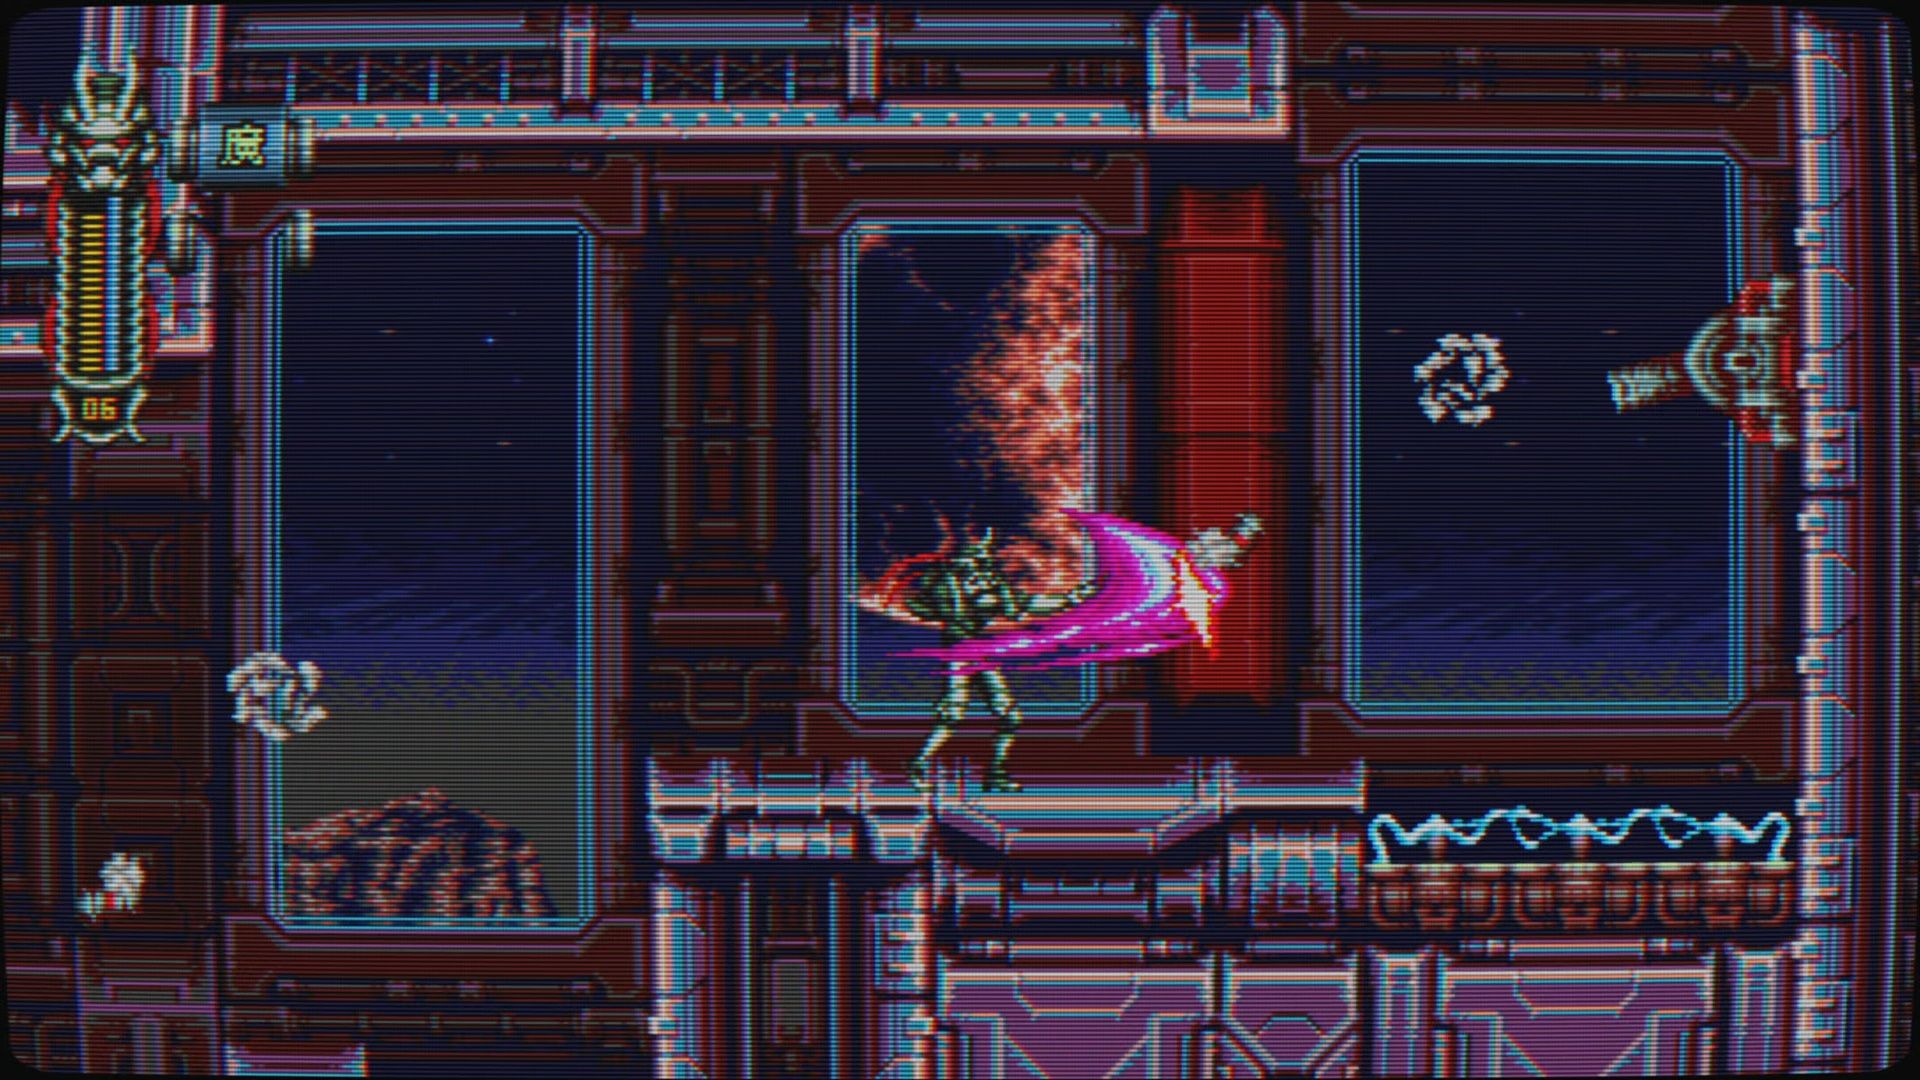
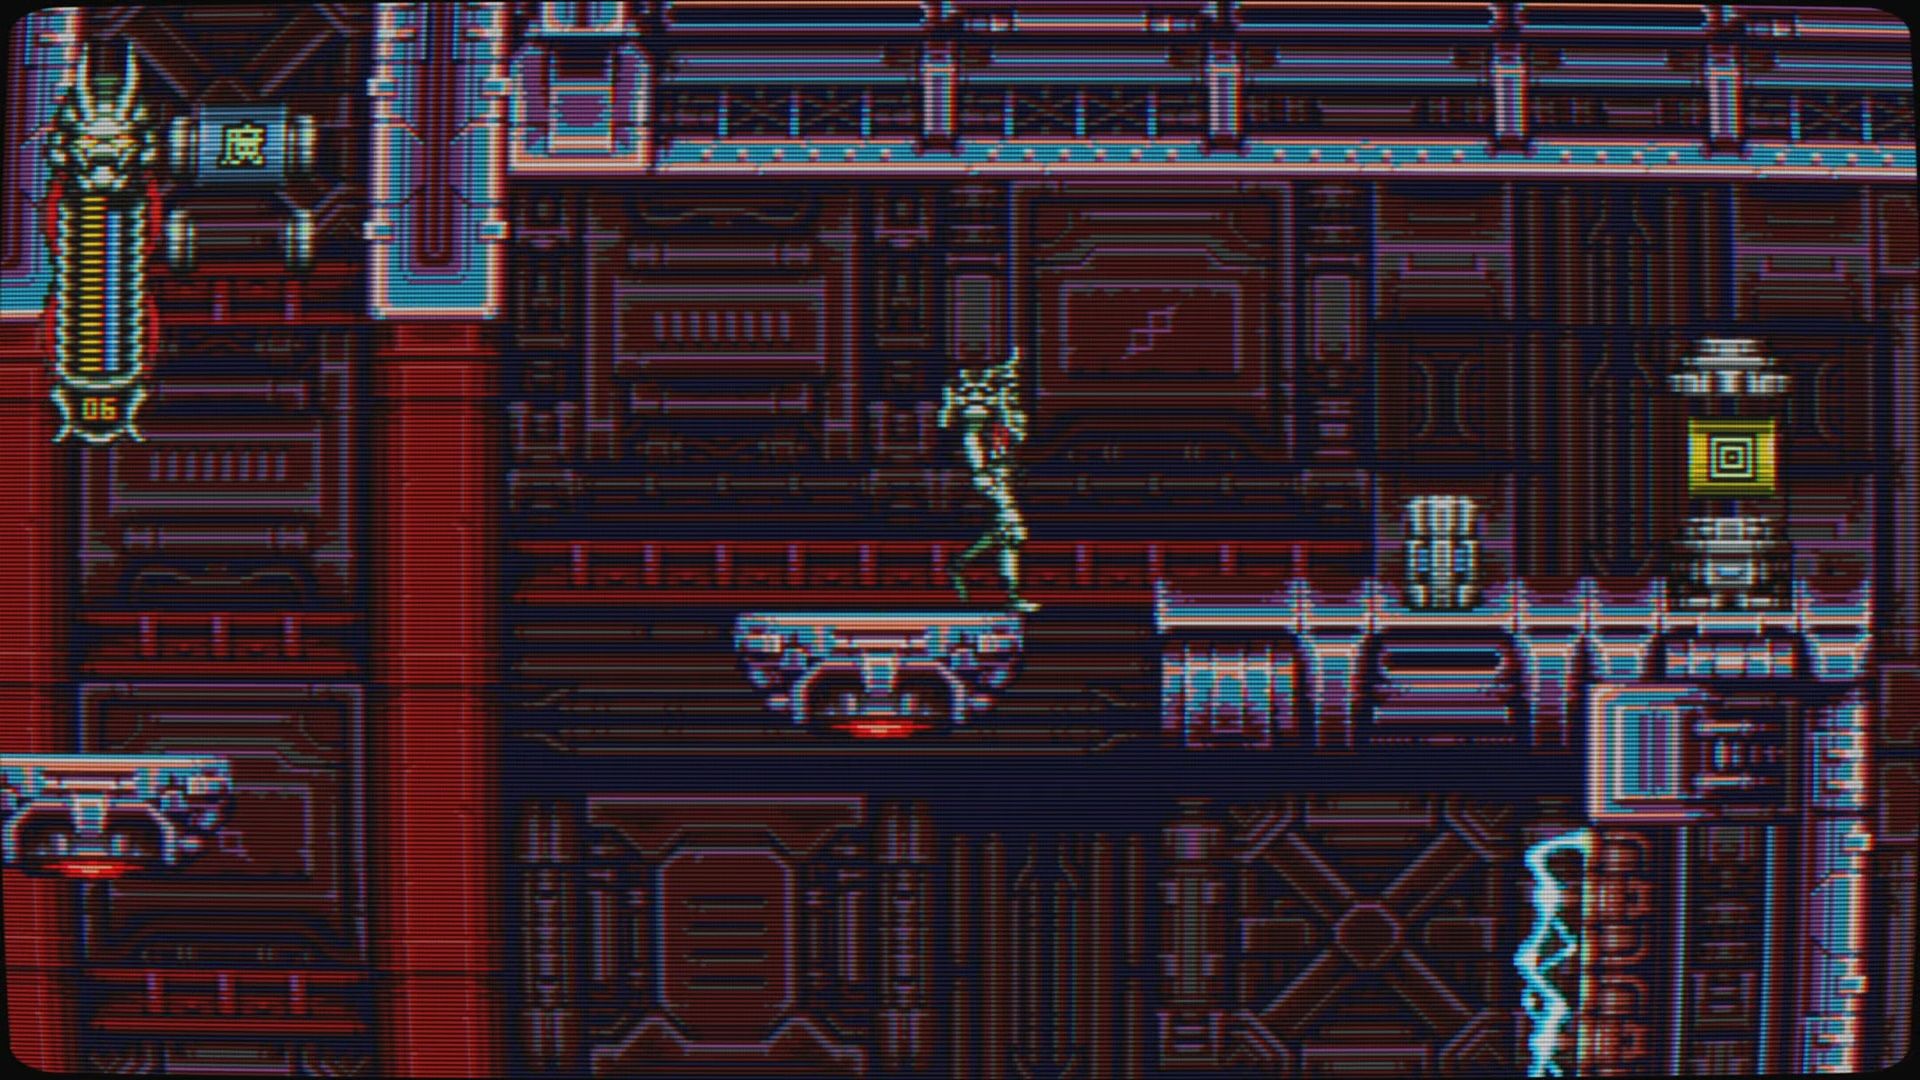
Head upward and you will fight a string of Grenade-Firing Turrets. Just time their shots and take them out. You will then enter into another large room with a number of floating platforms. If you just head downward, and jump across the platforms here, you will only need to fight a Hopping Minigun Droid. However, if you can travel across the floating platforms above, you will be rewarded with an Upgrade Chip and an extra life.
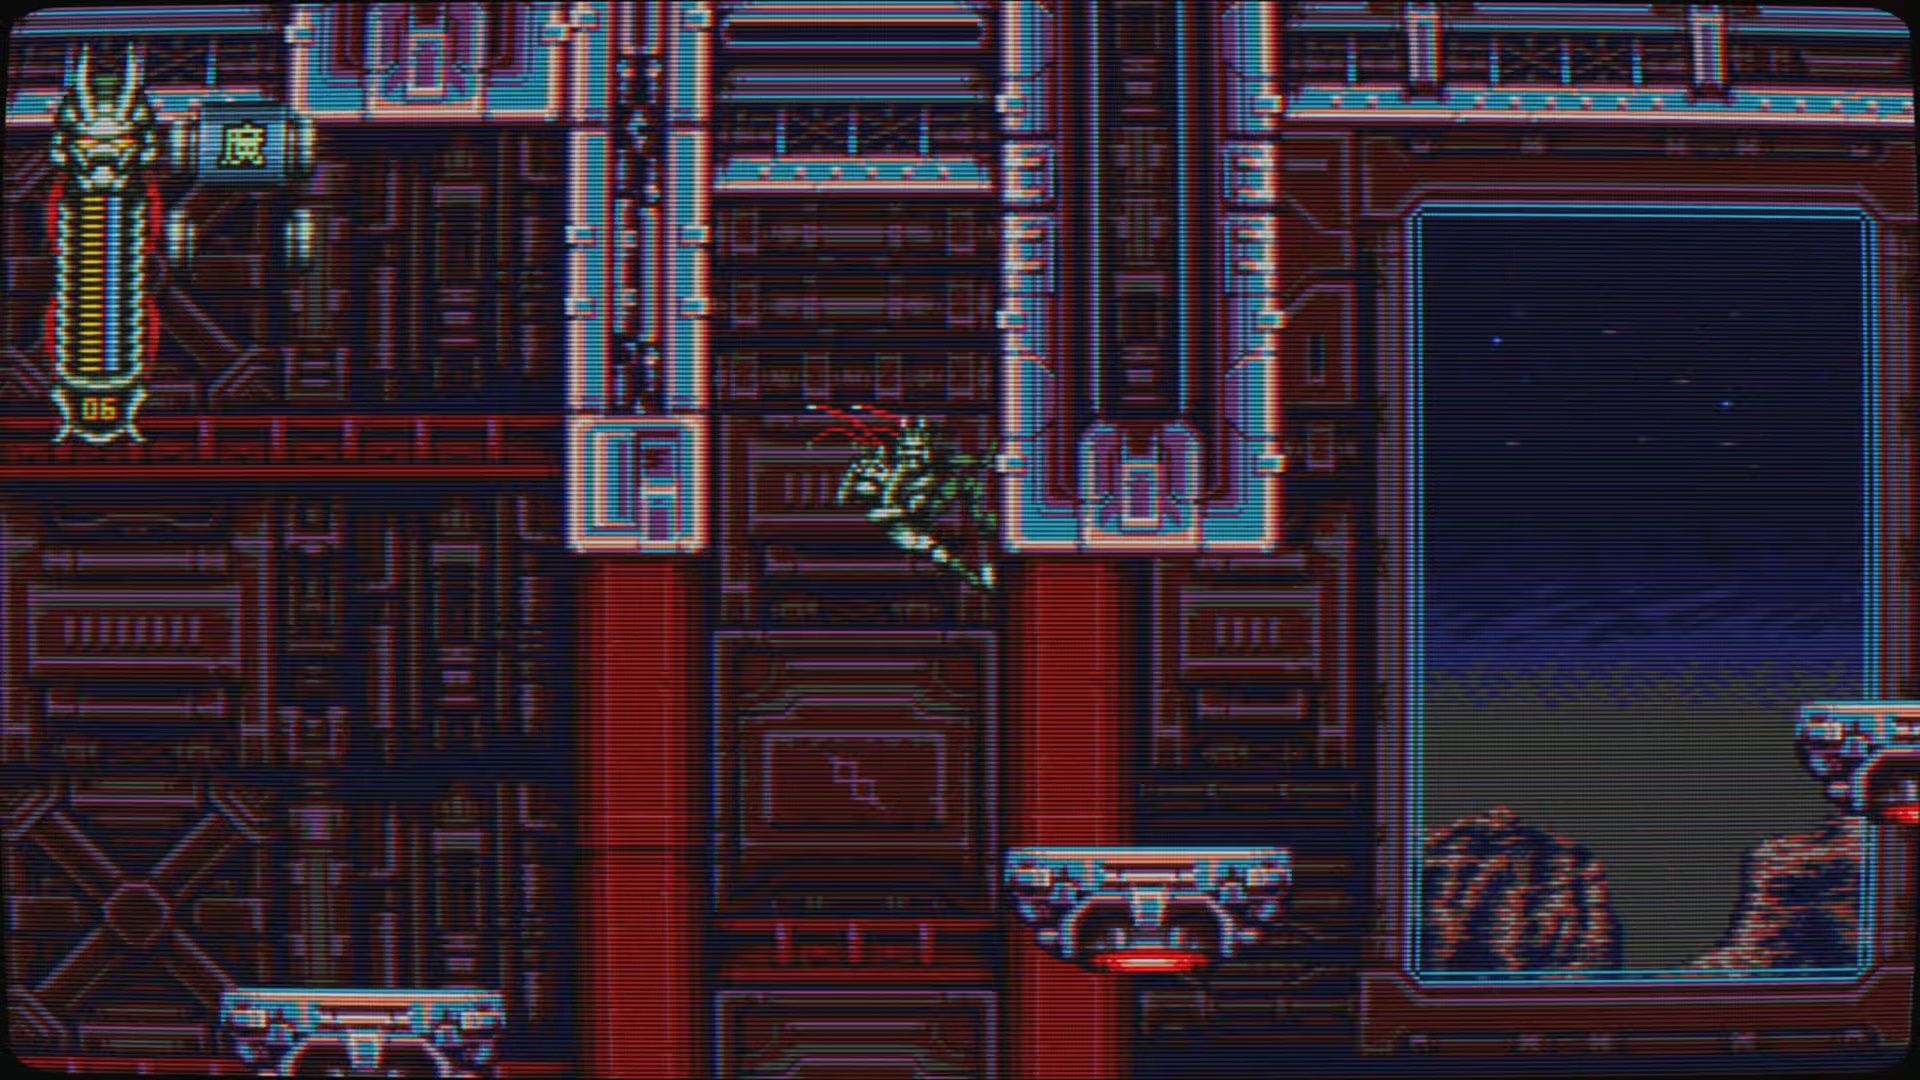
The trick to the platforming section above is that you will need to wedge yourself into the nooks above you, and kill time hopping from wall to wall until the next platform comes. You will have to do this twice. If you fall, you can get back up and try again. Once you complete this tricky platforming section, you will be rewarded with the HP Recovery Chip.
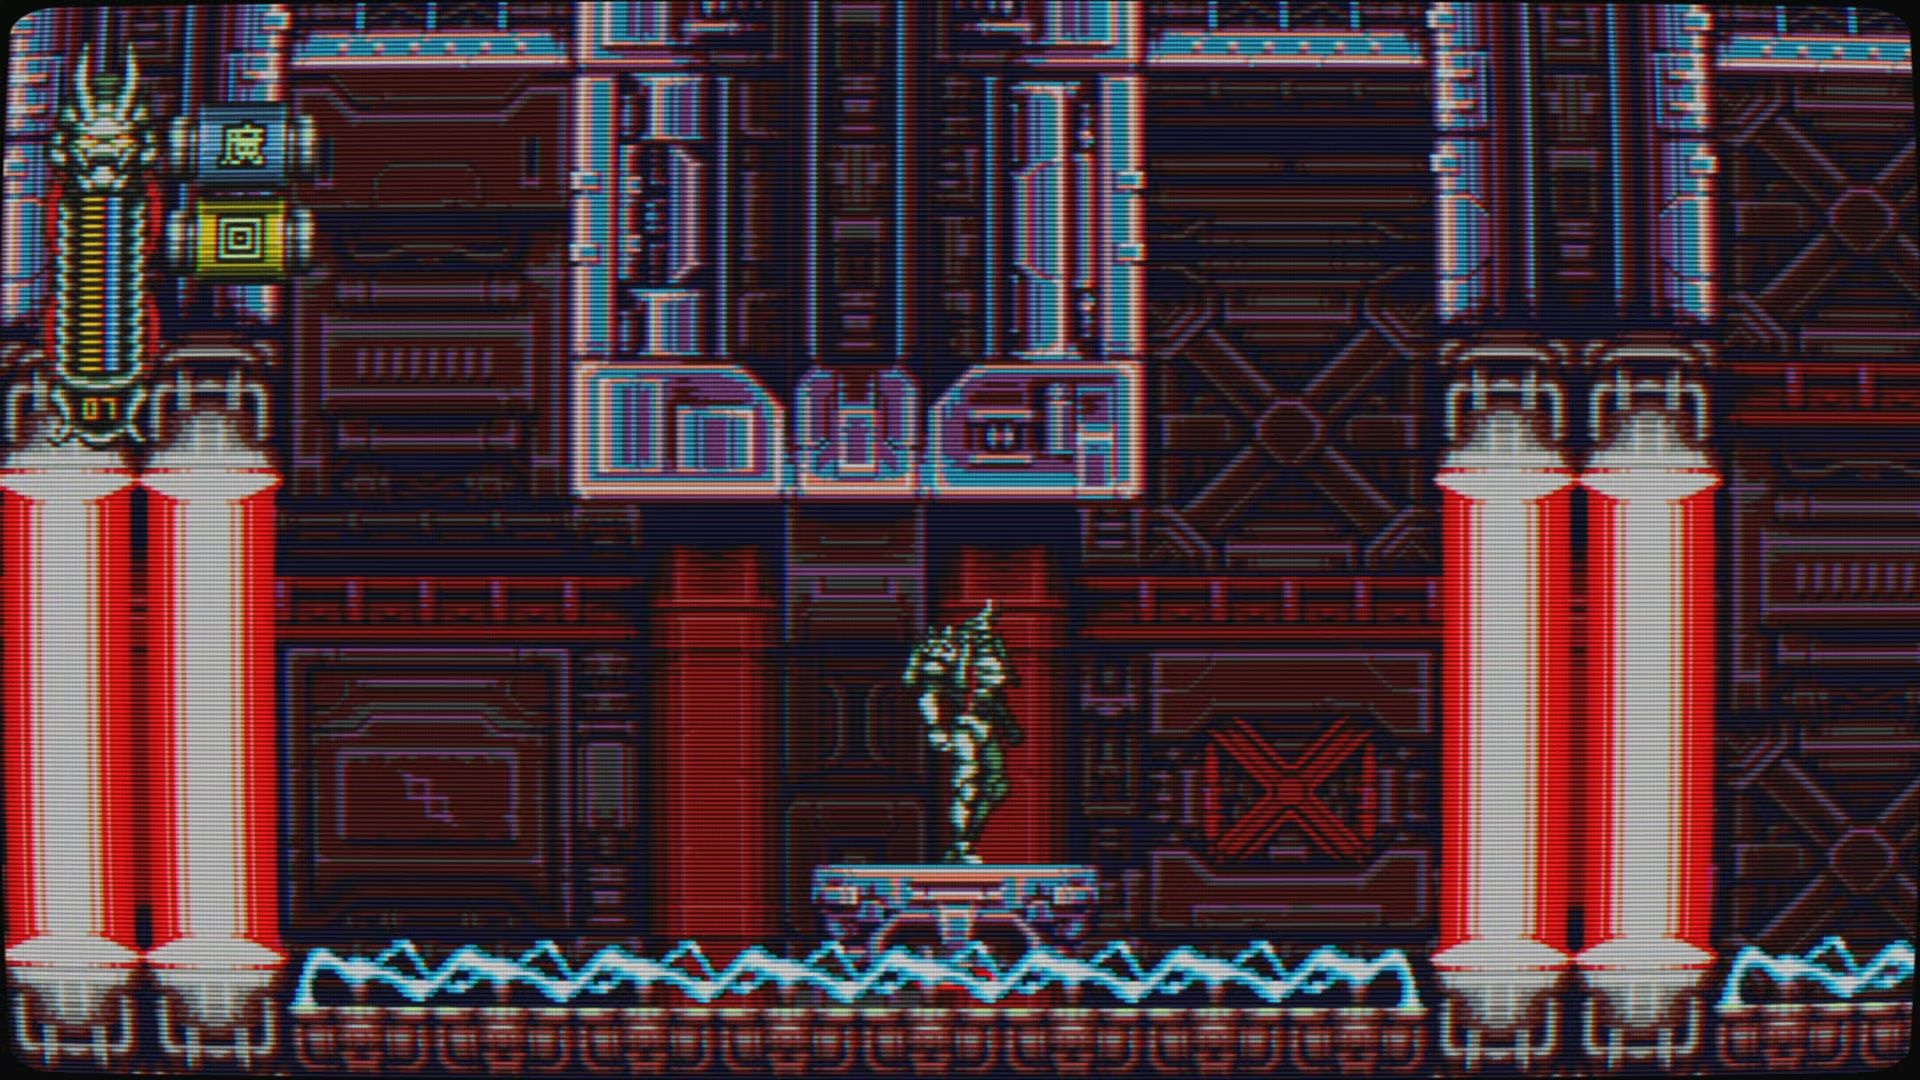
Once you have acquired the chip, hop down. You will now converge with the path you would have traveled had you taken the lower route. You will now need to dash through laser beam traps. If your timing is perfect, you can make it through quite a few. You should only need to pause once or twice. Eventually, you will have to travel along floating platforms, and try to time these laser beams. There are nooks above you can use to kill time by grappling walls.
After that, you will travel down a lift that will fire lasers at you. These are all extremely easy to avoid. For the record, the pattern is to be on the right side of the platform for the first lasers, the left side for the second, and in the middle for the third. Once you get to the bottom you will now face off against a mid-boss.
Laser Research Base Stage 2 – Mid-Boss
This boss isn't too dissimilar from the Bioweapon Lab's final boss. It has three primary attacks. It will shoot two lasers at you from the corners of the screen. Jump straight up to avoid these lasers.
The two orbs on the right and the left will do one of two things… They will either fire a spread shot at you, or they will glow blue and charge you. If they fire the spread shot, use short hops to clear the bullets. If they charge you, stand your ground until they start moving, then get some distance. They will travel to where you were when they first started rushing you. Make sure to hit them once they stop, as you can dish out a little damage this way.
Beyond that, just hammer the glowing blue spot on this creature's chest whenever you have a chance. It will fall quickly enough.
The Laser Tunnels
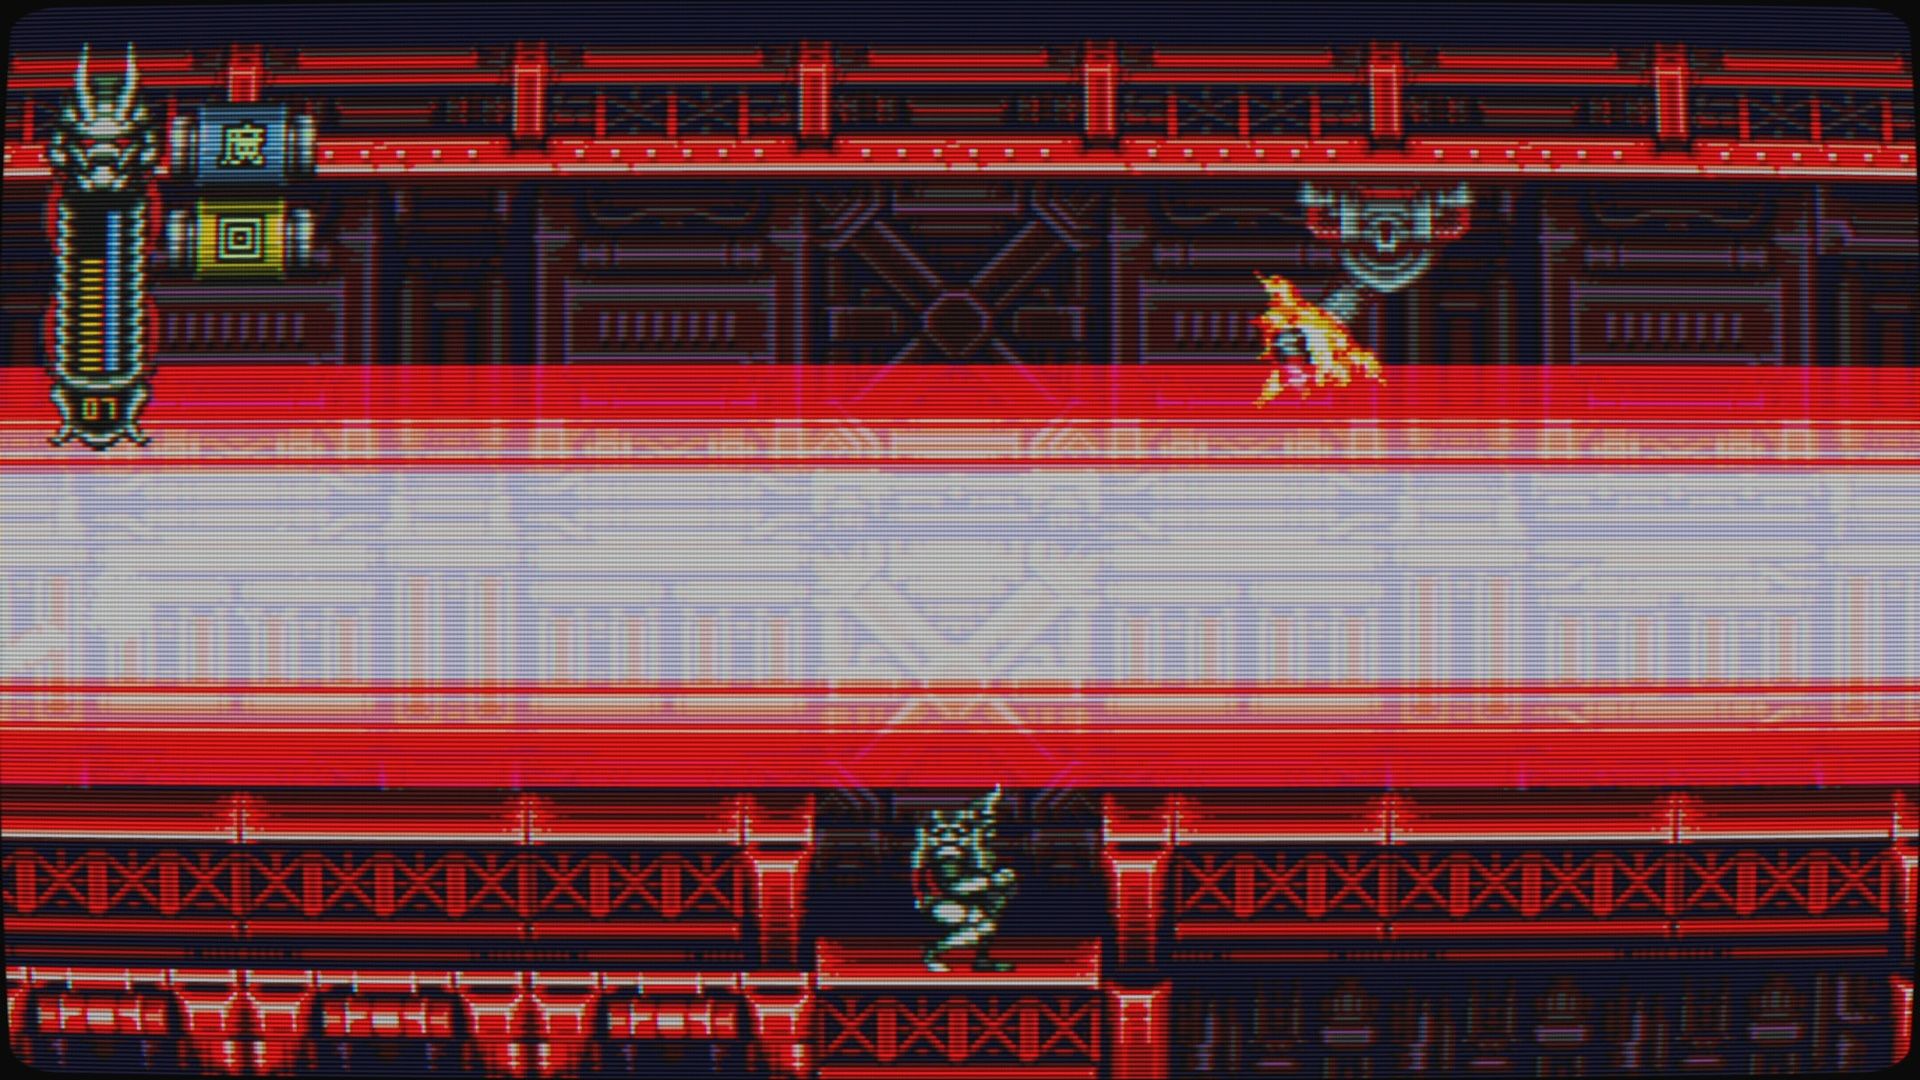
You will now proceed to the final stretch of the level. You will need to enter into giant tunnels which will occasionally fill with a giant beam. There are areas above to cling to the wall to help avoid these beams. Once you get to the second level, you will now have nooks to crouch under the beam in. However, there will also now be enemies in the tunnel with you. Make sure you take out the enemies, as you do not want to be pinned down, under a laser, while a Turret is free to potshot you. Once you pass through the tunnels, it will be time to face off against the stage's true boss.
Laser Research Base Stage 2 – End Boss
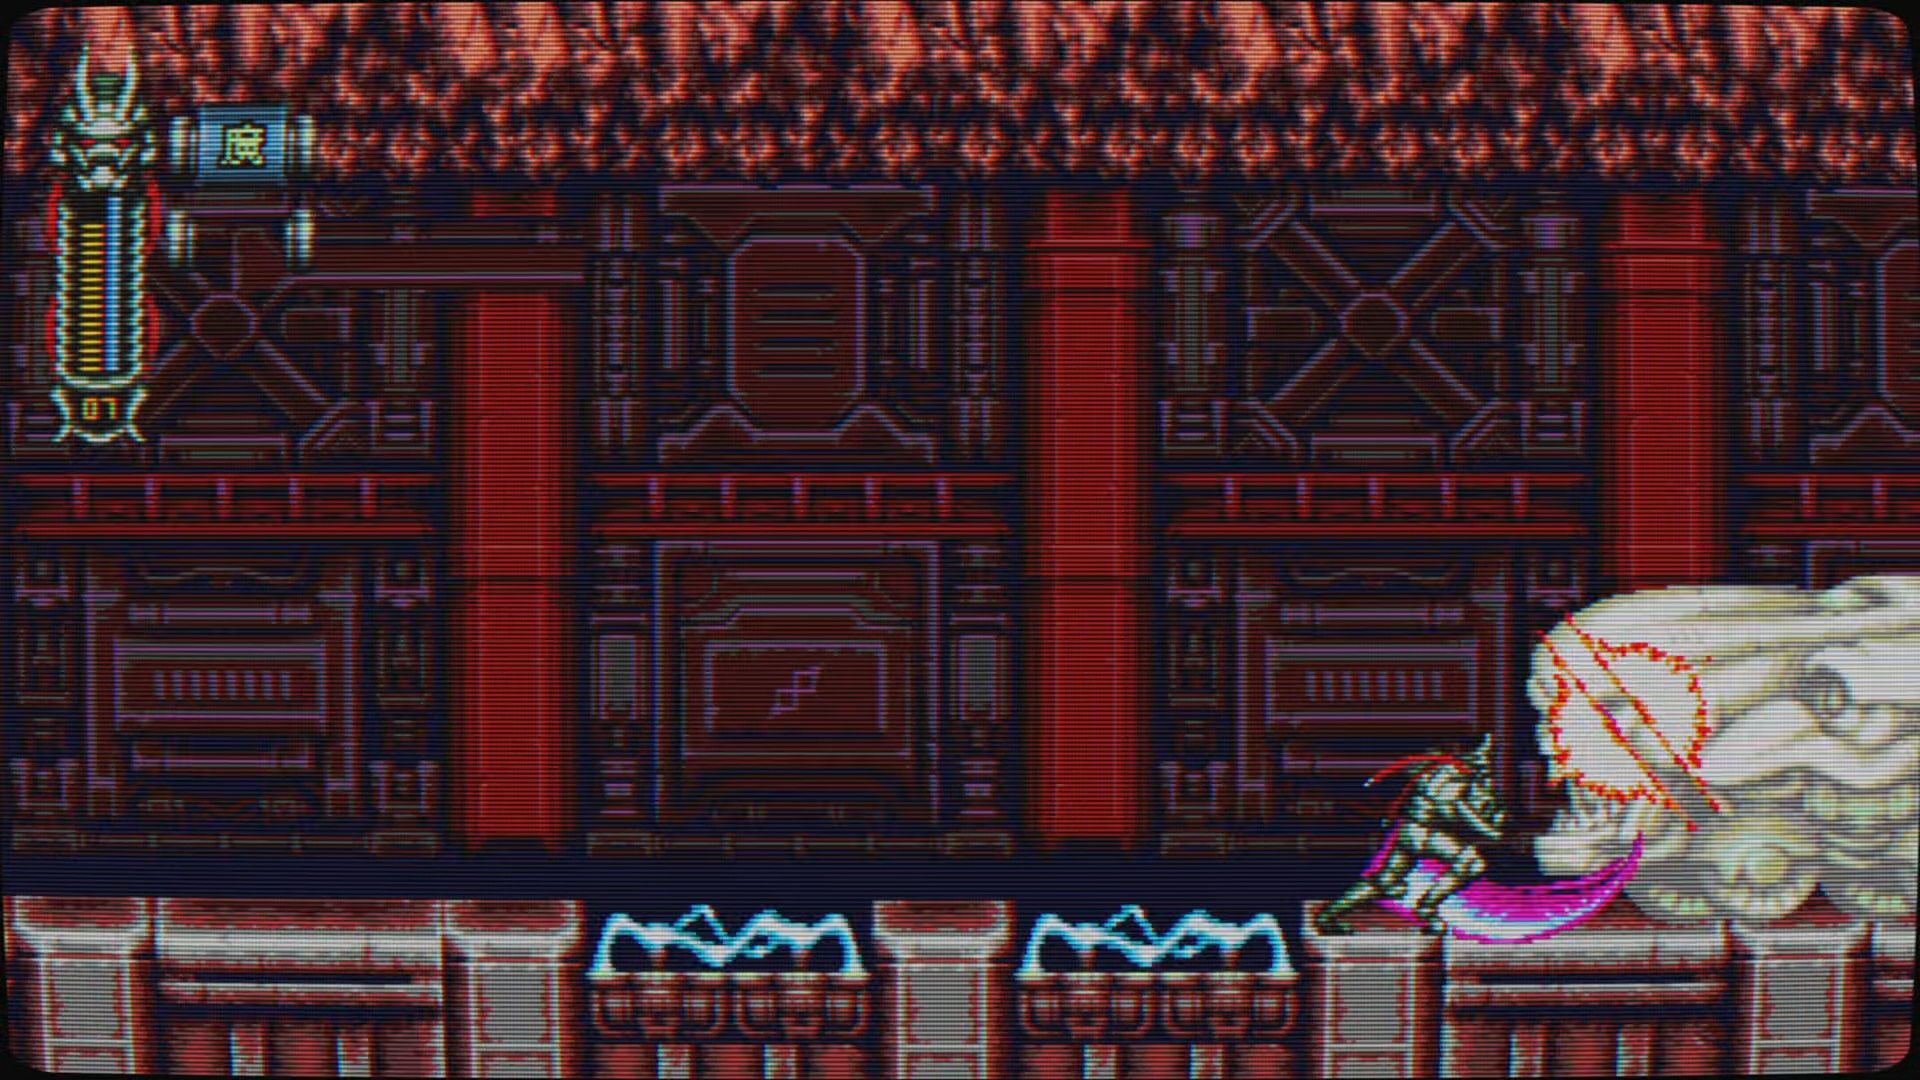
There are two things you need to know about this boss. For starters, they are absolutely vulnerable to your Dive Kick in their first form. Here, all their attacks will be to the left or the right, they don't have an attack that hits above their head. They do have a flying kick, but it will whiff if you are directly above them! So, take advantage of this and stomp on their head. The second thing you need to know is that your sword deals a considerable amount of damage to them. So, when you can sneak a sword attack in, such as when they are landing after a flying kick, make sure to cut them up.
However, partway through the fight they will start using a vertical jumping attack that will swat you out of the air. Once they start using this attack, get distance. Now, wait for them to start firing their projectile, and Dive Kick them from a distance to get over their fireball. Every time you land a Dive Kick, try to bounce away, back to safety. Once they lose their first health bar they will power up. Don't attack them as they are doing this, as you will just take damage.
You can't Dive Kick mindlessly in this fight. If your Dive Kick lands the instant they are performing an attack, you may take damage. So, don't press the attack button to initiate the kick until you see them commit to an attack of their own.
In their new form, their attacks will be the same, but they will have better range. Just keep Dive Kicking them in the head, and slashing them when you get the chance. As long as you play this one smart, you will manage to beat him without taking too much damage.
Source: Read Full Article
