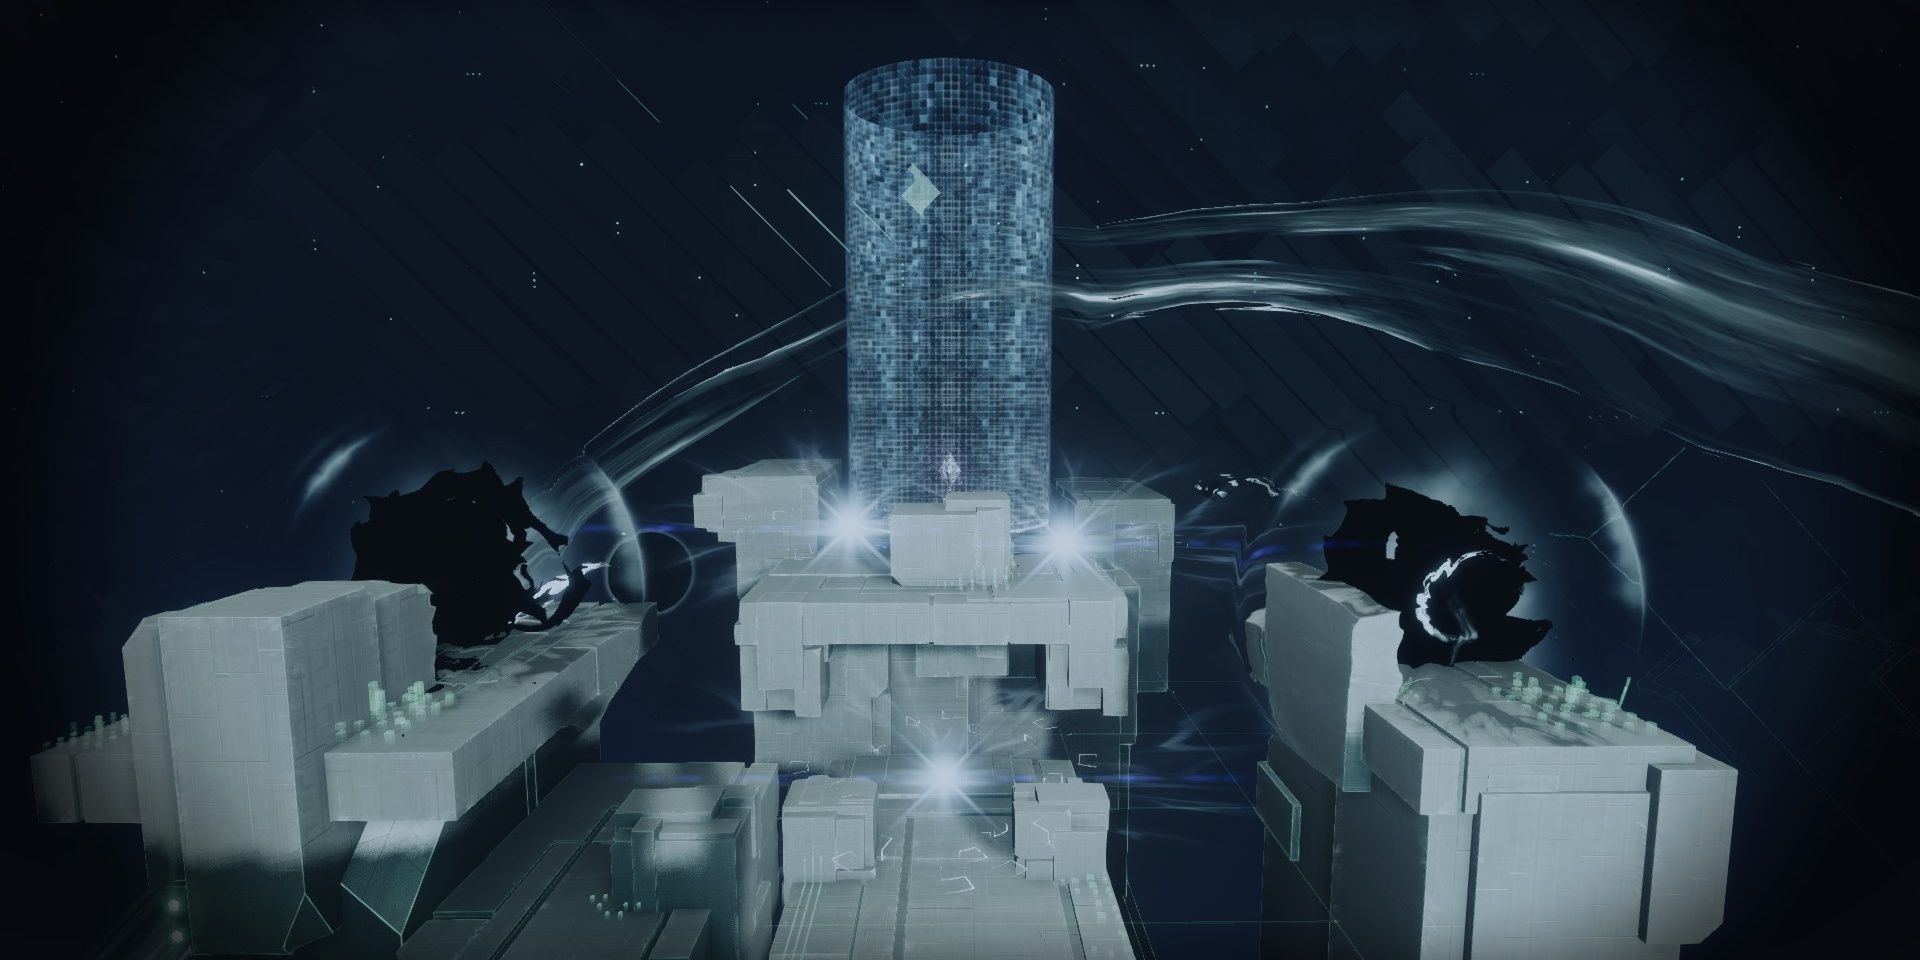
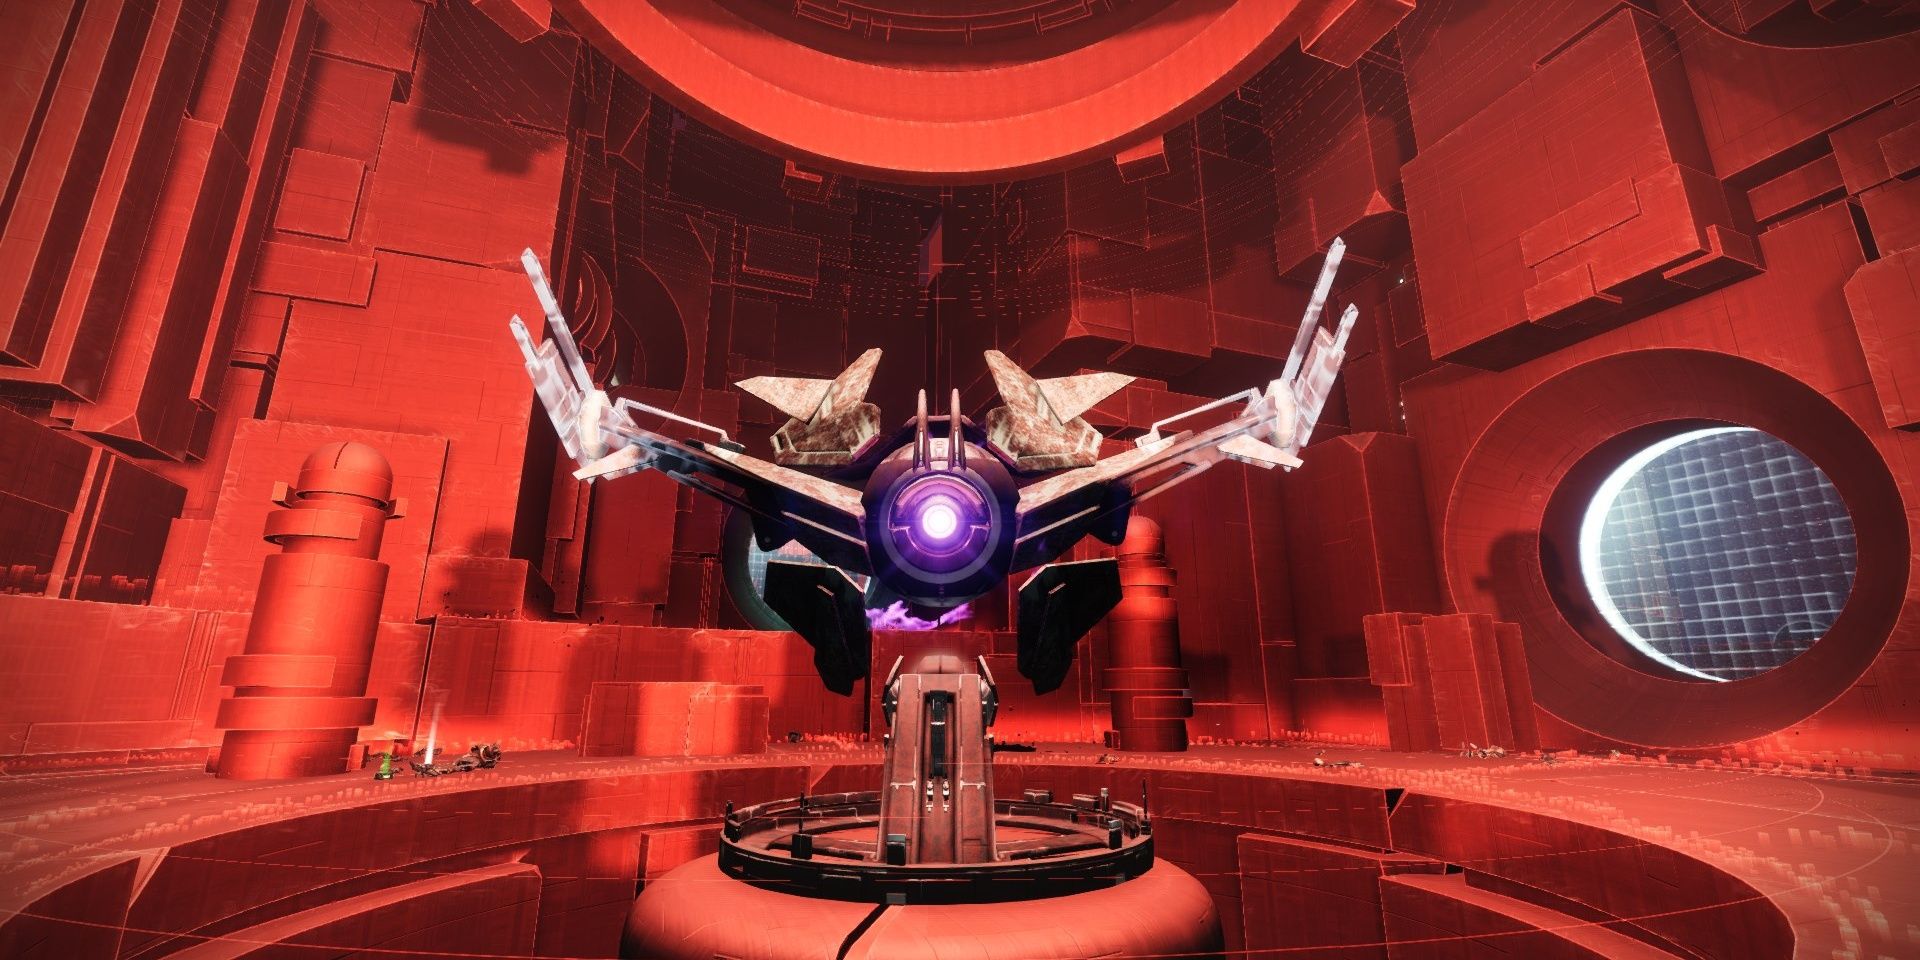
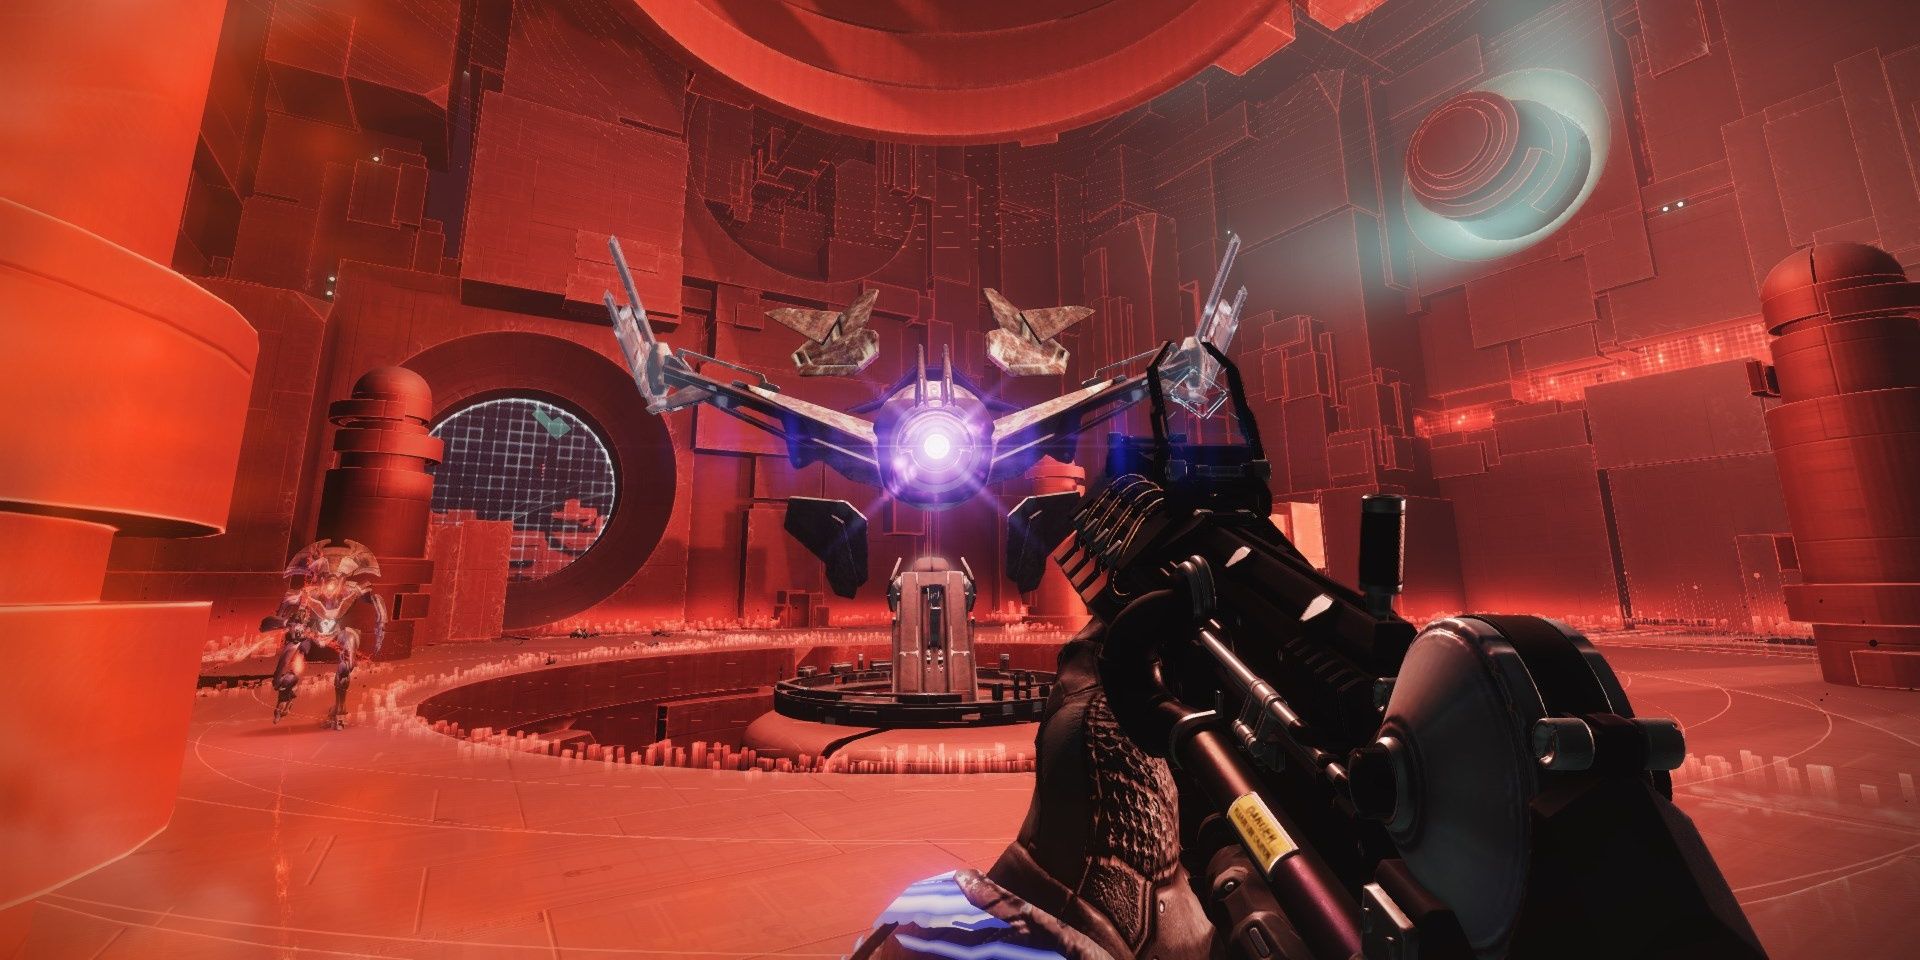
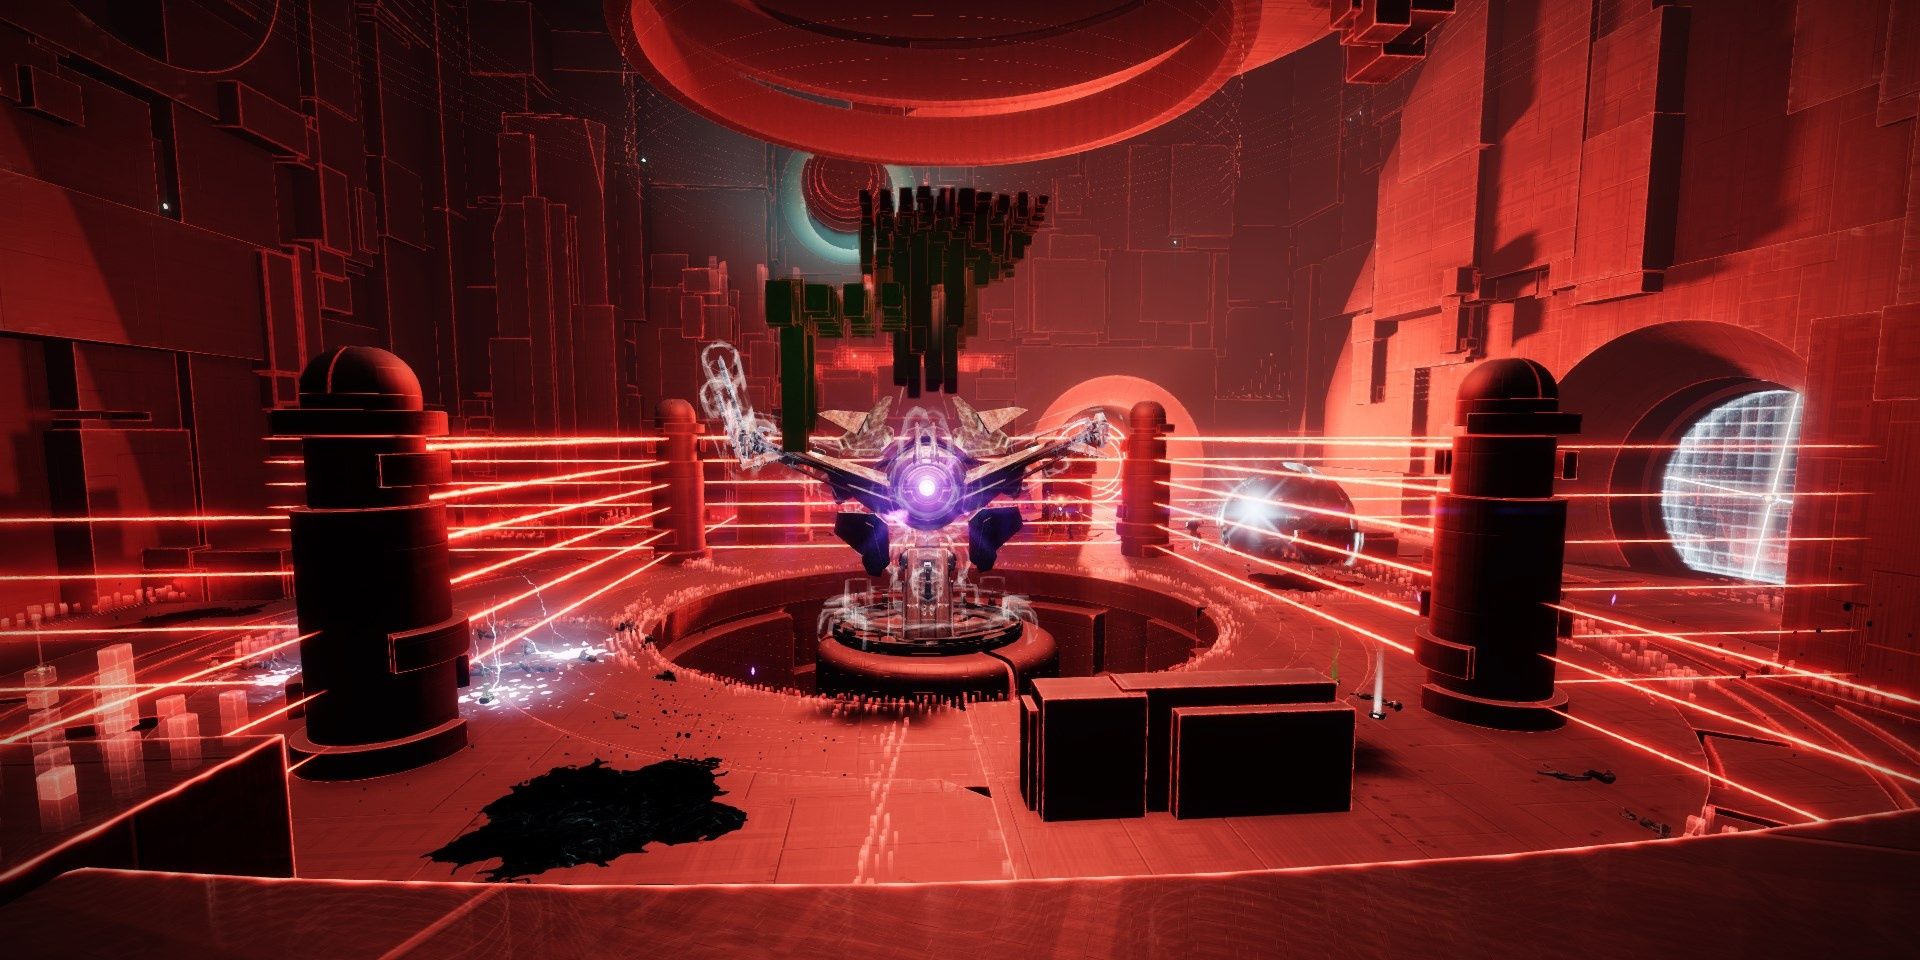
Expunge has seen yet another corrupted variant appear in Destiny 2’s Season of the Splicer. Styx, the second Expunge mission, has a corrupted variant that contains Taken enemies and traps. If you can brave the corrupted Vex Network, you’ll be able to open Corrupted Chests that grant a limited amount of high-stat armor and weapons with selectable final perks.
While the changes made to this mission are minor when compared to its uncorrupted relative, Corrupted Styx is a slightly more challenging mission. Some platforming sections are littered with Taken propulsion traps, Taken Goblins make certain enemies invincible, and Blights block your path during certain sections of the level. Let’s go over how you can overcome this Corrupted Expunge mission and clear it quickly.
Changes From Expunge: Styx
The corrupted variant of Styx hasn’t seen many changes from its uncorrupted counterpart. Here’s what you can expect:
- Taken Mines and propulsion traps have been added to the level. Watch your step.
- The minimap text found in the Nexus is Quria taunting you (they’re the same sentences as Corrupted Labyrinth).
- Taken Blights block some passages. You’ll need to destroy the Blight to proceed.
- Some Vex have been replaced with Taken enemies.
Champions, mechanics, and the final boss are all the same. Bring an Anti-Barrier weapon before starting this mission.
Enter The Corrupted Nexus
The path through the Corrupted Nexus is the same as before. Check out our Labyrinth and Corrupted Labyrinth guides if you need a refresher.
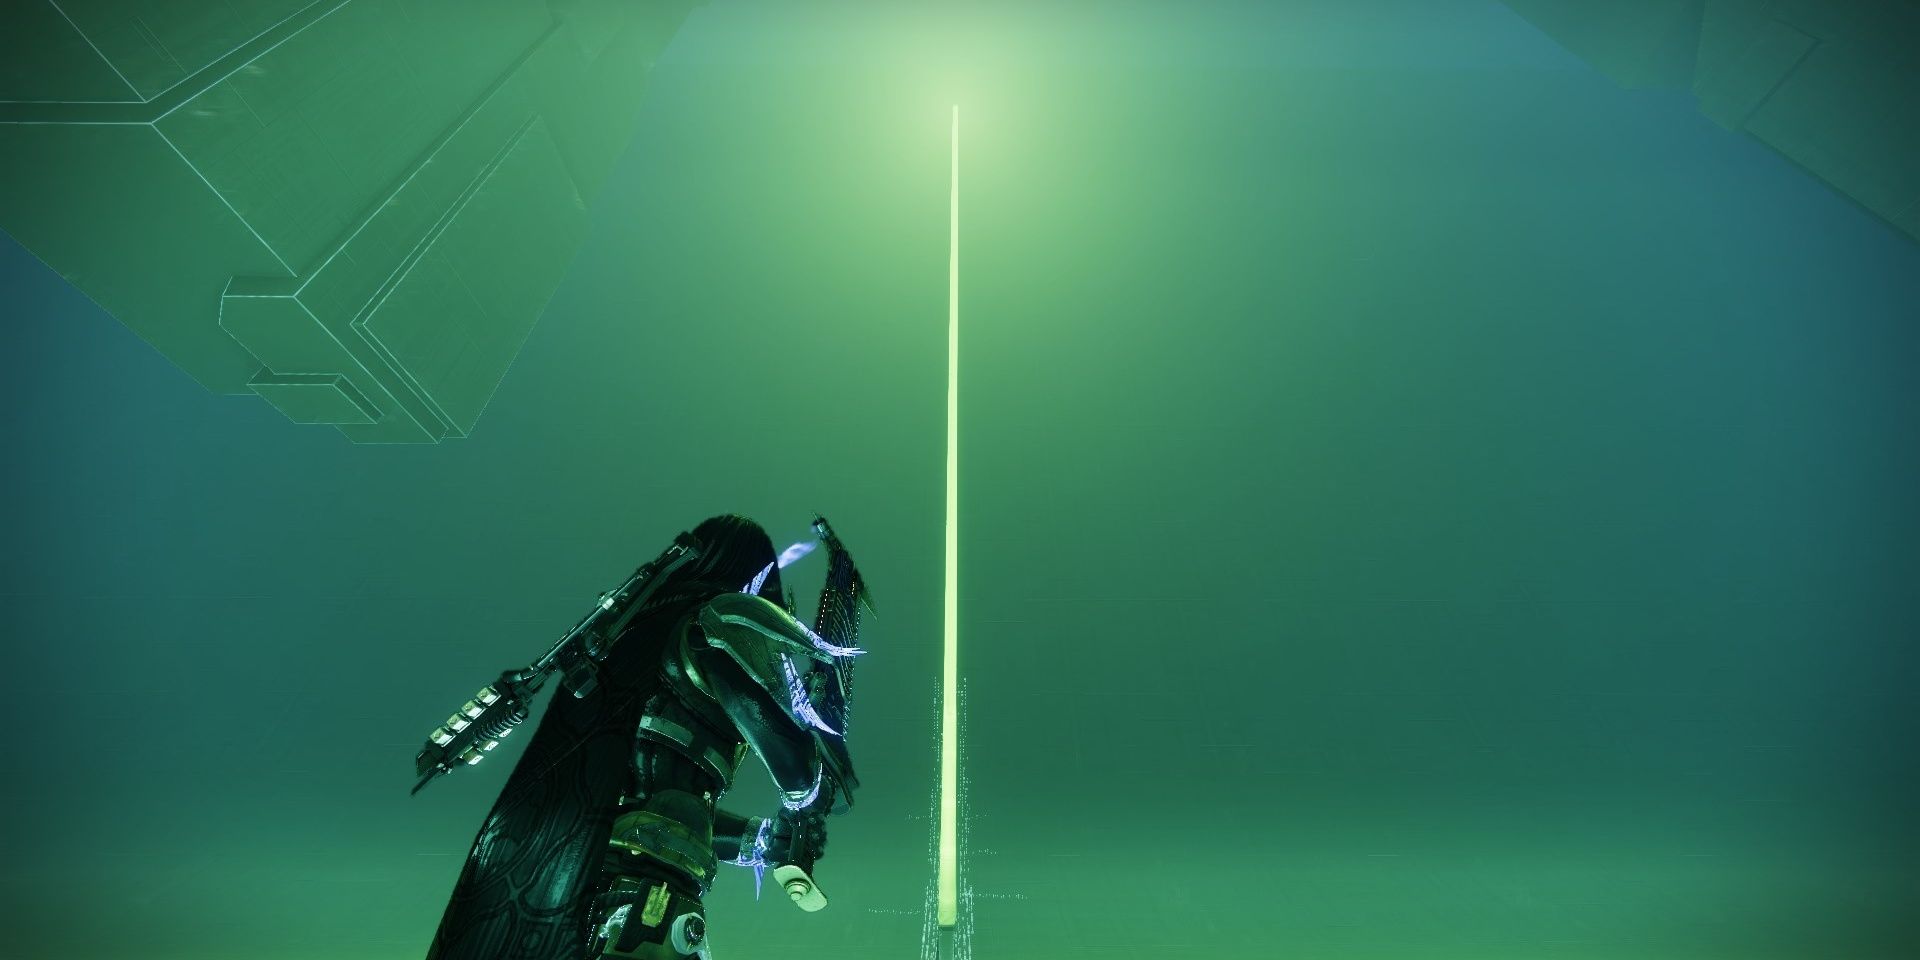
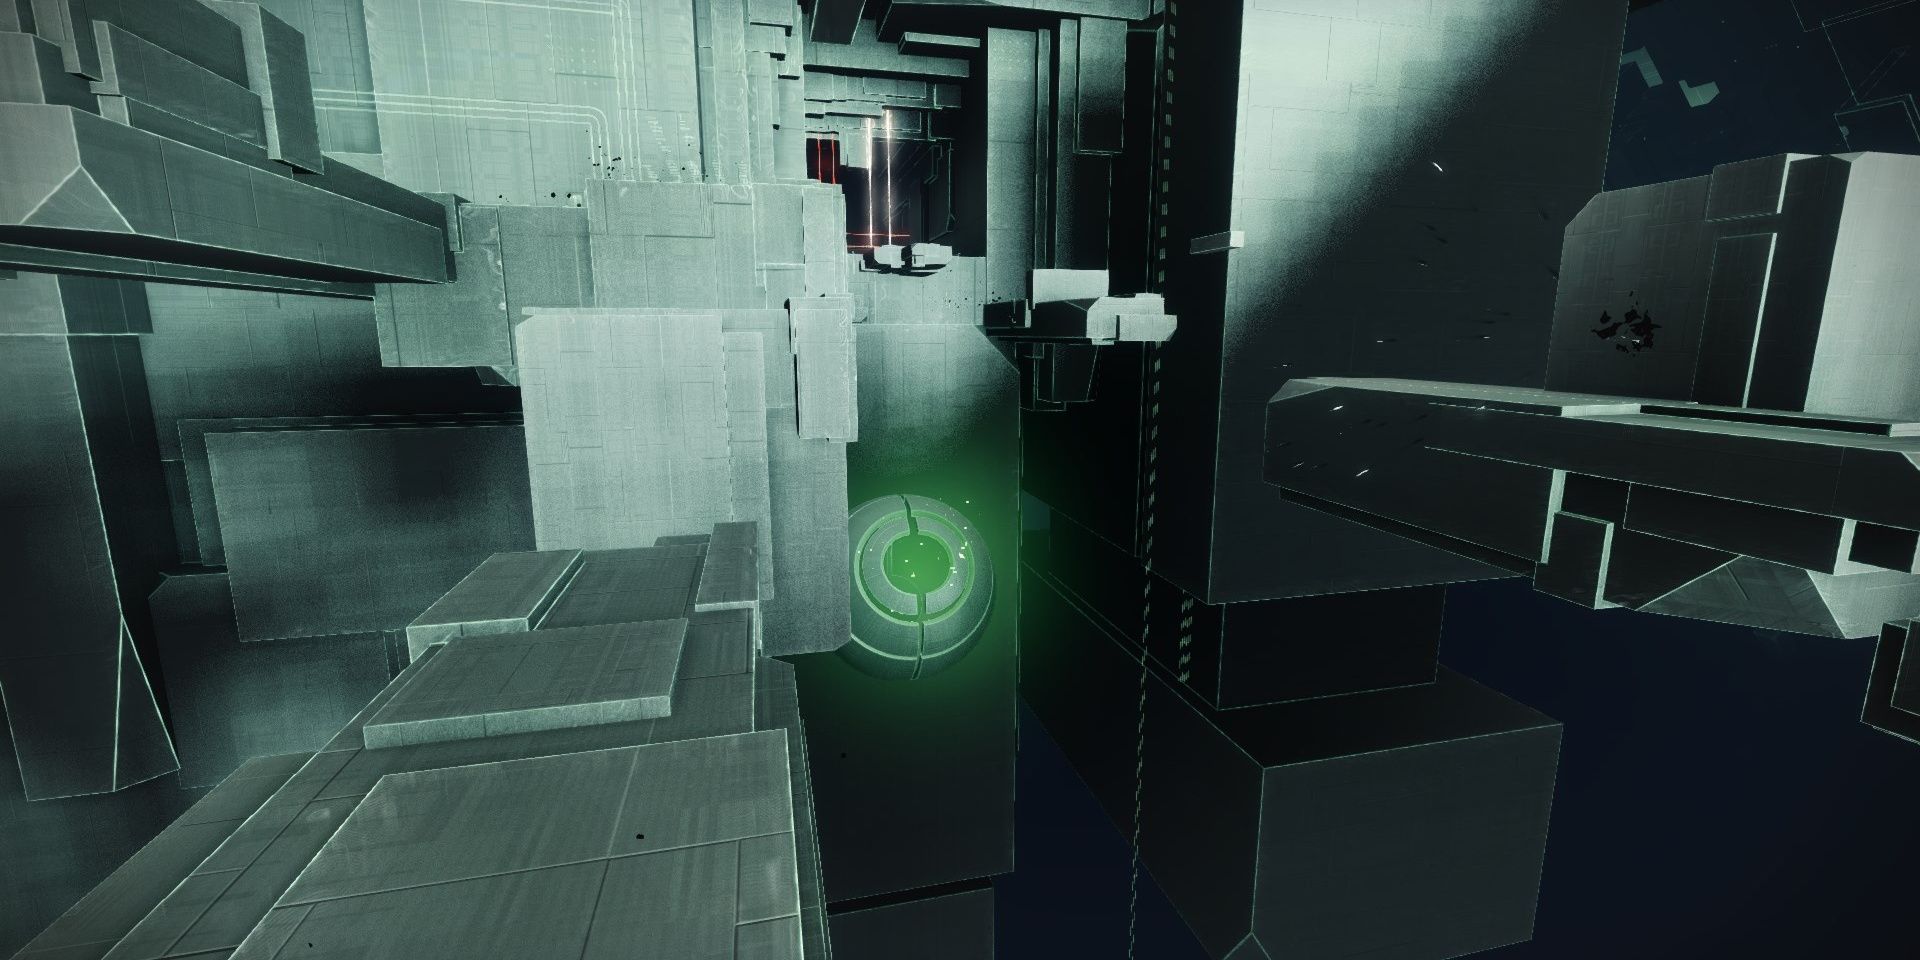
Pro Tip: With the Wirewalker upgrade, you can skip most of the first section. Interact with the green diamond after the first descent to open a path to the final section of the Nexus. This should reduce your run time by around a minute.
“Brute Force” The Authentication Conflux
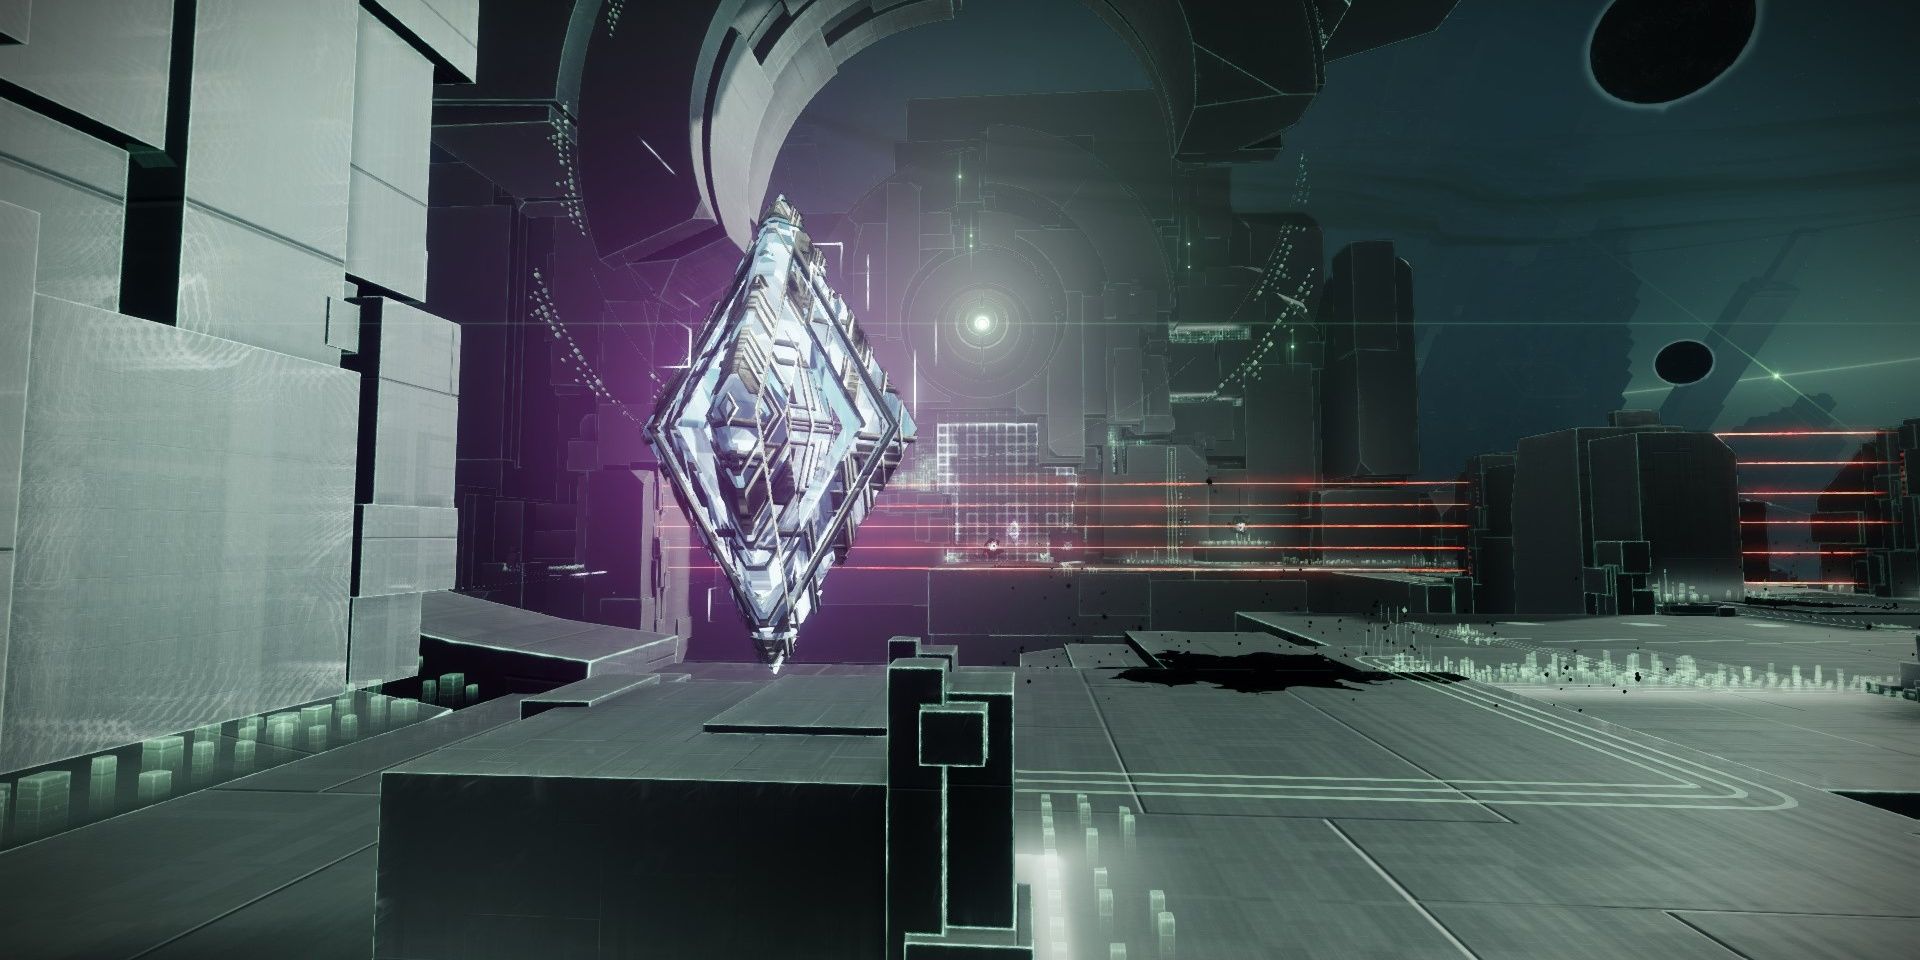
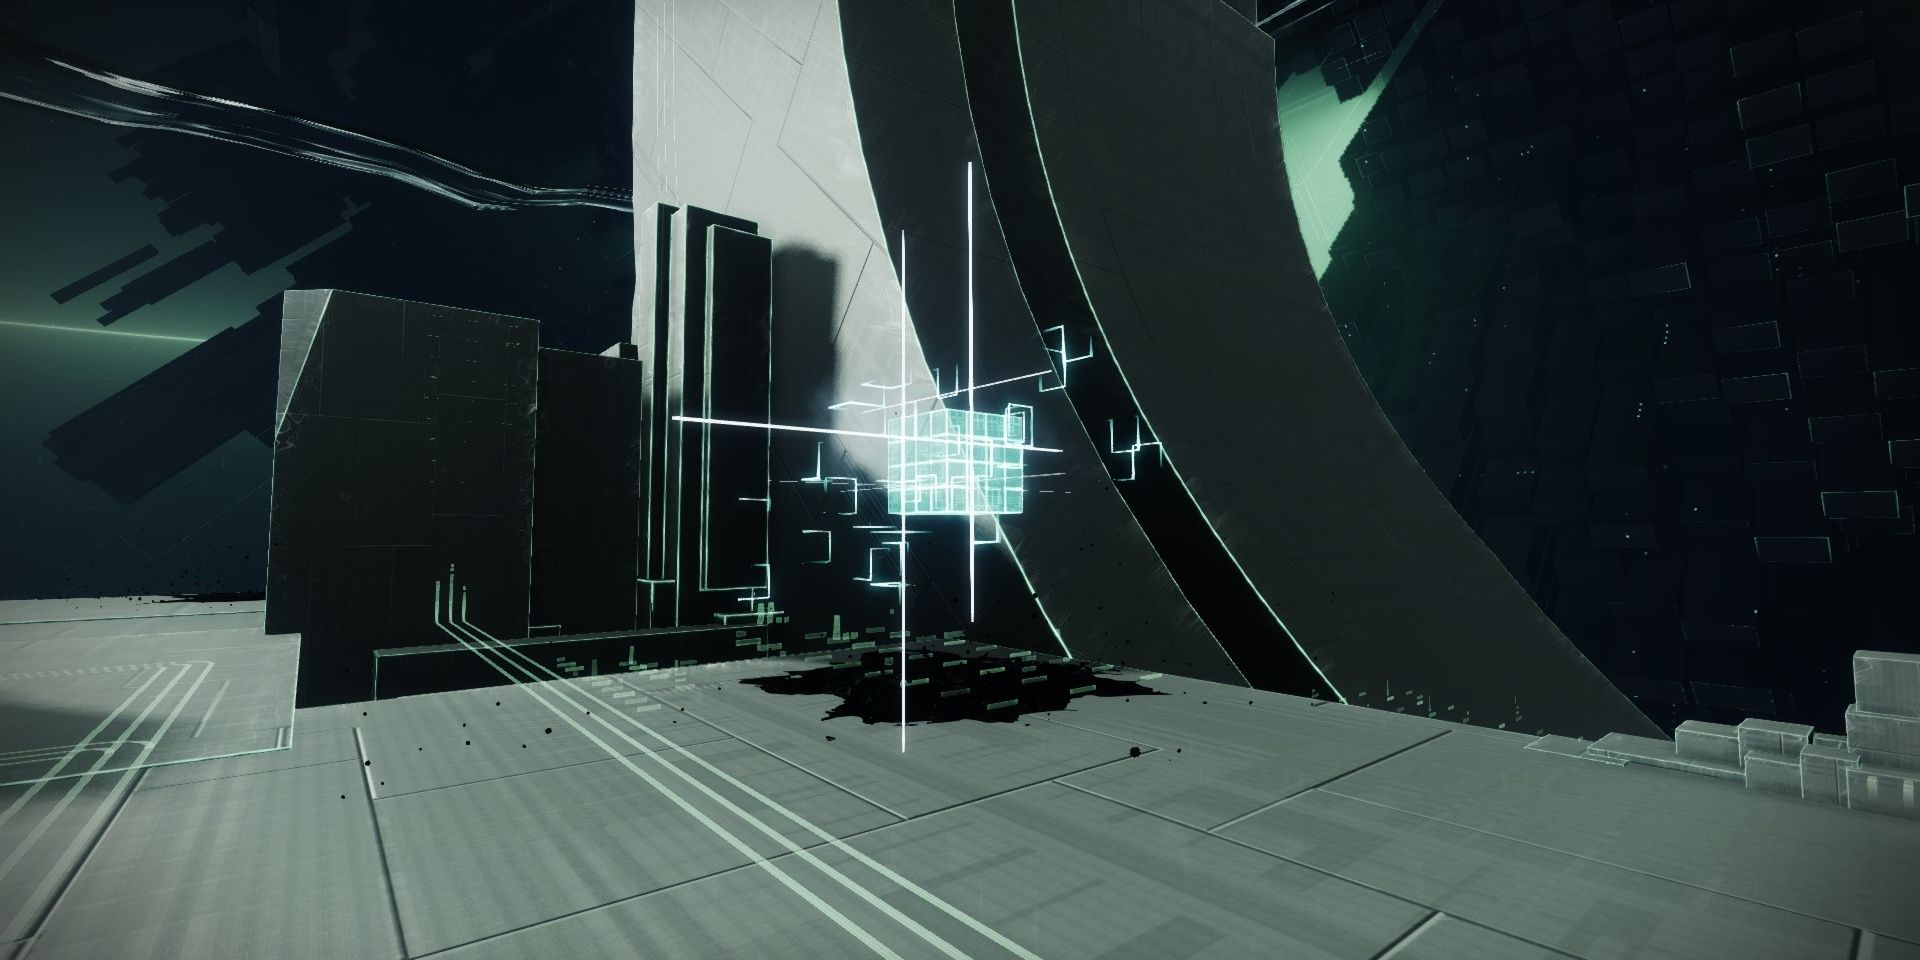
You’ll be greeted with a strange Vex diamond when you arrive. This diamond, when destroyed, will spawn an Authentication Key. These keys are Styx’s main mechanic, so it’s best that we go over how they work.
Note: If you have the Codestrider upgrade, interact with the green terminal that’s just after your spawn location. This will unlock jump pads and additional platforms that drastically shorten this mission’s runtime.
Authentication Keys And Datacubes
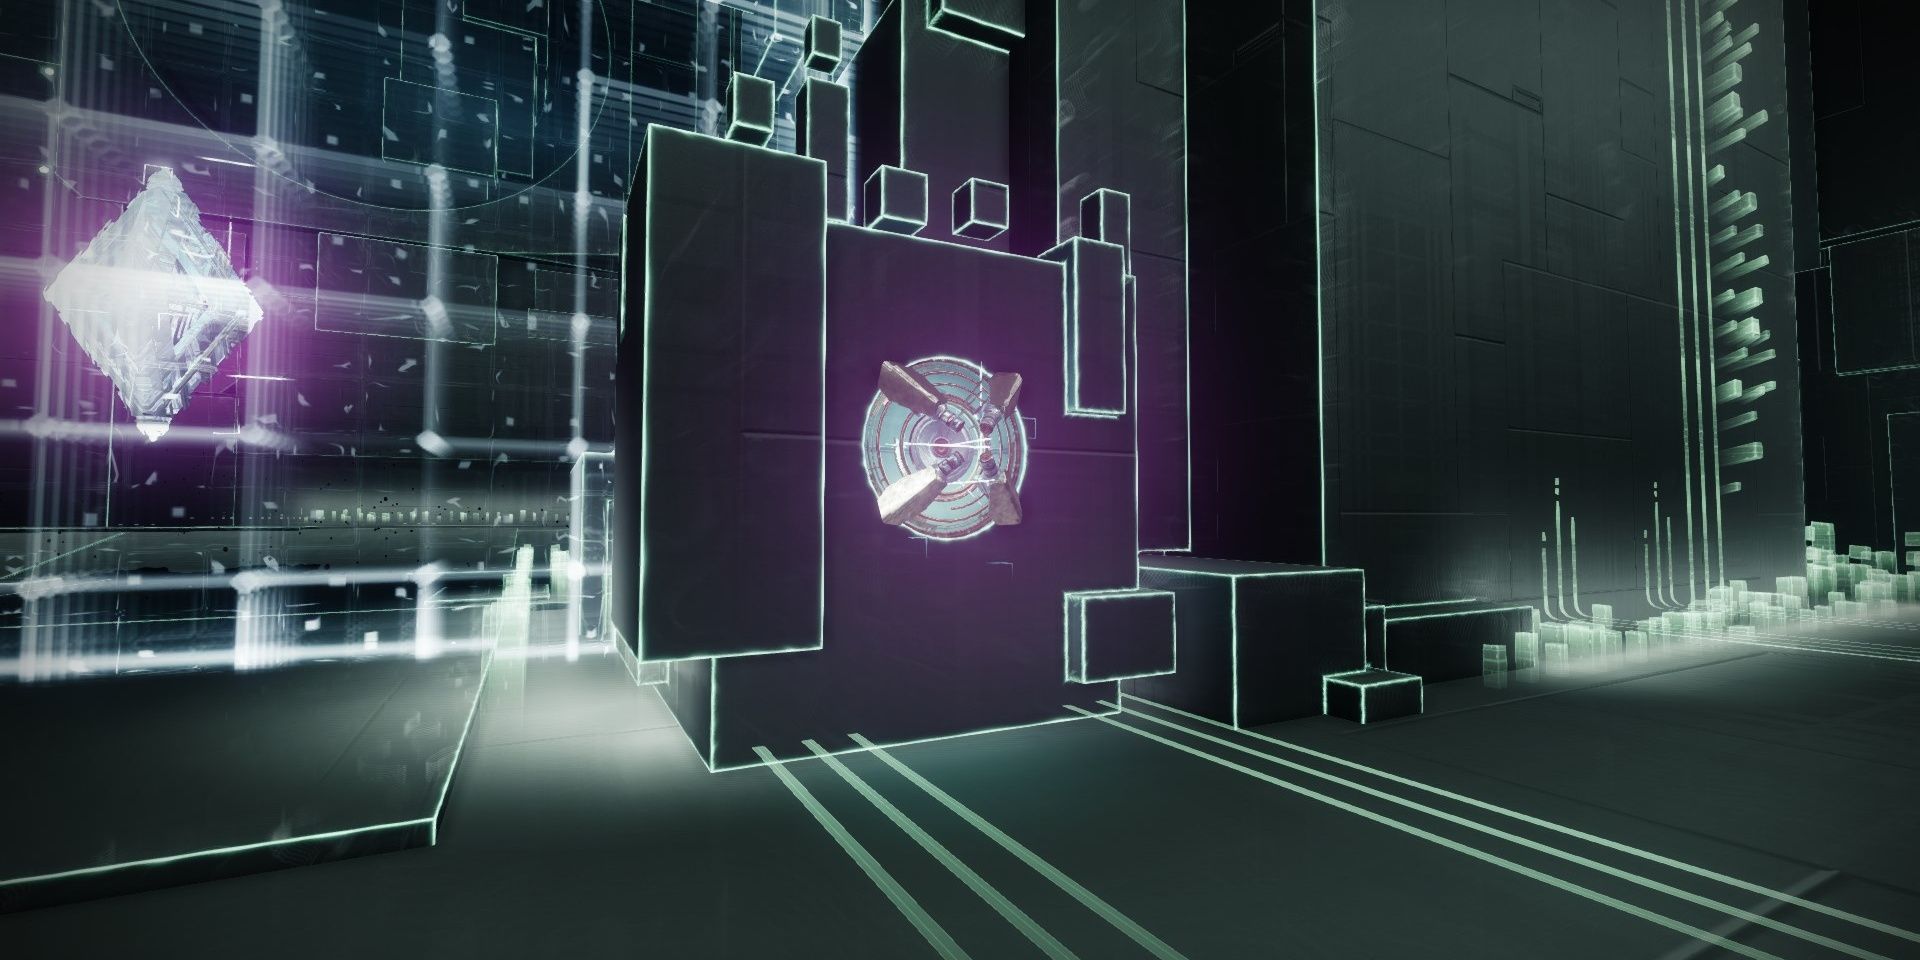
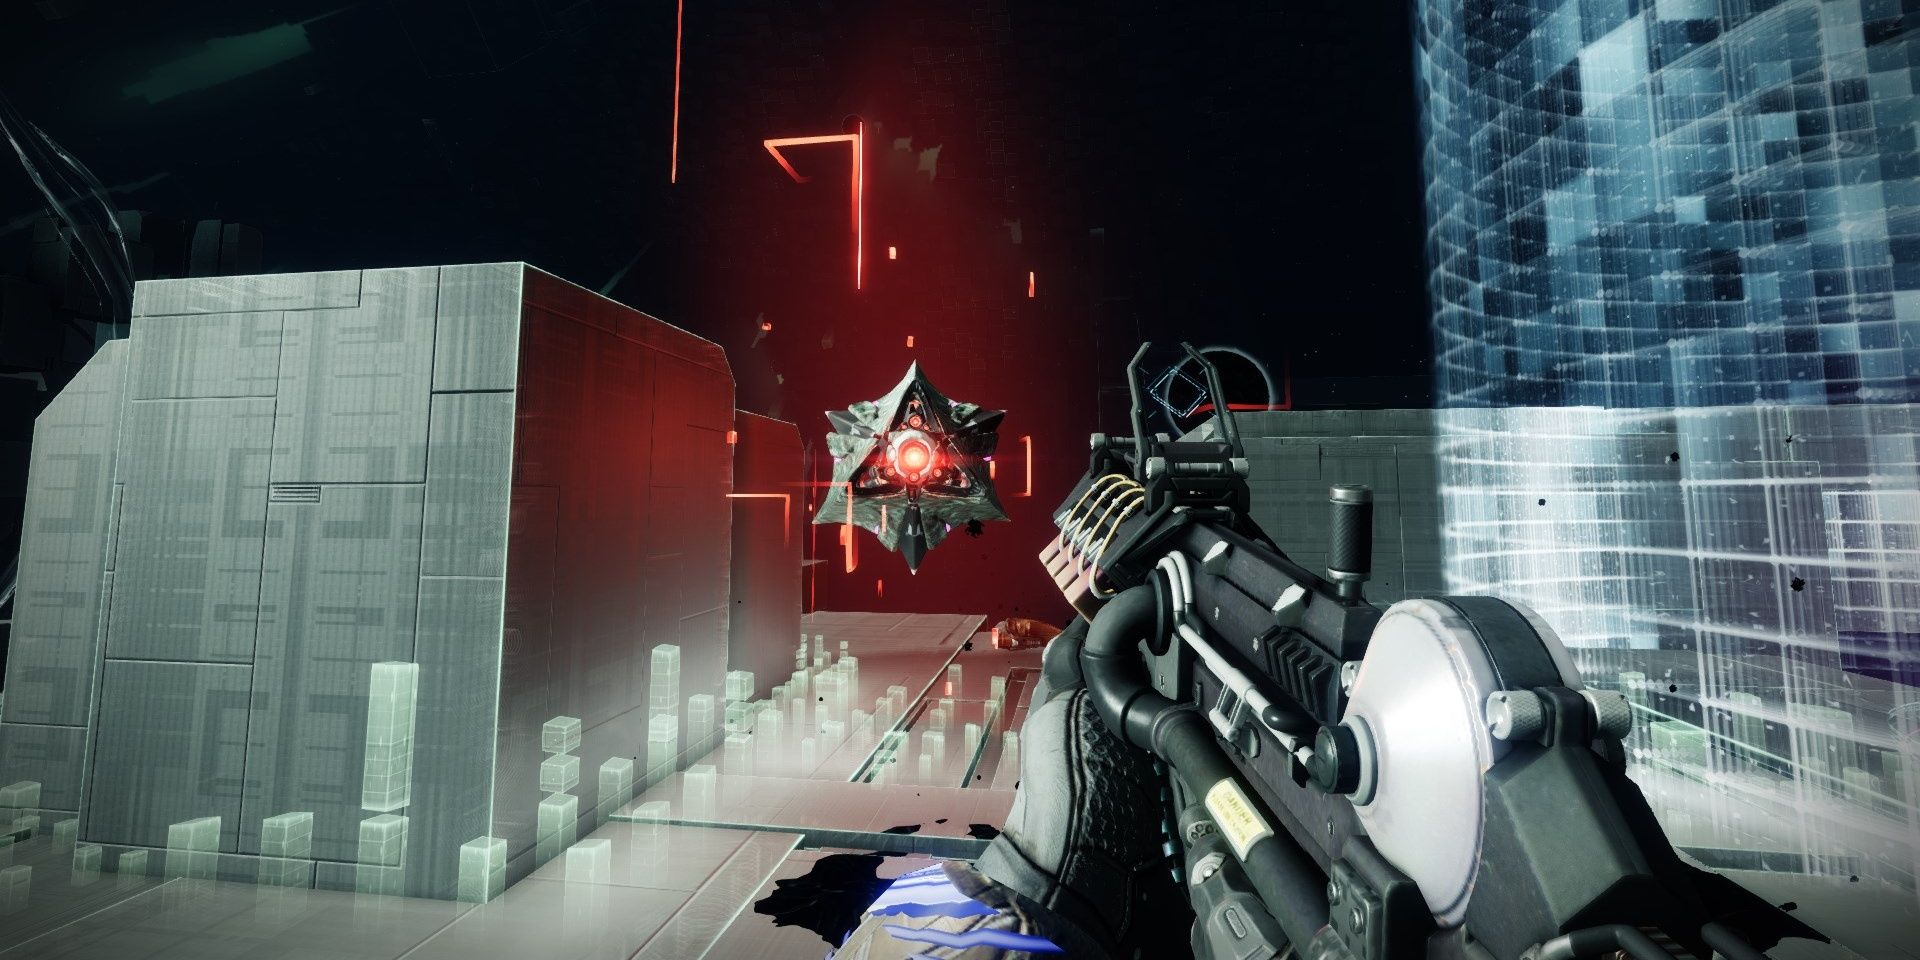
Authentication Keys are orange balls that spawn upon breaking a Vex diamond. These keys must be inserted into locking mechanisms to disable Vex walls in your path, allowing you to progress through the level.
Some key traits about these keys:
- They last 10 seconds before they despawn.
- You can melee while carrying one, giving you a surge of momentum.
- When their timer runs out, they will respawn at the last Datacube you activated.
Datacubes are blue Vex cubes that are scattered throughout the level. While you have an Authentication Key in hand, walking over a Datacube will spawn a data plate. Standing in the plate will recharge the key, extending the buff’s timer for each second you stand on the plate. Your Authentication Key can’t have a timer that exceeds ten seconds, no matter how long you stand on a plate.
Using Keys
Now that you have an Authentication Key, make your way to the other side of the arena, avoiding all laser traps and enemies. Deposit the key into the lock beside the Vex gate to proceed.
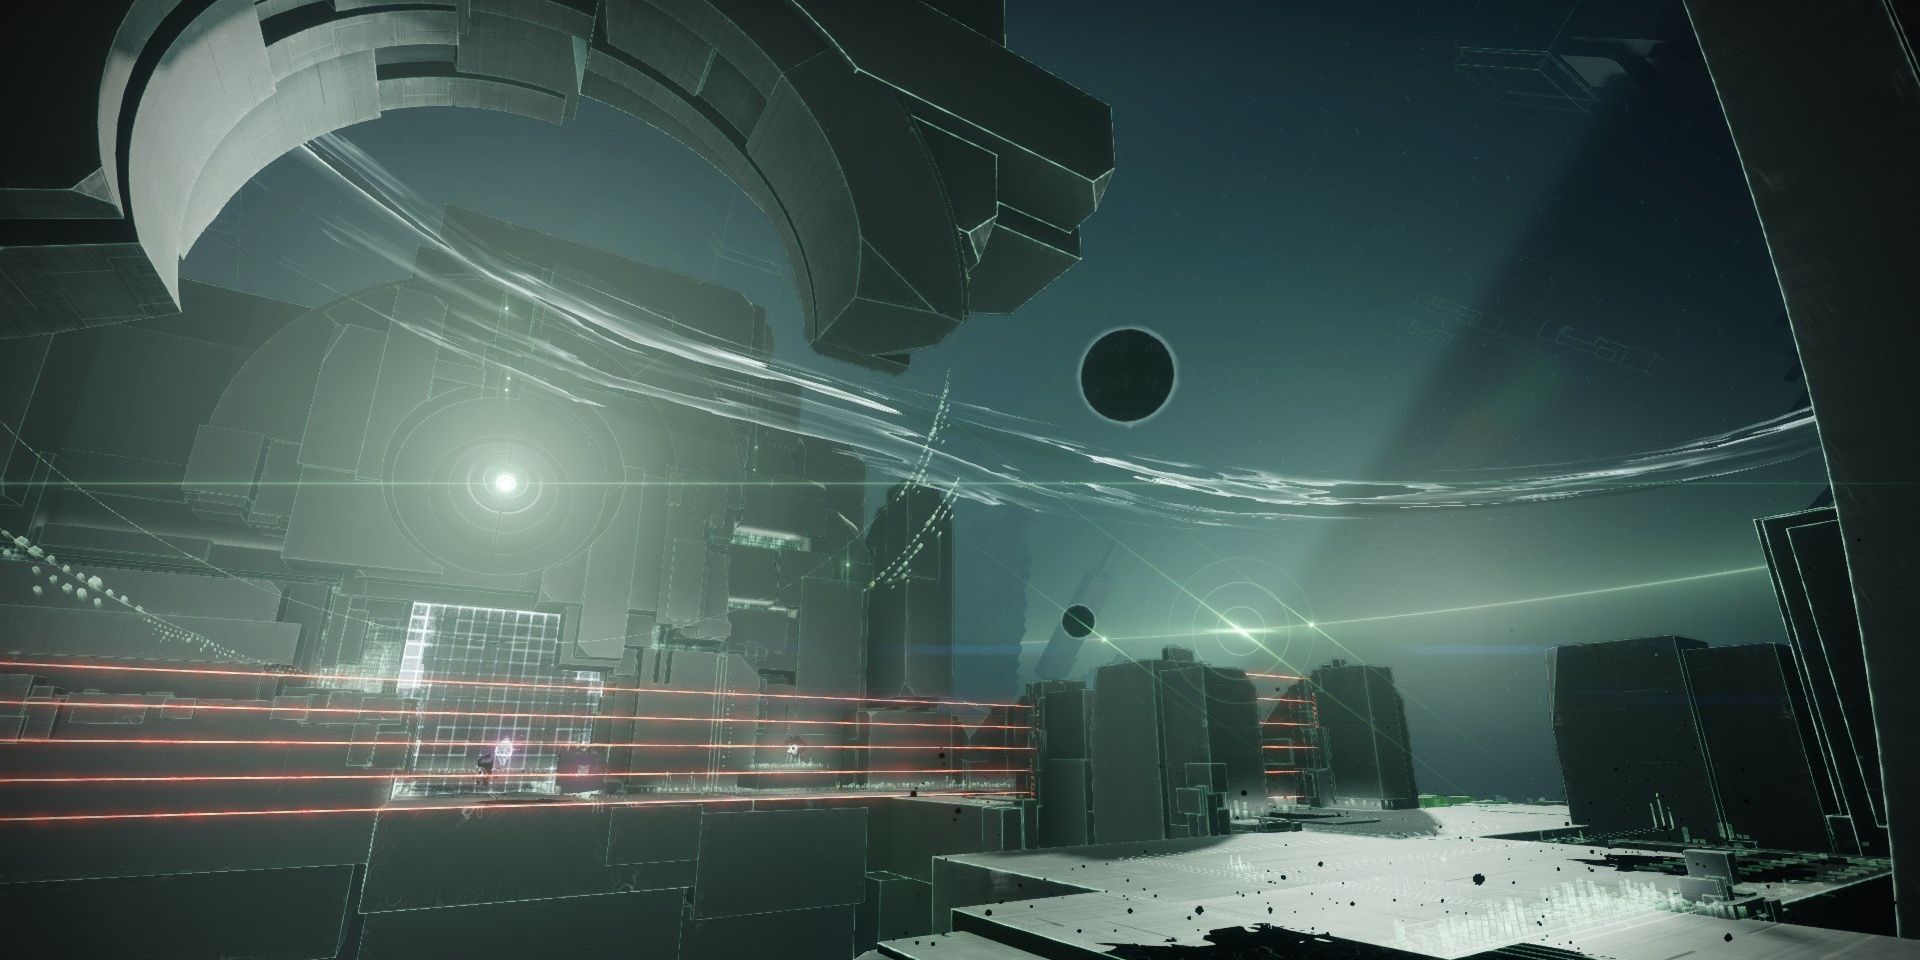
A second Vex diamond will be directly in front of you. Break it to spawn another key. Escort the key to the first Datacube straight ahead. If you have a movement Exotic equipped, you can hop over the laser fence to reach the next cube. Otherwise, follow the path to the left of the laser fence. When your key is recharged, bolt to the other end of the room.
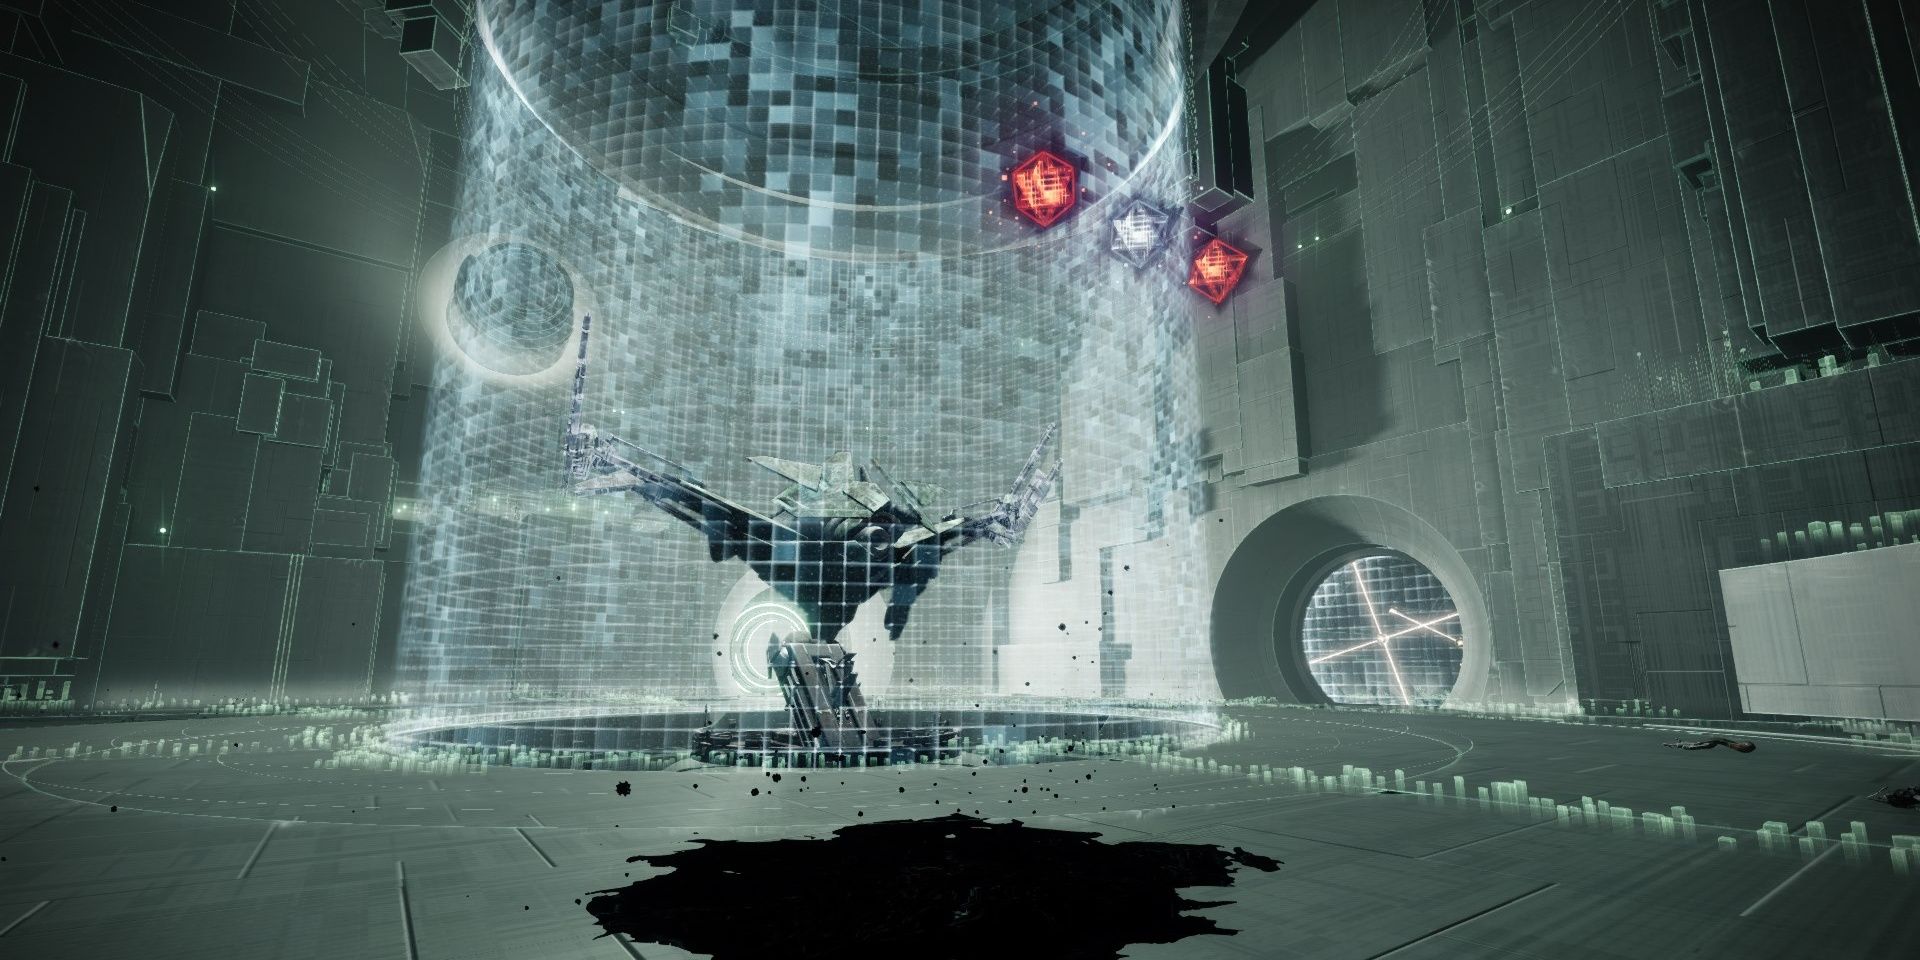
The next room has an imposing Cyclops encased in a Vex field. Deposit your key into the lock in front of the Cyclops. This won’t drop the shield fully. You’ll need to find two more keys before you can face the boss.
Obtain New Authentication Keys
There are two more Authentication Keys in this level that you must find. One is found to the left of the boss, while the other is to the right. Deposit the last two keys to release the Cyclops, starting this Expunge mission’s final encounter.
Authentication Key #1
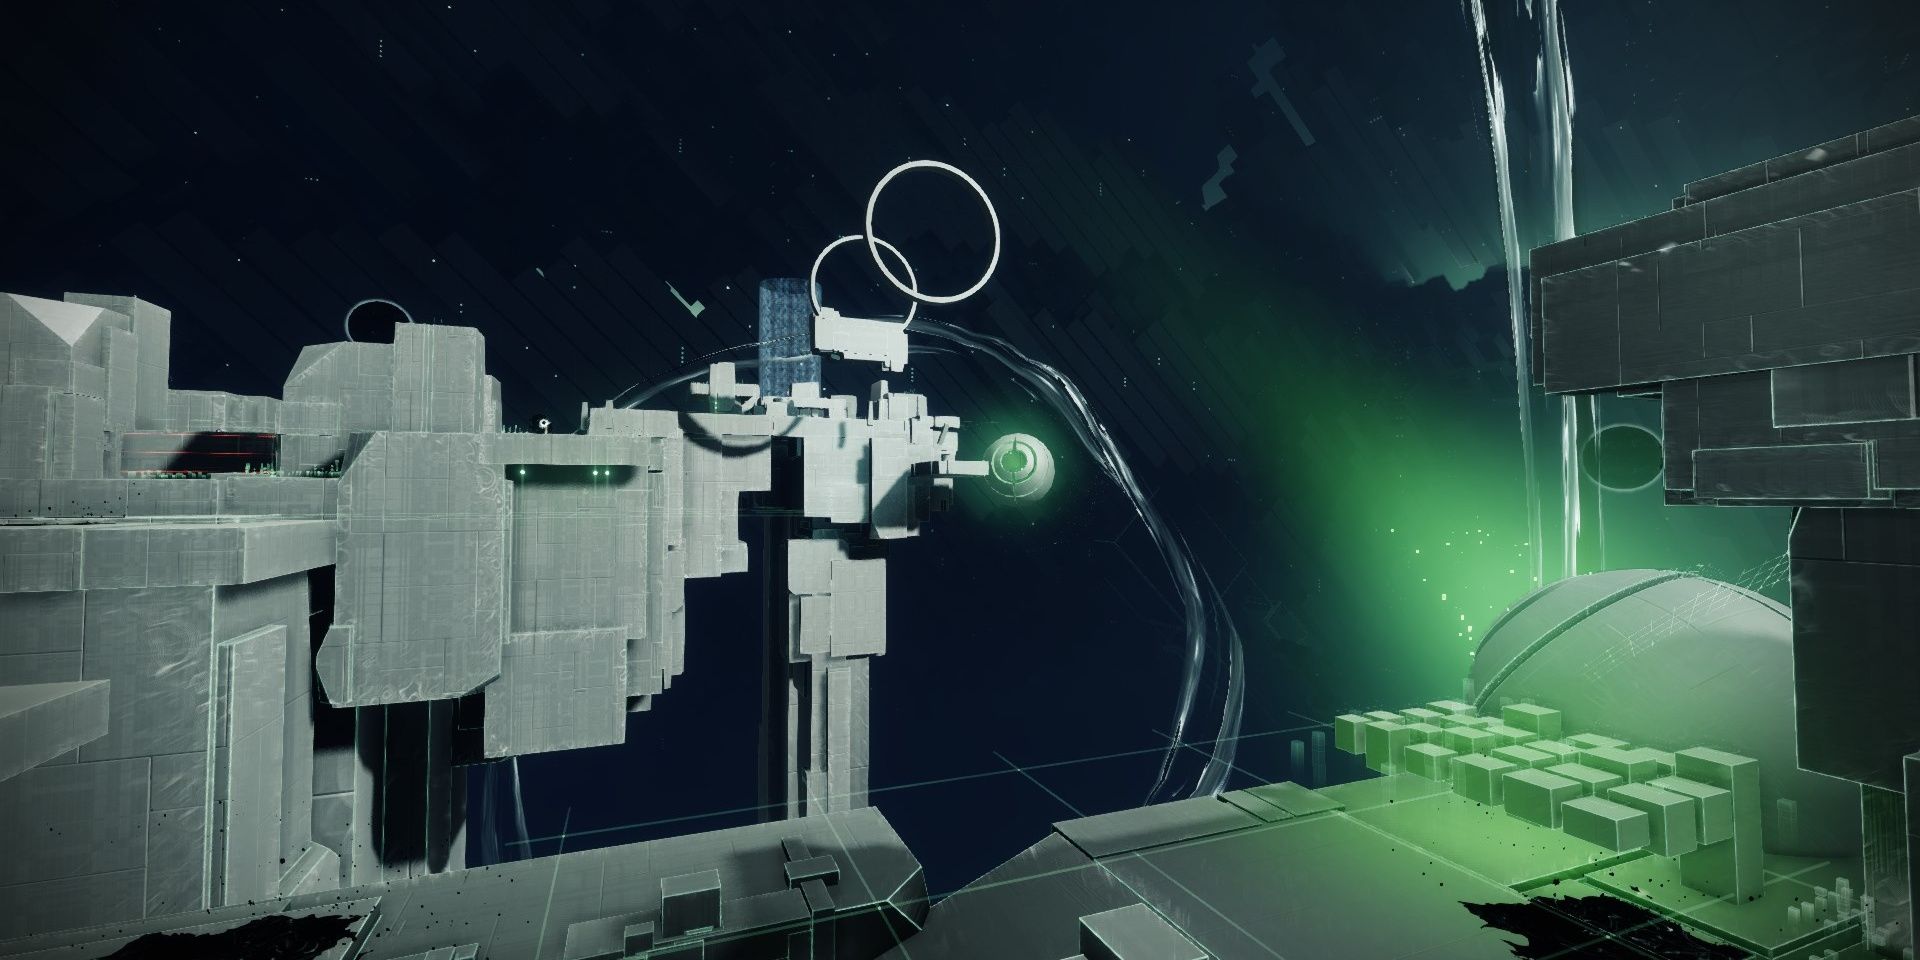
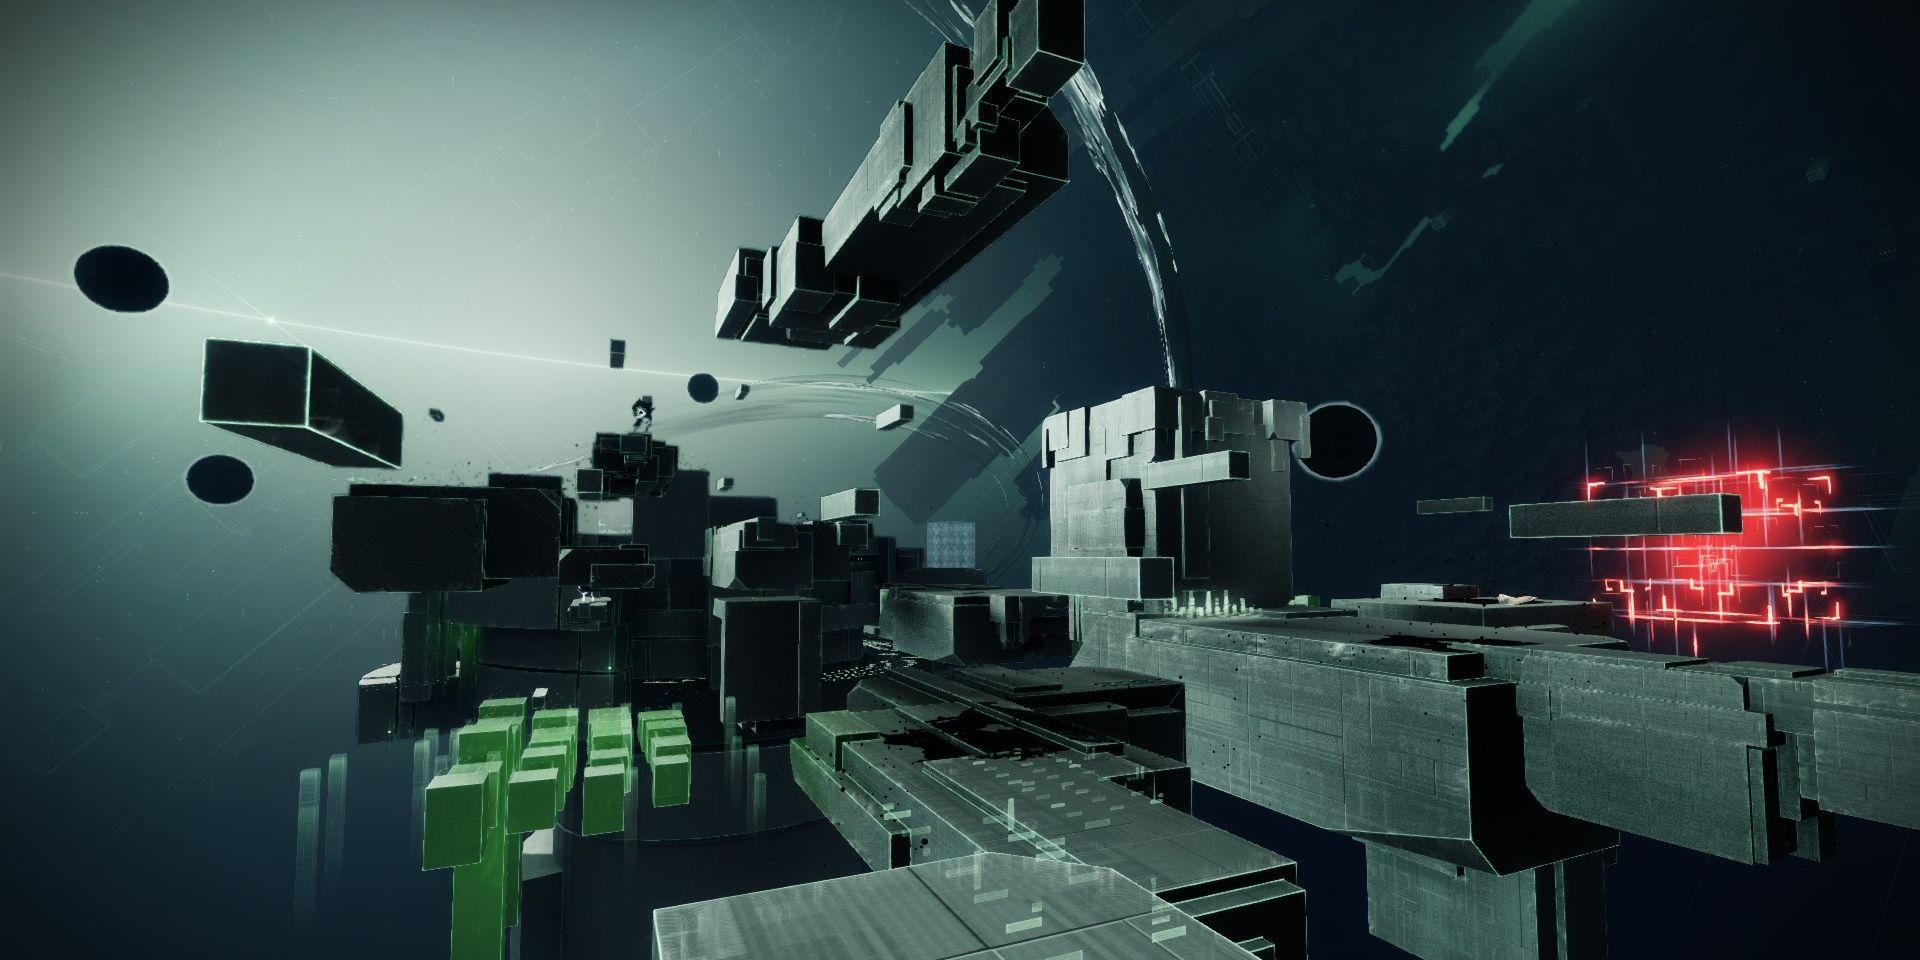
You’ll find the second Authentication Key to the left of the Cyclops. This outside area will spawn quite a few Vex and Taken when you arrive. Carve a path through them, traversing through the floating platforms to reach the other side of the arena.
Note: A gravity lift can be found to the right of the arena. If you activated the green terminal at the start of the level, use the lift to skip most of this section.
Multiple Vex and Taken will spawn when you arrive, guarding the Vex diamond that holds the Authentication Key. One of the enemies is a Barrier Hobgoblin, so be sure your Anti-Barrier weapon has ammo. Defeat the first wave of enemies to spawn the second wave.
In this second wave is a Nexus Guardian, a tough Harpy that encases the Authentication Key’s spawn location in a Vex cage. You’ll need to kill the Nexus Guardian to drop the cage. When it’s destroyed, grab the Authentication Key and book it back to the boss arena.
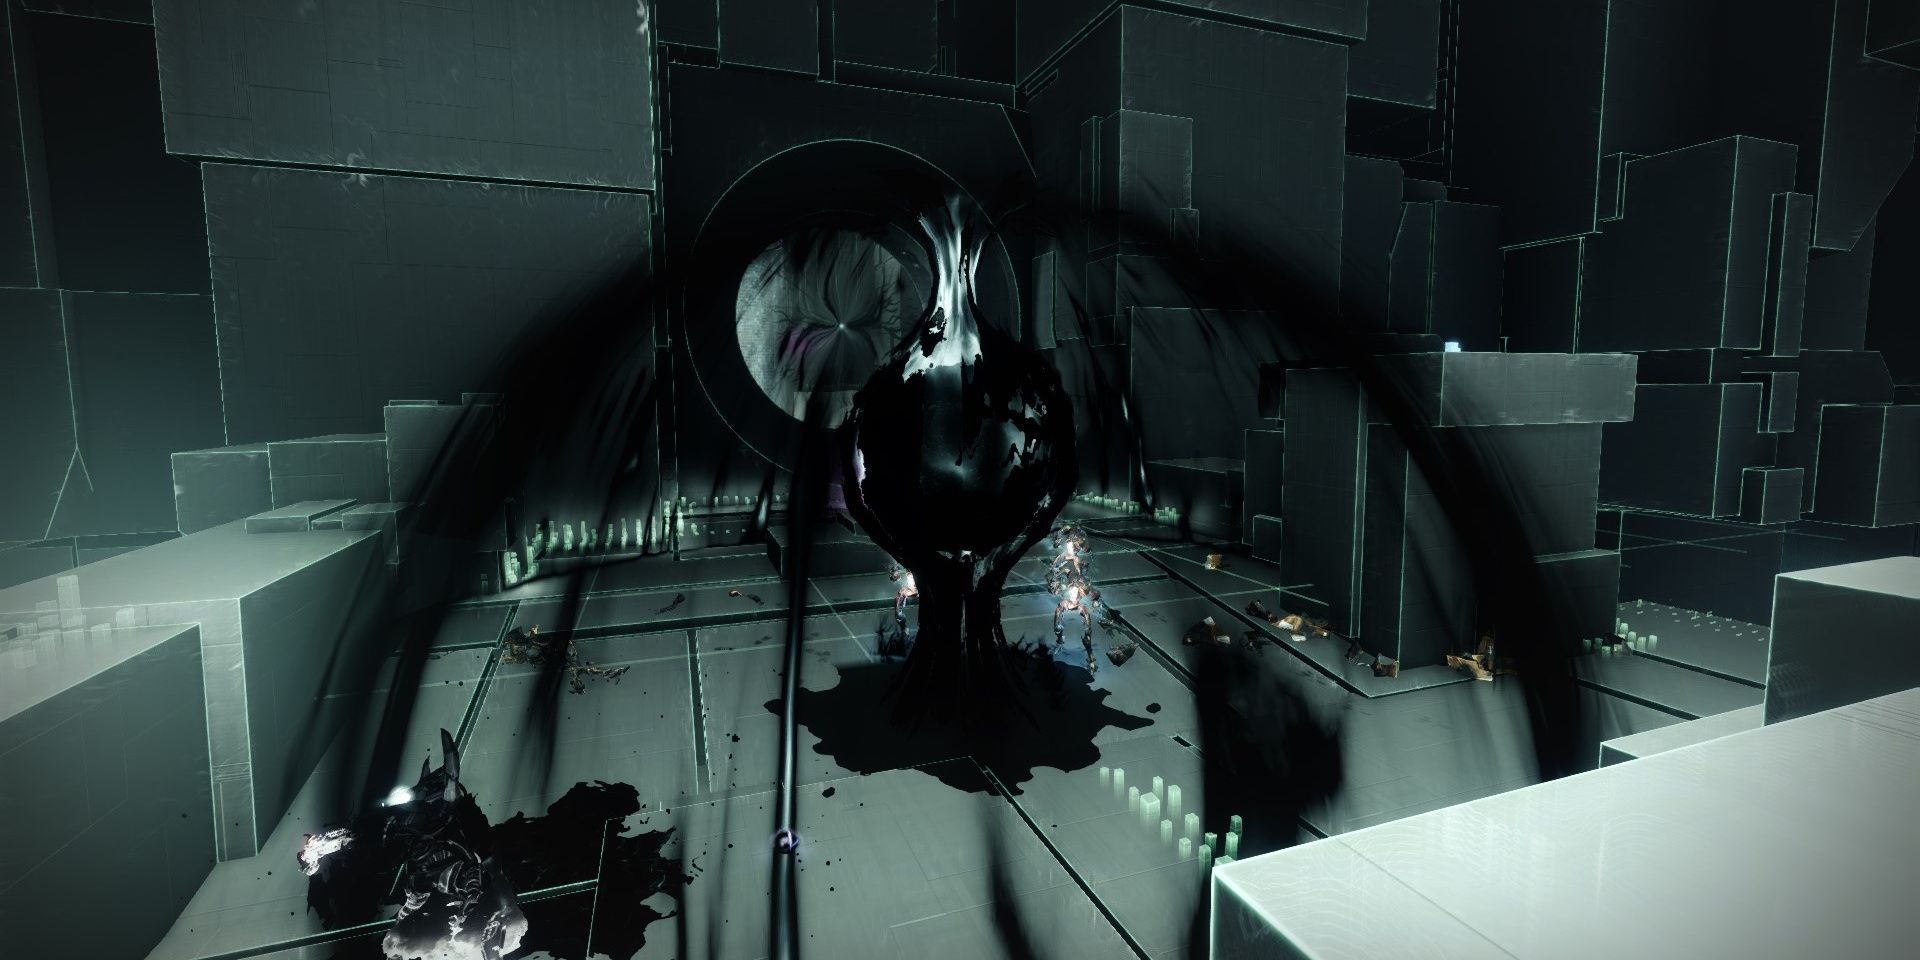
Unlike the uncorrupted variant, a Taken Blight will block your path to the exit. You must destroy the Blight to proceed. If you have Anarchy, a single bolt is enough to break it. Don’t worry if you don’t own Anarchy. Any Special or Heavy weapon will break the Blight just fine. With the Blight destroyed, enter the Cyclops’ arena and deposit the second key. You’ll need one more to start the boss fight.
Authentication Key #2
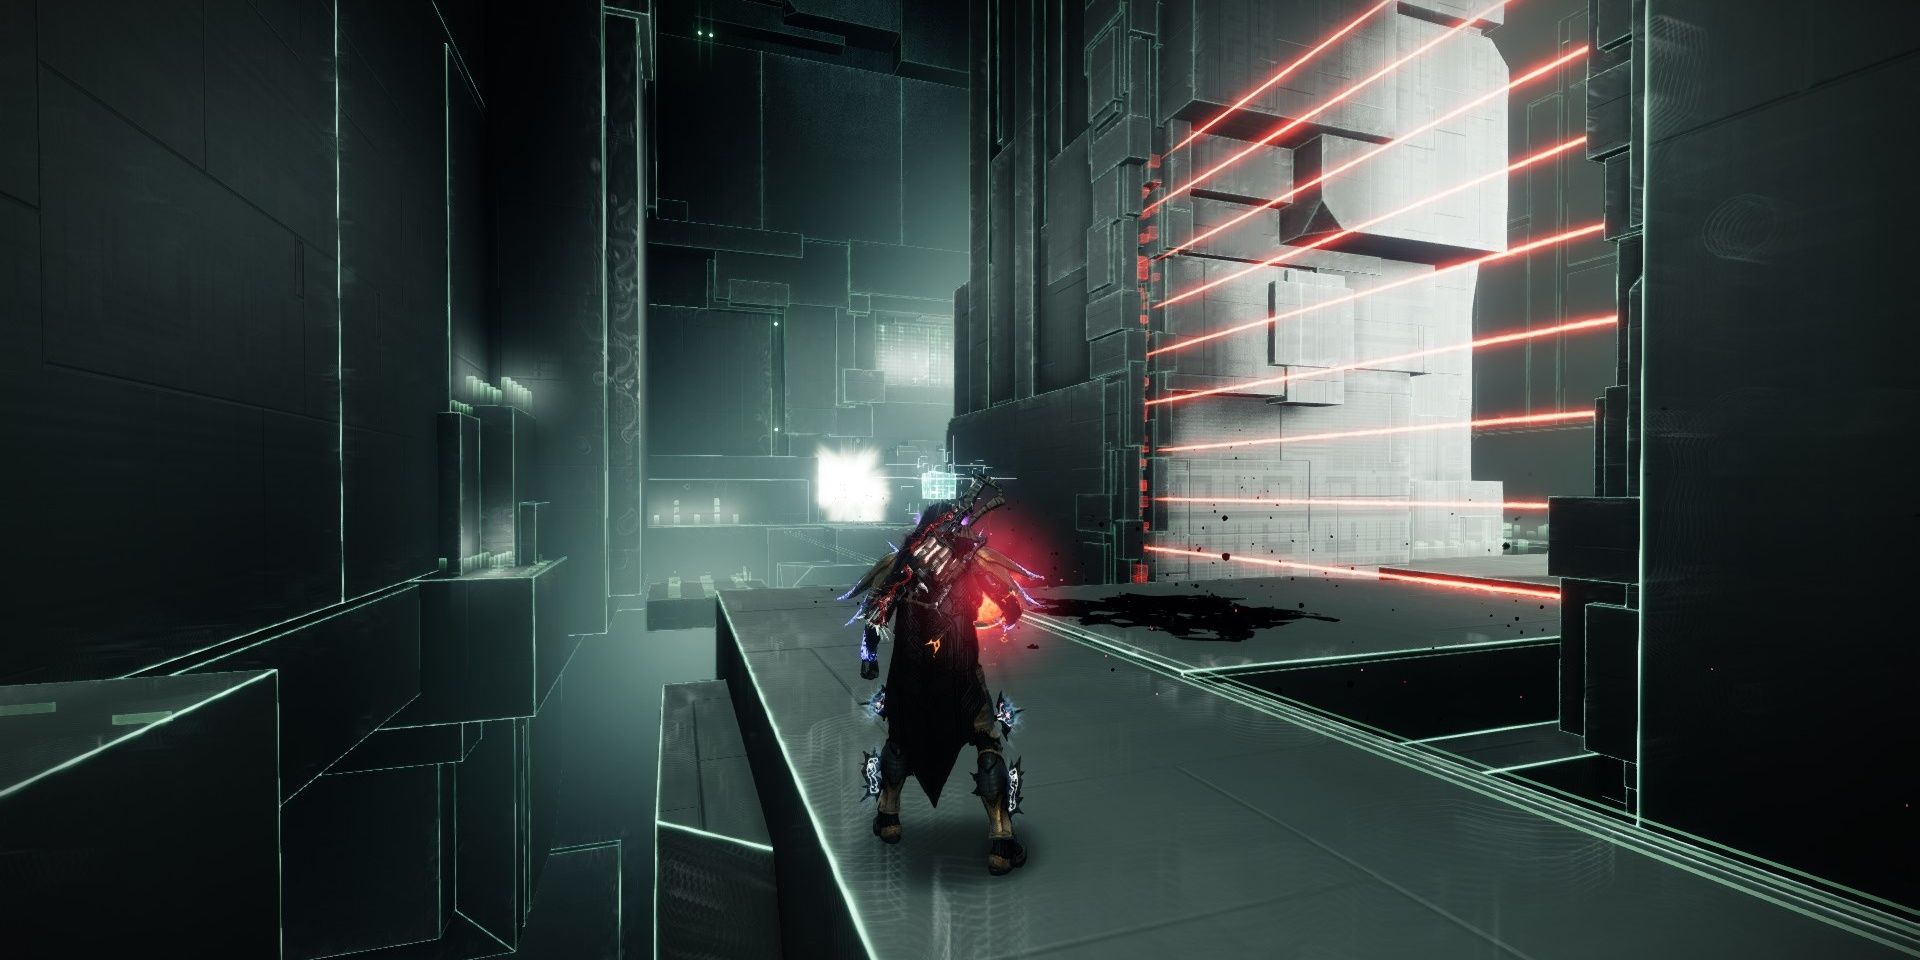
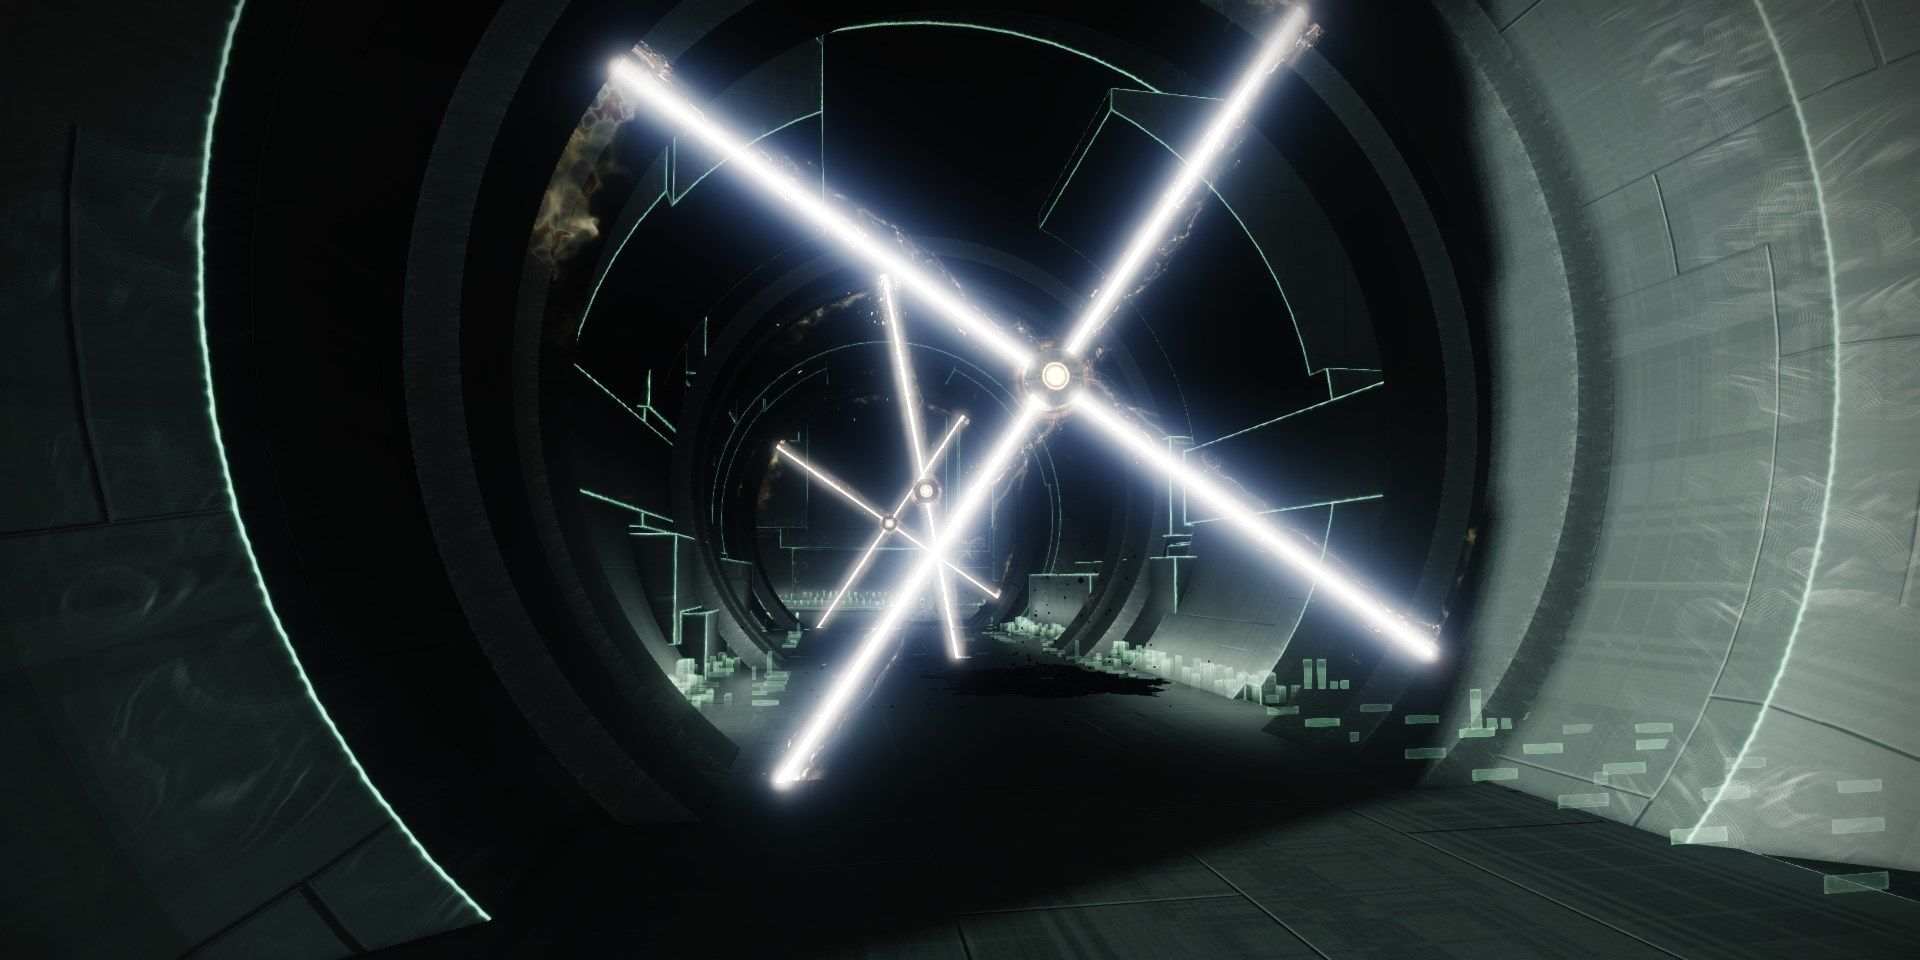
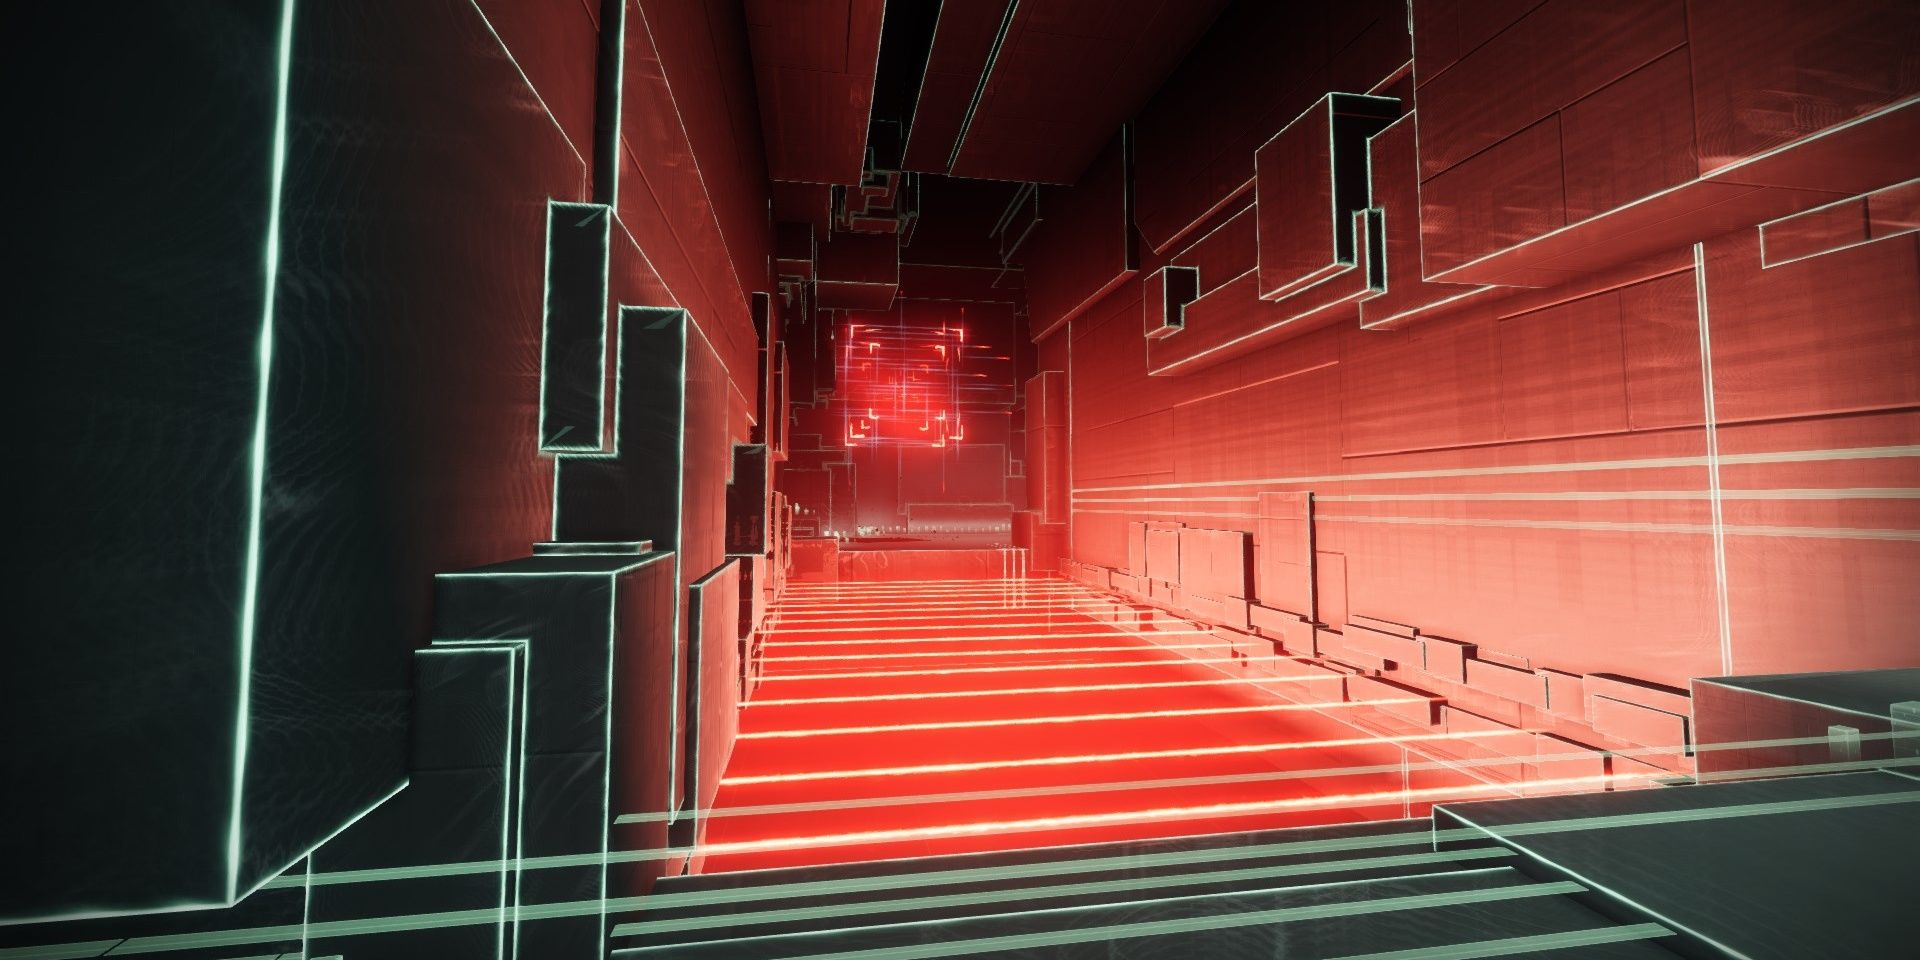
A second key can be found to the right of the Cyclops. You’ll have to traverse a corridor with moving lasers and propulsion traps before you reach the main area. Try your best not to get hit by any of the lasers, as they deal an absurd amount of damage.
Throughout this part, you’ll come across glowing red cubes. Getting near one will spawn a much smaller, more aggressive Harpy that’ll attempt to collide with you. If it does so, you’ll become detained, trapping you inside a Vex cage. Damage the cage with your weapons to break free.
Outside the corridors of lasers, you’ll now be faced with a short platforming section. There aren’t many enemies on the path, so you can bolt through this section if you want. Avoid the red cubes floating on the sides of the arena so you don’t become detained.
Note: A gravity lift can be found directly under the entrance to this part. If you activated the green terminal at the start of the level, use the lift to skip the platforming section.
The end of the path has a circular platform that precedes the Authentication Key. You’ll need to destroy a Taken Blight to spawn the Nexus Guardian that is keeping the key trapped. Before you destroy the Blight, take out the Cyclops duo overlooking the arena. They deal serious damage if you aren’t careful. Take out the Blight, then destroy the next wave of enemies and the Guardian.
A Barrier Hobgoblin can be found near the Authentication Key’s spawn location. Destroy it before grabbing the key.
Key in hand, make a bad dash back to the boss arena. A few enemies will spawn during this part, but you can safely ignore them. Be sure to walk by Datacubes and stand on their plates to refresh the key’s timer. Dunk the key in the side of the Cyclops once you reach its arena to start the final fight.
Defeat the Corrupted Oppressive Mind
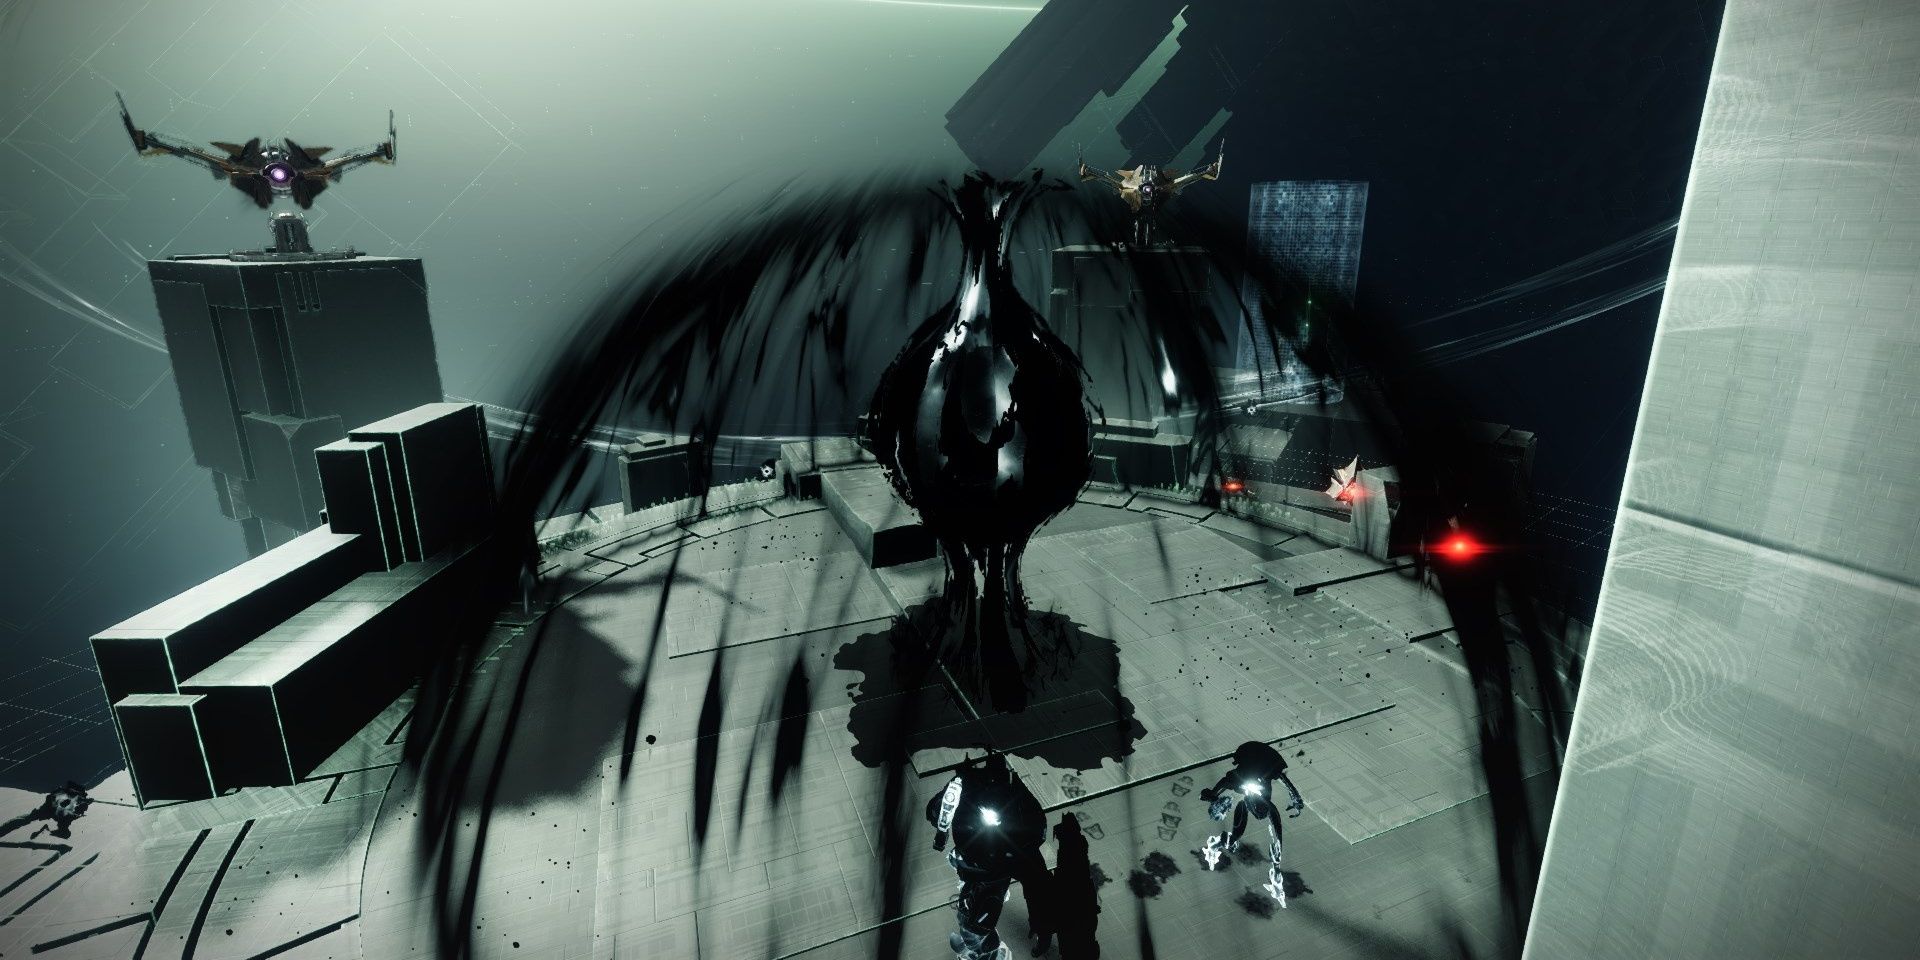
If you played Expunge: Styx, the fight is exactly the same. Dikast, Oppressive Mind Reborn is a Vex Cyclops with a semi-large health pool and a small army of Vex and Taken. This fight is split into two phases.
Phase One
There are no special mechanics for this phase. Dikast will spawn minions to distract you during this part. Focus on damaging Dikast instead. When it reaches 50% HP, the second phase begins. Use your Special and Heavy weapons to take it down.
Phase Two
Dikast will spawn multiple laser fences in the arena that deal lethal damage. It will also become impervious to all damage. To weaken the boss, you’ll need to break a Vex diamond at the entrance of the arena to spawn an Authentication Key. With the key, jump over the Cyclops’ head to reach the other end of the arena. Avoid the platform above the Cyclops, as it isn’t solid. Dunk the key into the locking mechanism to remove most of the lasers and Dikast’s invulnerability state.
Now that Dikast is vulnerable, give it everything you have. Use your Super, Special weapon, Heavy weapon, and your abilities to take the Cyclops down. Destroy Dikast to finish the mission.
Source: Read Full Article
