In Dragon Ball: The Breakers you have a number of different skills that you can take advantage of. Some of these you begin the game with, others can be purchased at the shop, and a number of them are only obtainable through the Spirit Siphon.
One thing we want to emphasize right from the beginning is that these skills are all useful to some extent. However, one undeniable truth is that some of them are more useful than others. And there are a handful that are absolute game changers!
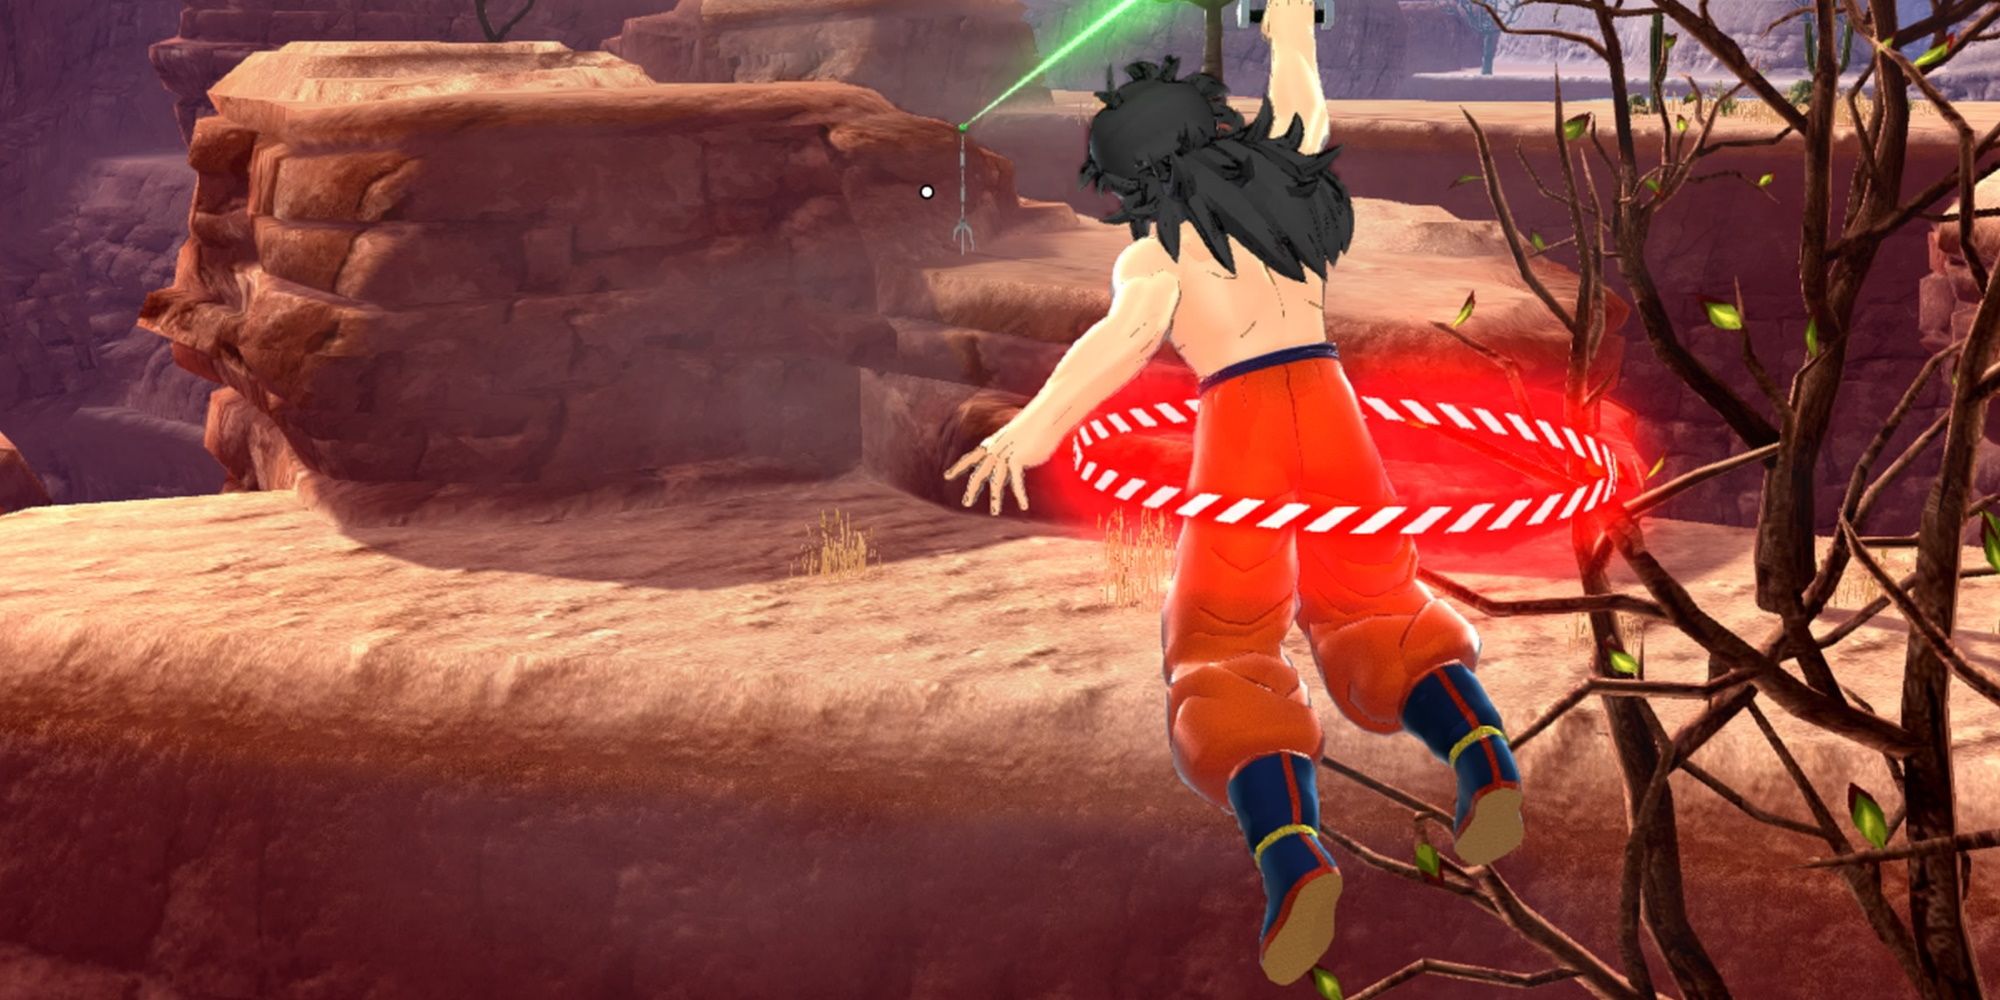
9/9 Zipline and Flying Nimbus
| Character Linked To | Cooldown Time |
|---|---|
| Gohan (Nimbus Cloud) | 60 seconds |
| N/A (Zipline) | 60 seconds |
Gohan's Nimbus Cloud, and the Zipline—which can be purchased from the shop—are both solid skills for traversing the giant maps. However, while they give you additional mobility options, and are absolutely better than nothing. That's why we are lumping them together here, even though they serve slightly different purposes, with the Zipline connecting two sections and Nimbus allowing for free-flying (though at a slow pace).
The Zipline can be used by multiple people once it has been set, and we would place it higher on the list for that alone, but it takes the same amount of time to recover as the Grappling Device, which makes it feel a touch superfluous. The Nimbus cloud, on the other hand, gives you the ability to fly, but it is extraordinarily slow. While we think both skills are quite useful, we also feel like they may not be the best active skills to equip as you progress.
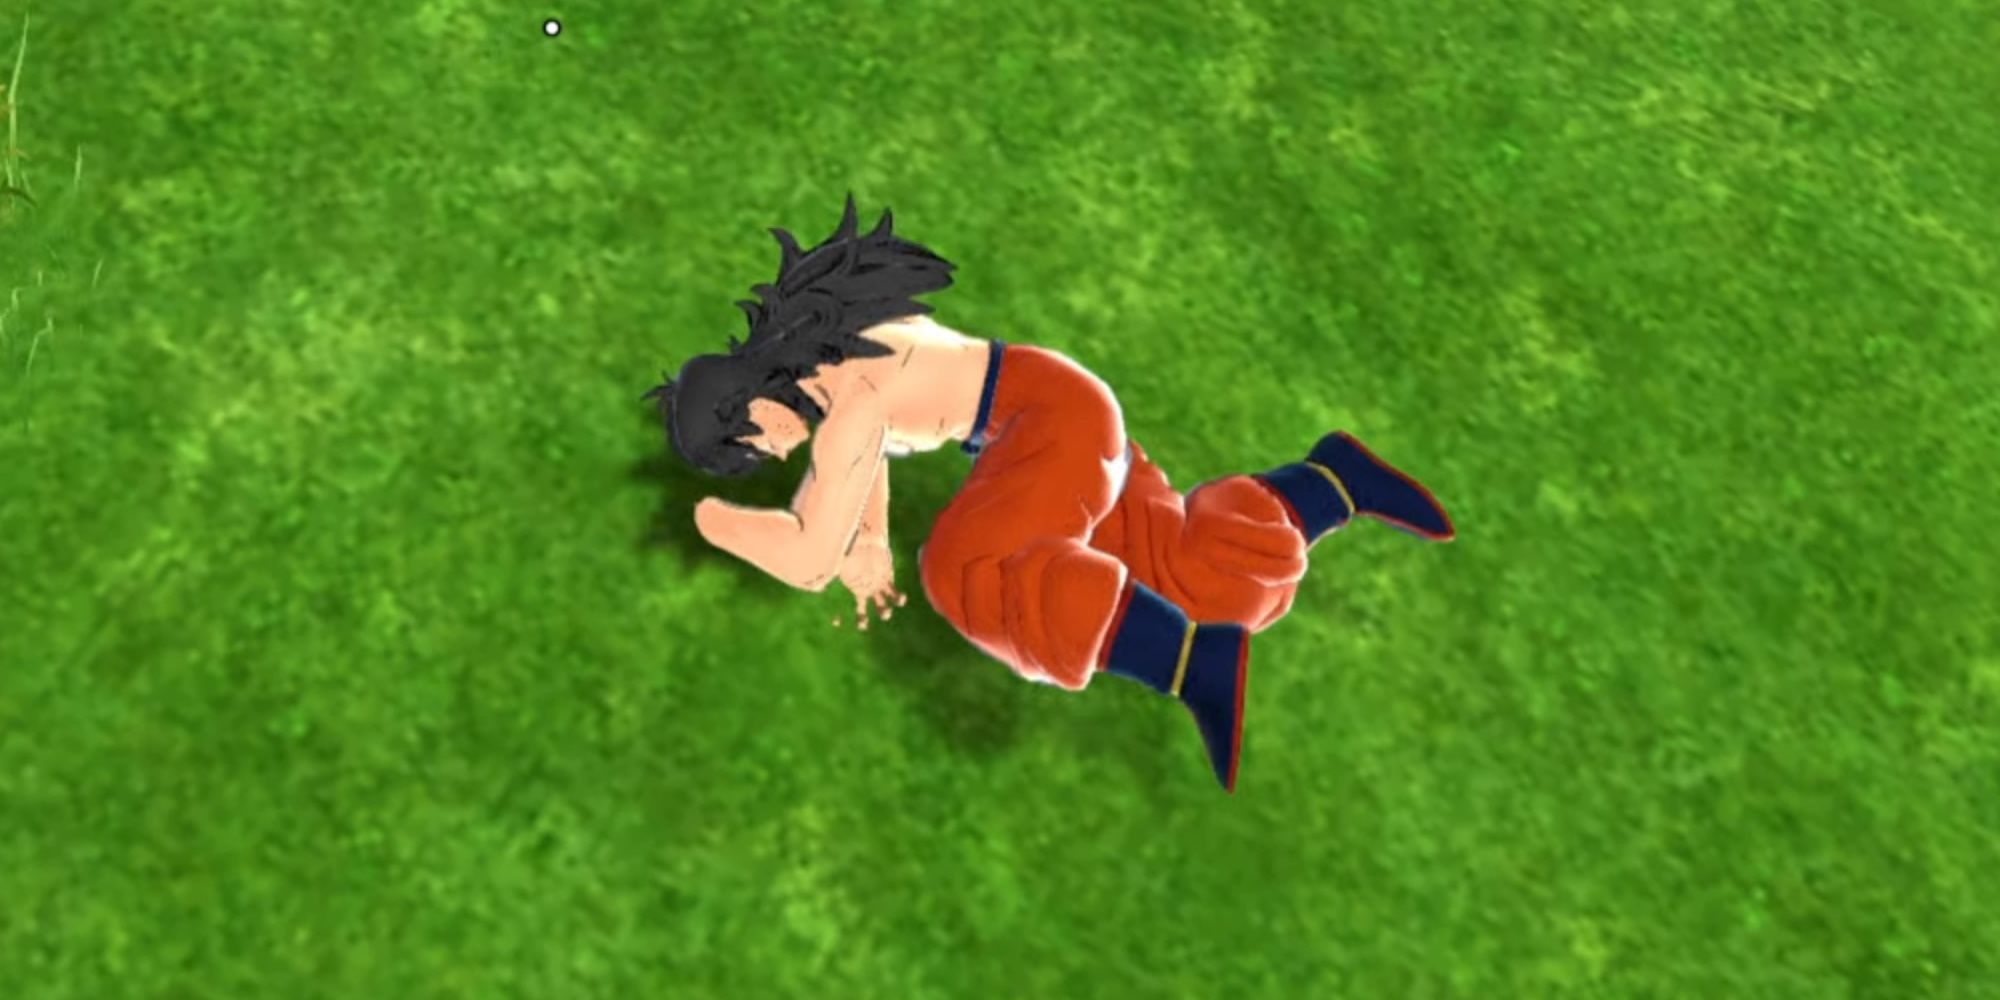
8/9 Fake Death
| Character Linked To | Cooldown Time |
|---|---|
| Yamcha | 60 seconds |
This is an attack that can completely remove a Raider's ability to sense your ki. It is the classic playing possum trick! It is worth noting that if you use this skill poorly, you will absolutely get quickly murdered while laying on the ground. If a raider hasn't been in an area before, and they see your corpse on the ground, they are going to be pretty suspicious.
However, the Fake Death skill can be remarkably effective when you do this in an area where they have killed people, and when they already have a lot on their hands. It is all about using this attack sensibly.
Oolong's Change (Camouflage) does something similar to the Fake Death skill, and can be quite effective at throwing off the scent of a Raider. However, it has one substantial issue: it can change into objects randomly that do not blend in to the environment. If you are in a cave, the barrel is a great change, but the chair is going to get you killed. So, it can be a bit of a roll of the dice.
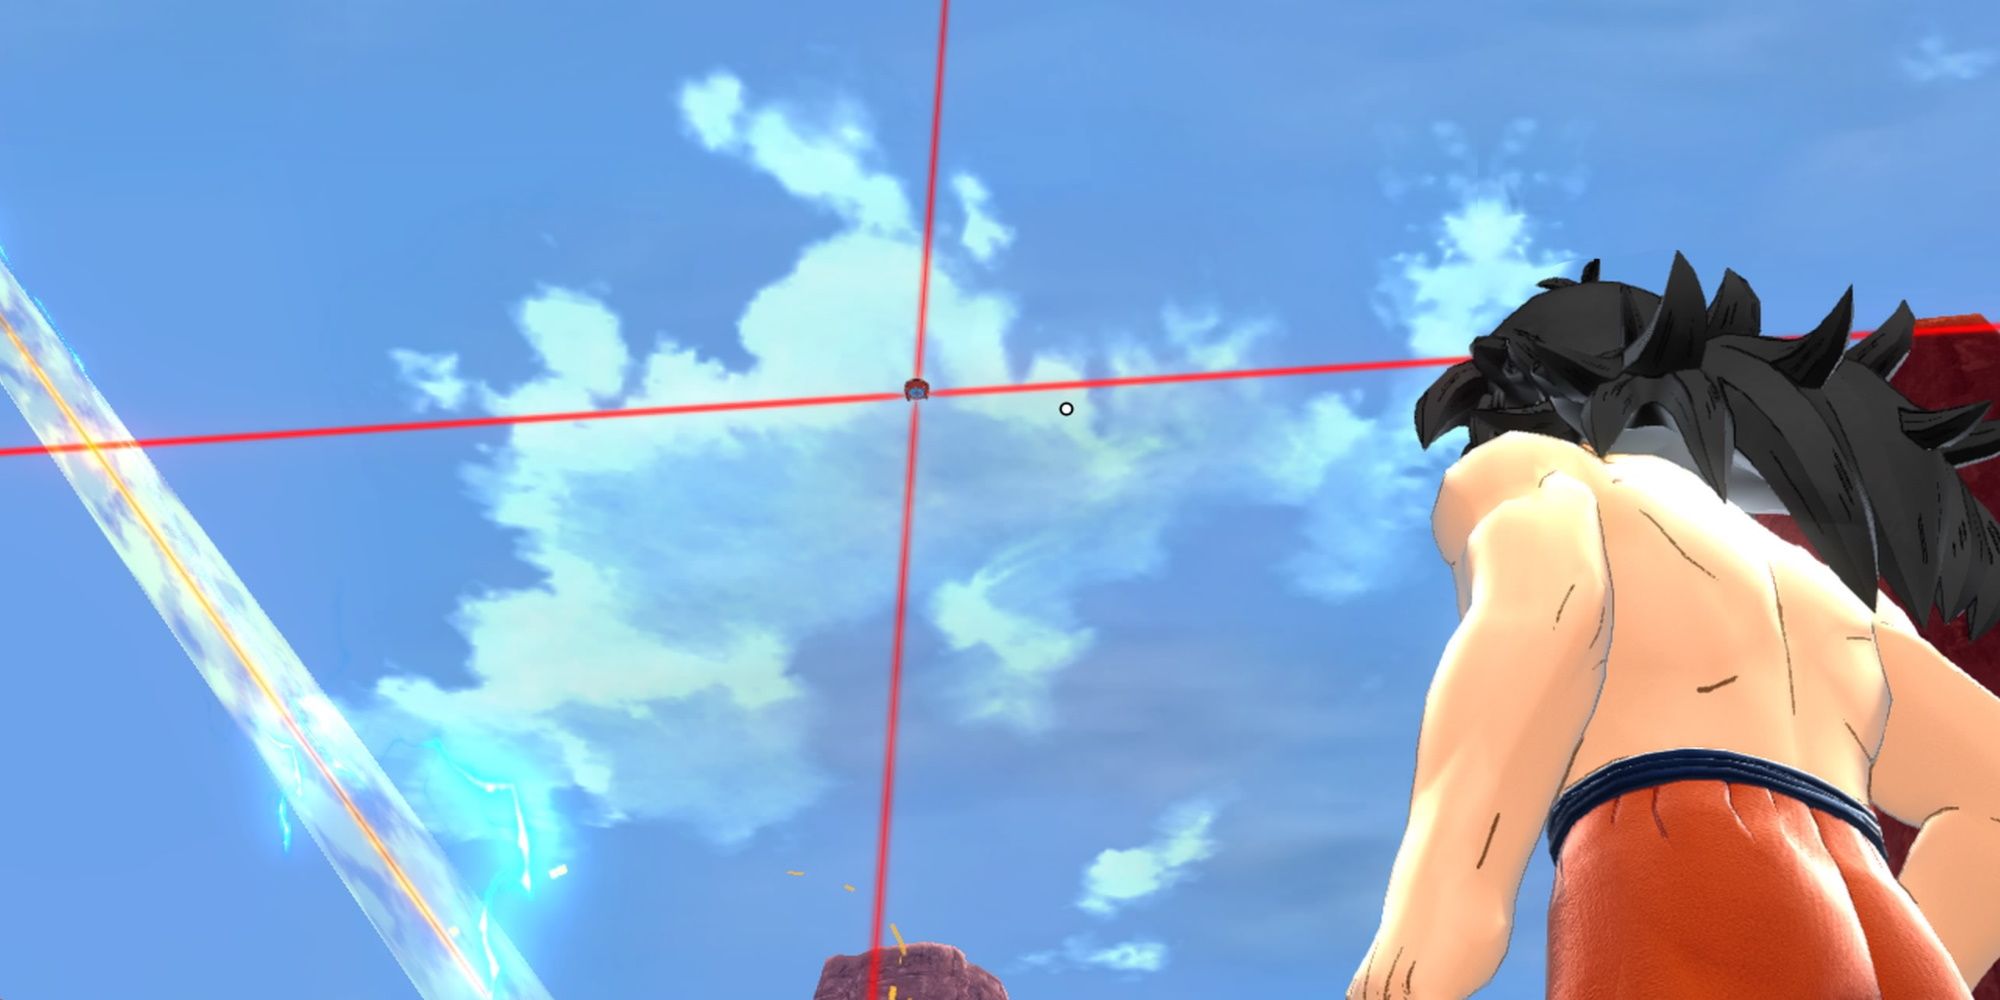
7/9 Trap Device
| Character Linked To | Cooldown Time |
|---|---|
| N/A | 60 seconds |
The Trap Device is another skill you can't upgrade, but it is, nonetheless, extremely effective. It fires into the air, making it impossible to simply fly over. If the Raider flies above where you place the trap, they will be stunned for a considerable amount of time. Thus, leaving them open to a big attack, and giving survivors time to escape. So while the Trap tool is great for escaping, but it is also an excellent tool to use when fighting the Raider, especially in a group.
When you are trying to activate the Super Time Machine having multiple characters placing these around is an absolute godsend. Particularly skilled Raiders can minimize the effectiveness of this skill, but even when fighting a strong Raider, the Trap gives them something to think about.
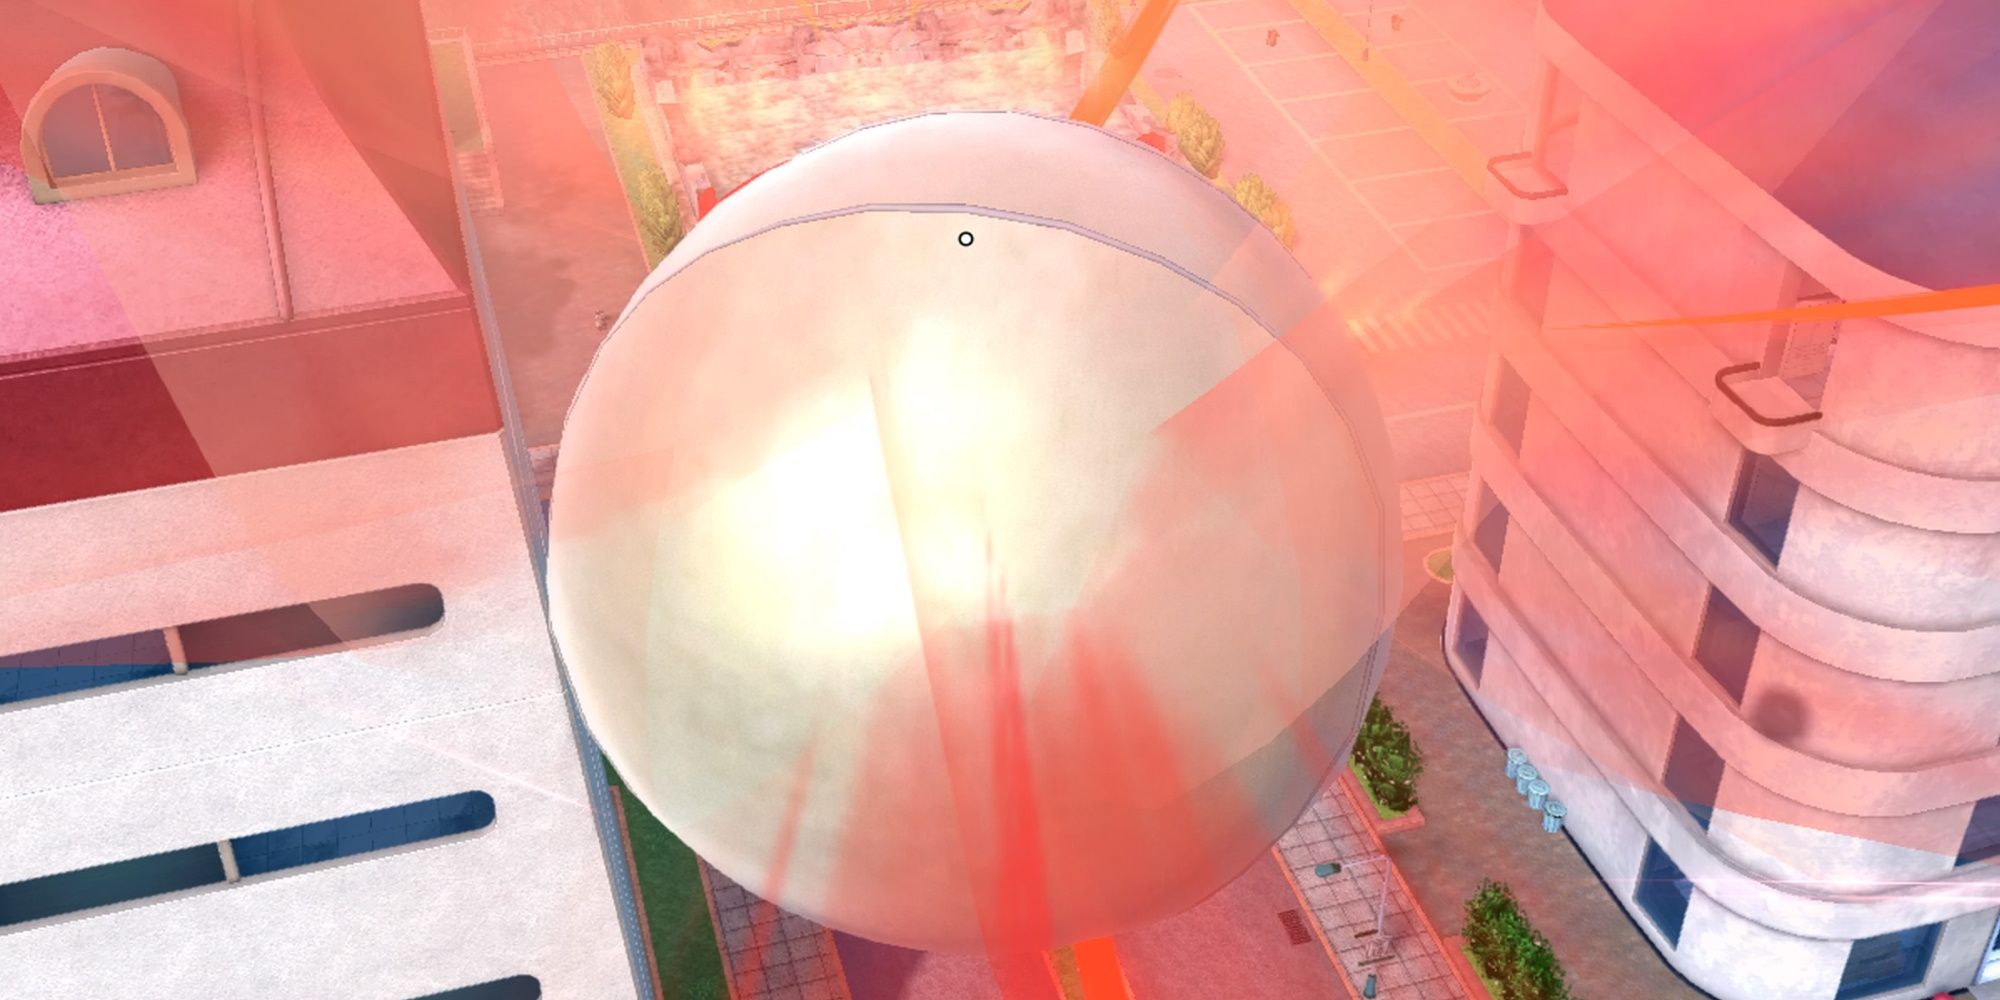
6/9 Floating Device

| Character Linked To | Cooldown Time |
|---|---|
| N/A | 30 seconds |
This is an incredible traversal tool. It launches you up into the sky. The relatively short cooldown makes it a tool that you will be able to use while just traversing the environment, but also when trying to escape from a Raider.
One excellent element of the Floating Device is that it stays out for a prolonged period of time. So, other Survivors can benefit from it as well. When paired with the Grappling Device, this is an excellent tool for getting away from the Raider.
5/9 Saiyan Pod Remote
| Character Linked To | Cooldown Time |
|---|---|
| Vegeta | 90 seconds |
The Saiyan Pod Remote calls a Saiyan Pod from the sky. Once it arrives, you can hop in, and it will take you to wherever you want to go on the map. This skill has a HUGE recovery time, and it does take a while for the pod to arrive, but there is no denying how useful it is for escaping the raider. As an added bonus, if you can on the raider it will knock them back.
While this won't typically come into play, it can potentially buy you a few seconds when the raider is destroying the Super Time Machine. In general, this is easily the best active skill in the game for escaping the Raider when they are nearby, but not aware of your presence. It is less useful if they are already on you (though you with the skillful use of stunning skills you could still maybe make it work).
4/9 Solar Flare
| Character Linked To | Cooldown Time |
|---|---|
| Tien | 30 seconds |
This skill operates exactly as it did in the show. When you are about to be murdered, bust it out, and you will be able to blind the raider. You can also use this in combat, which will allow you to land your special attack. It is a staple attack, and having it is incredibly useful in a number of different scenarios.
The best way to use this attack defensively is to hide in a cave, then, when the raider flys in, blast them with it. If they are facing away from you, it will have no effect, so make sure they are facing you when you perform it. The only downside is the startup animation isn't instant, and if you are interrupted mid-Solar Flare that still counts as a use. So you are going to need to master the timing.
A solid alternative to this attack is Bulma's Charming Pose. Which you conveniently start with, though it does require that you switch your custom character to Bulma (or master the skill). Krillin's Shoe is another ability that can be used for a similar effect, though is a little harder to land.
3/9 Kaioken Rush
| Character Linked To | Cooldown Time |
|---|---|
| Goku | 60 seconds |
That's right, Goku's signature move from the Saiyan arc is here. And, much like it was there, it is an absolutely pivotal tool. Paired with the grappling line, this skill gives you incredible mobility. In a pinch, it can be used as an attack by aiming it at the Raider.
However, its best use is just for escape. Or, if you are feeling gutsy, you can use it to quickly traverse the environment, though it isn't exactly quiet or subtle, so it can bring attention to you. So just be cautious when you use it this way.
Oolong's Change (Missile) is a decent alternative move, and you do start off with it. However, it isn't nearly as fast, so it is definitely a worse version of it.
2/9 Bulma's One Wheel
| Character Linked To | Cooldown Time |
|---|---|
| Bulma | 60 seconds |
This skill summons Bulma's motorcycle, and it is incredible. Being able to zip around the map with an alarming amount of speed is a huge advantage. It does have a lengthy cooldown, and the bike disappears once you dismount. So, it isn't great for just exploring (as you will lose it the first time you want to pick something up.
However, it is absolutely amazing for getting away from the raider. If you get a straightaway, and put hold down the dash button, there is no chance in hell that any of the Raiders are going to be able to catch you. It is absurdly good at getting you out of trouble. A whole gang of survivors with the One Wheel are an absolute waking nightmare for a Raider.
You can pair the One Wheel with Krillin's passive skill which makes vehicles faster.
1/9 Grappling Device
| Character Linked To | Cooldown Time |
|---|---|
| N/A | 60 seconds |
This is one of your starting abilities. It is, unfortunately, not upgradeable. Yet, despite that, it is easily the best skill in the game. That's right, you heard it here first, nothing is better than the Grappling Device. Not only is it incredibly useful for helping you get to the top of tall surfaces, but once you are tethered the speed at which you travel is blinding.
You can use it when you are in your transformed state, as well. This will be the tool that keeps you alive and helps you escape the wrath of the Raider. Mastering the grappling device is going to be the thing that separates the great Survivors from the mediocre. There is no scenario when this shouldn't be an equipped active skill.
Source: Read Full Article