Quick Links
- Overview
- Dungeon Walkthrough
- Spirit-Caller Snail Boss Guide
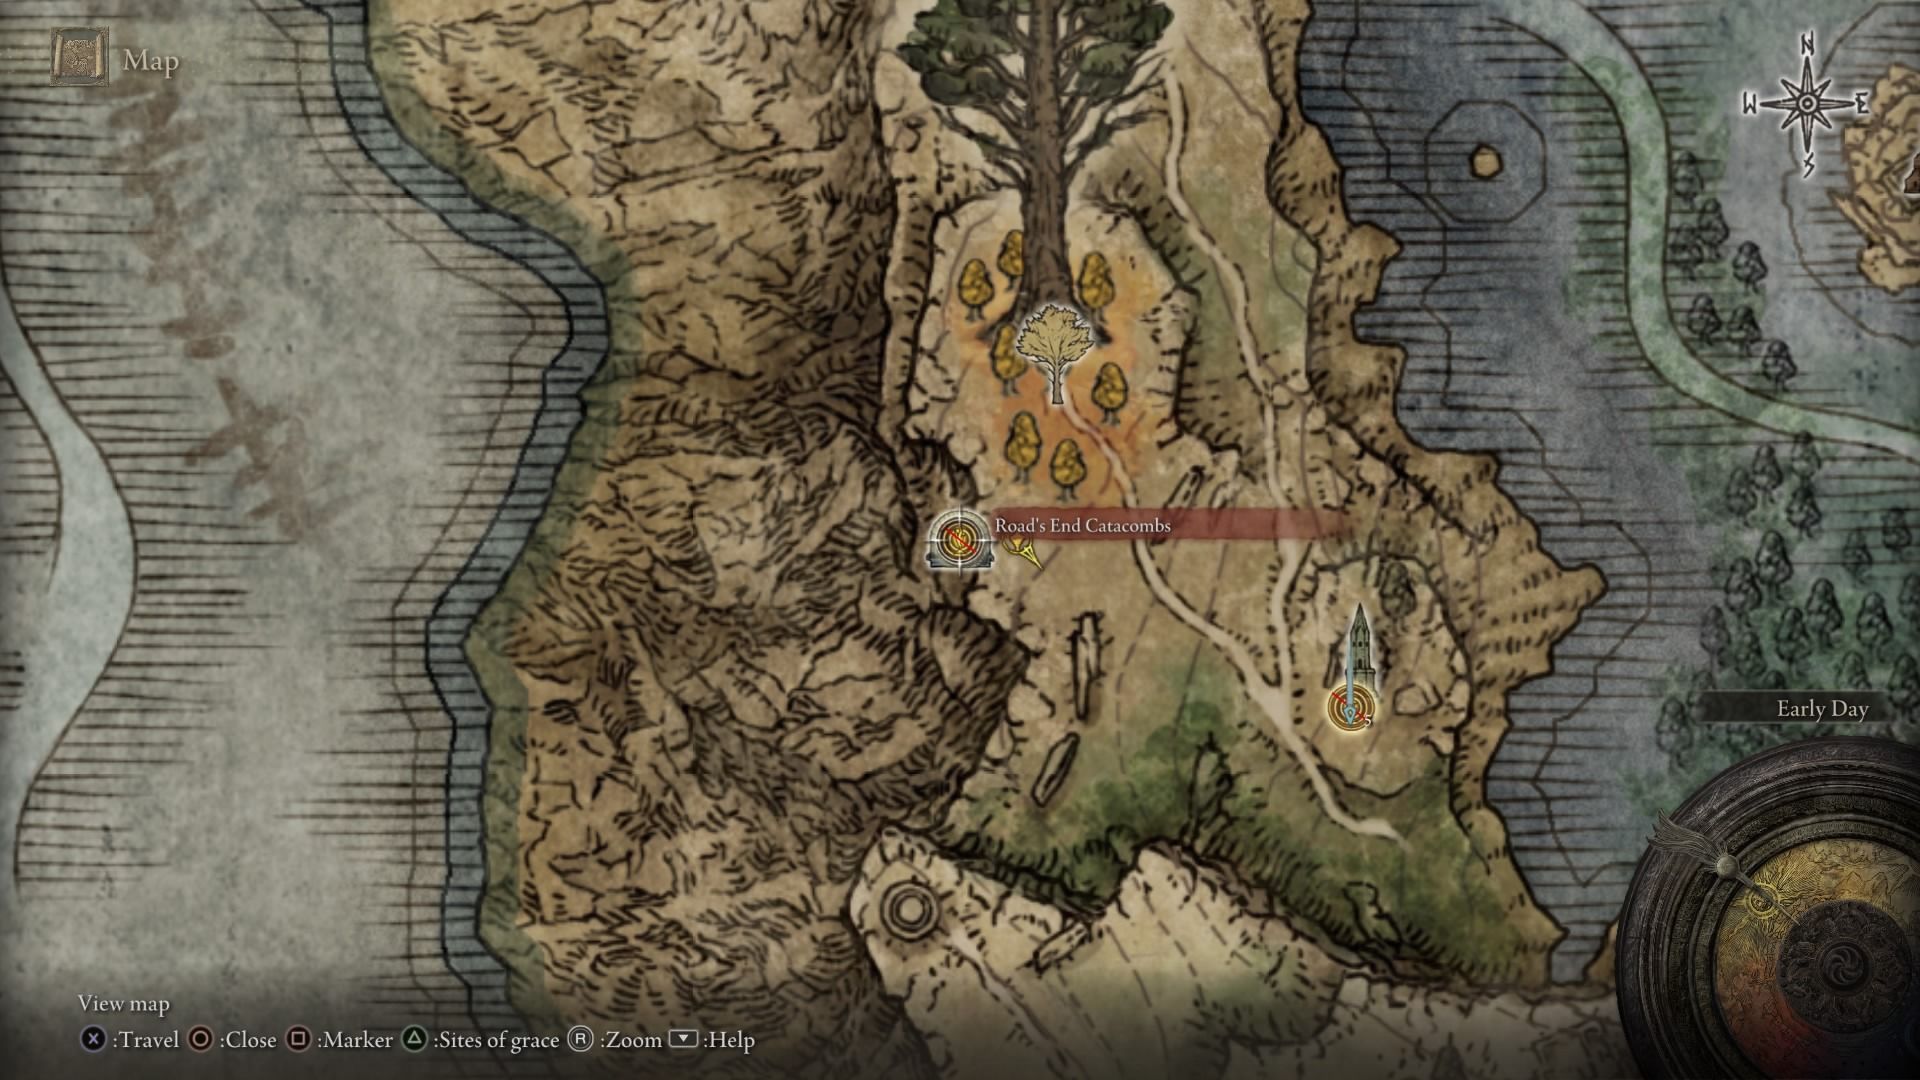
The Road’s End Catacombs is one of the earliest optional dungeons that you can access in the Liurnia region of Elden Ring’s huge open-world. West of the Converted Tower and at the edge of a precipice, you’ll be able to enter this imp-filled catacomb and overcome some small illusions to get some excellent rewards.
As with all catacombs in Elden Ring, you’ll need to stay vigilant and watch out for imps lurking around corners, on ceilings, and in the shadows. Imps are relatively easy to kill if you’re fast enough, but they can pack quite a punch if you're not expecting them. Expect them everywhere in this dungeon!
Overview
| Road's End Catacombs Overview | |
|---|---|
| Boss | Spirit-caller Snail |
| Enemies | Imps |
| Notable Loot | Rune Arc |
| Raya Lucarian Soldier Spirit Ashes | |
| Glintstone Sorcerer Spirit Ashes | |
In order to find Road’s End Catacombs, you’ll need to travel along a dangerous ledge pathway just west of the minor erdtree in Liurna. The closest Site of Grace is the Converted Tower; from here, you can head northwest and round the edge of the tree area to travel down the side of the mountain, past some jellyfish. Beware of bats lying in wait on this ledge pathway. You’ll soon come across the entrance to the Road’s End Catacombs.
This dungeon is relatively short compared to other catacombs if you’re aware of its correct route, but this can be difficult if you don’t know the location of the various illusory walls within. Follow our guide to make it through safely and defeat the Spirit-caller Snail.
Dungeon Walkthrough
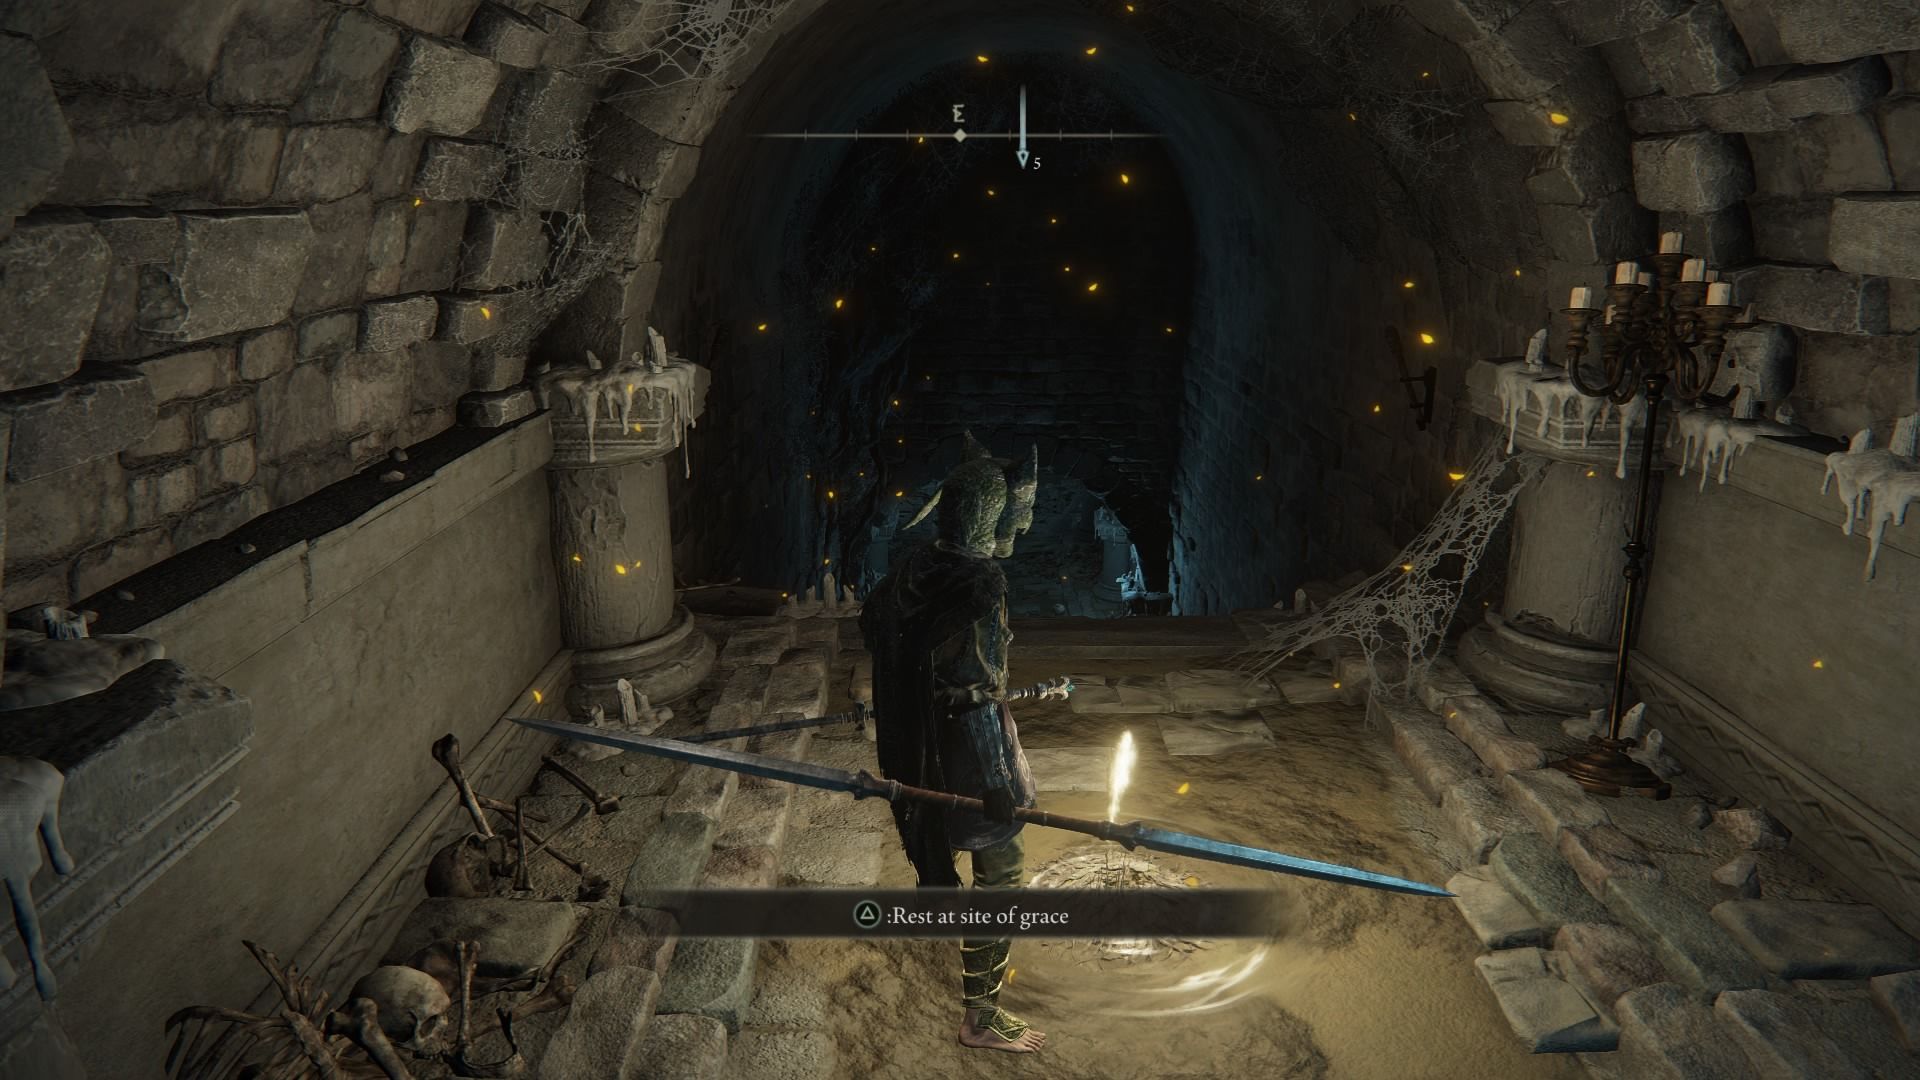
Enter and touch the site of grace. As you turn around the corner, watch out for the imp waiting to strike you.
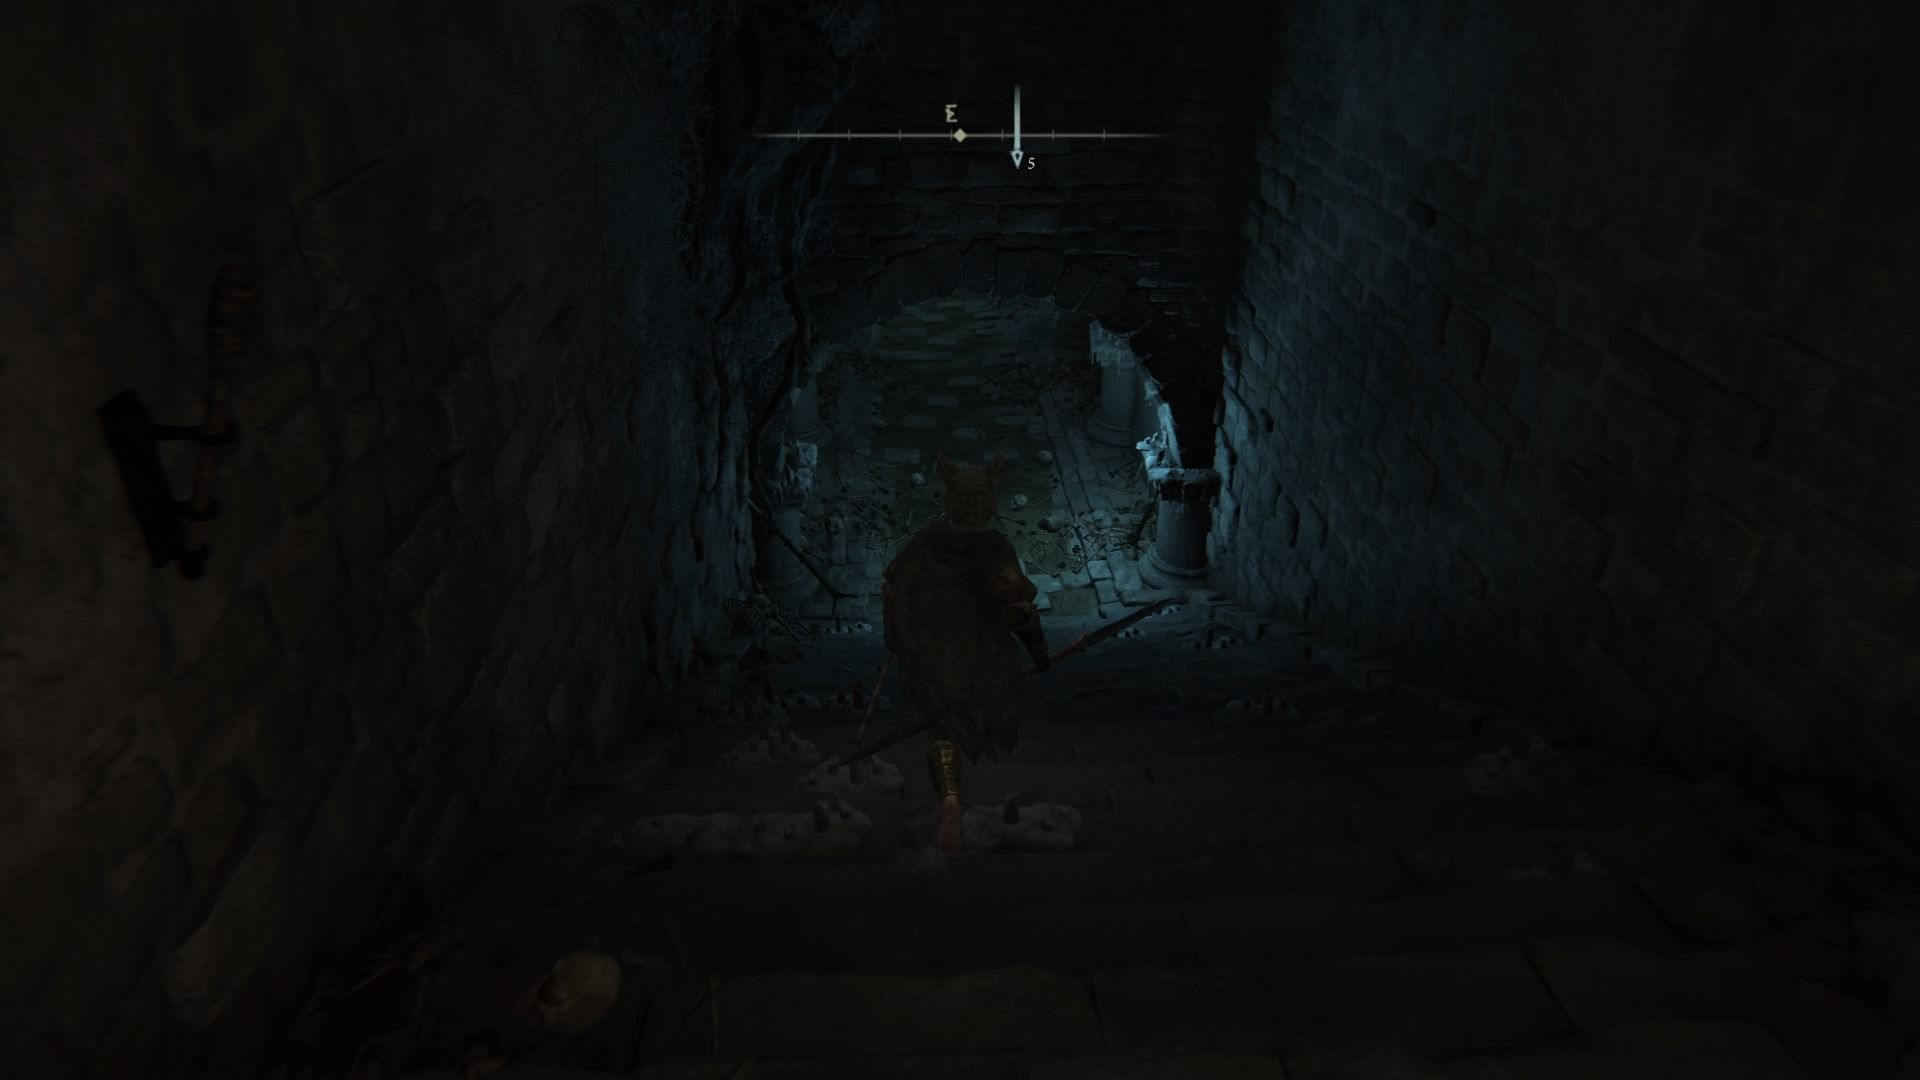
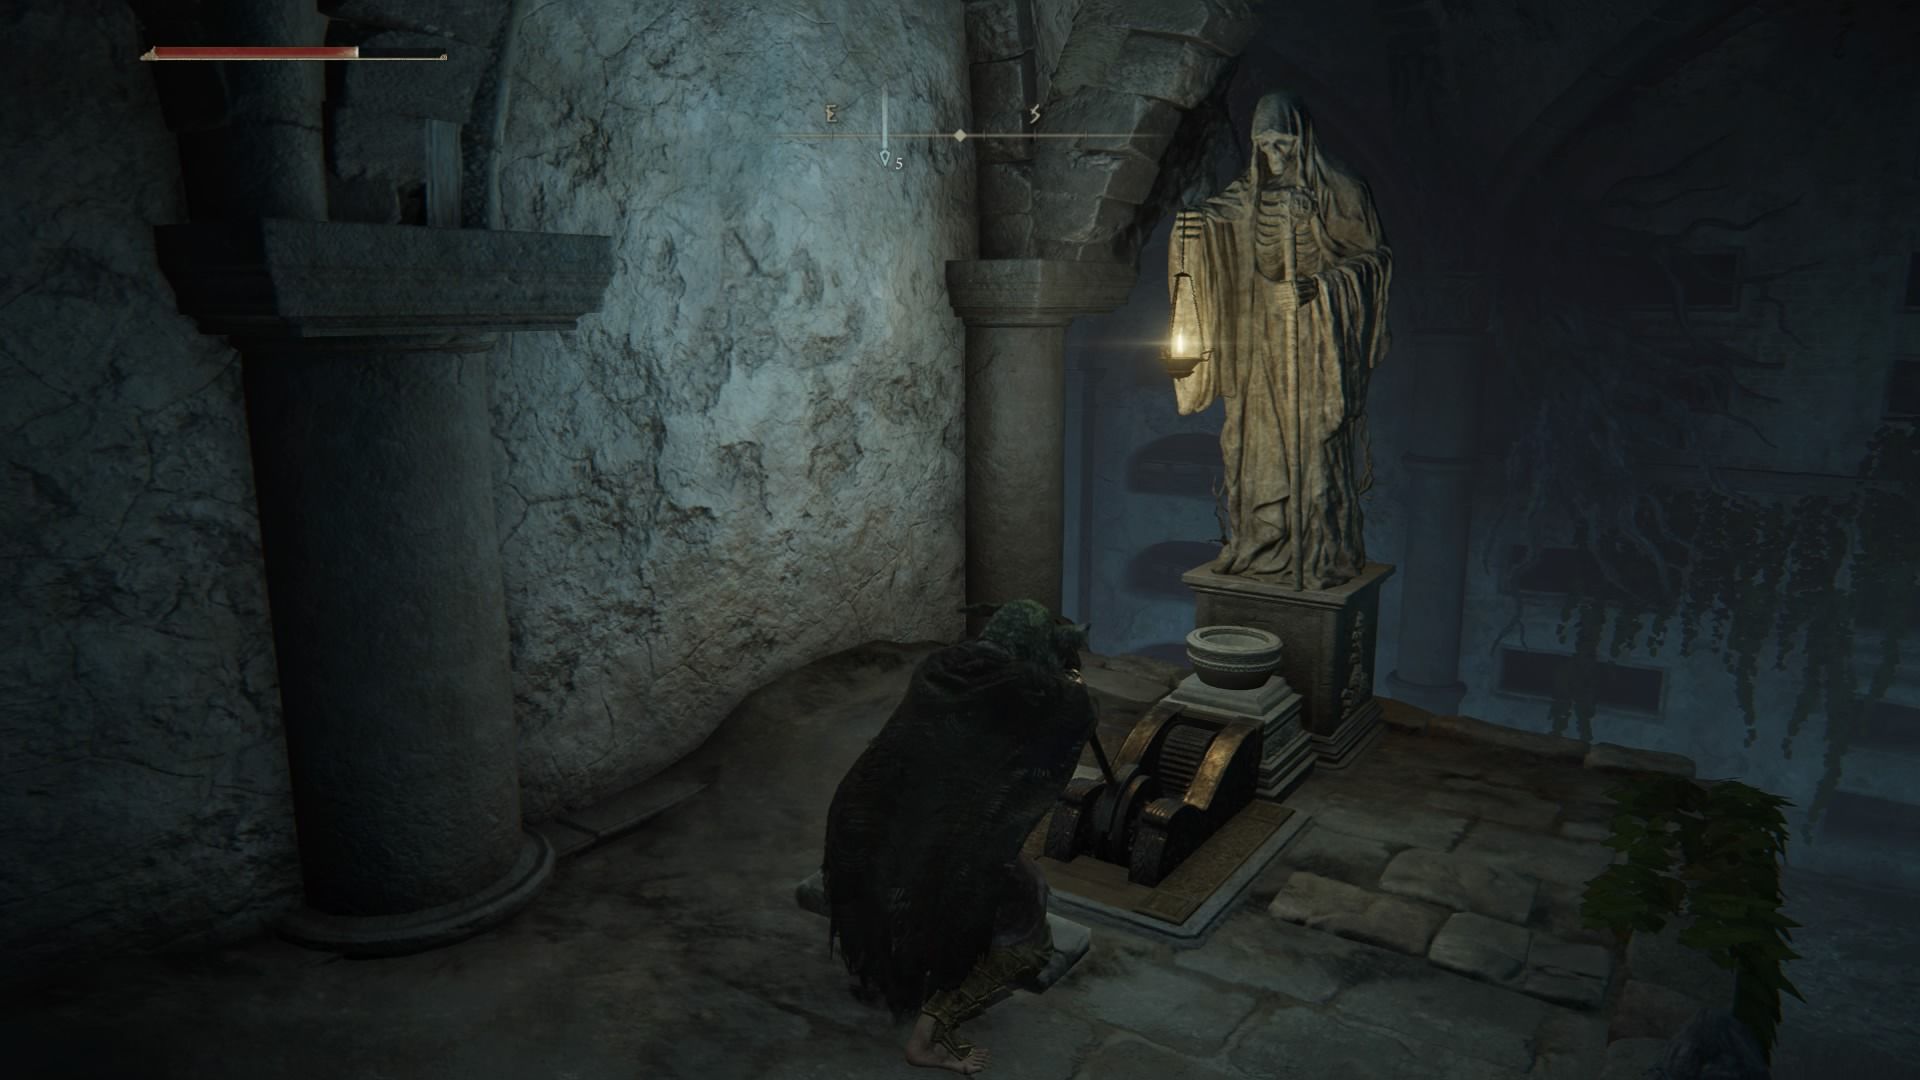
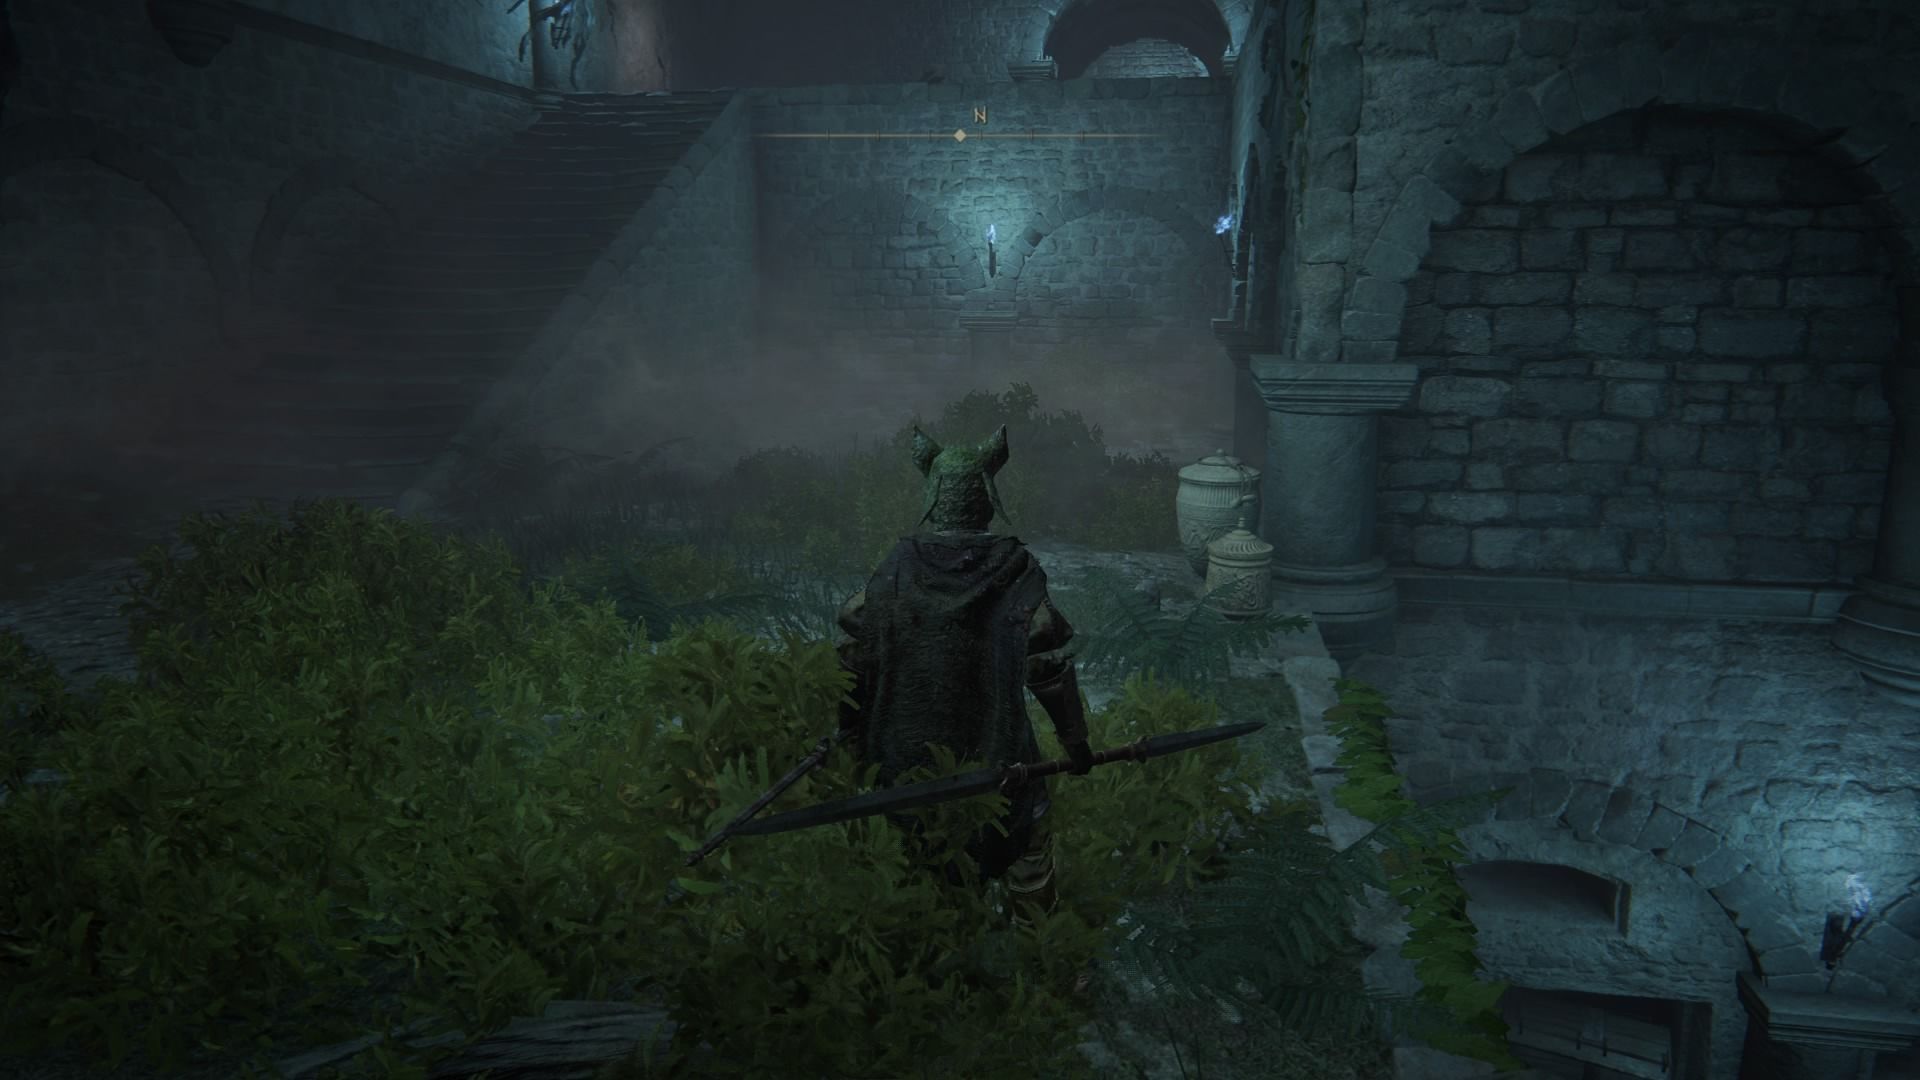
At the top of the stairs, you’ll see a lever in front of a statue on the left-hand side. Pull the lever and then descend the stairs, getting ready to fight more of the imps in the grassy area below.
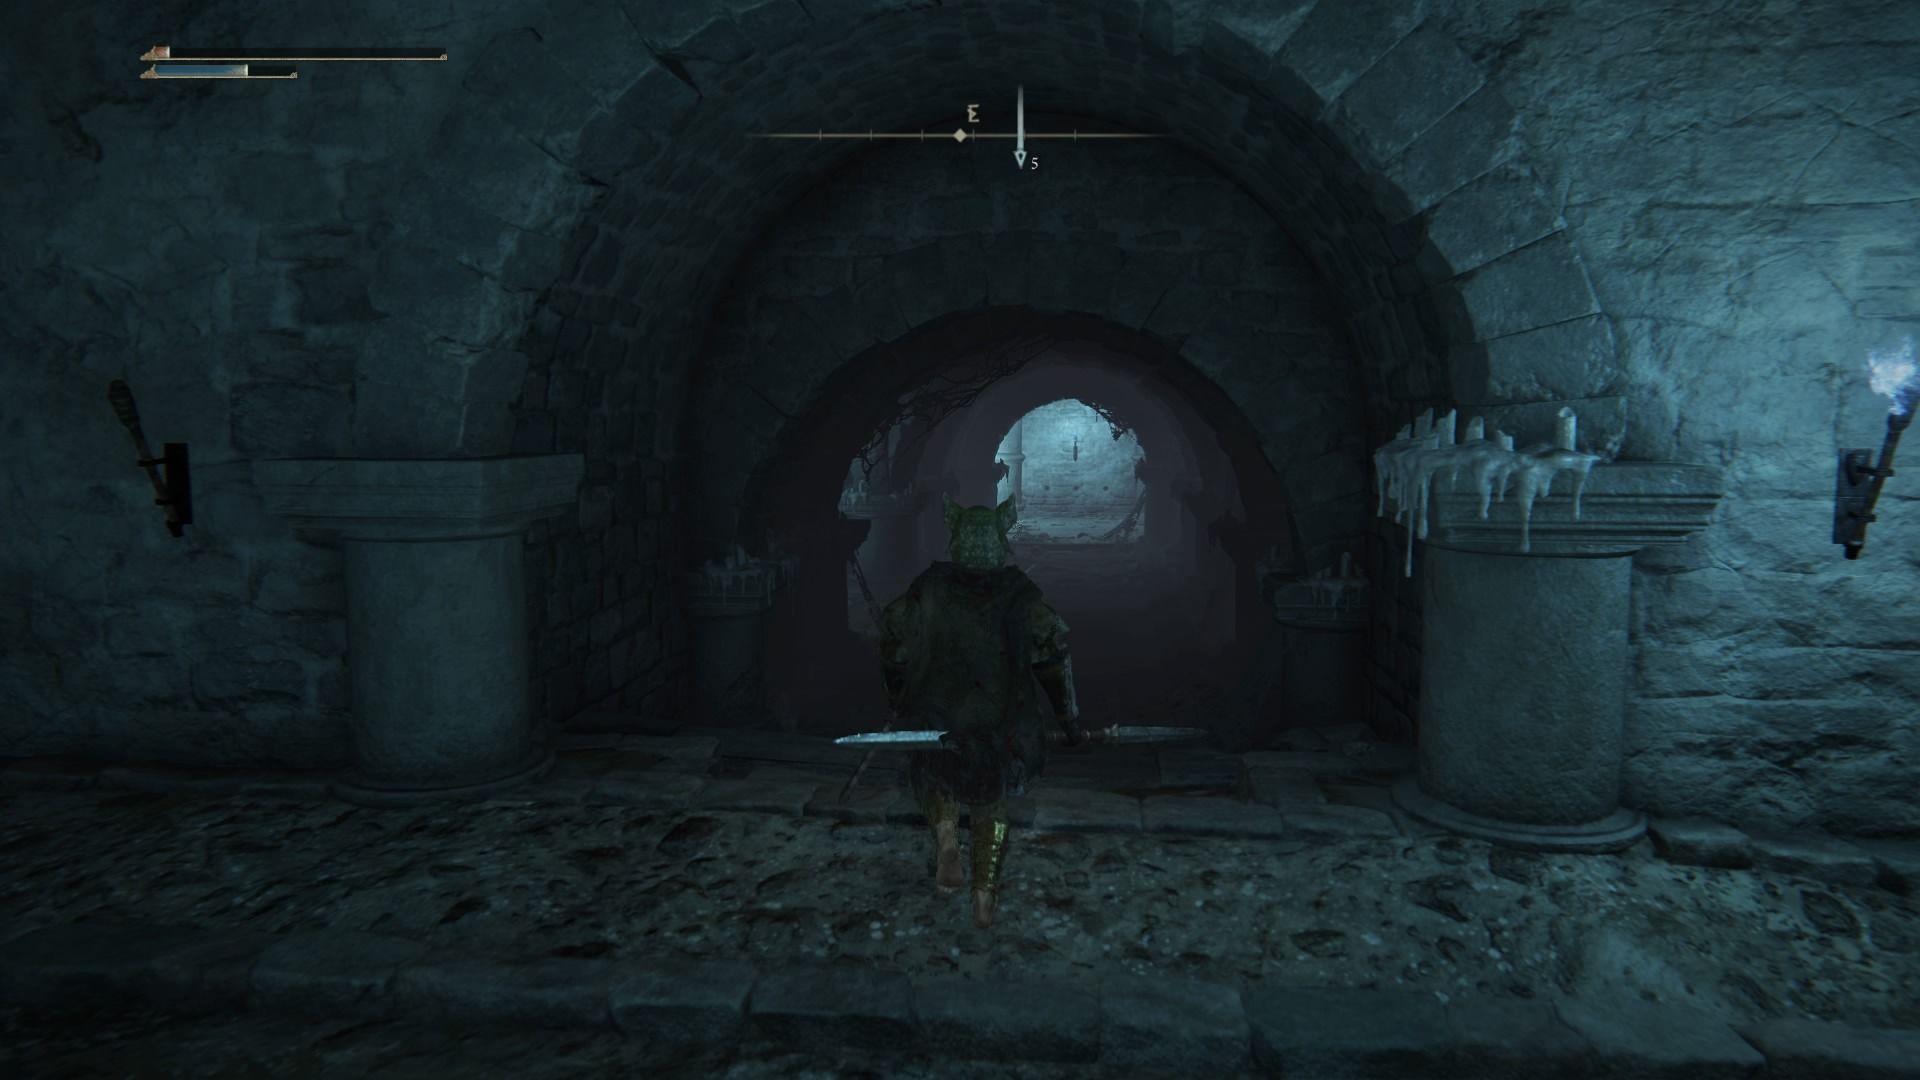
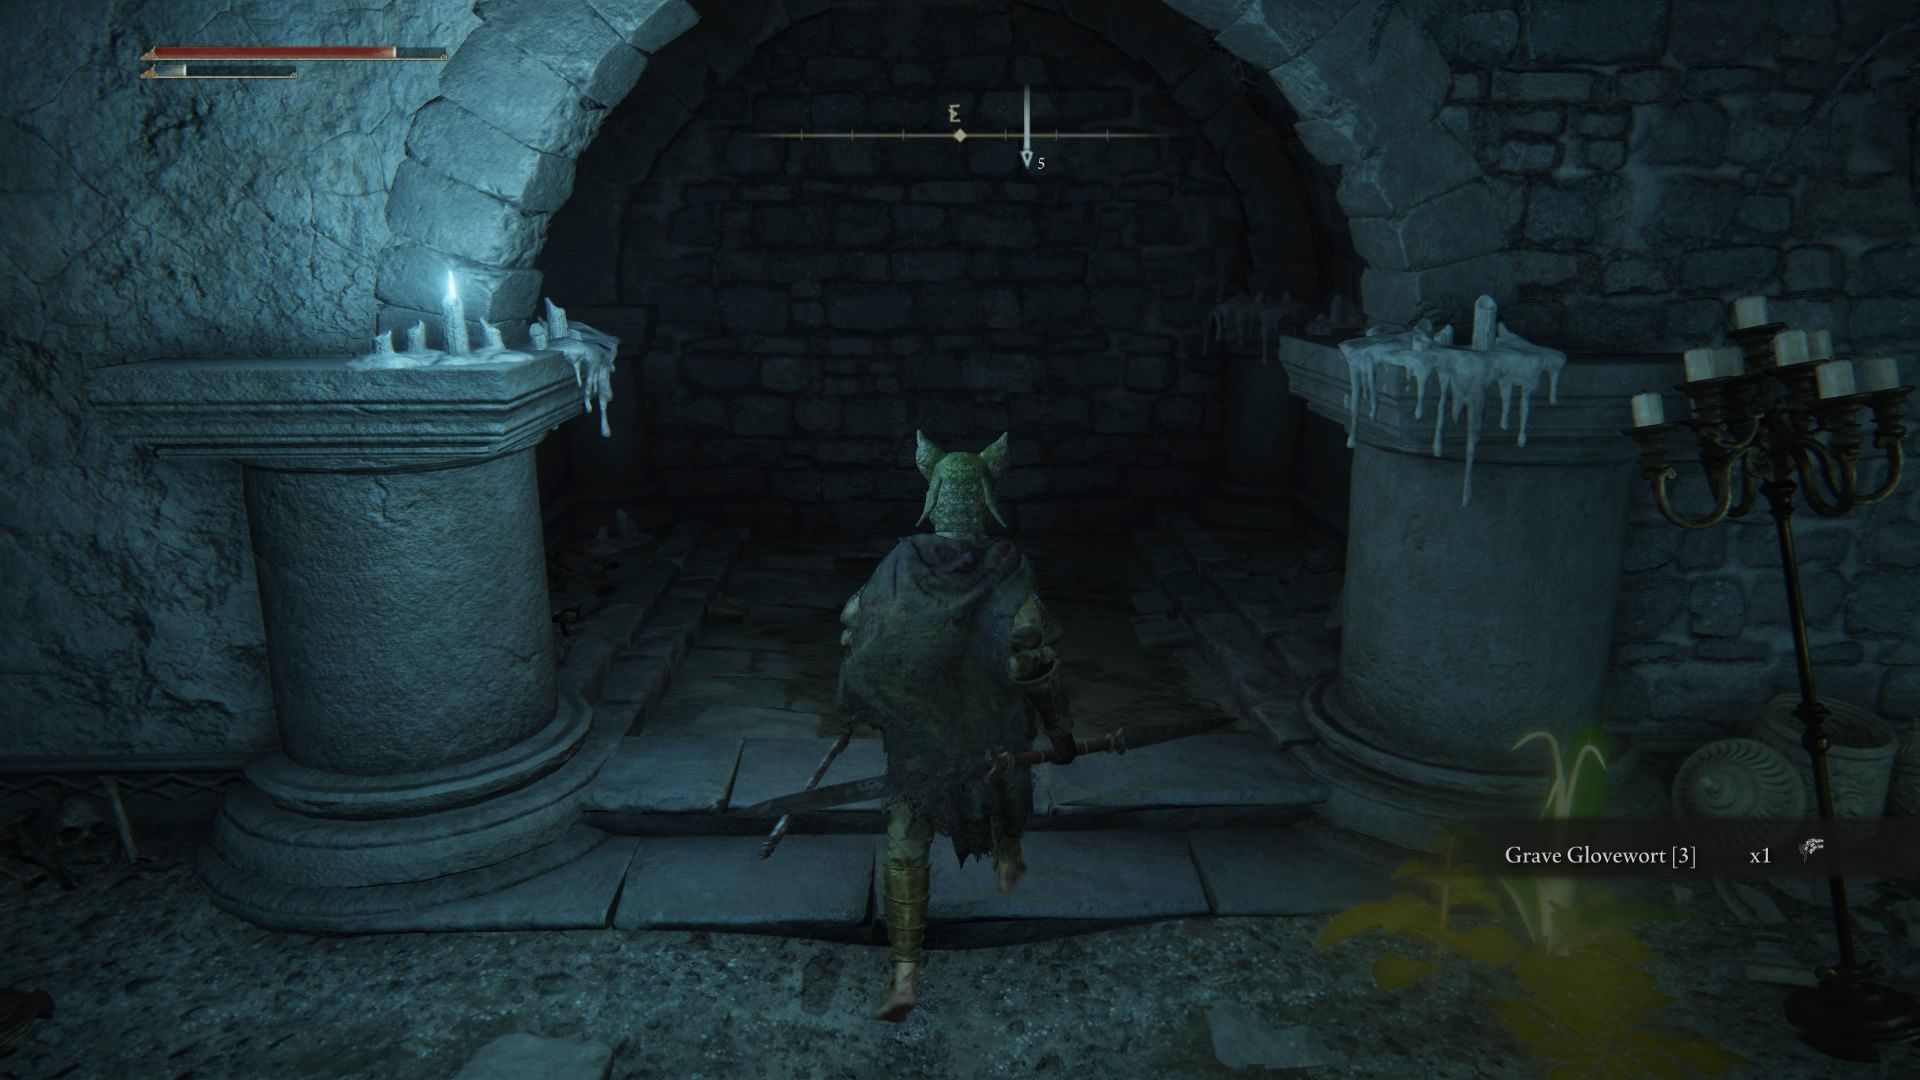
Continue downstairs and through the tunnel, but beware of two threats: there’s an imp in an alcove on the left side, and a switch that activates a magical trap that you don’t want to step on. Take out the imp in the alcove and don’t step on the obvious switch.
At the end of the tunnel, you reach a square-shaped room with a square pillar in the center. After defeating the imps in this room, you may think there is no way to progress. There's actually an illusory wall at the north of the room: strike the wall to make it disappear.
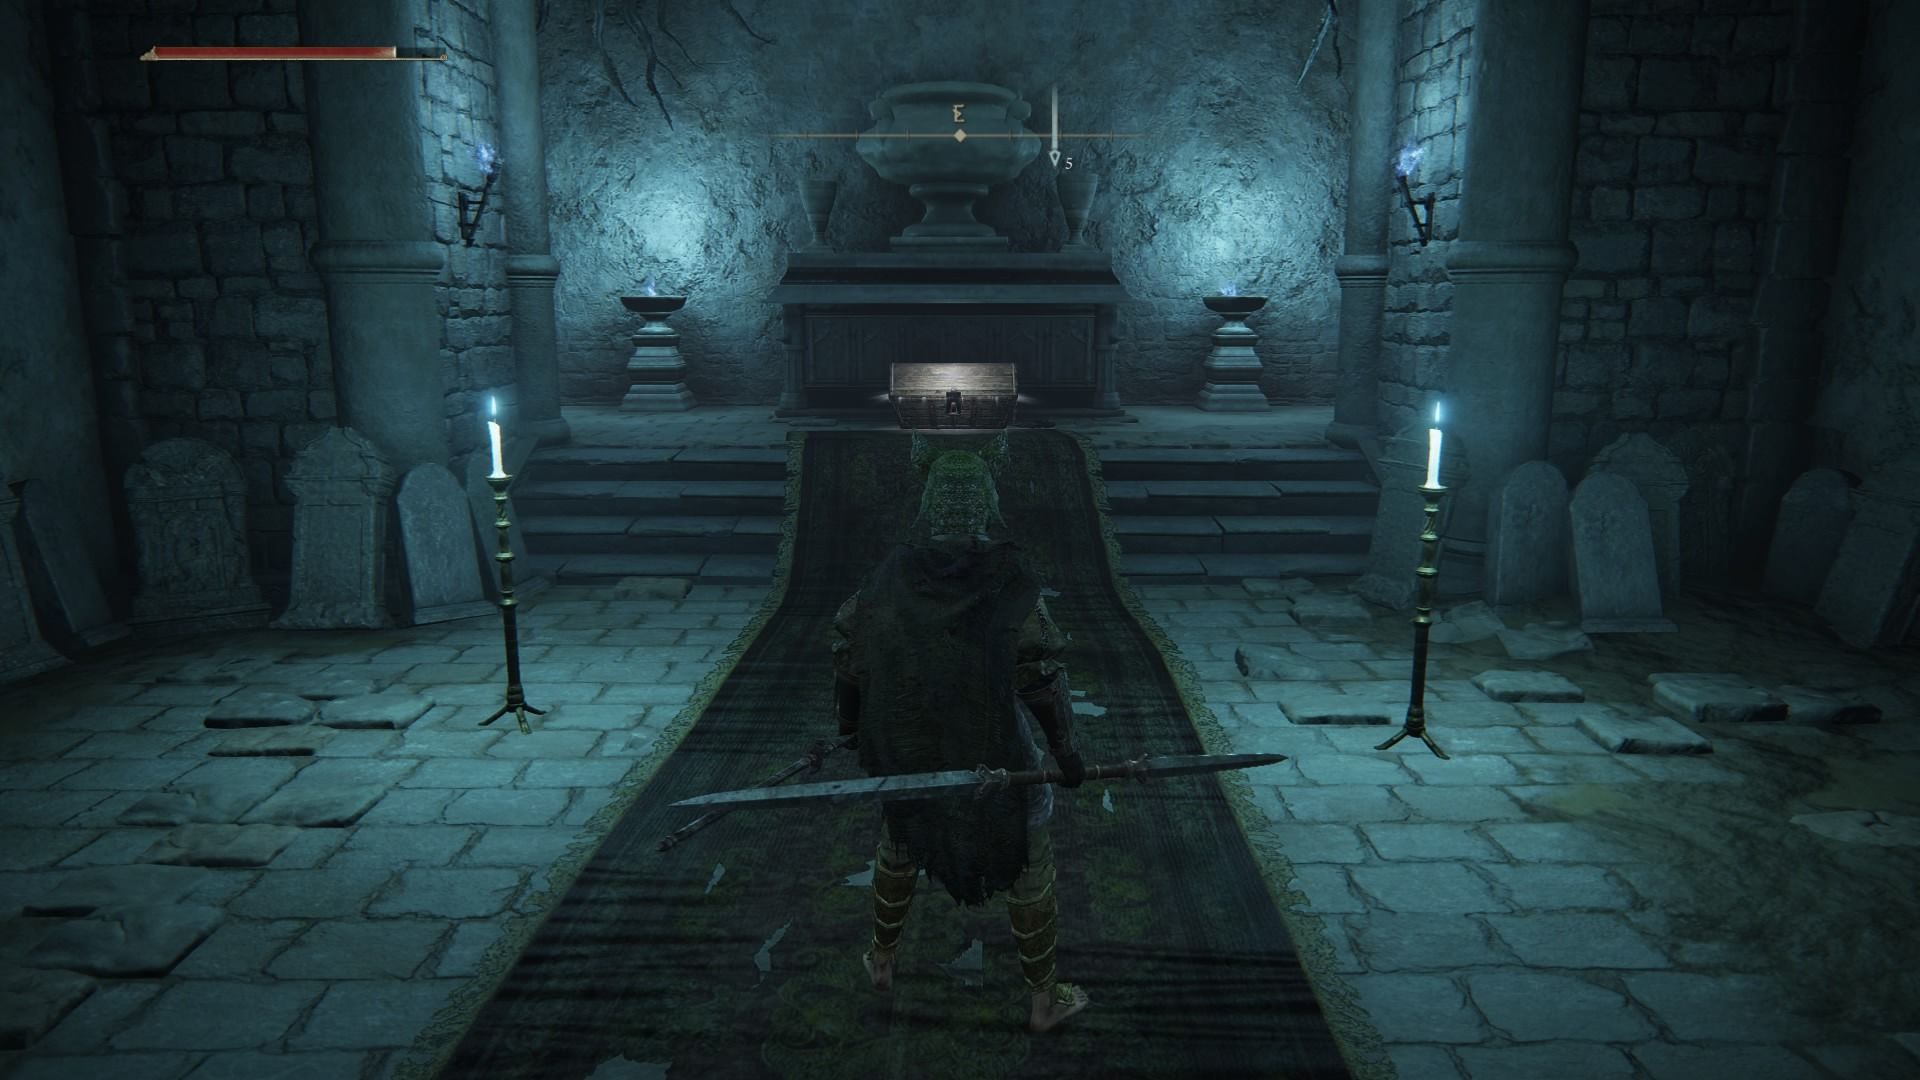
There are imps hiding this room so wait to make sure they're all dead before you open the chest. Then, open the chest to find the Raya Lucaria Soldier Ashes. The room seems like a dead-end, which it is, so it's time to backtrack.
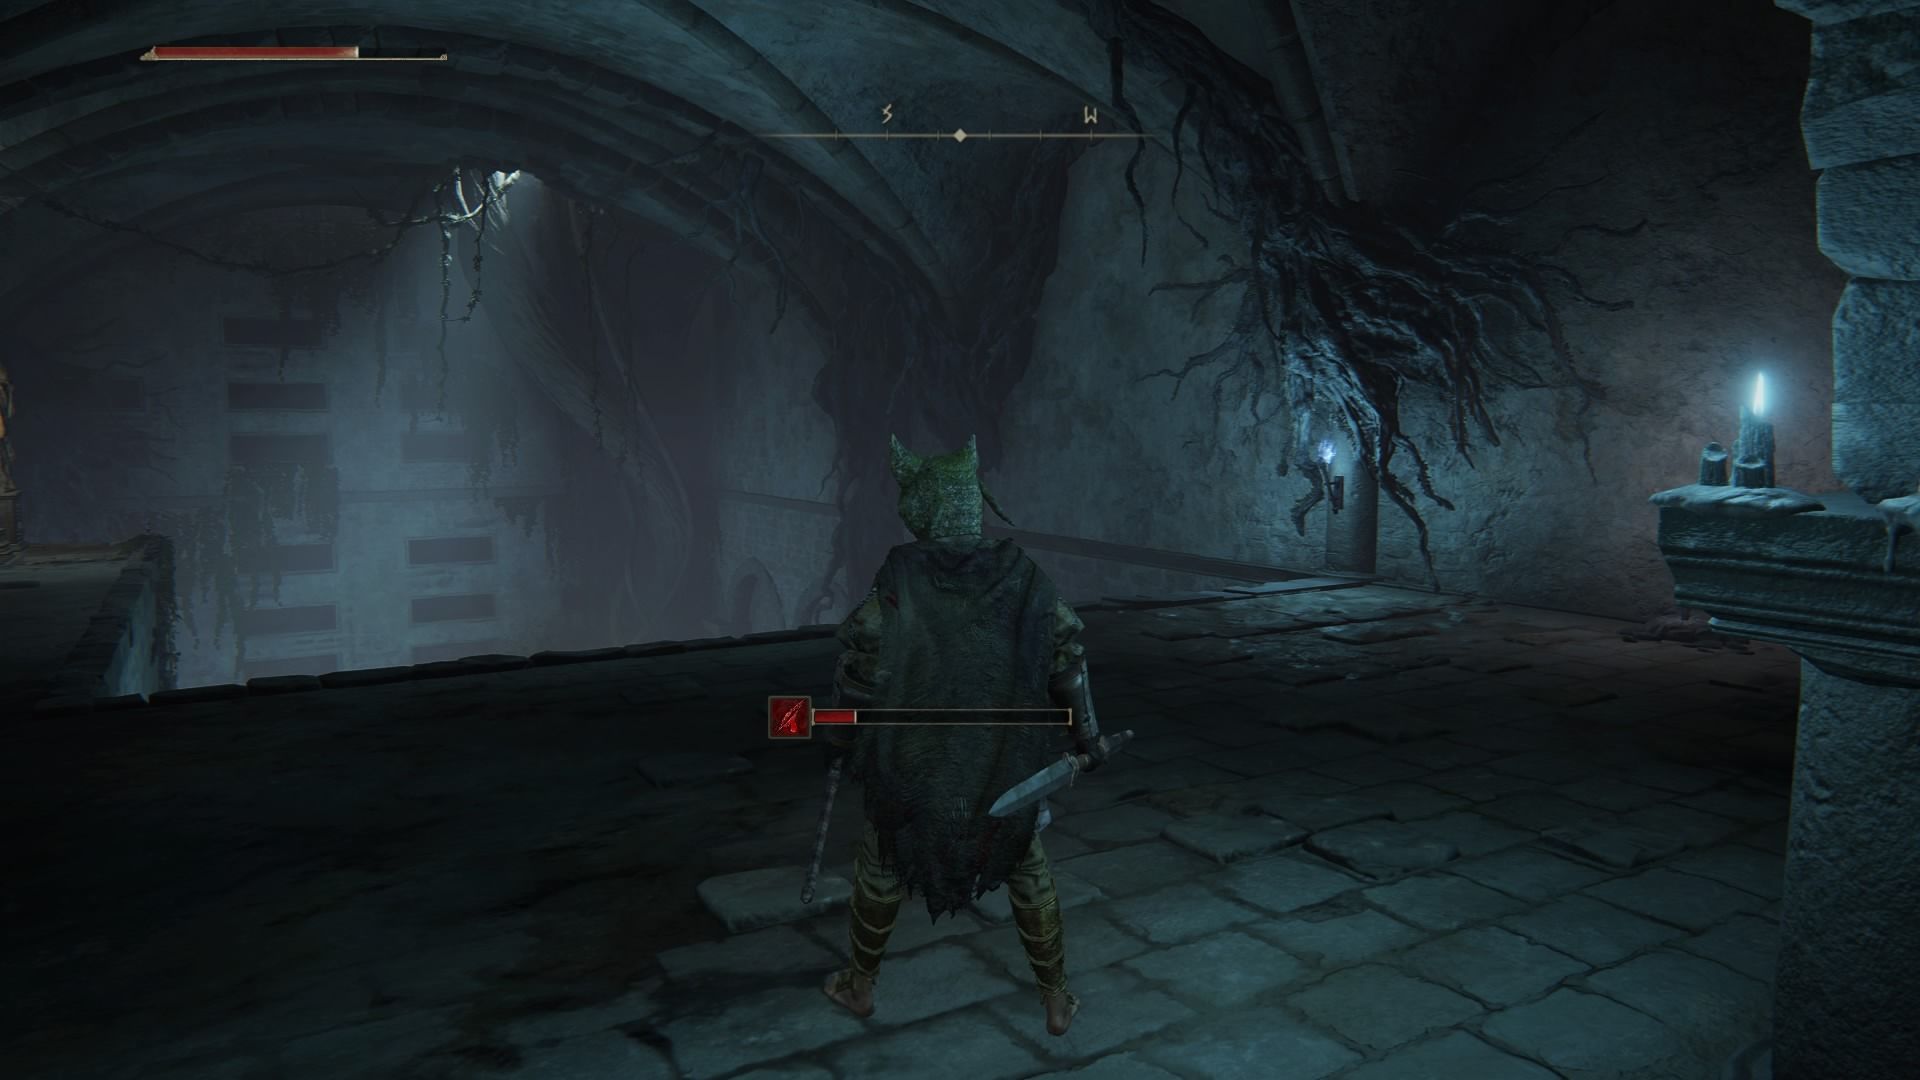
Backtrack to the room with two sets of stairs near the beginning. Before going up the second set of stairs with the lever, uncover another illusory wall by hitting the wall with the blue torch on it.
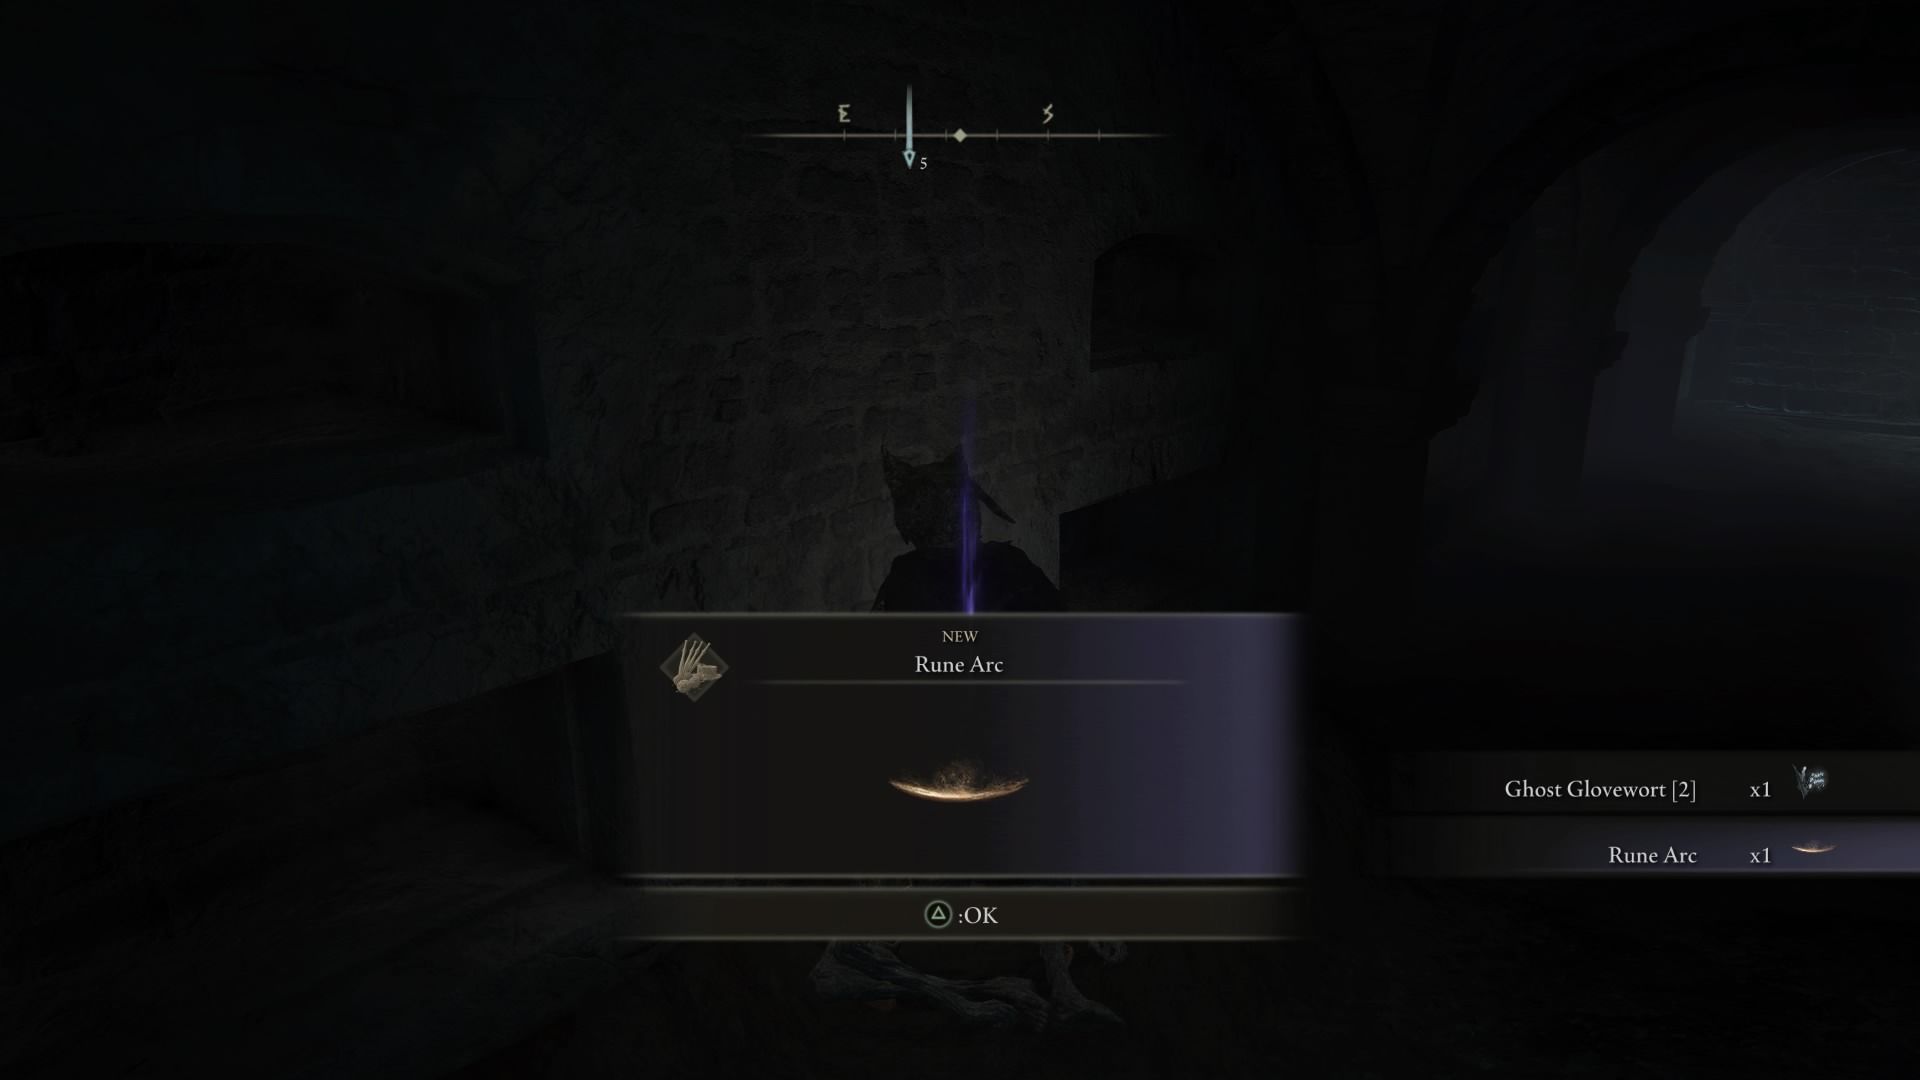
Fight the imp inside this newfound area and pick up the rune arc from the body. Turn the corner and find the narrow pathway. Go down the stairs until you find a Root Resin on a body. Hit the wall again to unveil one more secret door.
Go down the stairs and hit another secret door. Behind it, you'll find one final room containing Root Resins and two statues. Keep heading down the next set of stairs to find a mist to traverse, which contains the boss Spirit-caller Snail.
Spirit-Caller Snail Boss Guide
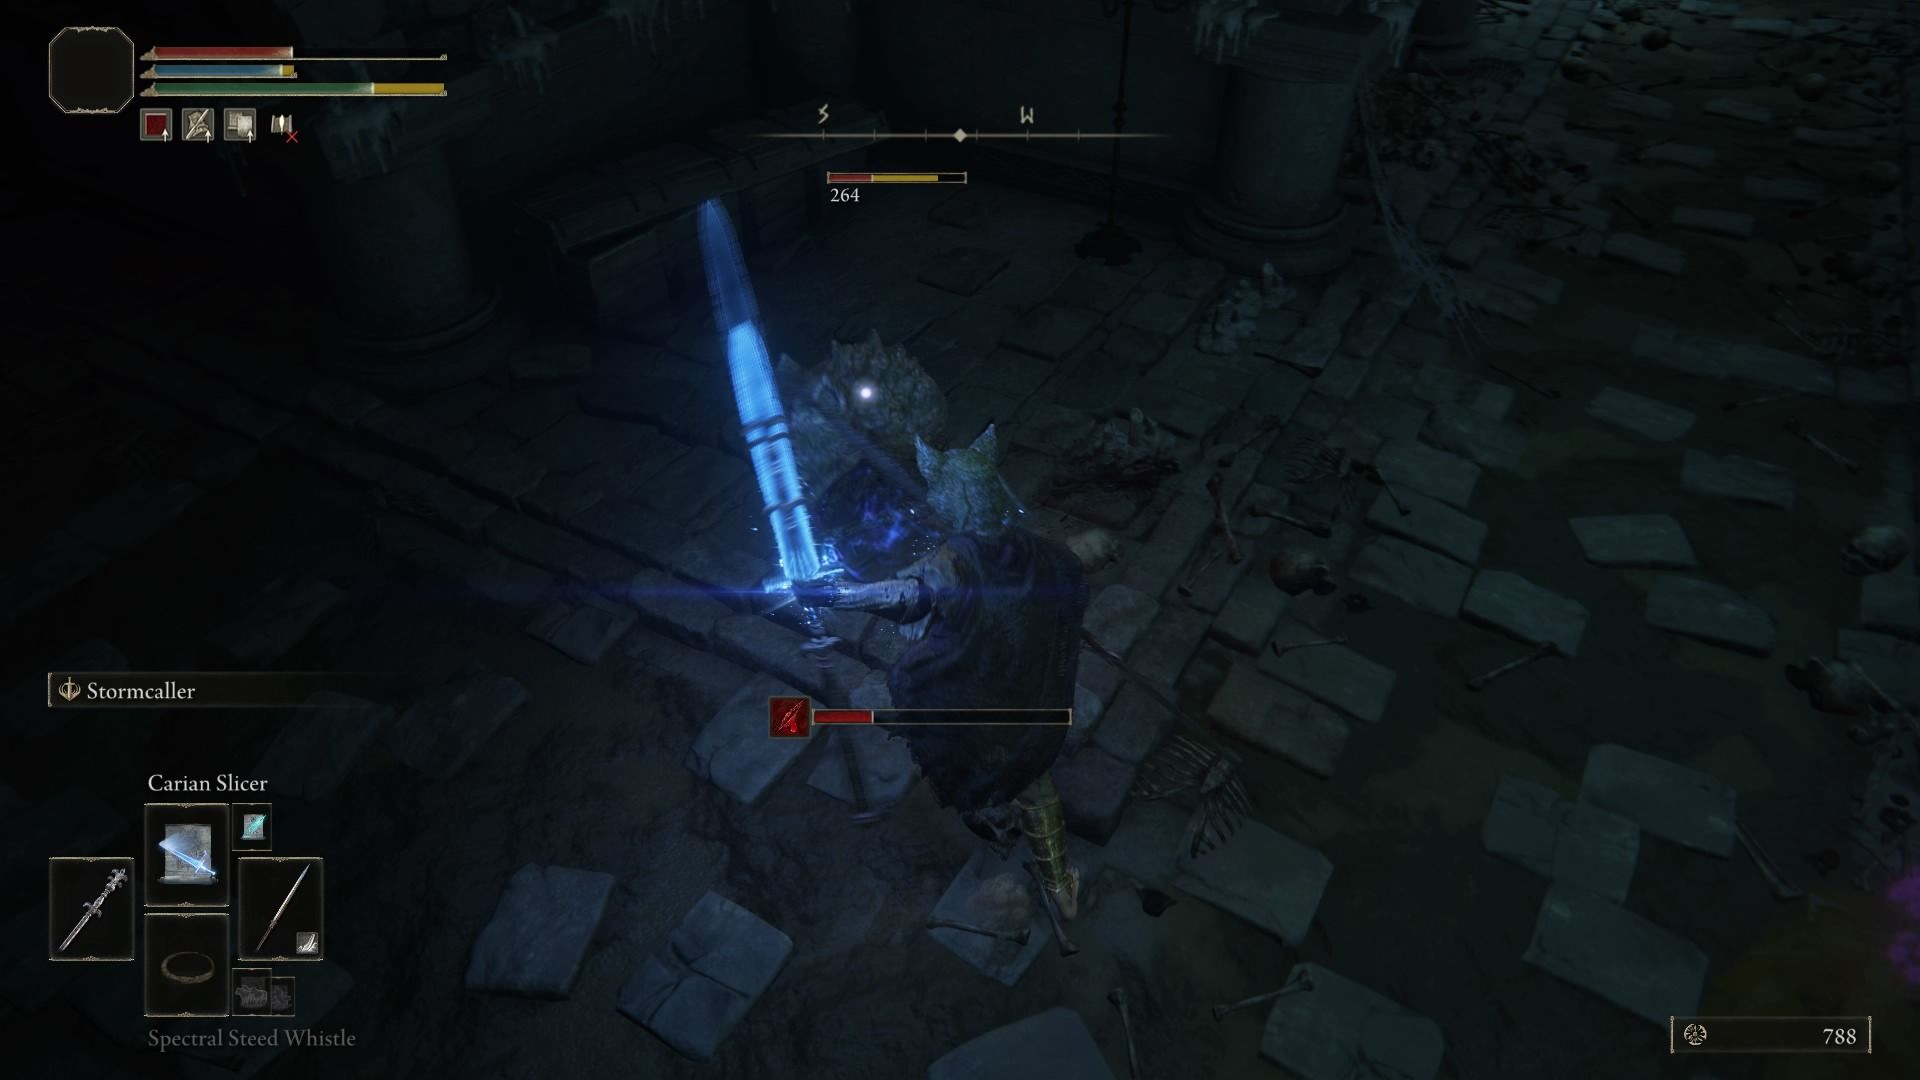
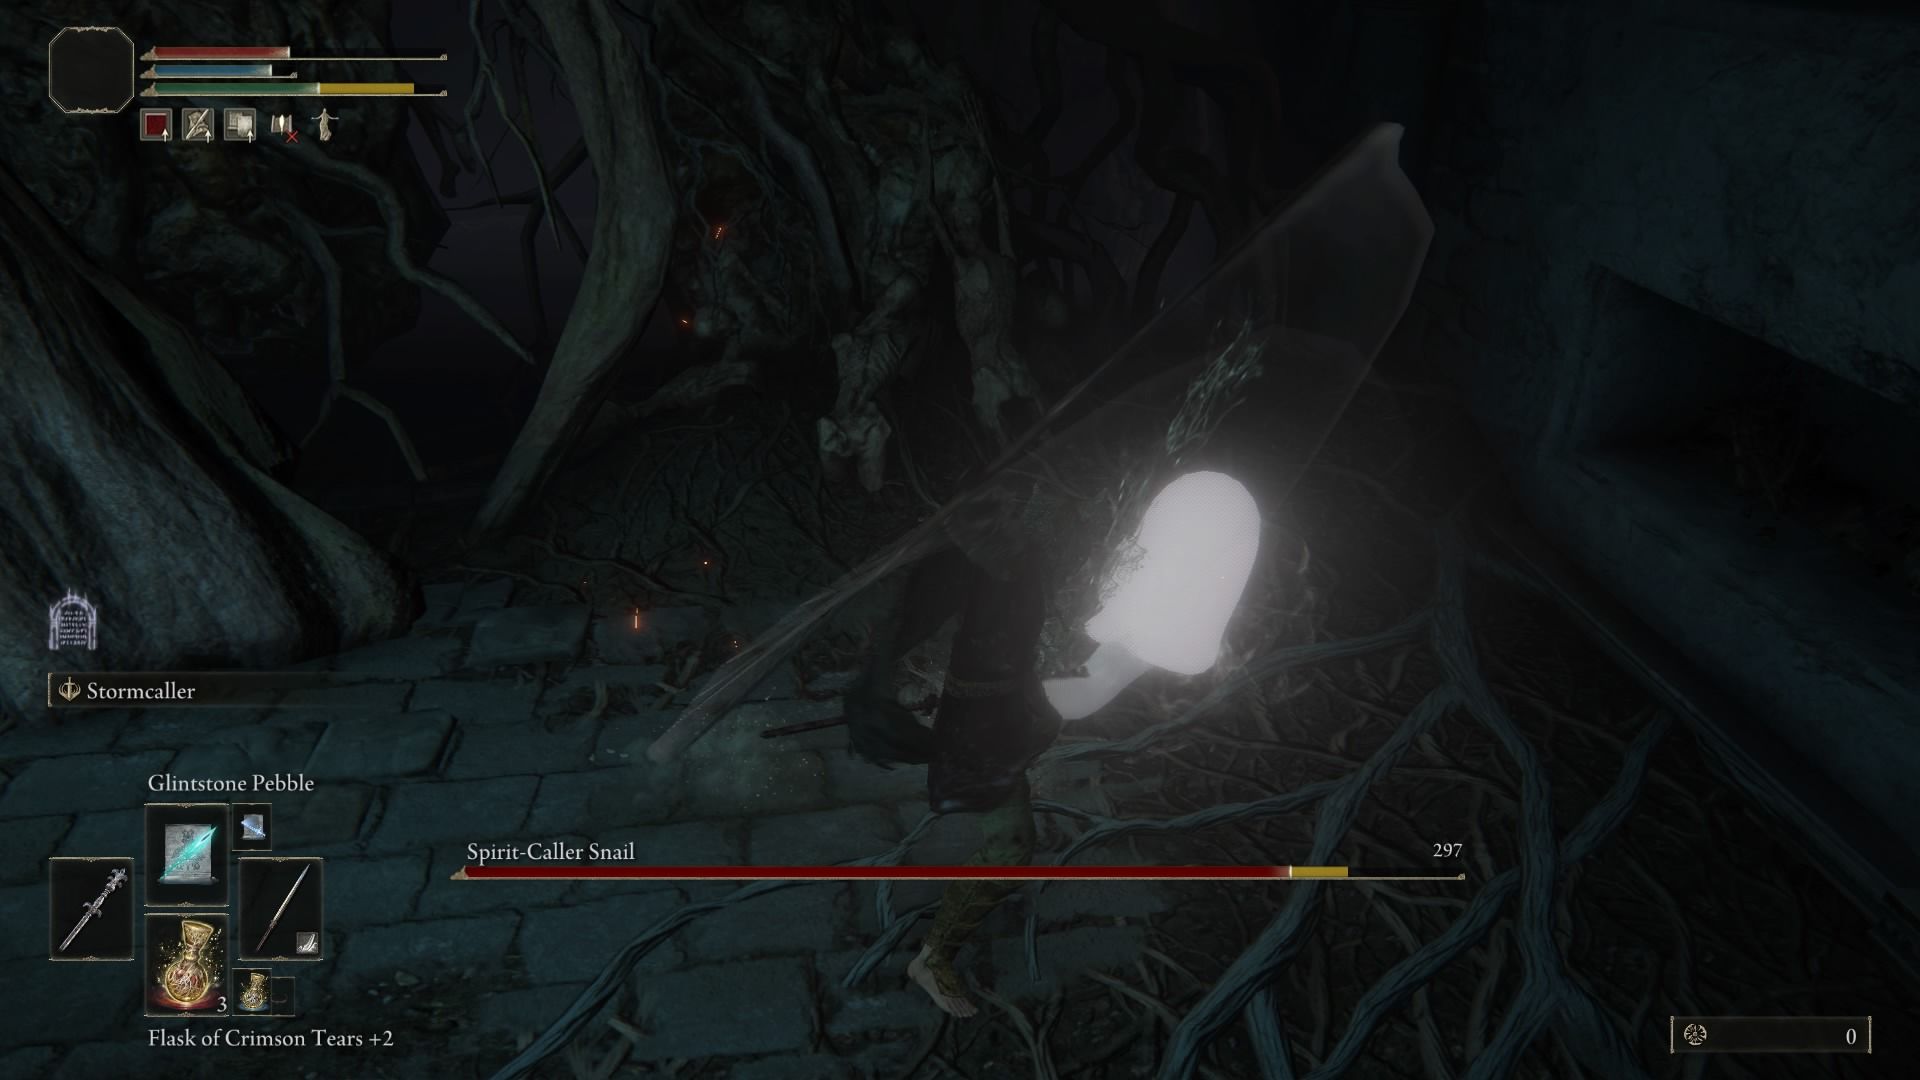
You might be confused when you enter this boss arena and read 'Spirit-caller Snail' as you are approached and promptly stabbed by the spear of an ethereal armored figure. As you damage them, you may notice they have a separate health bar, meaning this isn't the snail you're looking for.
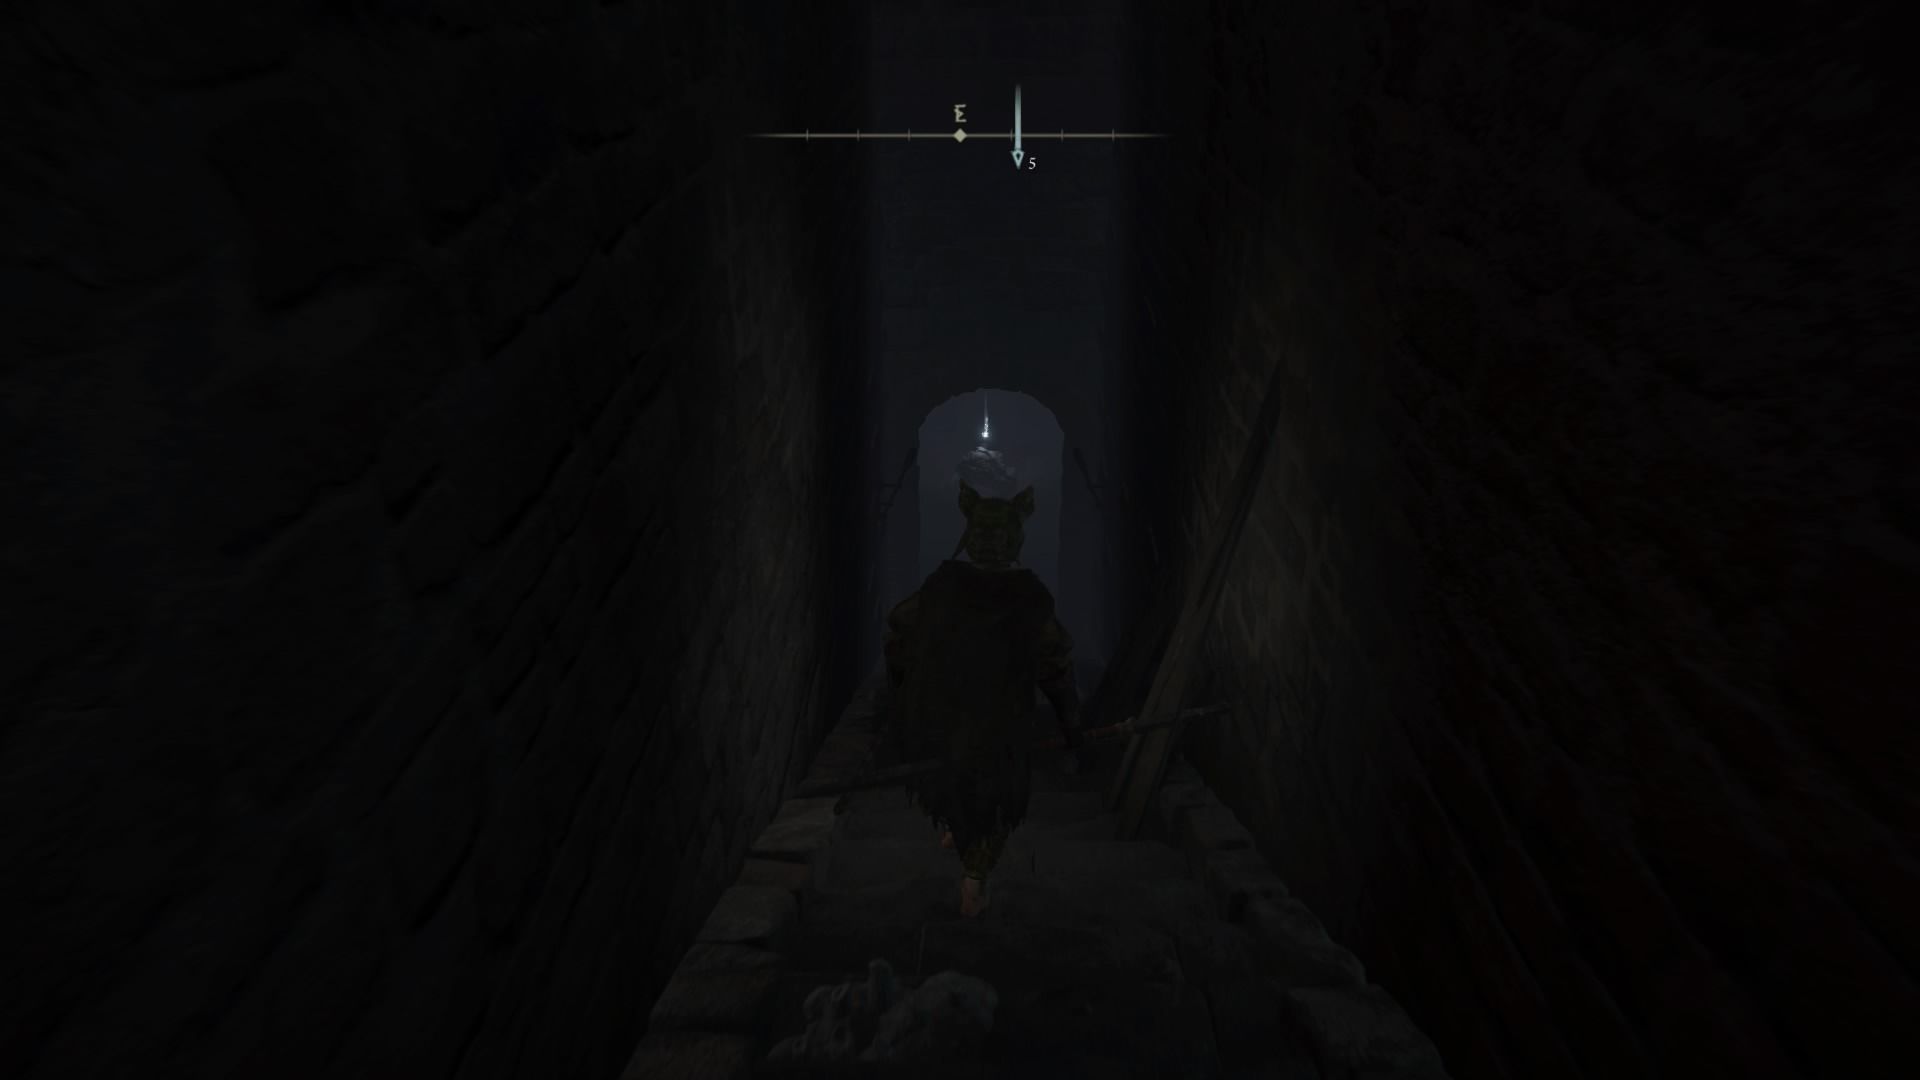
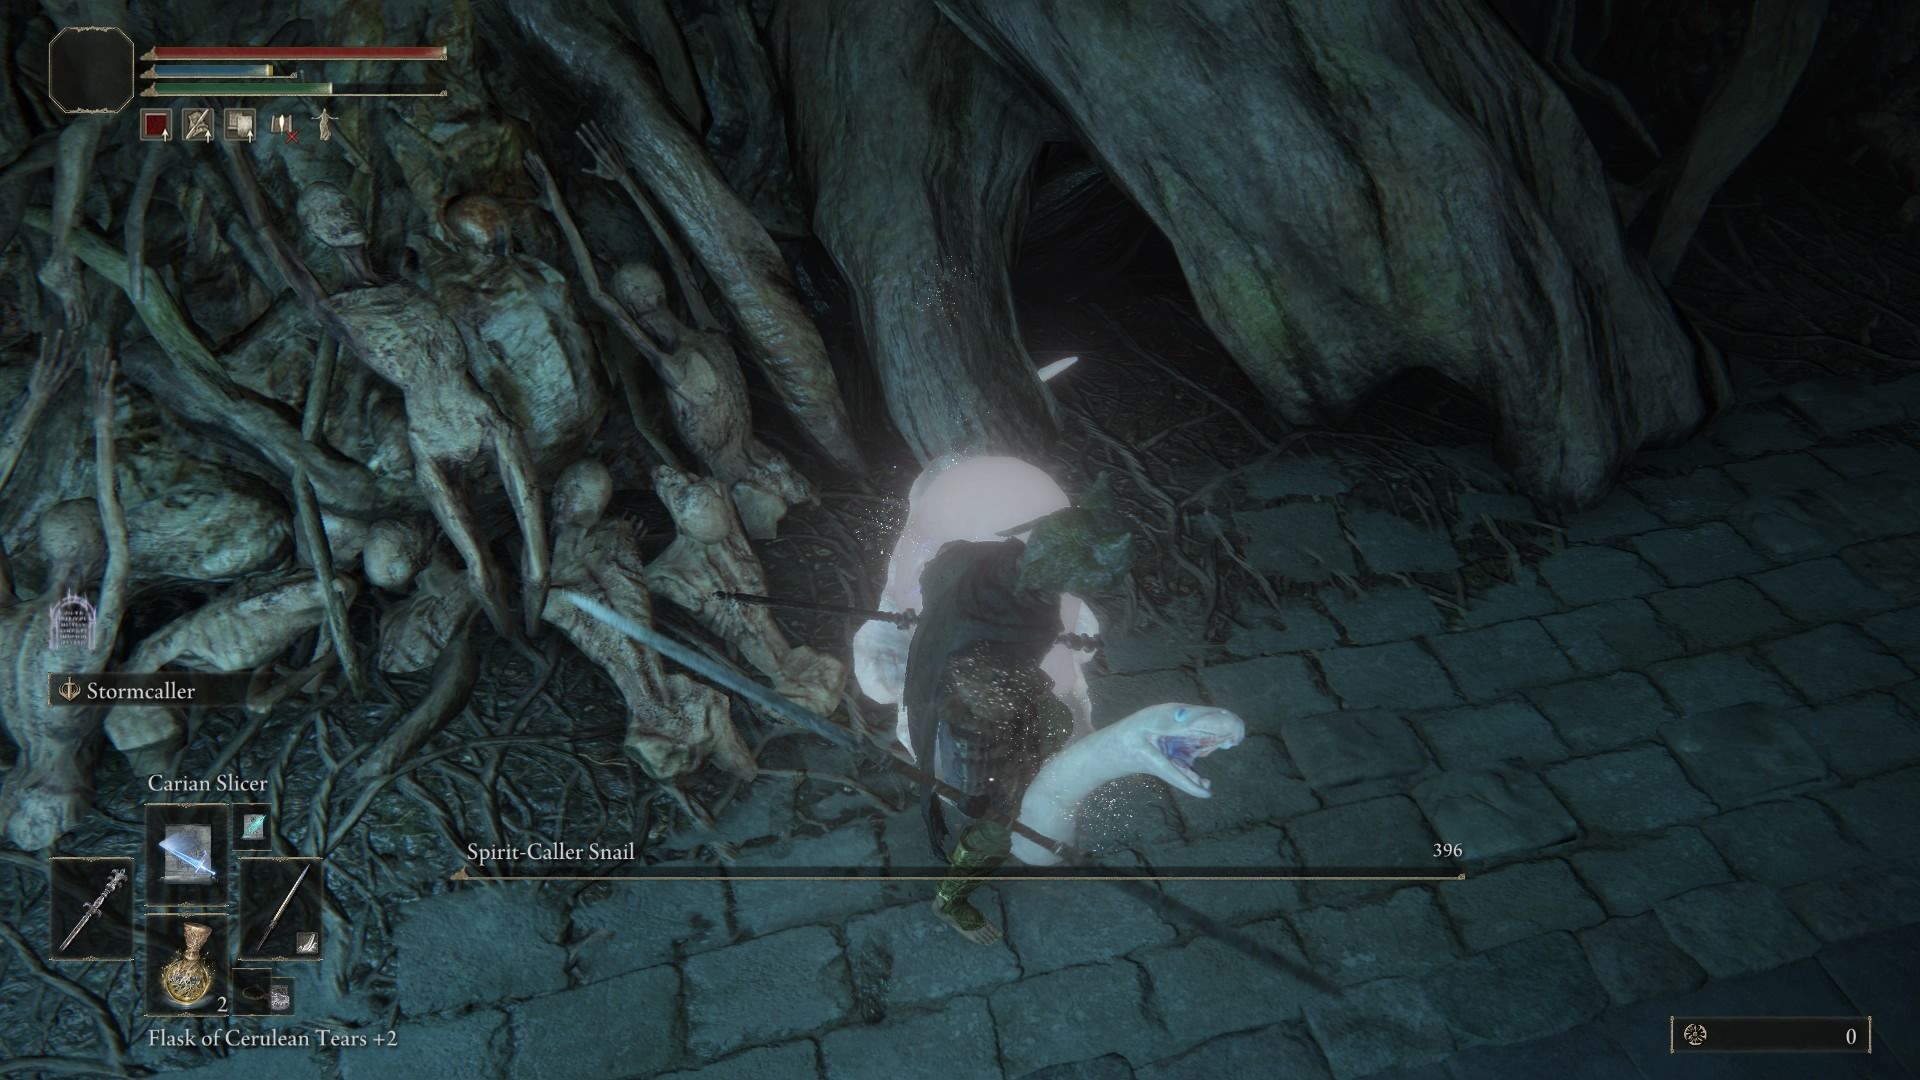
Like the dungeon itself, this fight is based on an illusion. You'll need to ignore and dodge the armored spirit and seek out the real boss — an invisible snail. The snail gives itself away with a subtle spherical white glow that will appear in various corners of the area. Find it, slash with your best attacks, and then wait for it to teleport somewhere new.
The snail is fairly defenseless, so you'll be able to destroy it quickly using powerful skills. Be sure not to get too greedy per snail appearance, however, as the armored spirit will still be hunting you down with their spear.
If you're using an intelligence-based build, the sorcery Carian Slicer can melt through the snail incredibly quickly. If you're using a strength-based build, you can charge up your heavy attacks and swing into the snail before it even appears.
Once the snail is dead, they'll drop the Glintstone Sorcerer Spirit Ashes as well as a useful quantity of runes.
Source: Read Full Article
