Babylon is the penultimate quest in Outriders’ campaign. This mission contains some serious lore bombshells and one of the toughest minibosses in the game. If you’ve been struggling up to this point, you might want to reduce the World Tier difficulty at the end of this quest.
Gameplay-wise, this quest is fairly straightforward. You’ll need to carve a path through a town guarded by dozens of Ferals. If you lack AoE damage or high-damage weapons, now is the time to upgrade. There are a few Titanium farms you can do if you need materials to upgrade your gear. With that out of the way, it’s time to uncover what happened to the Pax.
Quest Synopsis
- Investigate the area
- Uncover the history of Monroy and his people
- Enter and investigate Monroy’s Palace
Investigate The Area
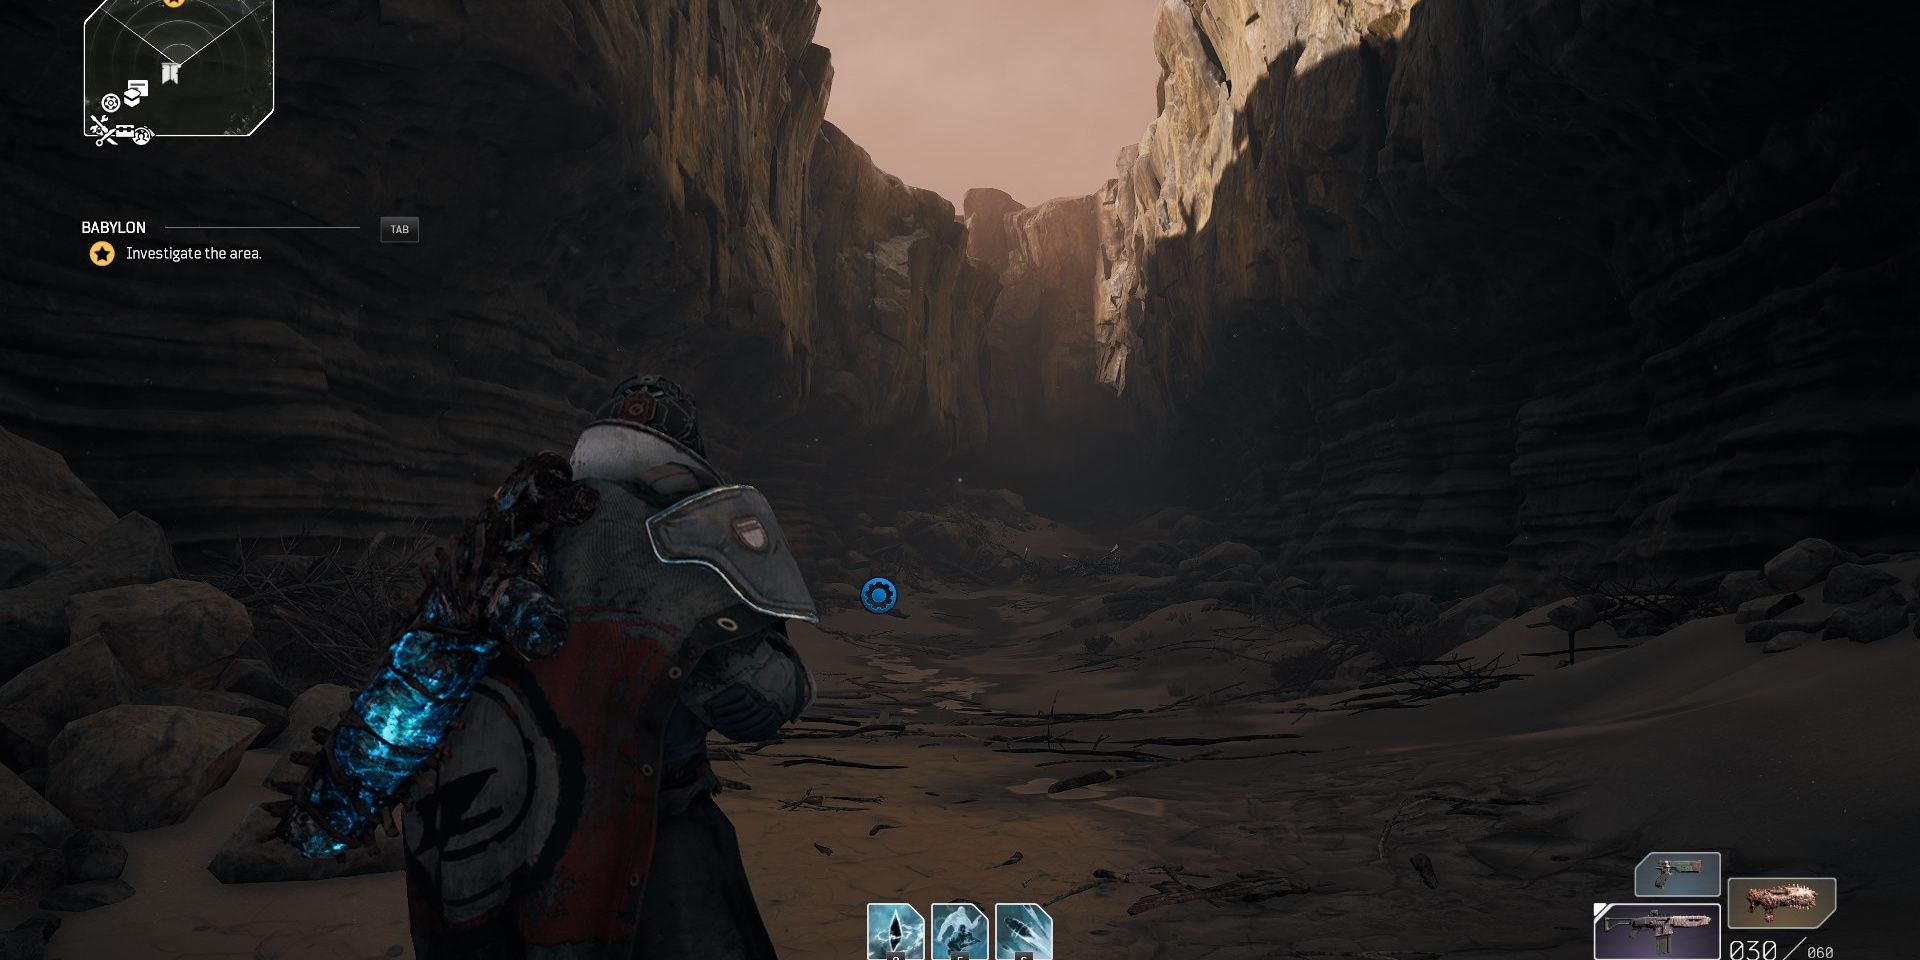
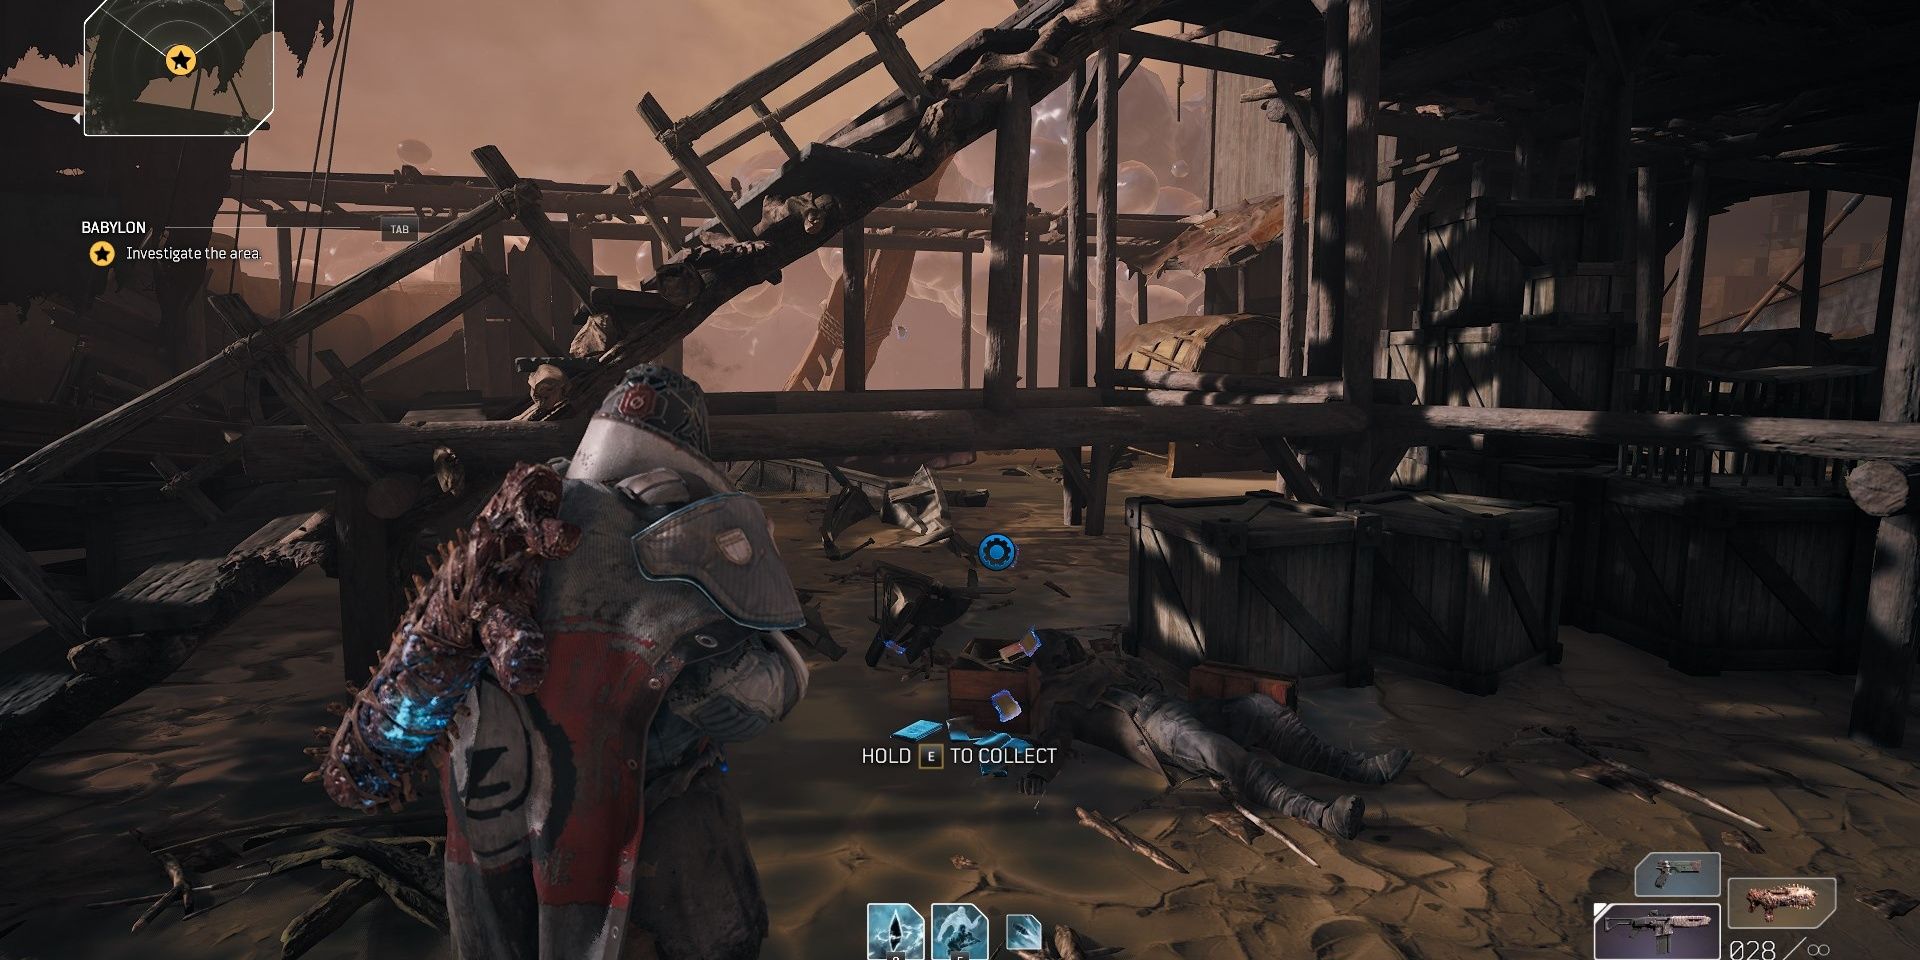
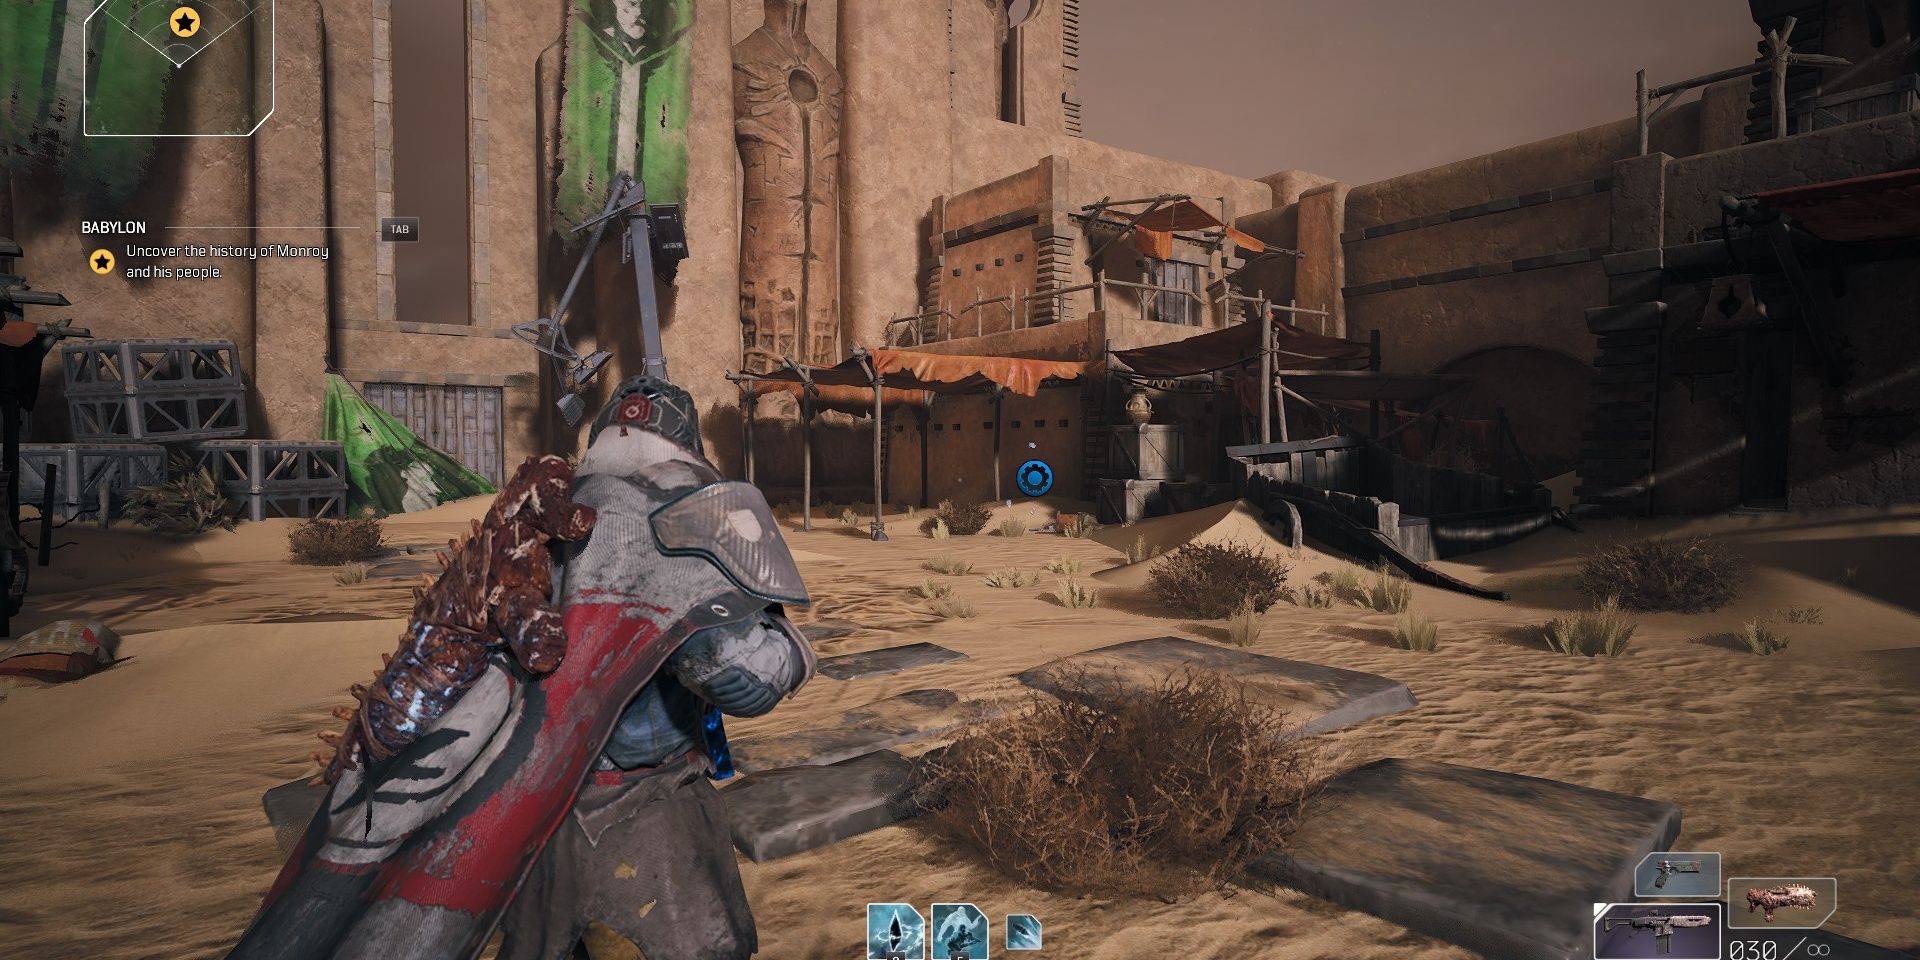
Your crew will be stationed inside a narrow canyon. Venture towards the abandoned Pax town. You’ll find a corpse with a journal entry on it. Inspect it, then proceed to the settlement.
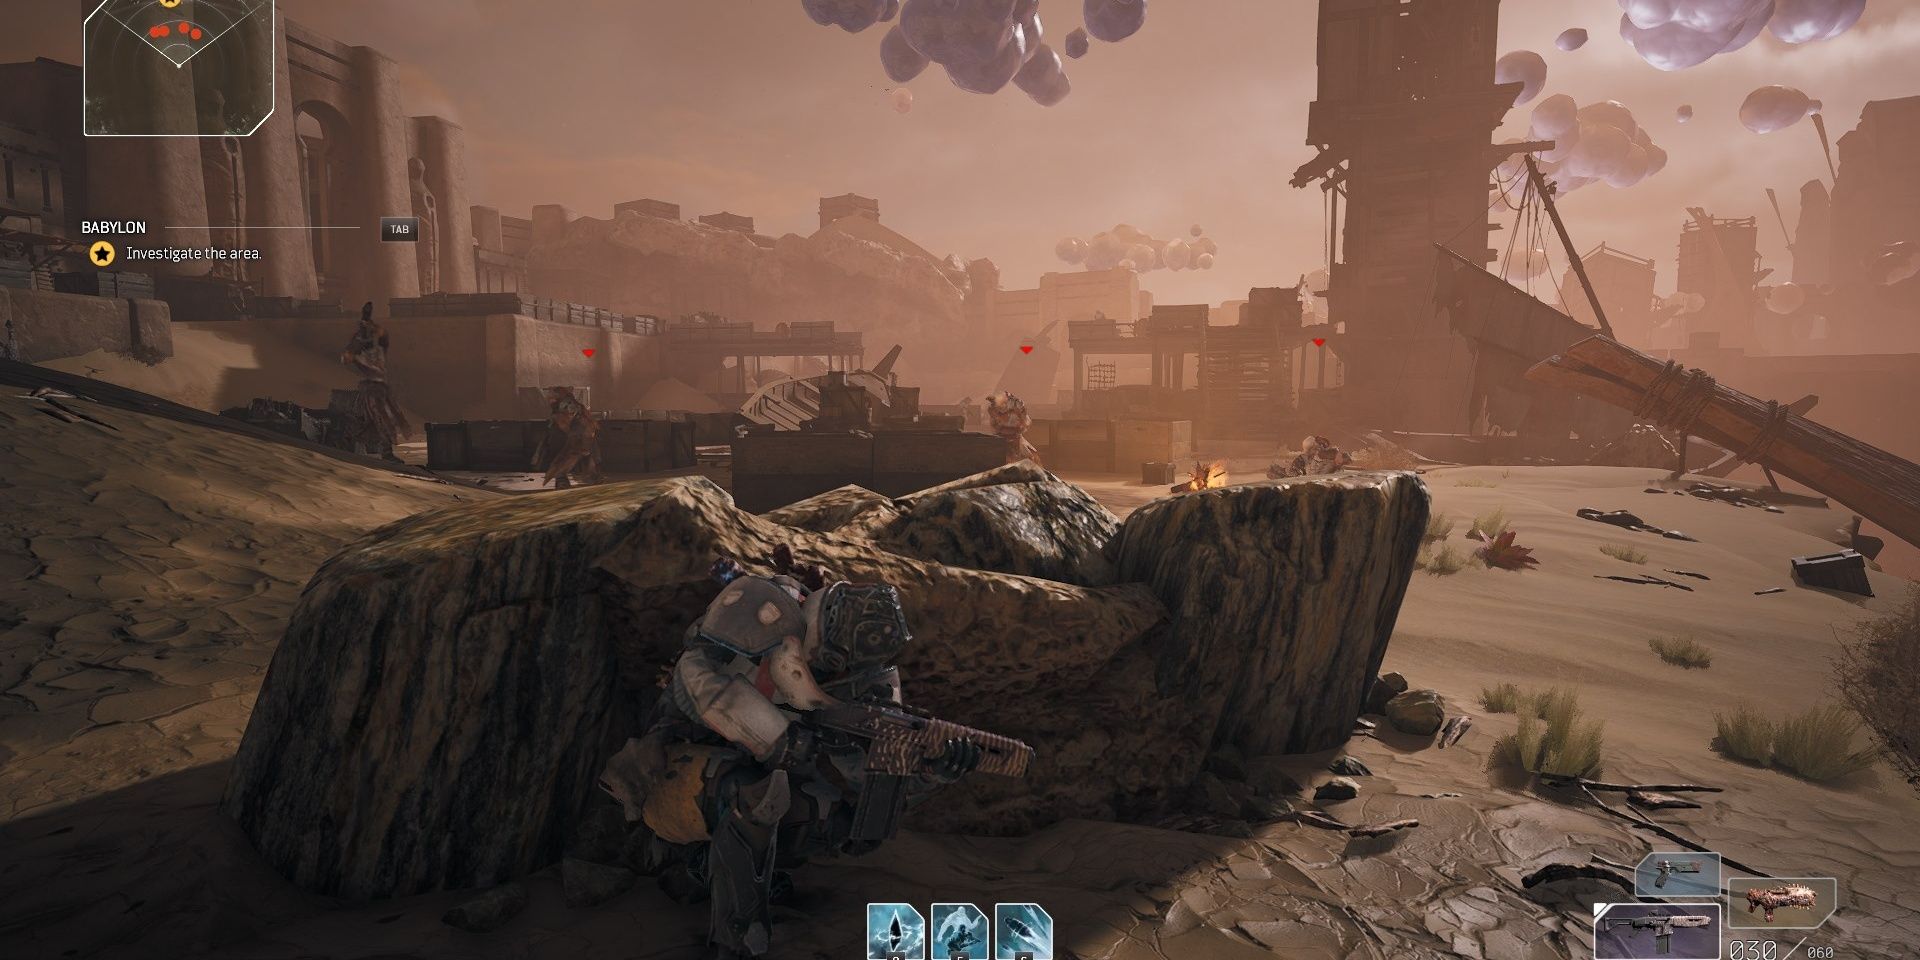
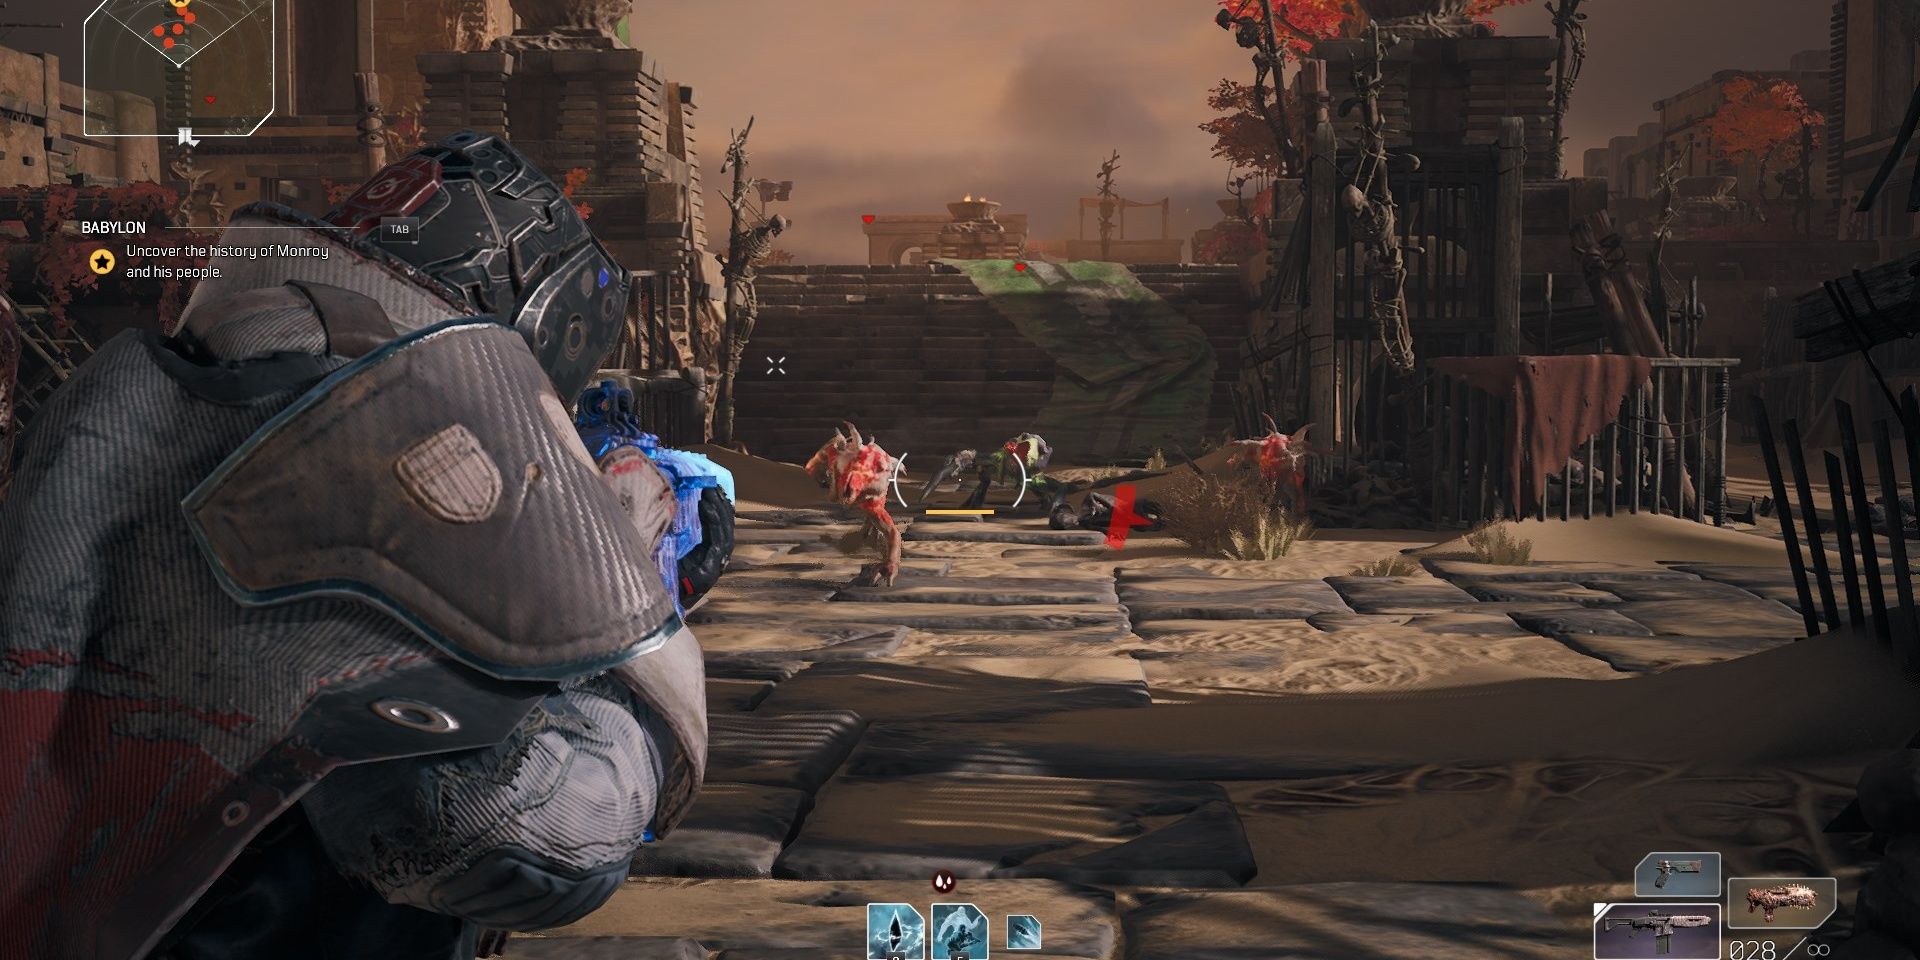
The outskirts of the town are guarded by Ferals. Don’t push up too quickly here. Try to eliminate as many Ferals as you can from a distance before moving up.
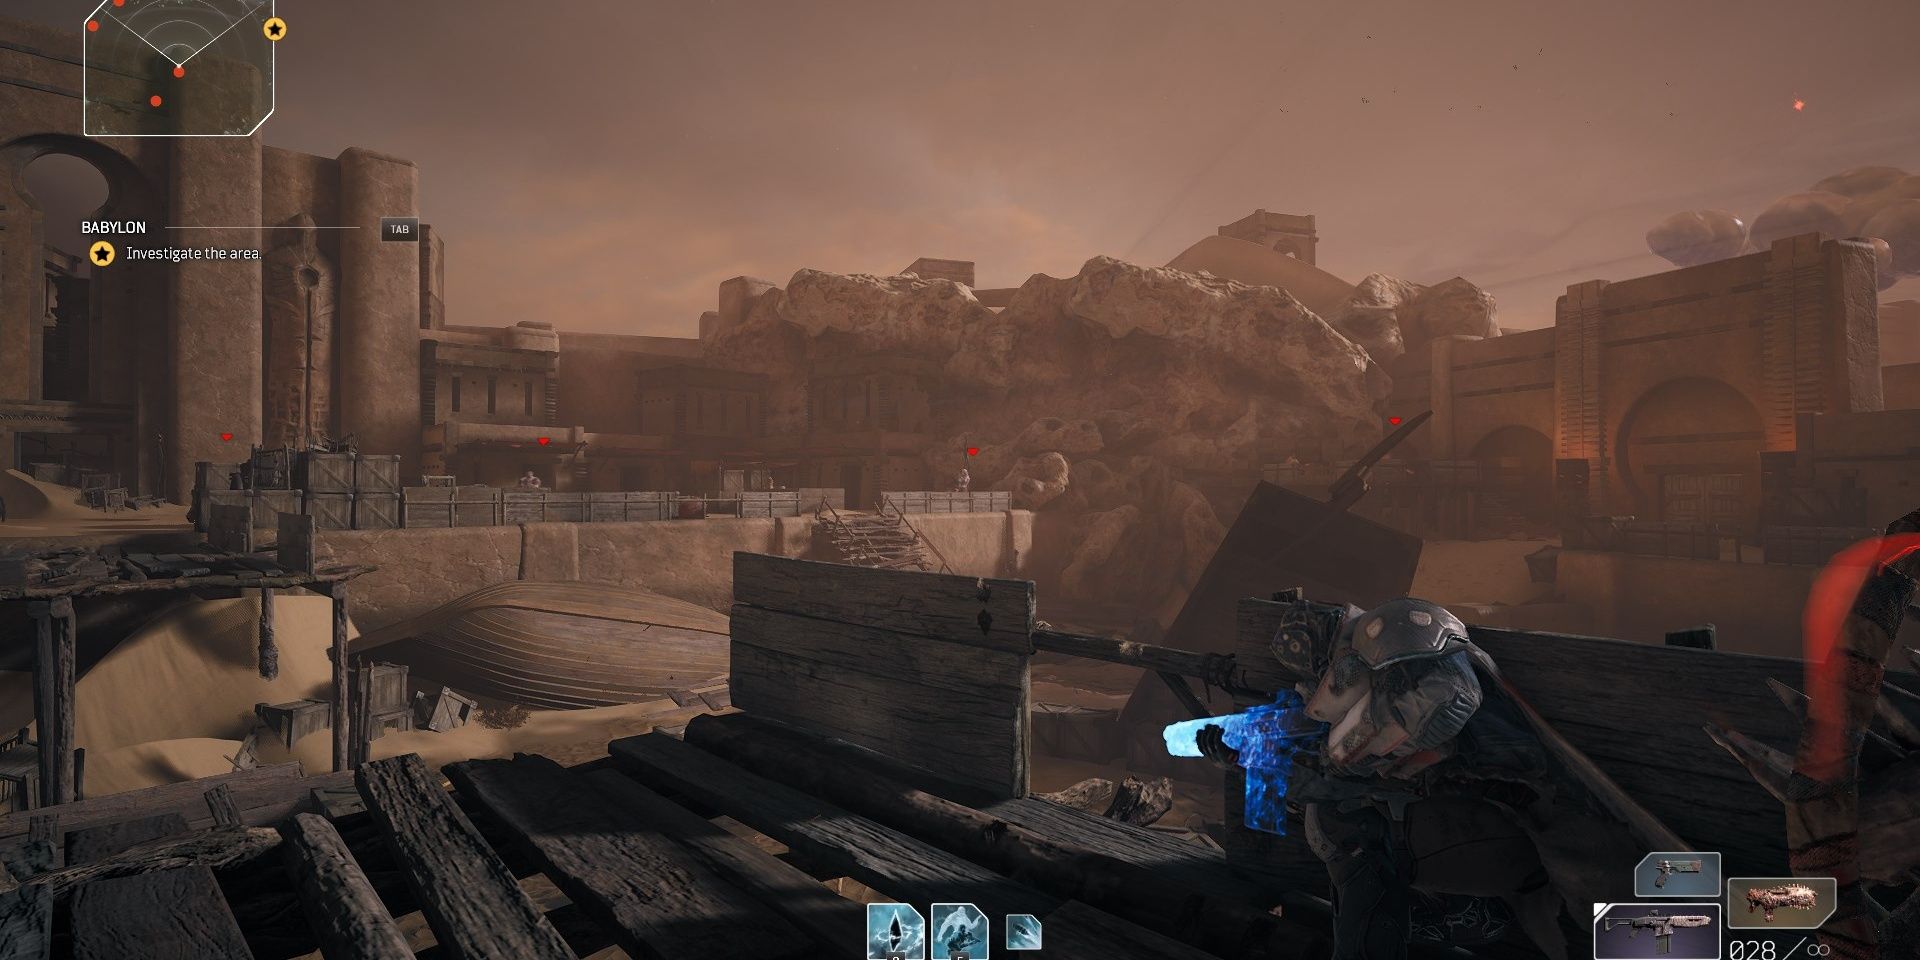
About midway up the arena, you’ll encounter multiple snipers hiding at various vantage points. Unless you can close the gap, try to take these enemies out from a distance. If you can’t damage them, periodically pop into cover to break line-of-sight.
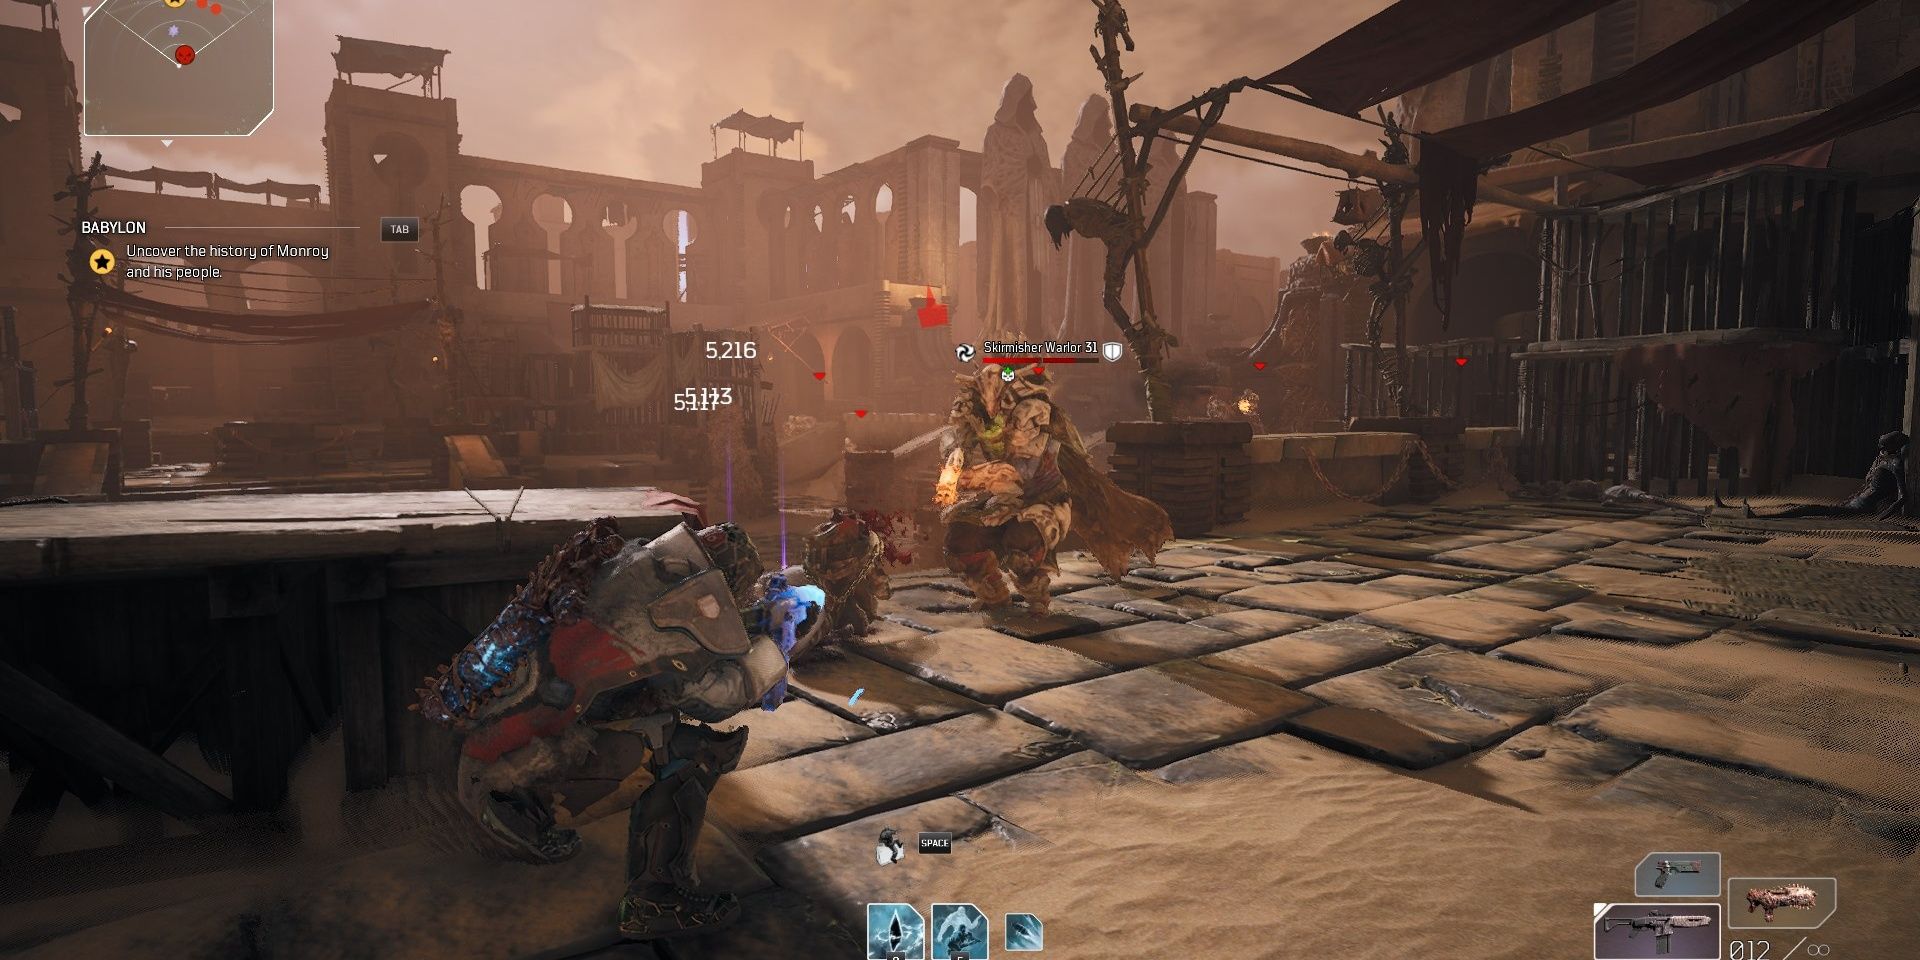
After you defeat a few enemies, you’ll encounter a Warlord alongside a plethora of fodder enemies. Juggle between damaging both the Warlord and his supporting troops, using the fodder enemies to activate your healing mechanic.
Clear out the area, then inspect the journal entry at the right-hand part of the arena. Run towards the exit—the area the snipers were guarding—to continue.
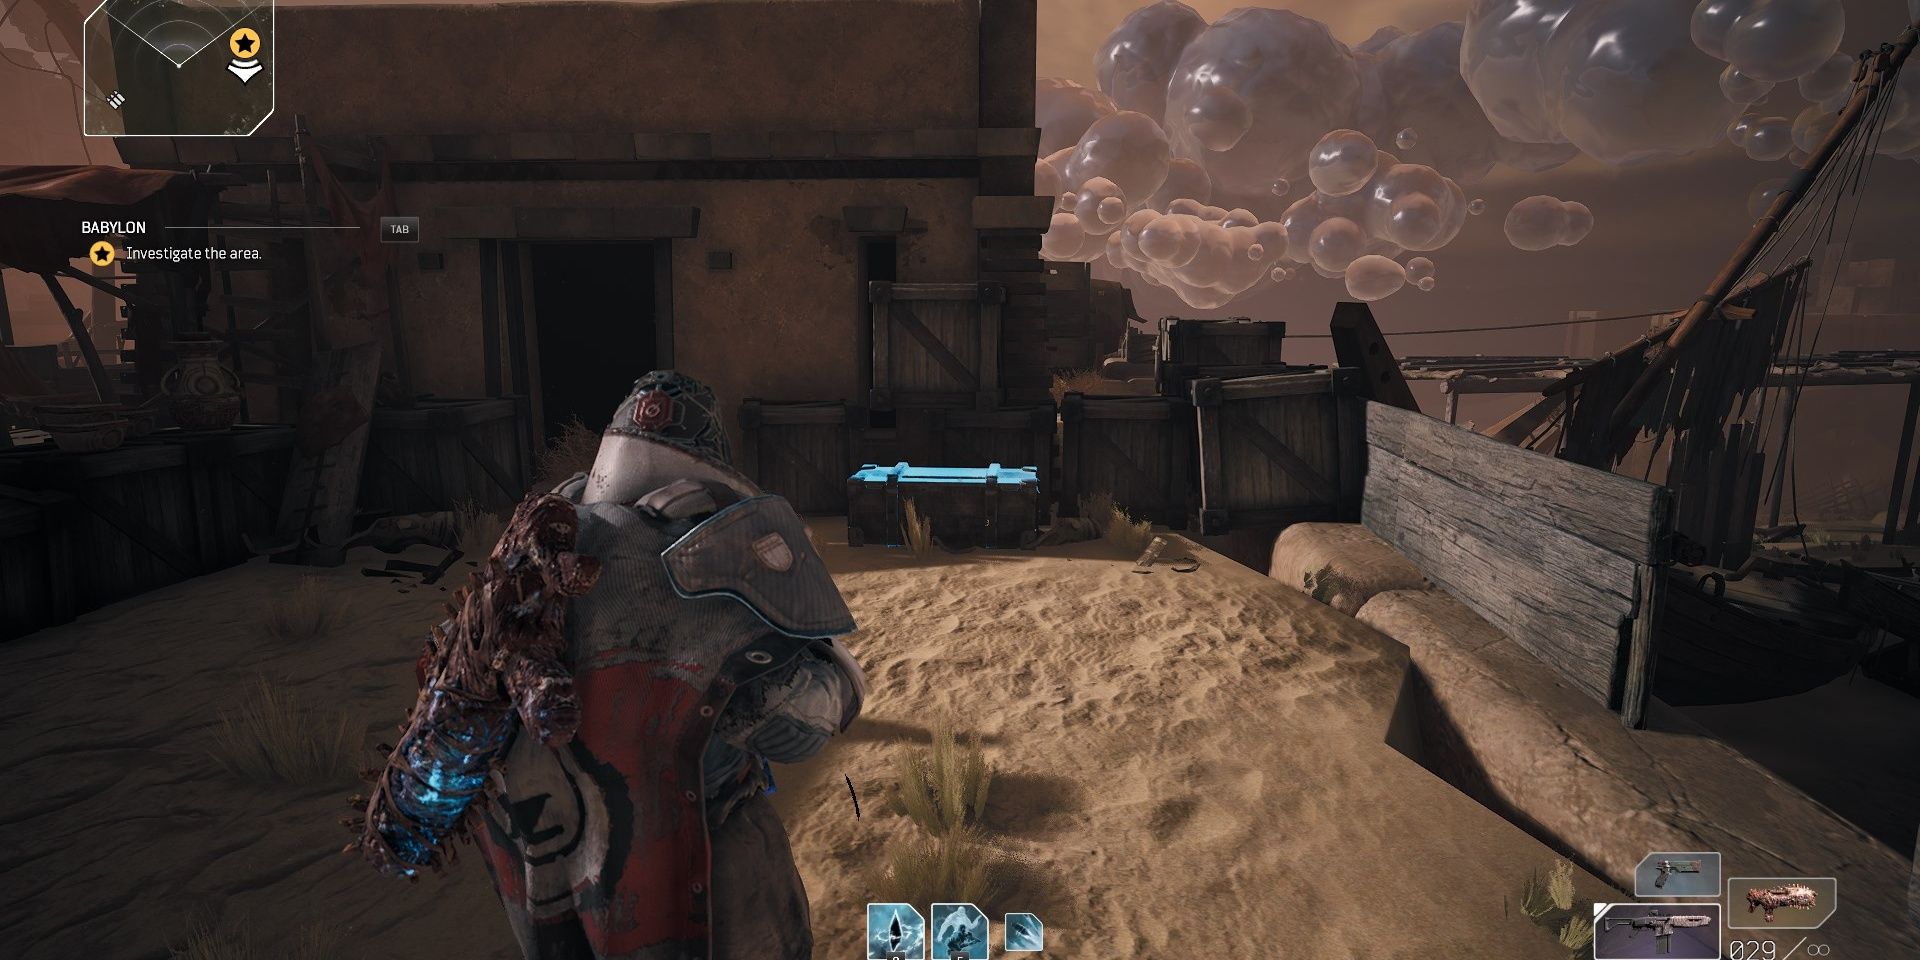
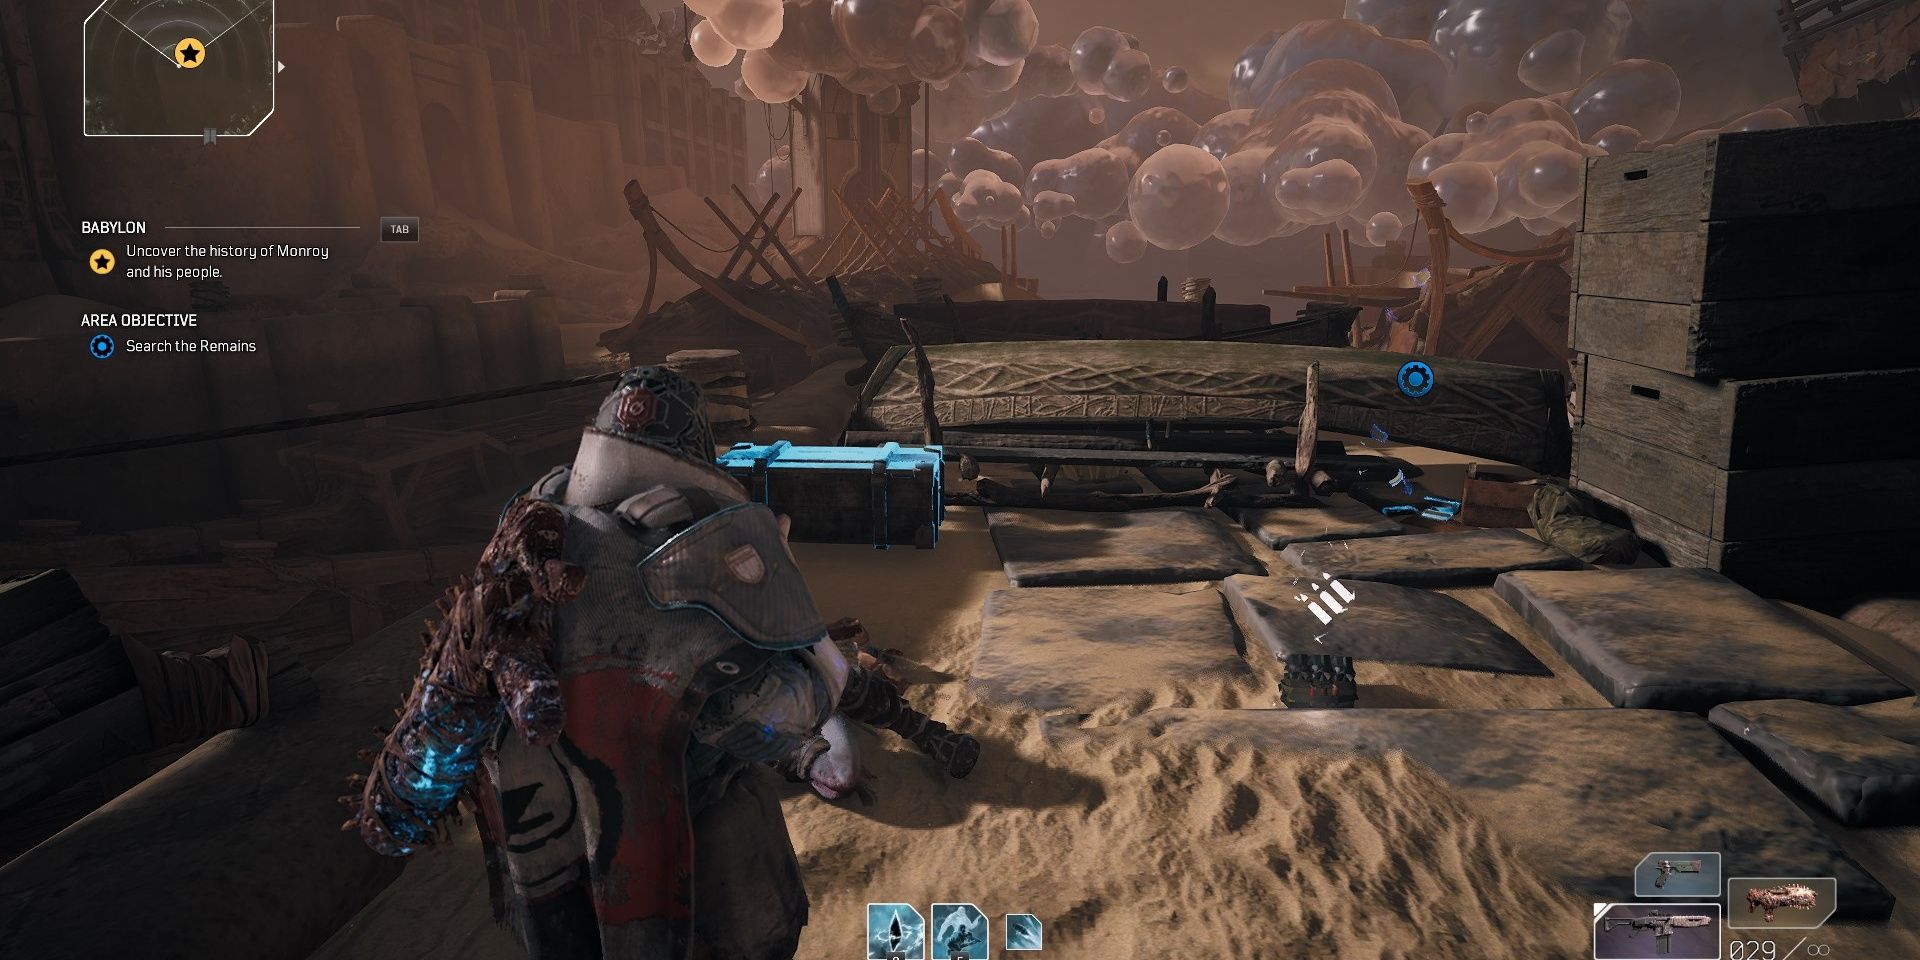
Hidden Chest
When you’re at the exit, turn right to find a chest.
Uncover The History Of Monroy And His People
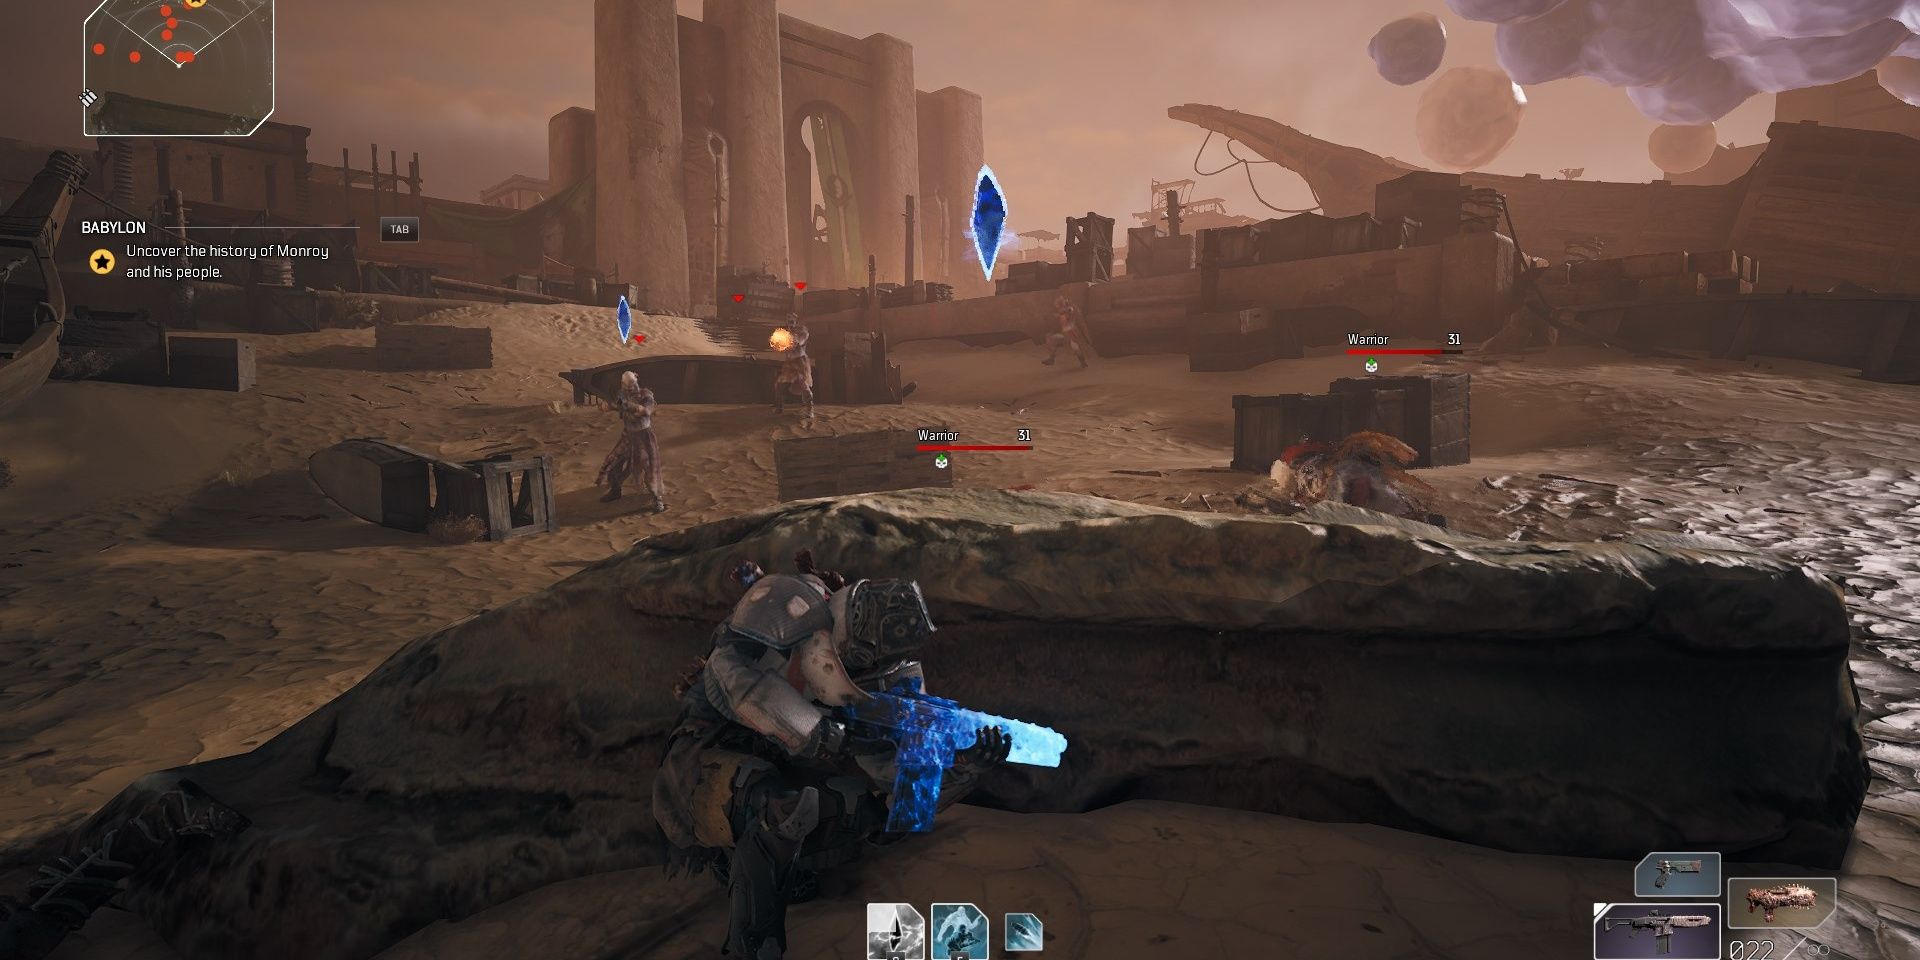
Dozens of Ferals are guarding the entrance to the town. There isn’t much in the way of flanking here; this arena is fairly linear. If you can’t take much gunfire, you might want to stick to cover during this part. Kill as many Warriors as possible before moving up.
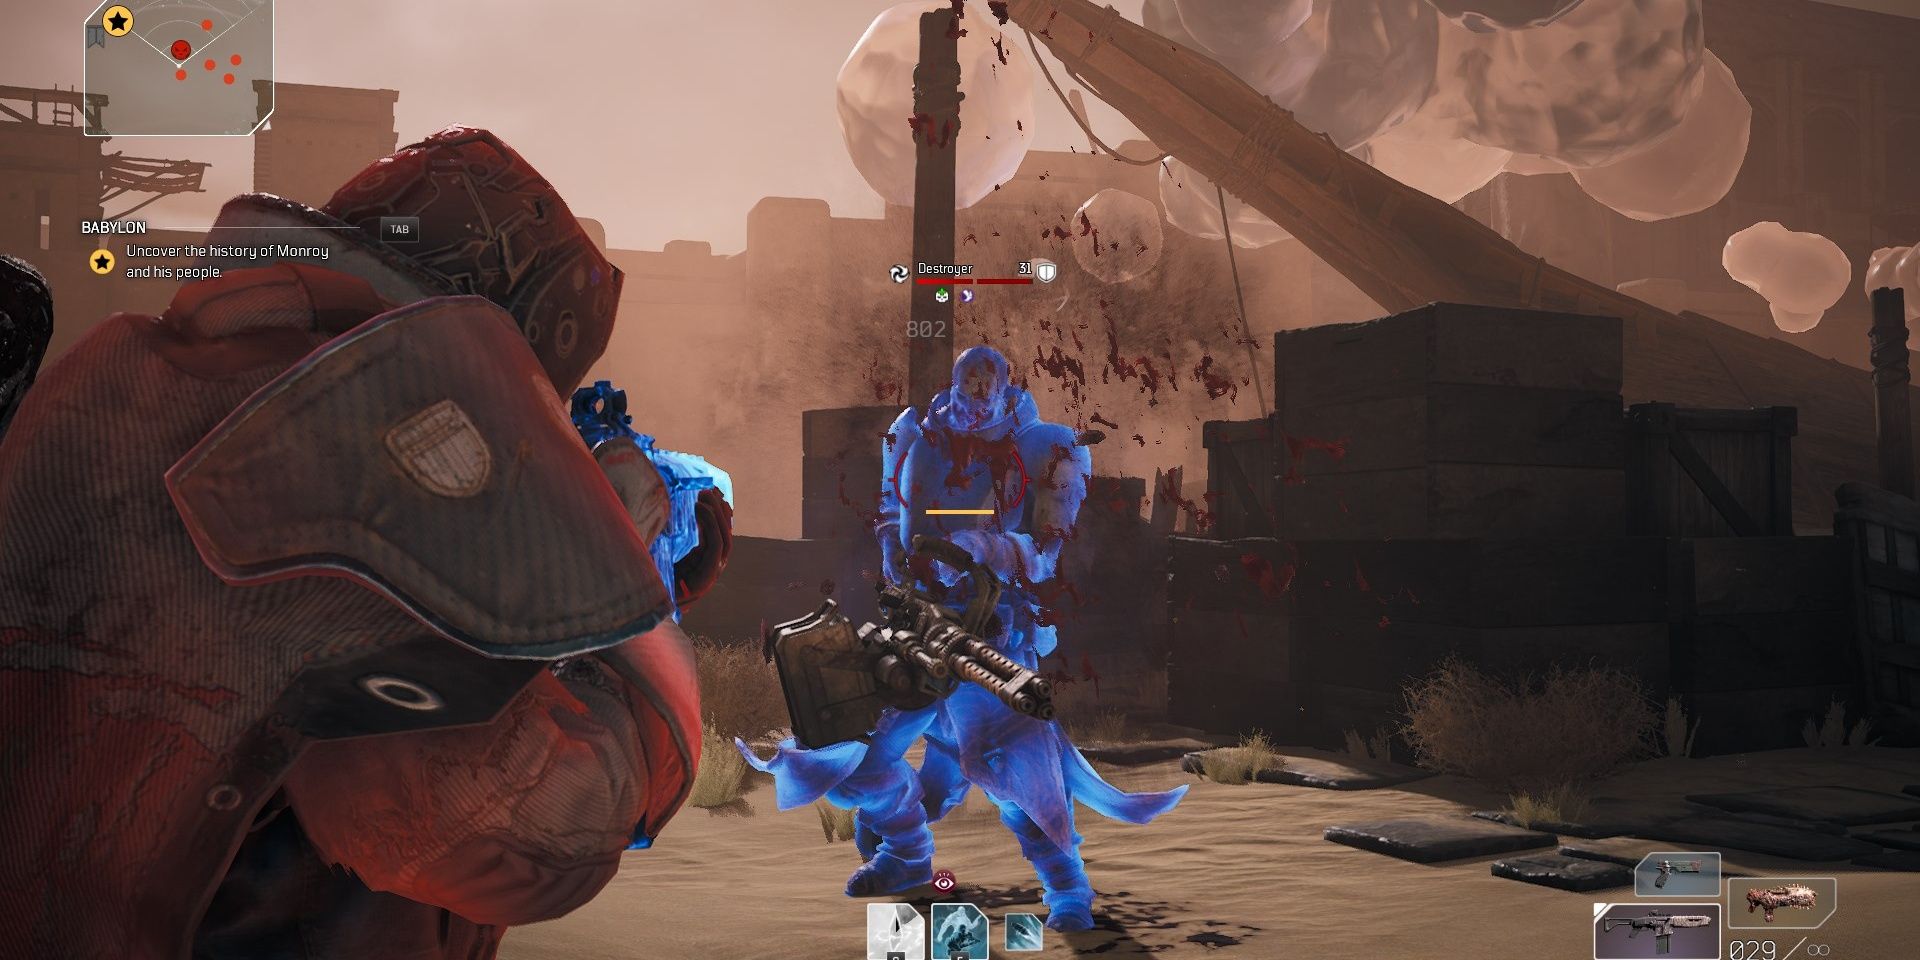
Just before the gates are a Destroyer and even more Feral Warriors. Like most heavy enemies, a single melee attack will break its armor, making it much more susceptible to gunfire.
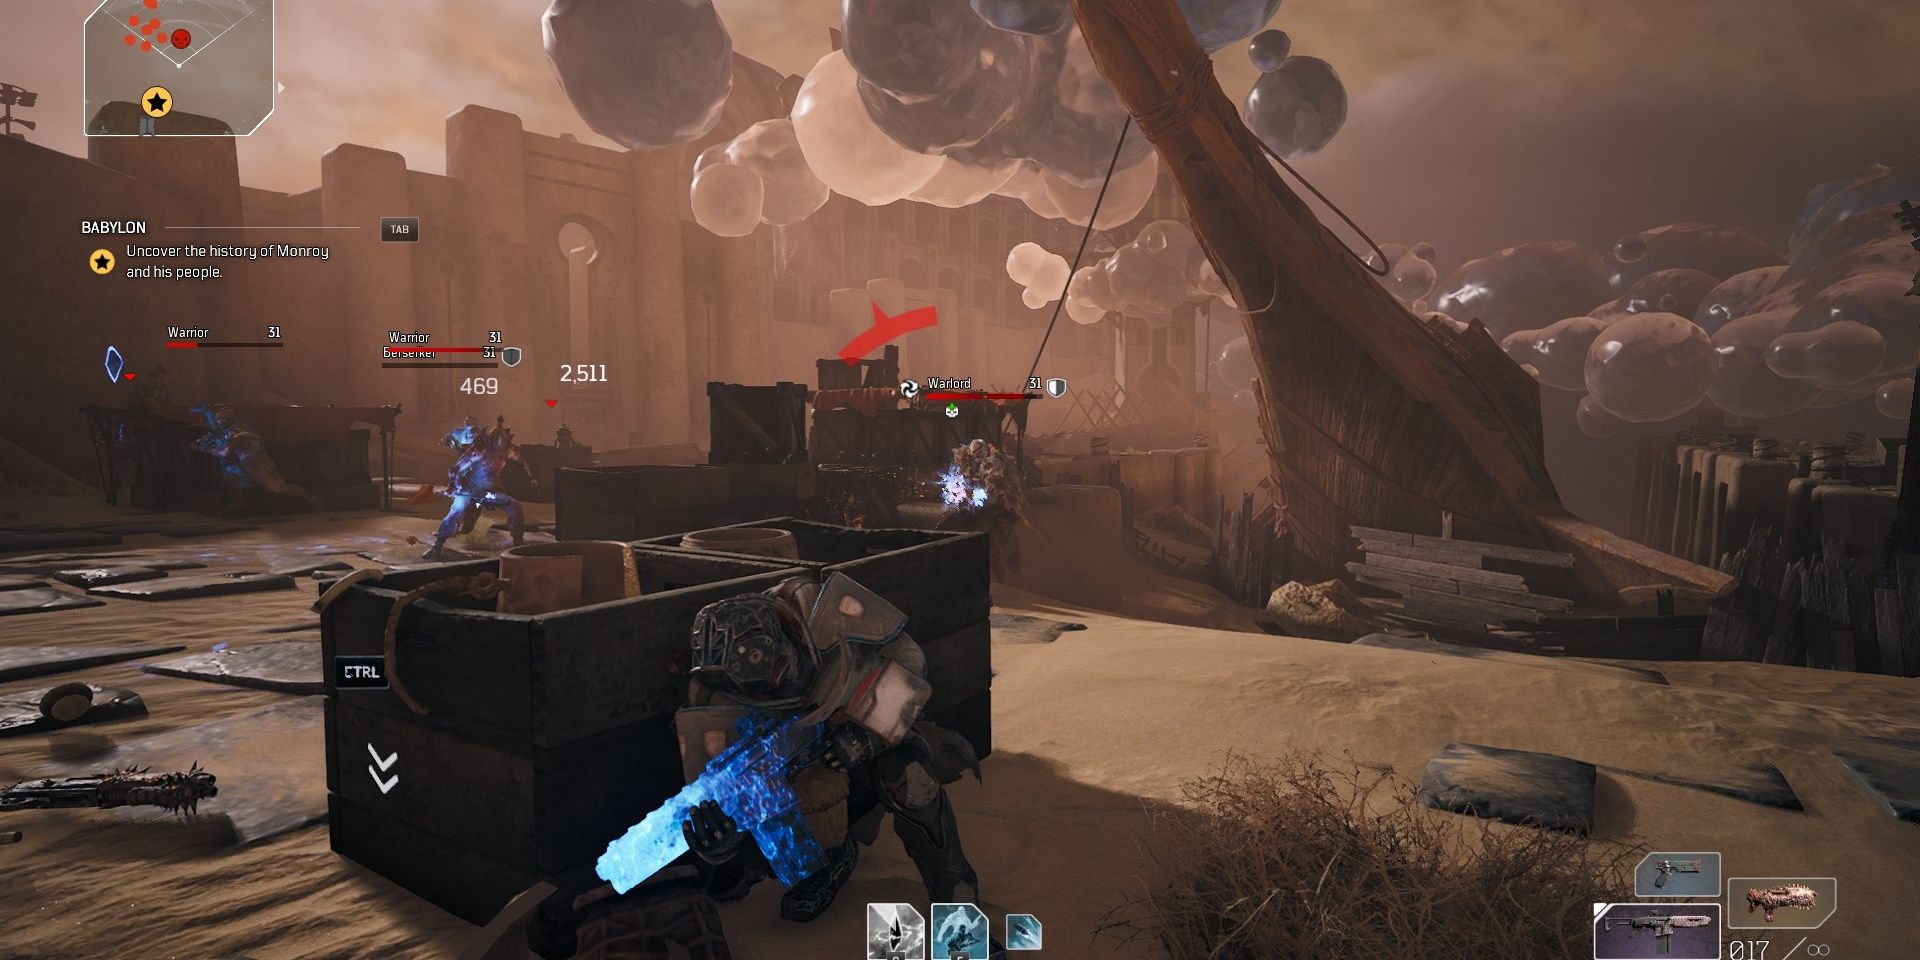
Killing the Destroyer will spawn even more enemies, one of which being a Warlord. Despite the Warlord being the most dangerous target here, you’ll want to take out the Warriors first. There are so many Ferals here that leaving them alive will cause you to die in seconds. When you’ve killed most of them, redirect your attention to the Warlord.
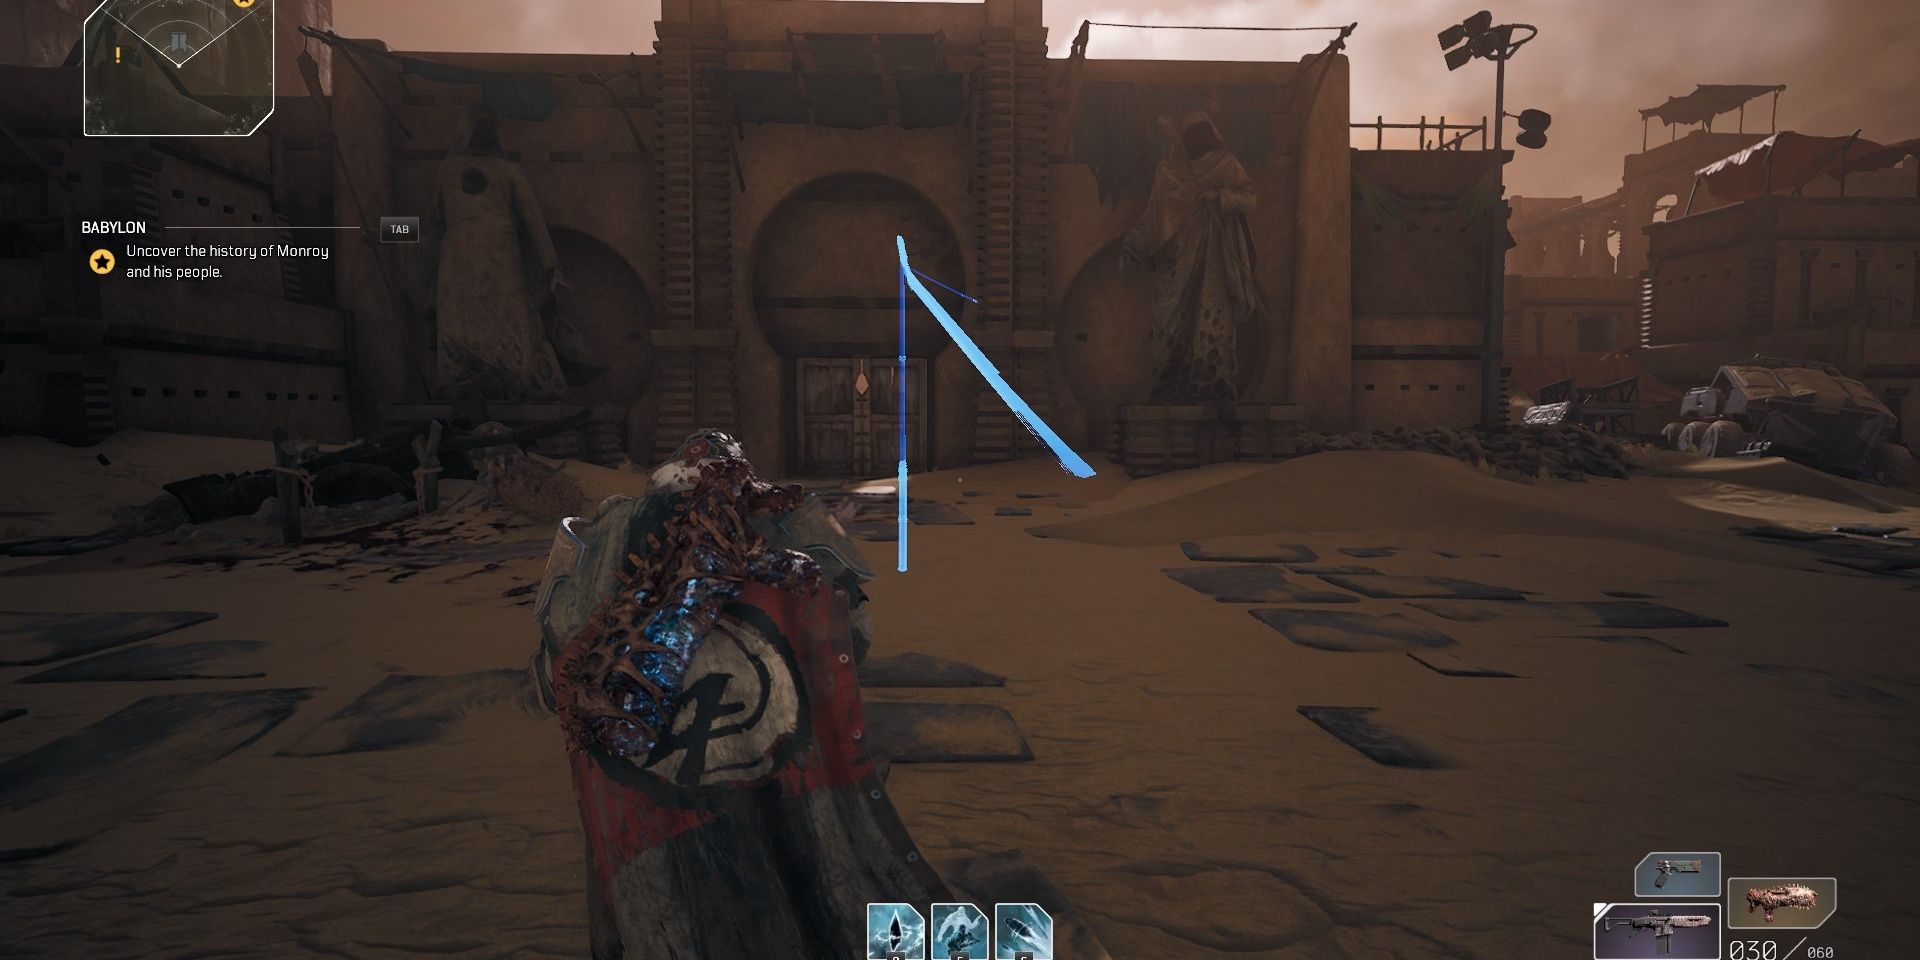
Inspect the journal at the end of the dock, then turn around to find the entrance to the city square. Be sure to open the chest beside the journal before you leave.
City Square
Plant a flag at the hologram, then stock up on ammo. Directly up the stairs will be a few Perforo Beasts. These enemies shouldn’t pose any issue to you at this point.
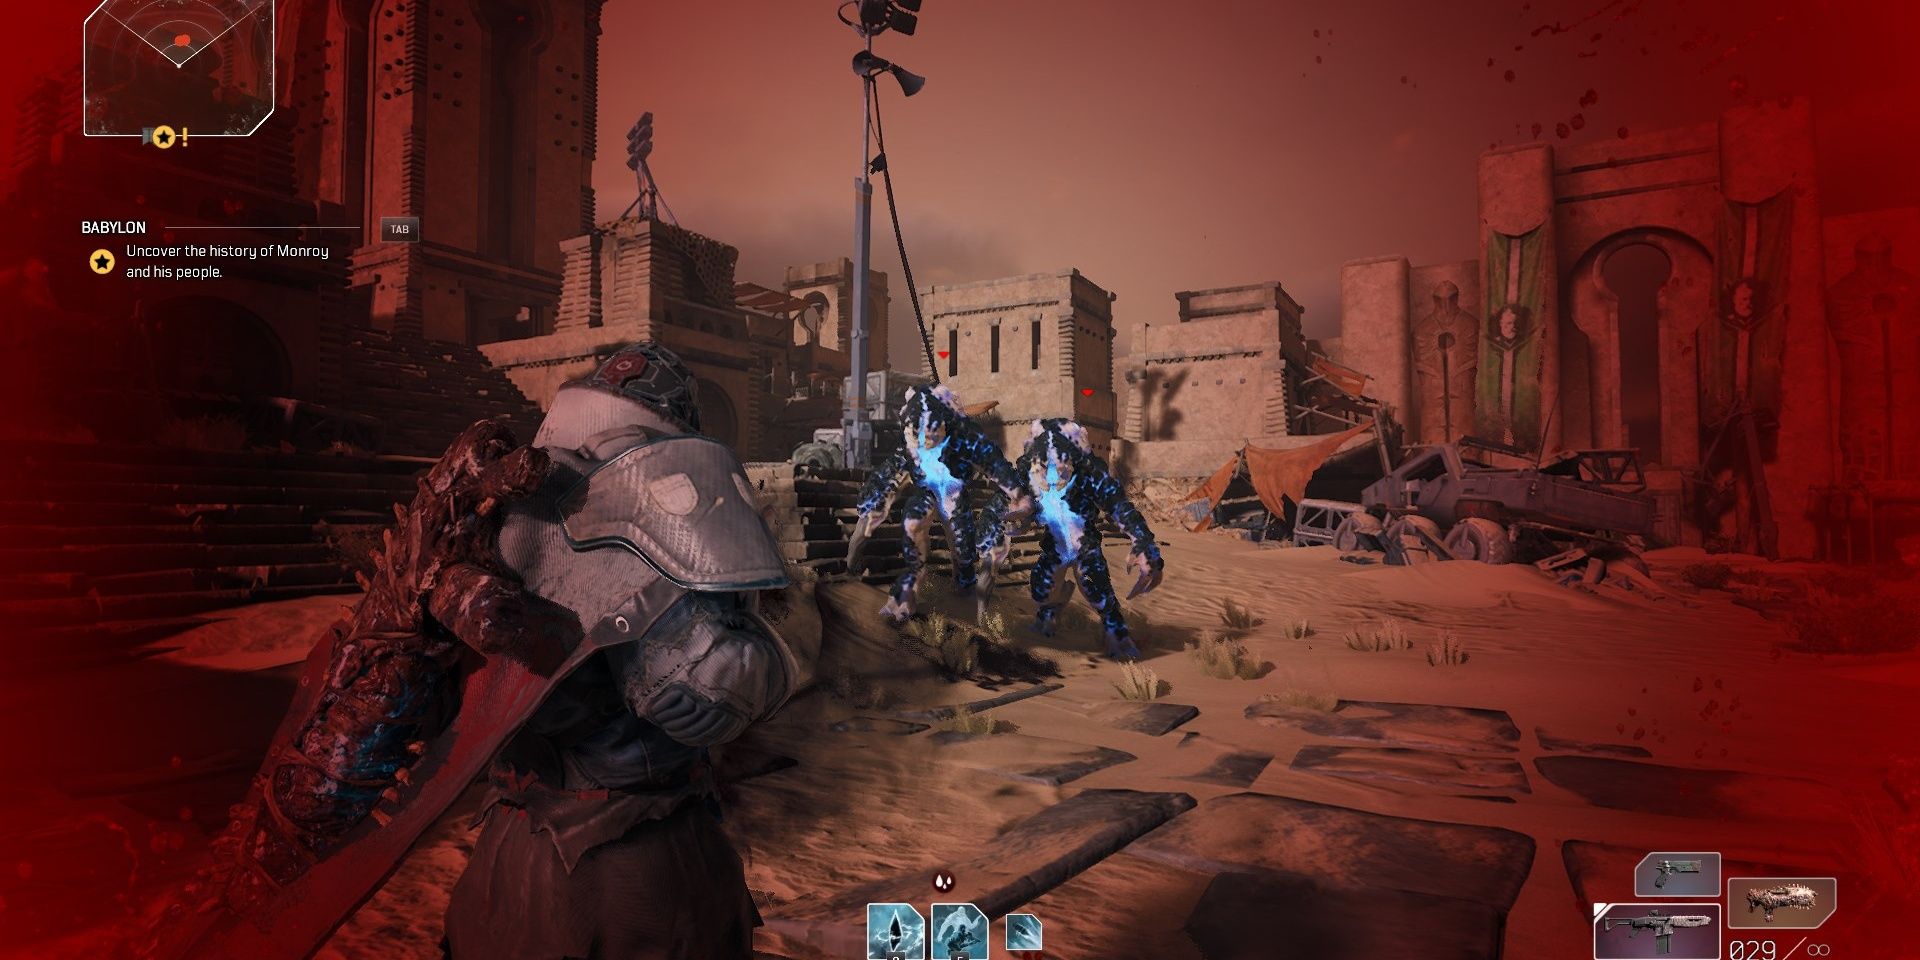
Further into the central square are two Alpha Perforos and more fodder enemies. The Alphas can easily stunlock you, so focus on killing them first. If you’re about to get hit by a leap attack, use your melee attack to absorb the incoming stun.
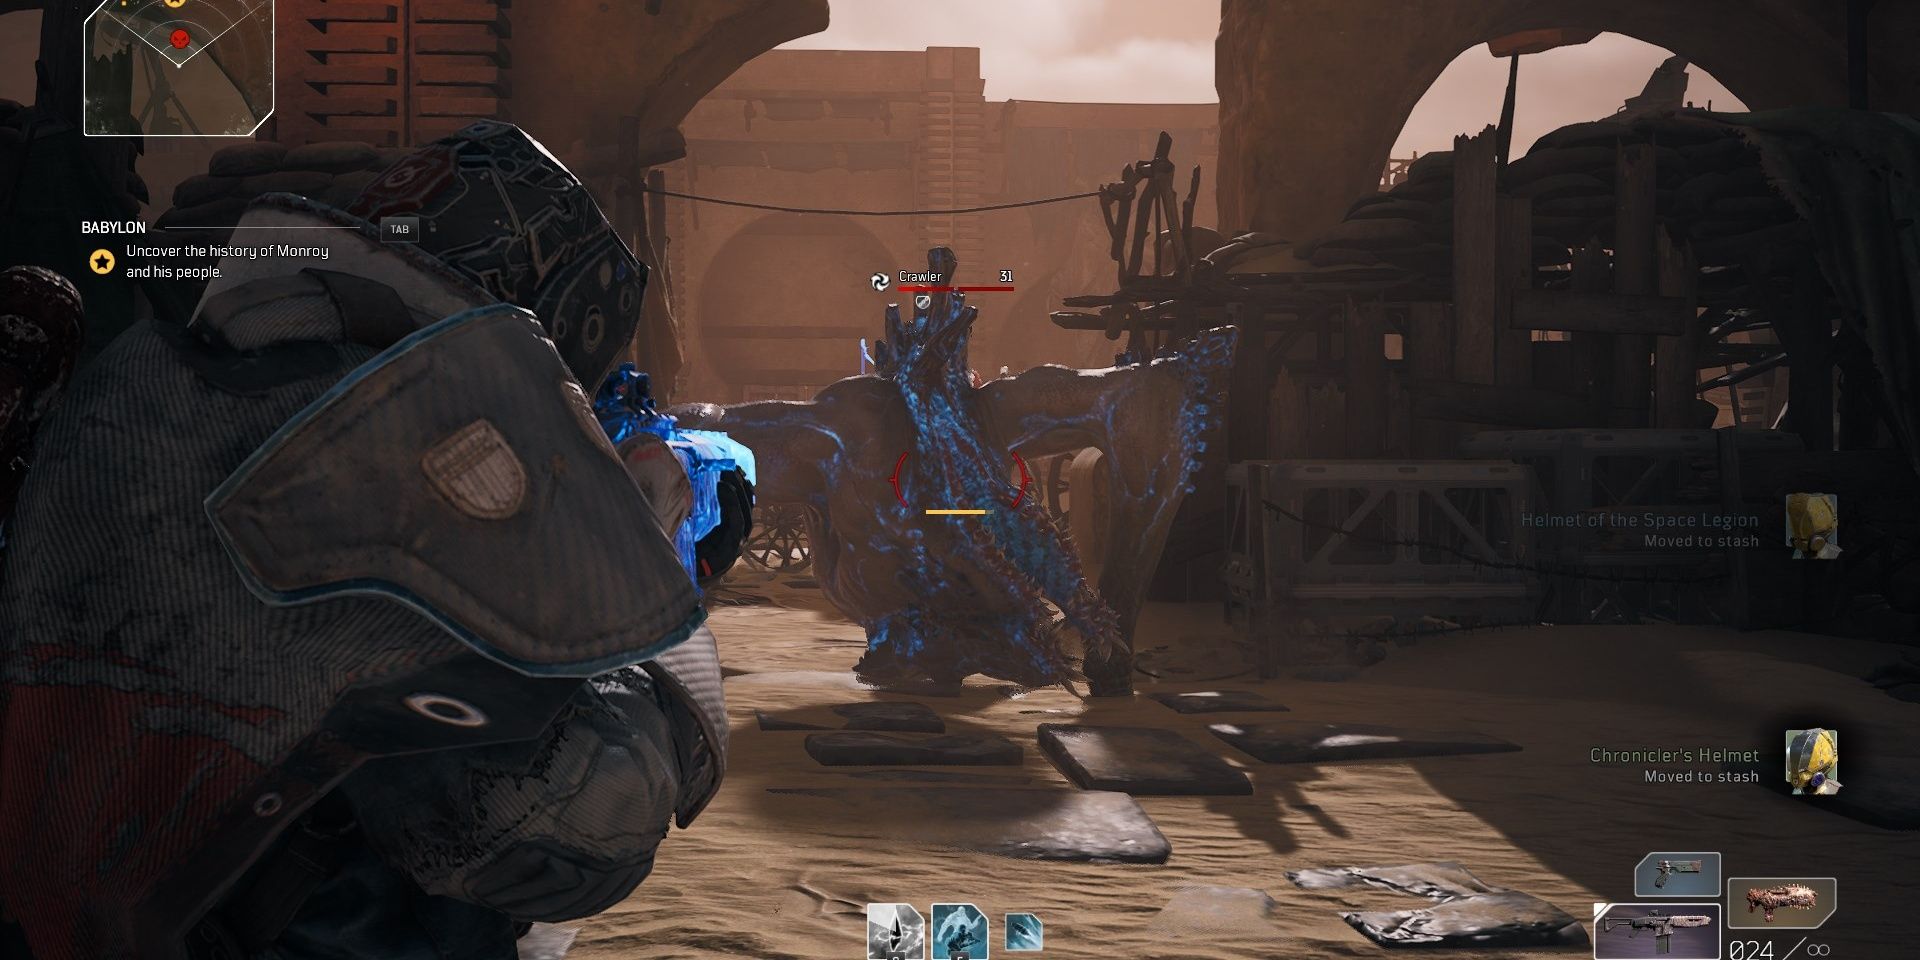
Killing the Alphas will cause a Crawler to spawn, climbing over a wagon to reach you. Take this enemy out as fast as you can, staying behind it to minimize the chance of getting hit.
Clear out the district, then inspect the journal at the opposite end of where the Crawler spawned from.
Return to the wagon, push it out of your way, then plant a flag at the hologram’s location.
Market
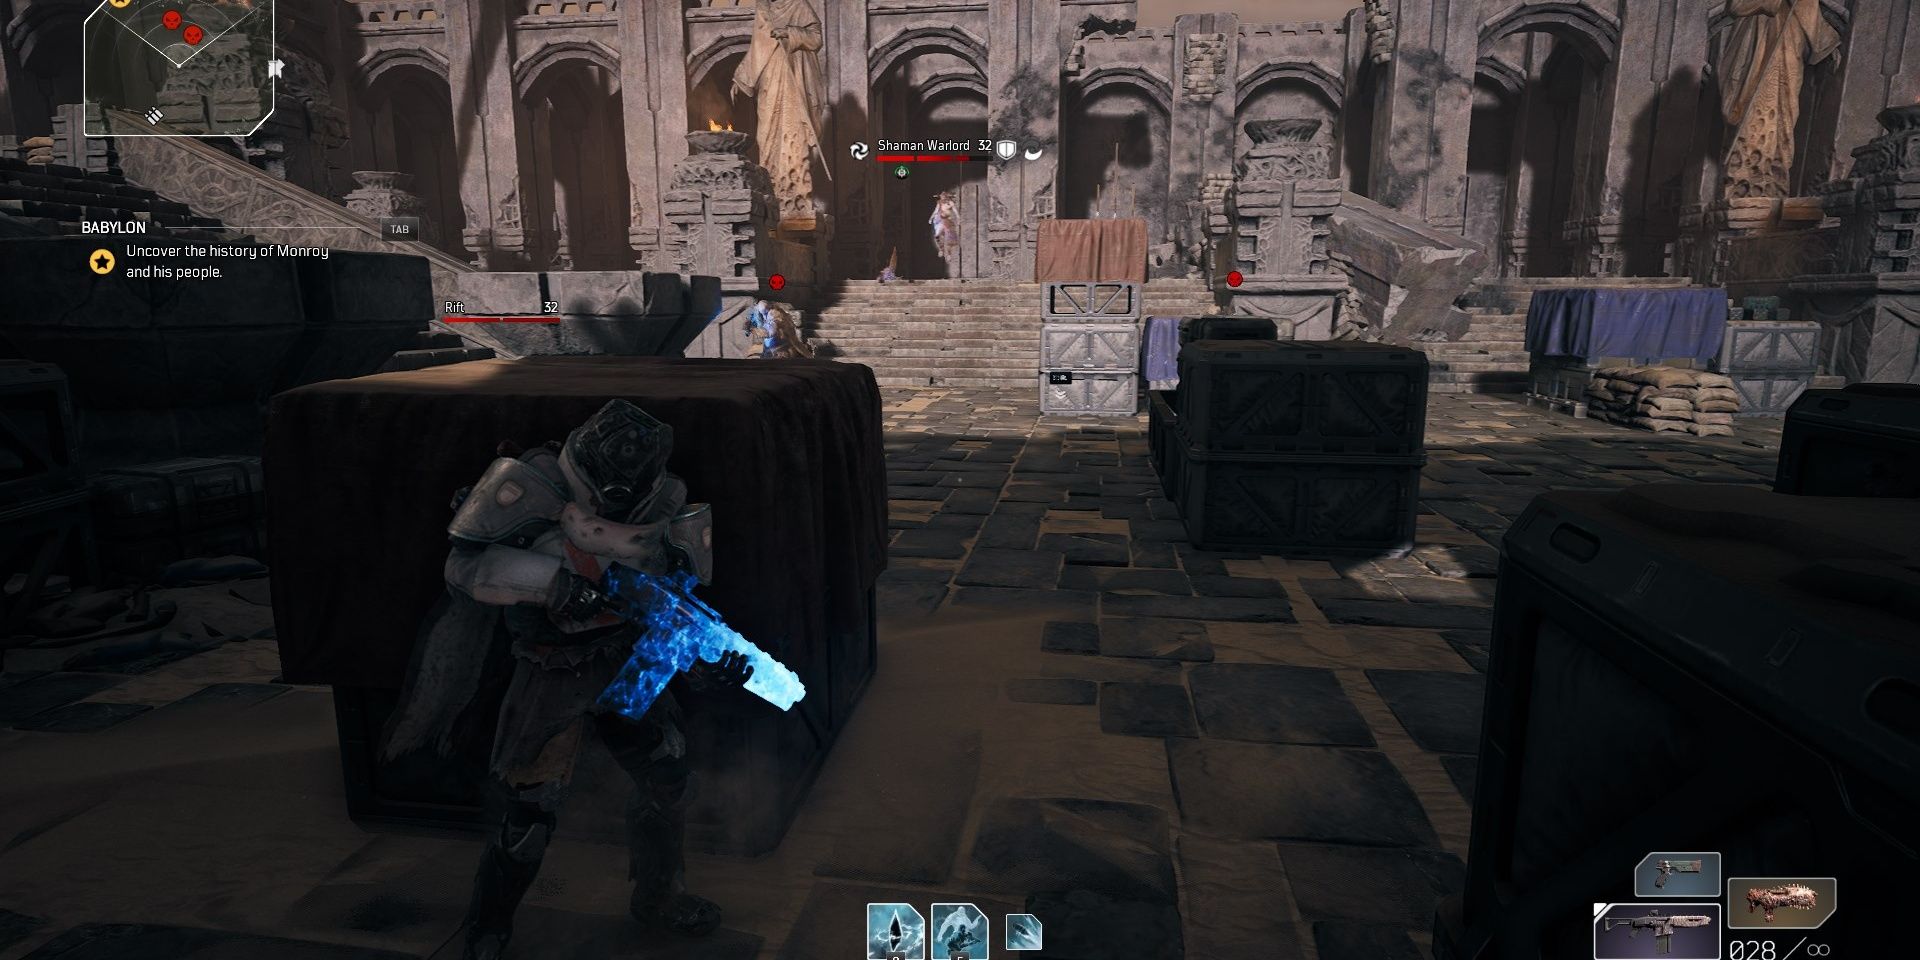
Push through the pile of corpses towards the town’s central market. Quite a few Ferals are stationed here, two of which are Warlords. Focus on one of the Warlords first, using your abilities and weapons to quickly nuke its HP. Kill any fodder enemies to regain your Health, then kill the second Warlord. There’s plentiful cover here, so every class shouldn’t have much trouble during this part.
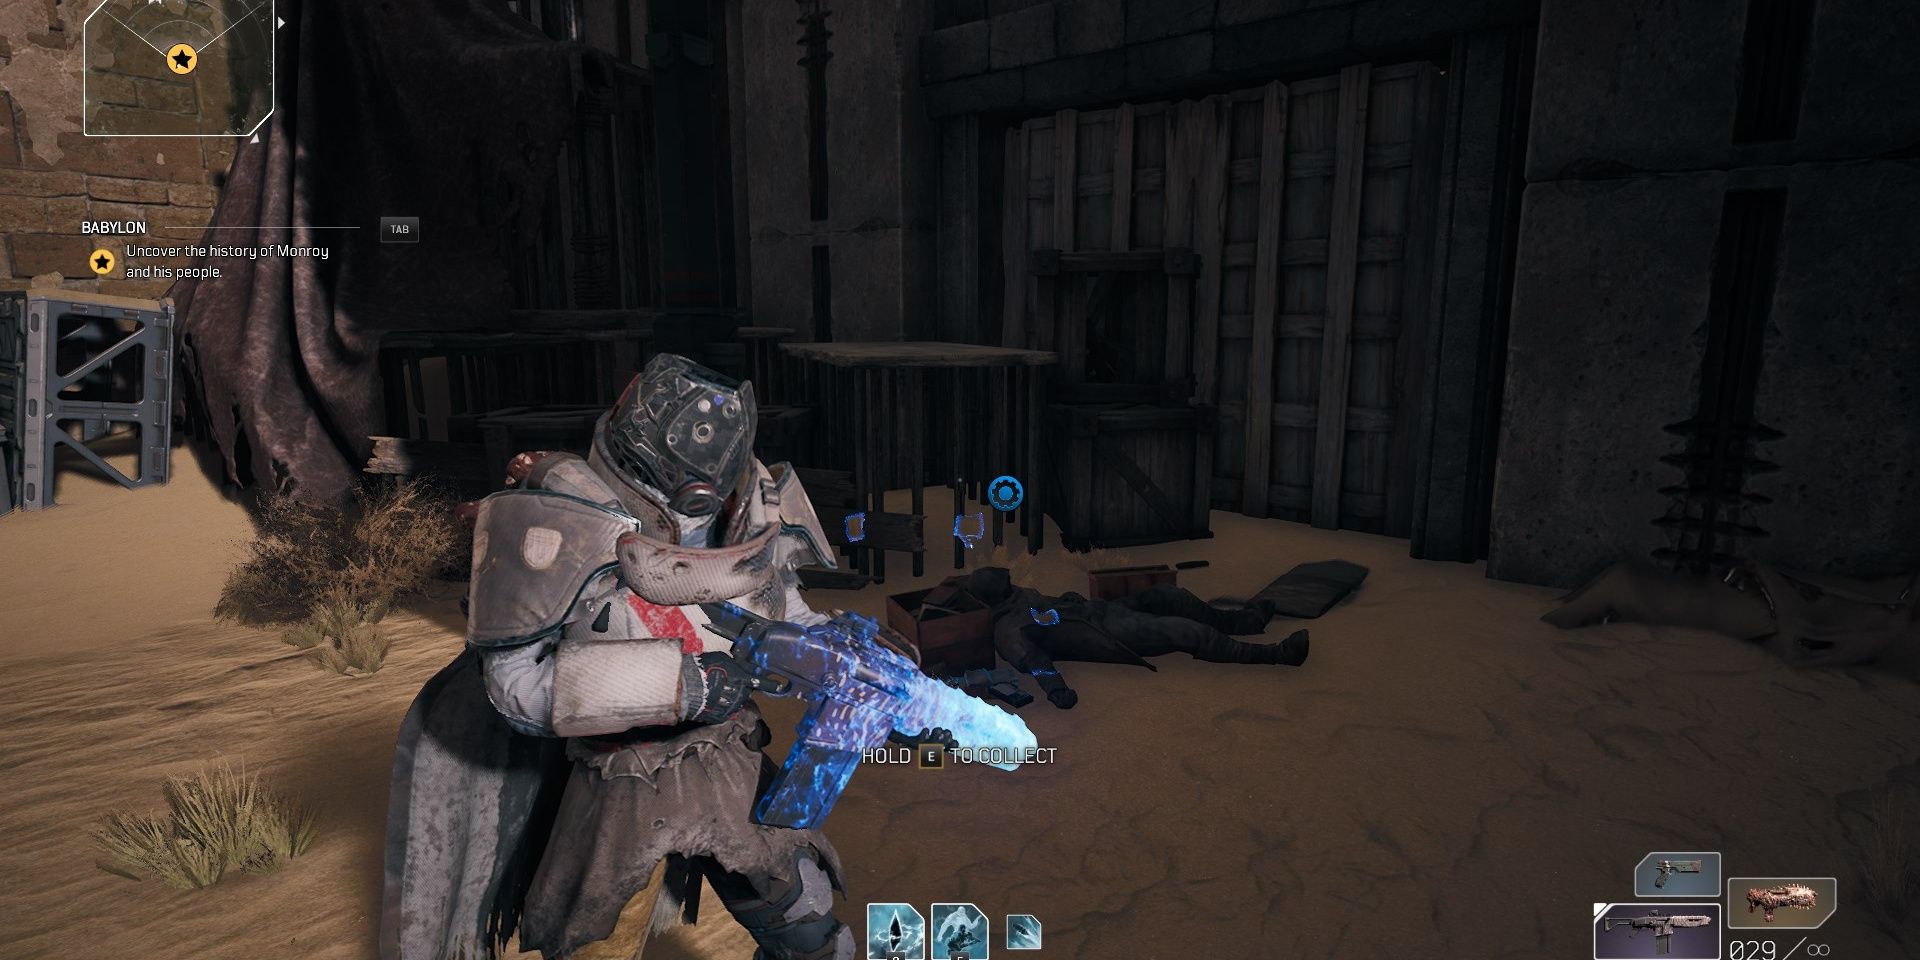
Inspect the corpse at the left-hand section of the market, then run directly across the marketplace to continue. Plant a fast travel flag, stock up on ammo, and be sure that your character has their best gear equipped. You’re about to fight a rather tough miniboss.
Shaman Warlord
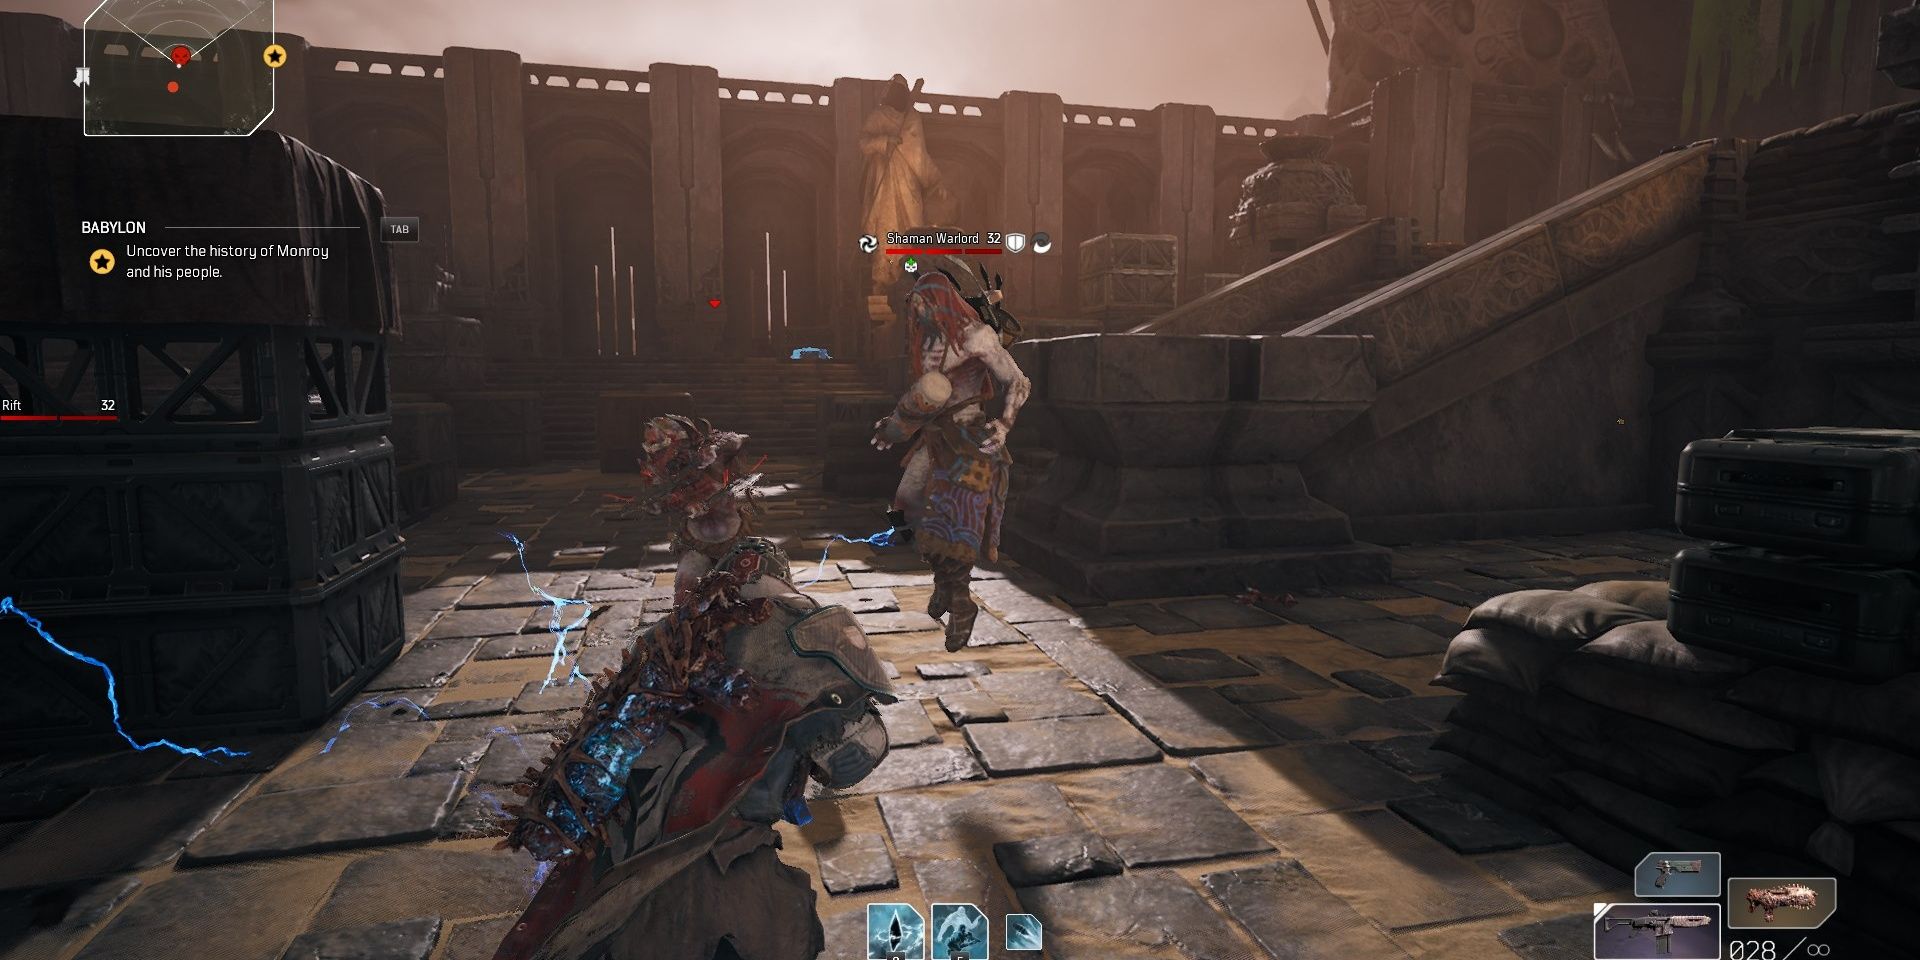
Just outside of Monroy’s Palace is a Shaman Warlord. This enemy is arguably the toughest miniboss in the game, sharing a few moves from the Altered Bailey fight. Keep an eye out for the following attacks:
- Anomaly Rifts: The Shaman Warlord will summon a blue orb named a Rift. Rifts fire deadly Anomaly projectiles at you until destroyed. Only one Rift can be active at a time.
- Grasping Shock: A lightning orb will begin to channel, covering a large area. After the cast animation ends, the orb explodes, dealing a lethal amount of damage in a large area.
- Ground Blast: Should you get too close, the Shaman will slam the ground with a large AoE blast. Behaves the same as Altered Bailey’s melee attack.
- Overload: After a long cast time, an Anomaly fissure will rush towards your location. Unlike Altered Bailey, only one fissure is launched regardless of the Shaman’s HP.
The Shaman Warlord has no default attacks, meaning it can only damage you by casting its abilities. It will never chain attacks unless you stand right next to it. This means that you can wait for the Shaman to cast to give yourself a small window for attack.
Damaging the Shaman Warlord will cause additional Feral enemies to spawn, one wave consisting of two Warlords. When an enemy wave spawns, you’ll want to focus on killing them as soon as possible. Try to fight this boss one-on-one, as it makes dodging its attacks much easier.
Unfortunately, the Shaman is highly resistant to all forms of damage. It is slightly weaker to Anomaly damage, so skills should perform better here. Regardless of what you use to damage the miniboss, be sure to keep some distance throughout the engagement. Kill the Rifts as soon as they spawn, and damage the Shaman after it casts an ability to make this fight much easier.
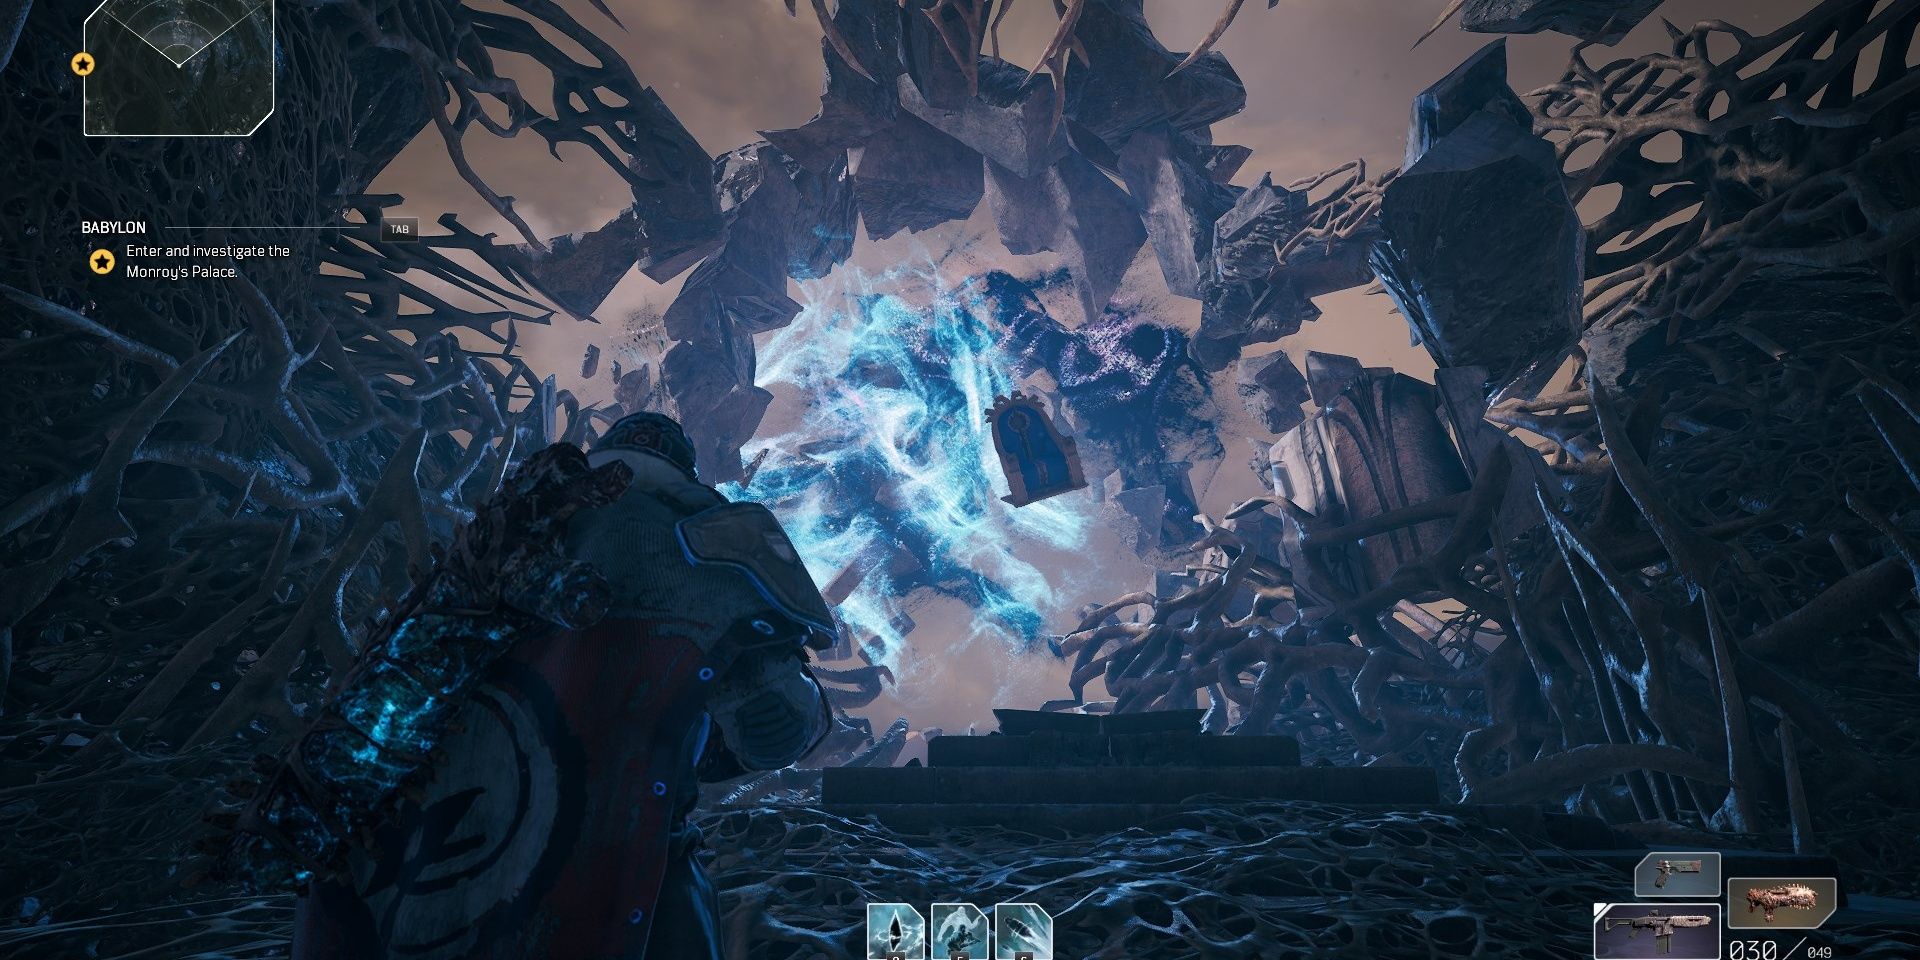
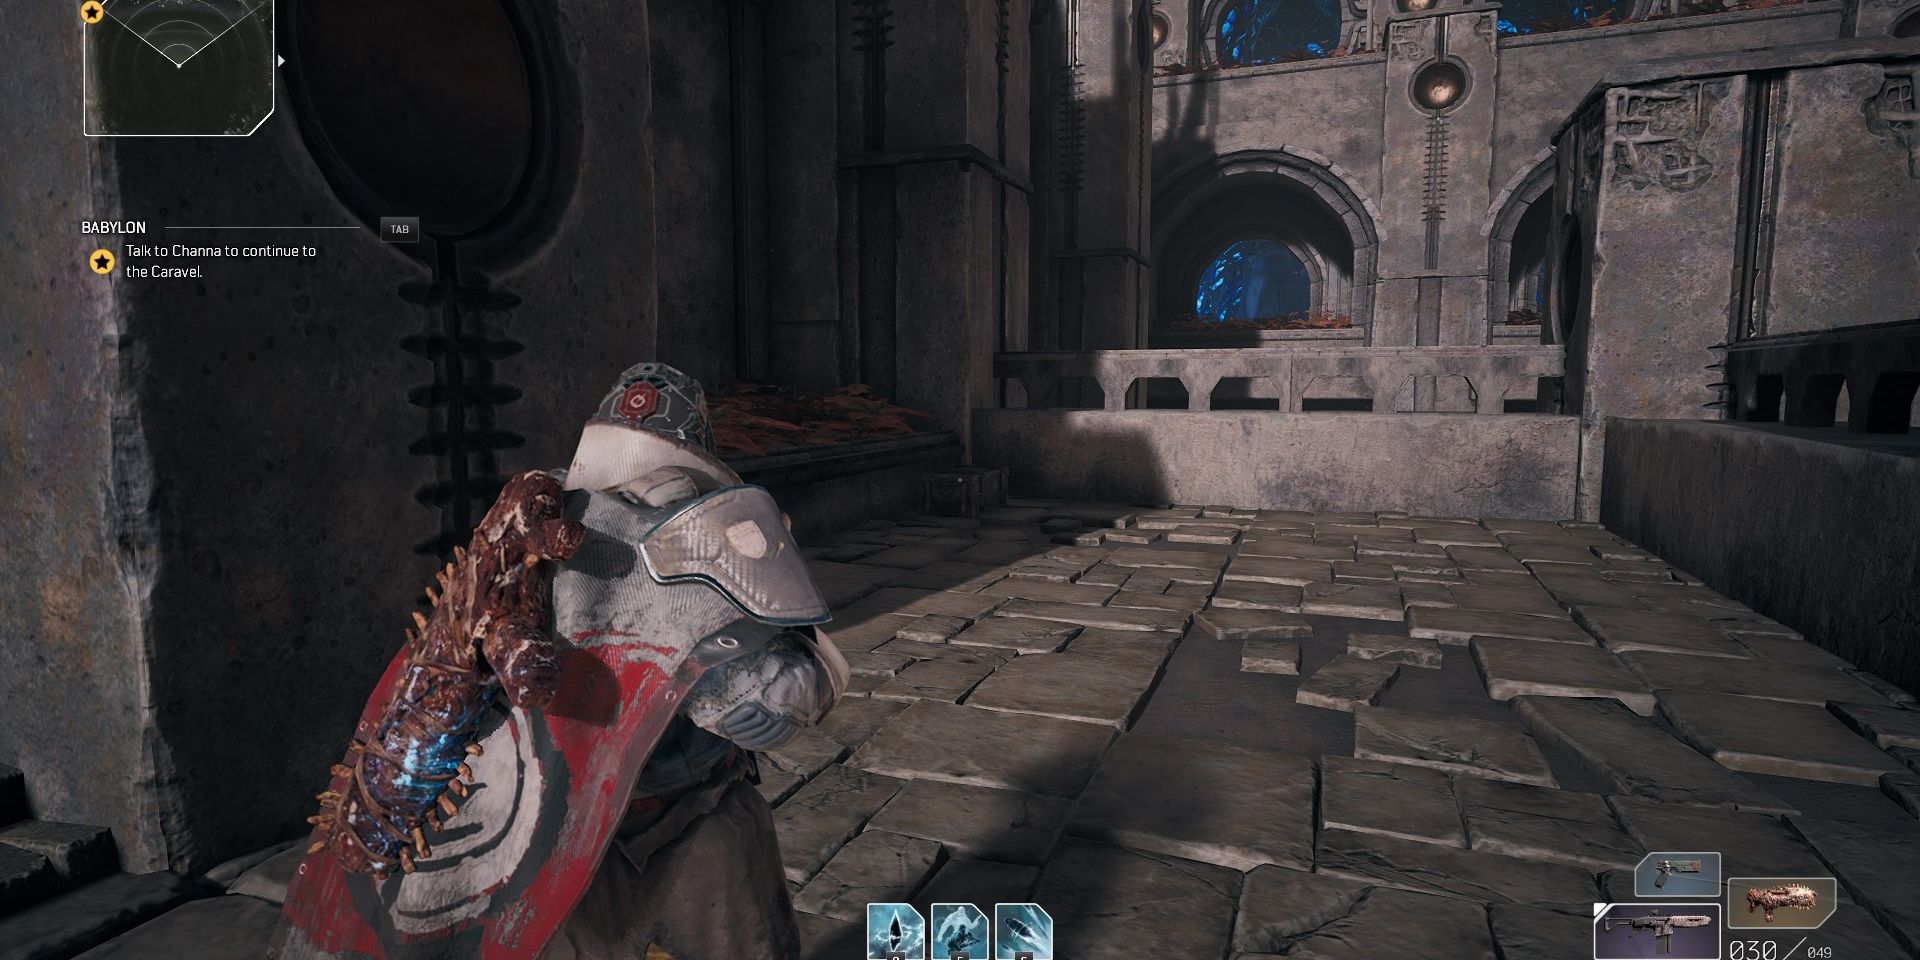
When you’ve defeated the Ferals, enter Monroy’s Palace. Climb up to the top floor, then head outside to finish the quest. Talk to Channa when you’re ready to confront Monroy, starting the final quest in Outriders’ campaign.
Hidden Chest
When the final cutscene ends, run down the balcony stairs you were just at. Turn left, then run to the railing near the second set of stairs to find a chest hiding in a corner.
Source: Read Full Article
