Earning the best gear in Outriders requires you to embark on difficult Expeditions, endgame missions that grant rewards based on how quickly you completed them. The faster you complete an Expedition, the more and rarer rewards you’ll earn.
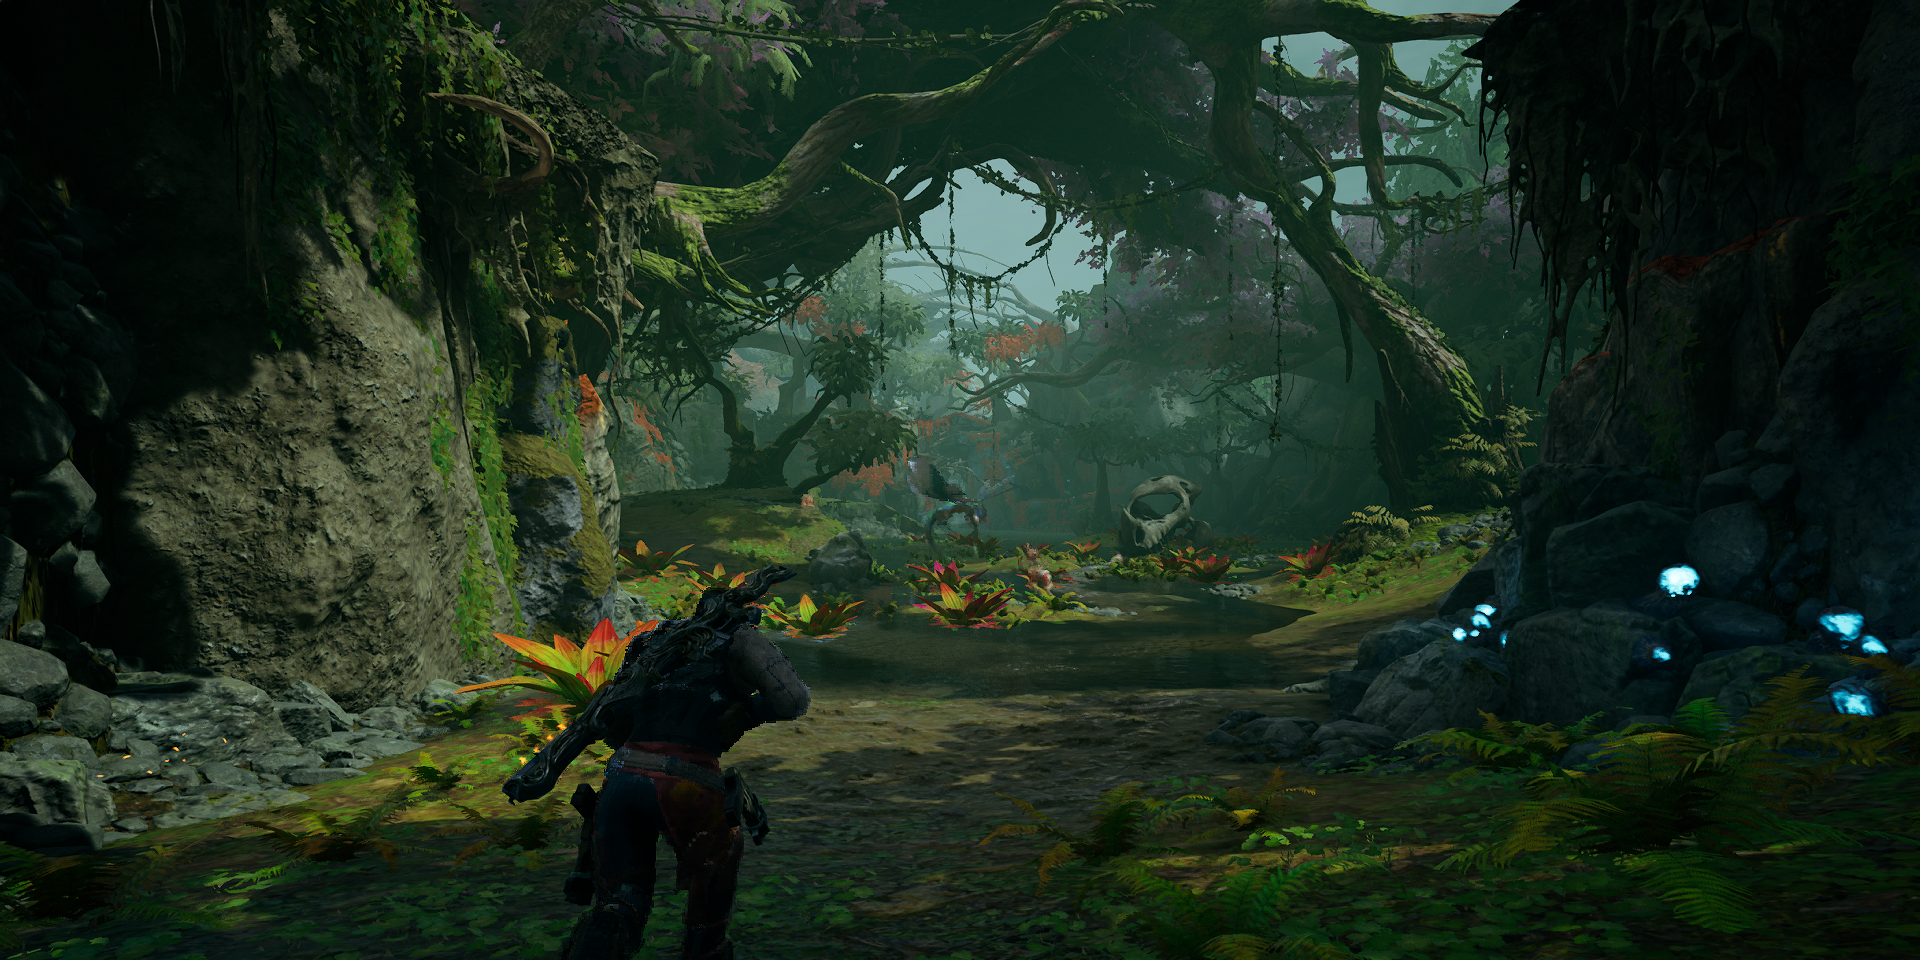
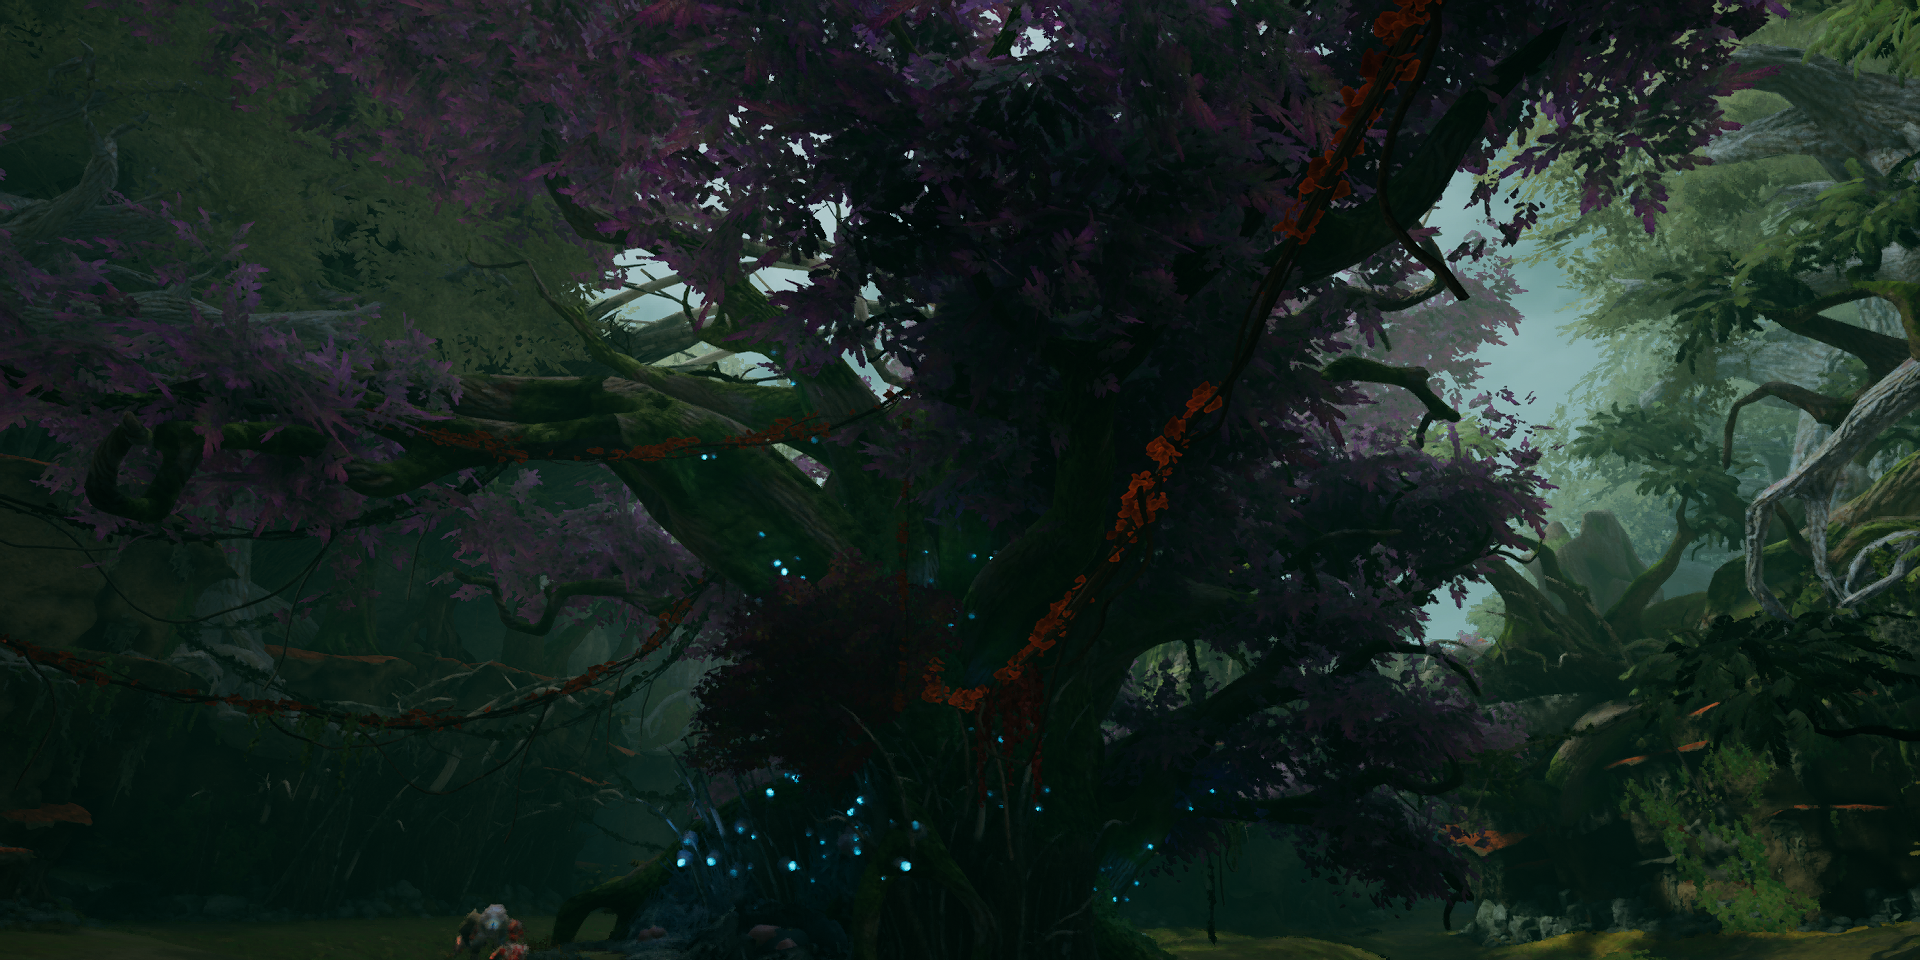
One of Outriders’ Expeditions is Heart of the Wild. This mission is filled with deadly enemies, breathtaking environments, and some of the most intense combat sections out of any Expedition. It might not be the most efficient Expedition to farm, but the sheer thrill of these combat encounters makes it a good distraction from farming Chem Plant or Scorched Lands. Here is a complete guide to the Heart of the Wild Expedition in Outriders.
Completion Times And Enemies
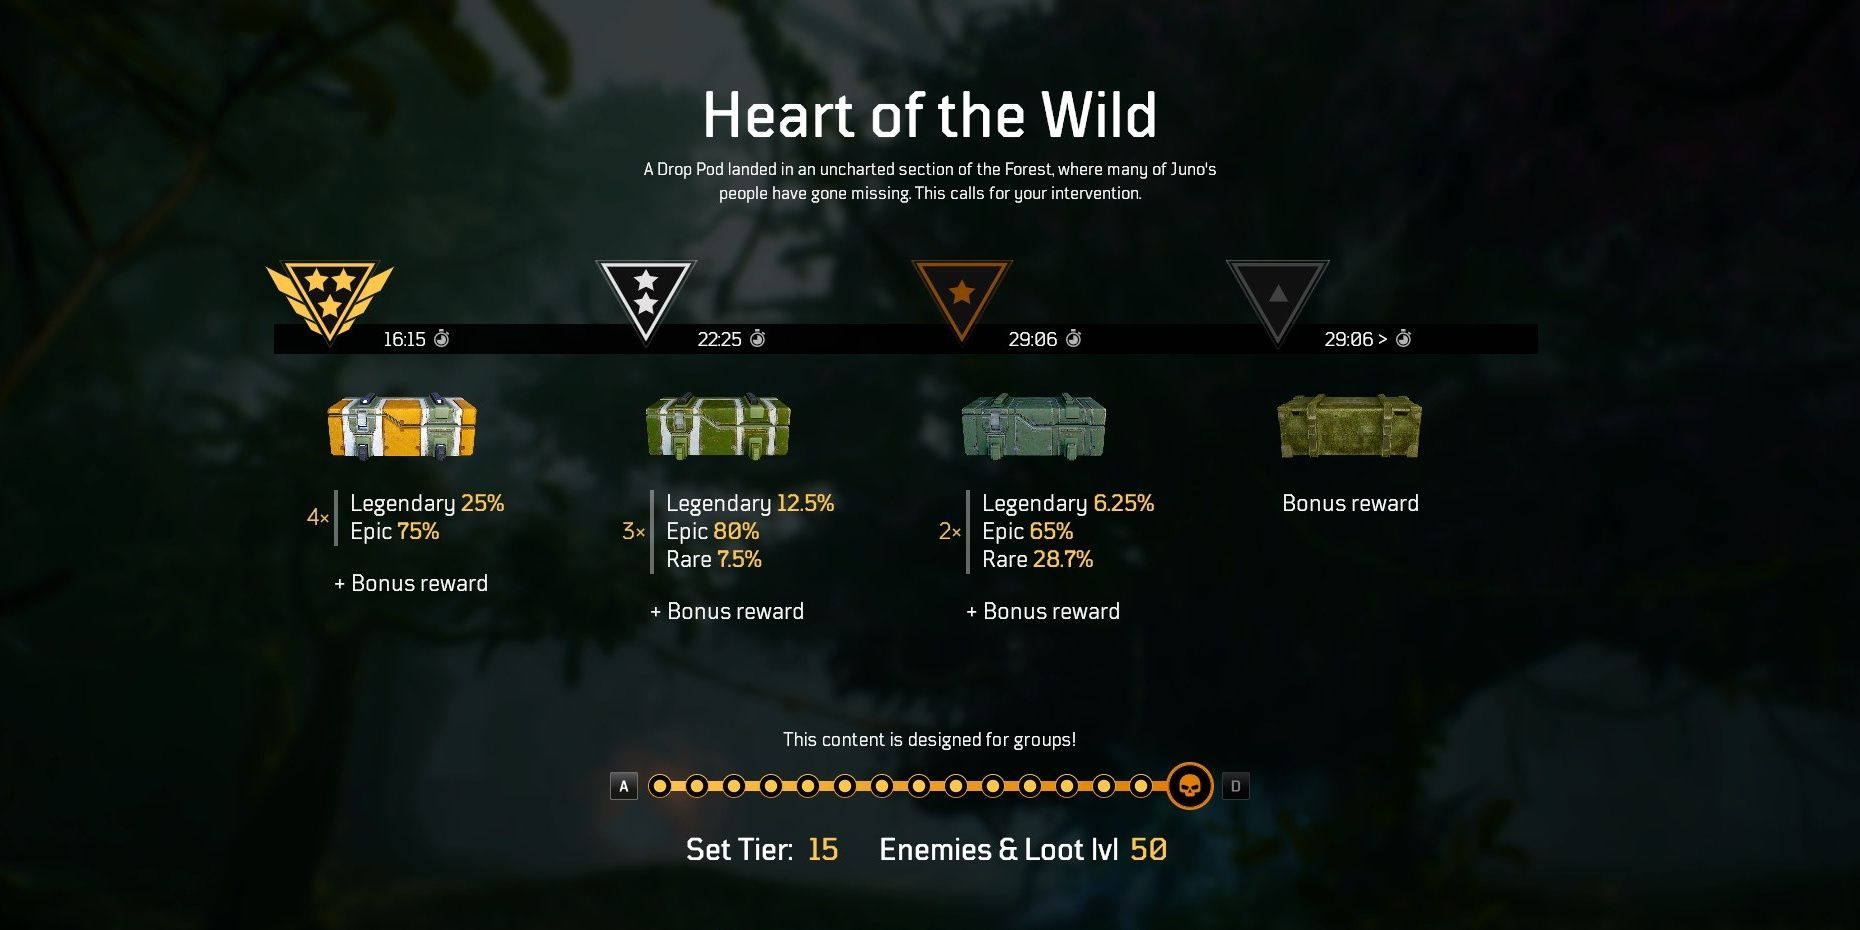
Completion Times
- Gold: 16:15
- Silver: 22:25
- Bronze: 29:06
Enemies
Warzone and Forest Beasts are the main enemies here, mostly consisting of Alpha Perforos and Strix. There is an abundance of Brood Mothers and Strix enemies in this Expedition, so it’s highly recommended you bring some form of crowd control. Arenas in this mission are also quite large, so movement abilities can prove invaluable here.
Opening Encounter
The first encounter is rather simple, pitting you against some fodder Perforos and Maulers. If the Alpha Perforos give you trouble, remember that you can melee to render yourself immune to staggers for a second. It also disrupts any ability casts an enemy is making.
After a short cutscene, you’ll be greeted by a Behemoth. This enemy is fairly easy to kill if you have any crowd control status effects. If not, use a melee to interrupt its melee slam to give yourself a damage window. Stay behind it whenever you can. Push through to find an obelisk.
Obelisk
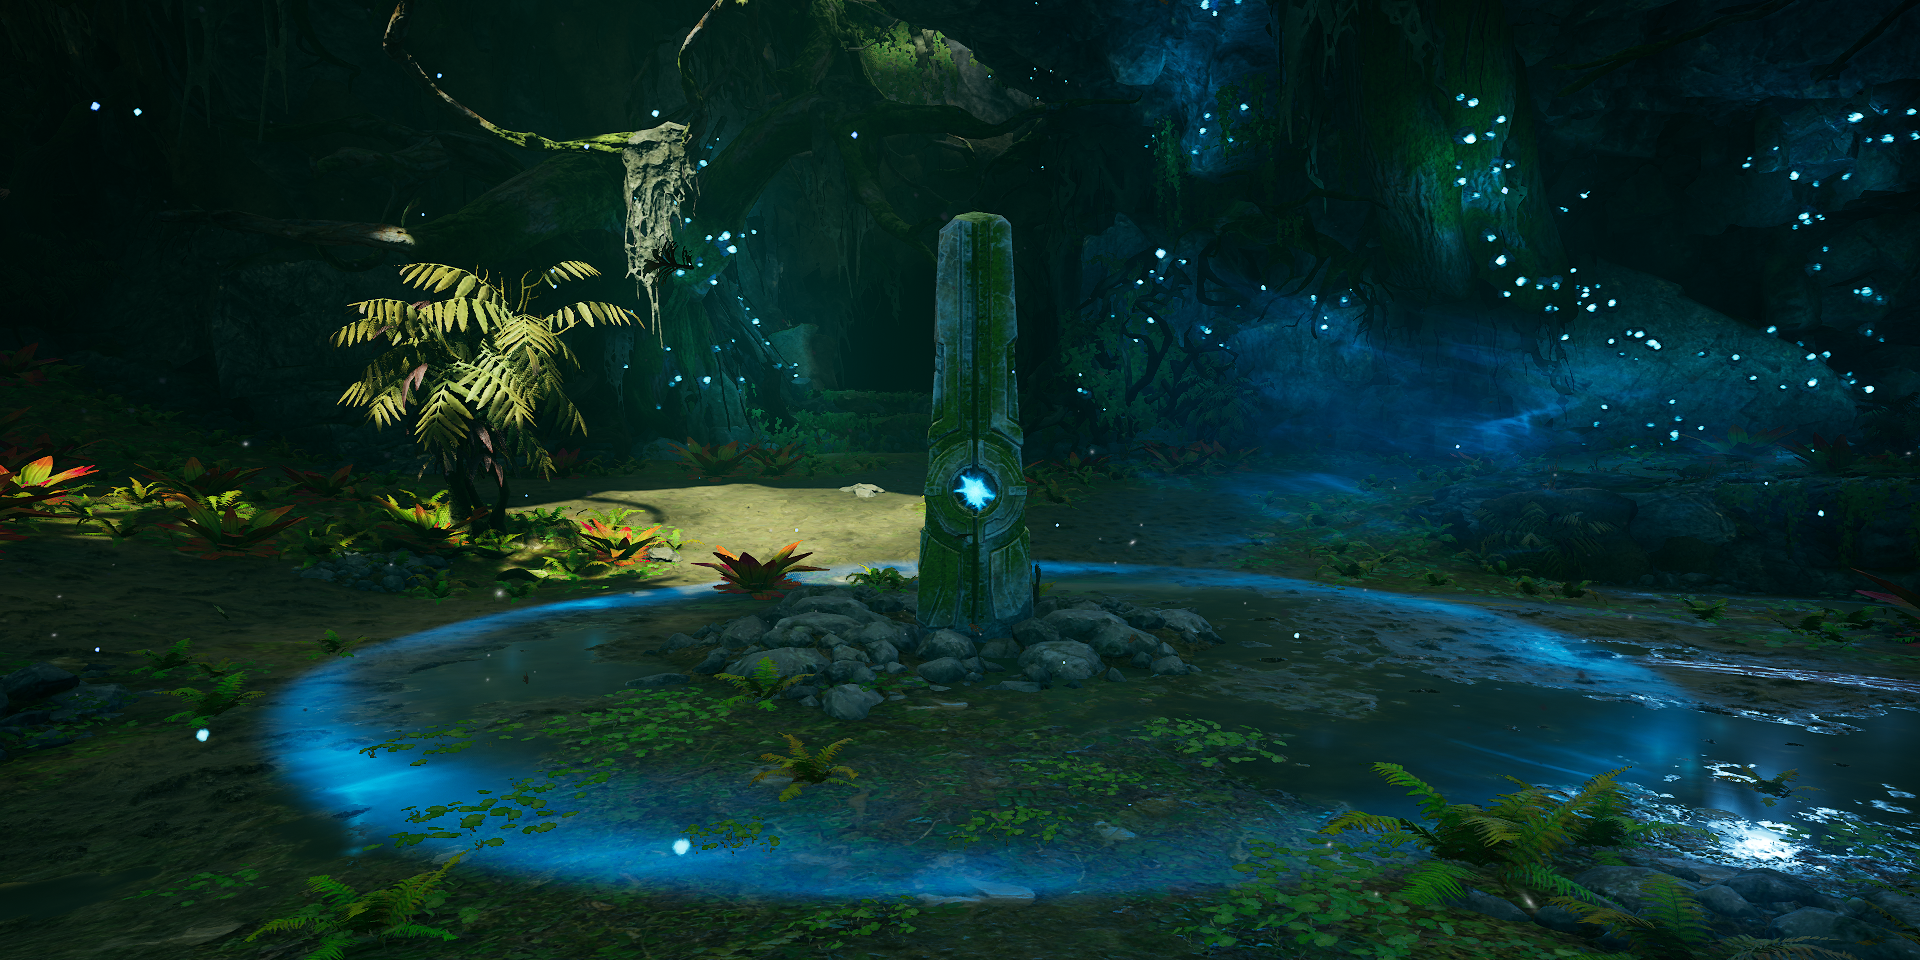
Completing this section will require you to defend an obelisk against waves of Beasts that will spawn all around you. Enemies will arrive in waves, giving you a few moments to capture the obelisk in between each wave. This is one of the harder obelisk objectives in Outriders due to the abundance of Alpha Perforos and Brood Mothers.
Alphas will be your main threat for most of this, leaping on top of you while halting obelisk progress. Feel free to leave the obelisk to take care of them. After the first wave, you’ll have to face a Brood Mother alongside standard Beasts. The next wave has a Behemoth, and the wave afterward has another Brood Mother. Needless to say, crowd control and damage are your friends here. Freezing, Ashing, or outright killing these enemies is the only way to complete this objective in a short time frame.
Second Encounter
Strix, Crawlers, and common Beast enemies are present in this section. The Strix are easily your biggest threat, attacking you from a long distance with poison attacks. They’re fairly hard to get close to, so crowd control effects are invaluable here. If you don’t have any, a rifle should do the trick.
Crawlers will spawn throughout this section, slamming the ground with deadly ice fissures. They also have a breath attack that can inflict Freeze on you, so try to stay behind Crawlers while killing them. Crawlers should be your top priority here, killing Strix right after the Crawlers are dealt with. Clear out the area to open the path to the next zone.
Third Encounter
As you enter this area, you’ll be swarmed by Alpha Perforos and normal Perforos. The Alphas tend to leap on you, so get in the habit of meleeing when this happens to save yourself from a stunlock.
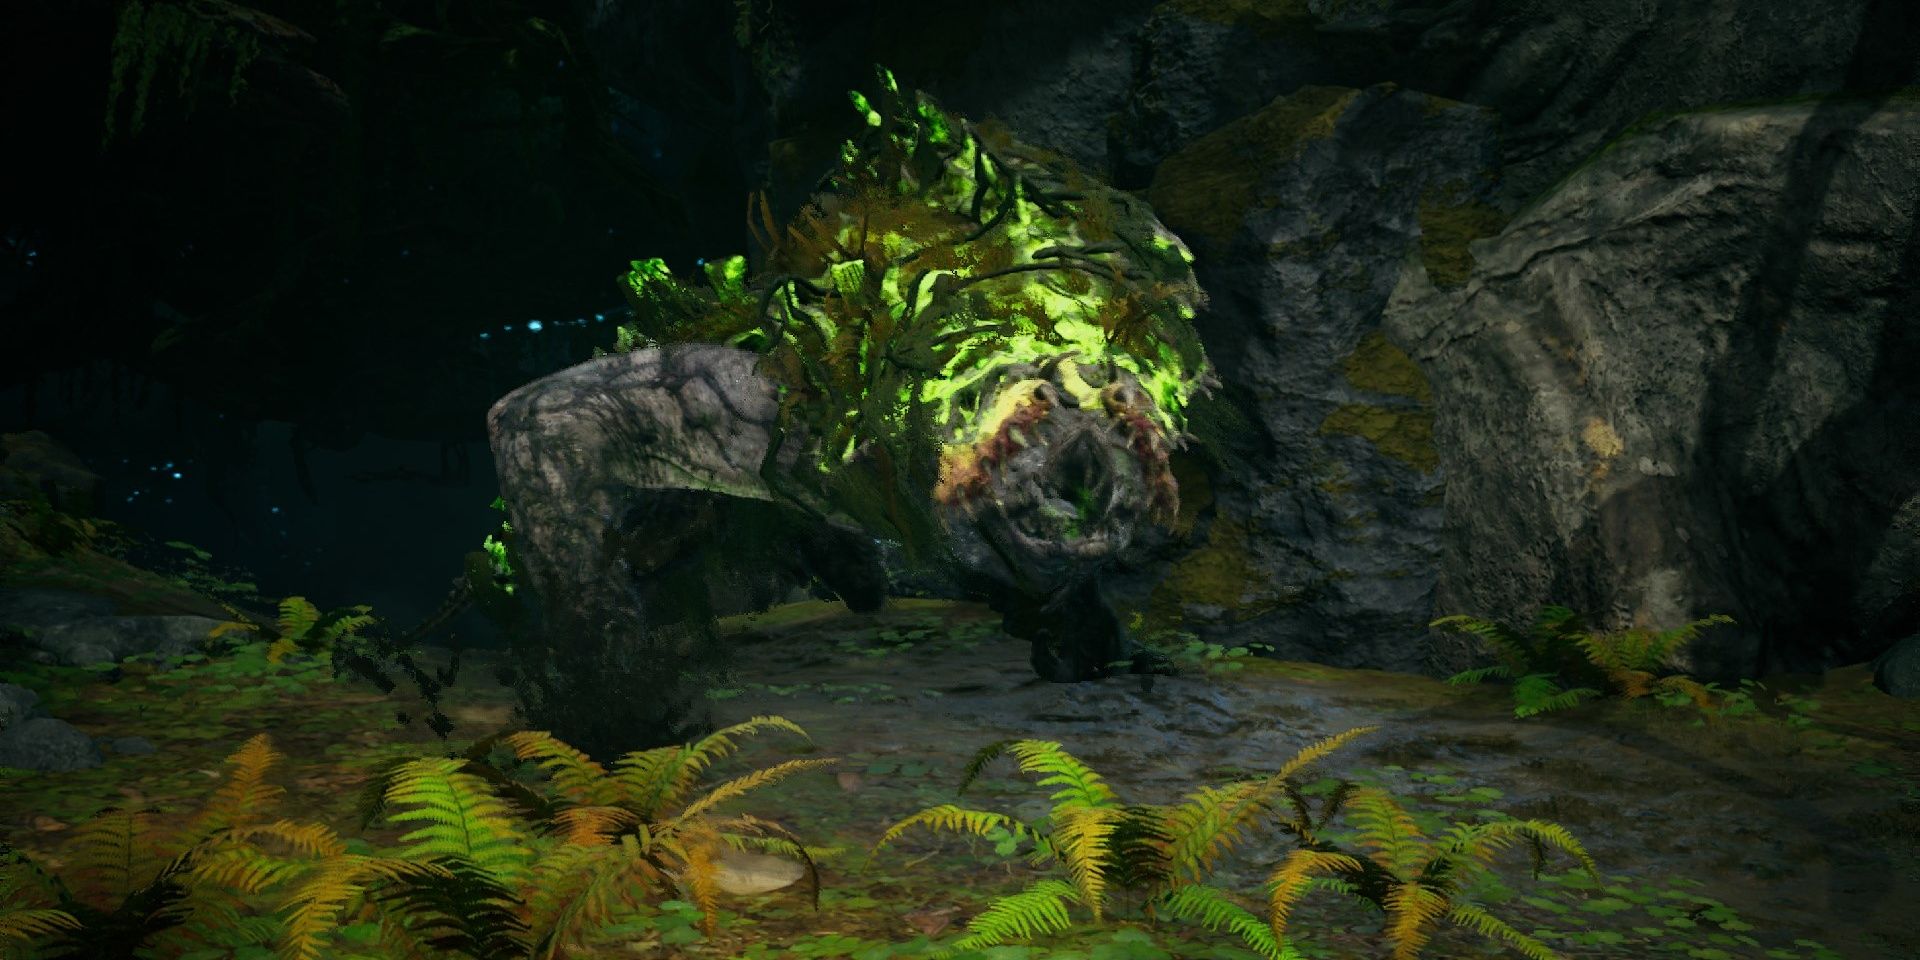
This section is quite long, consisting of multiple waves that spawn near the tree. The only noteworthy enemy during this section is a Brood Mother that spawns partway through the encounter. Try to attack the heart in its ribcage if you can, as shooting it enough will destroy the heart, preventing it from buffing allies. Otherwise, try to kill the Alphas as fast as you can. If left unattended, they can all leap on you, causing a stunlock that can easily kill you.
Final Encounter
After a few cutscenes, you’ll be placed in a large arena against a Behemoth. This Behemoth is similar to Behemoths you’ve fought in this Expedition. Interrupt its abilities, stick to its back, and kill it as fast as you can.
The real challenge from the final encounter stems from the sheer number of enemies. Dozens of Beasts will spawn from the tree throughout this section, some of which are Alpha Perforos. The later waves will spawn explosive spiders that dish out an absurd amount of damage if they explode near you. Keep your distance during this part if possible. The spiders are fairly weak, so they should be your top priority.
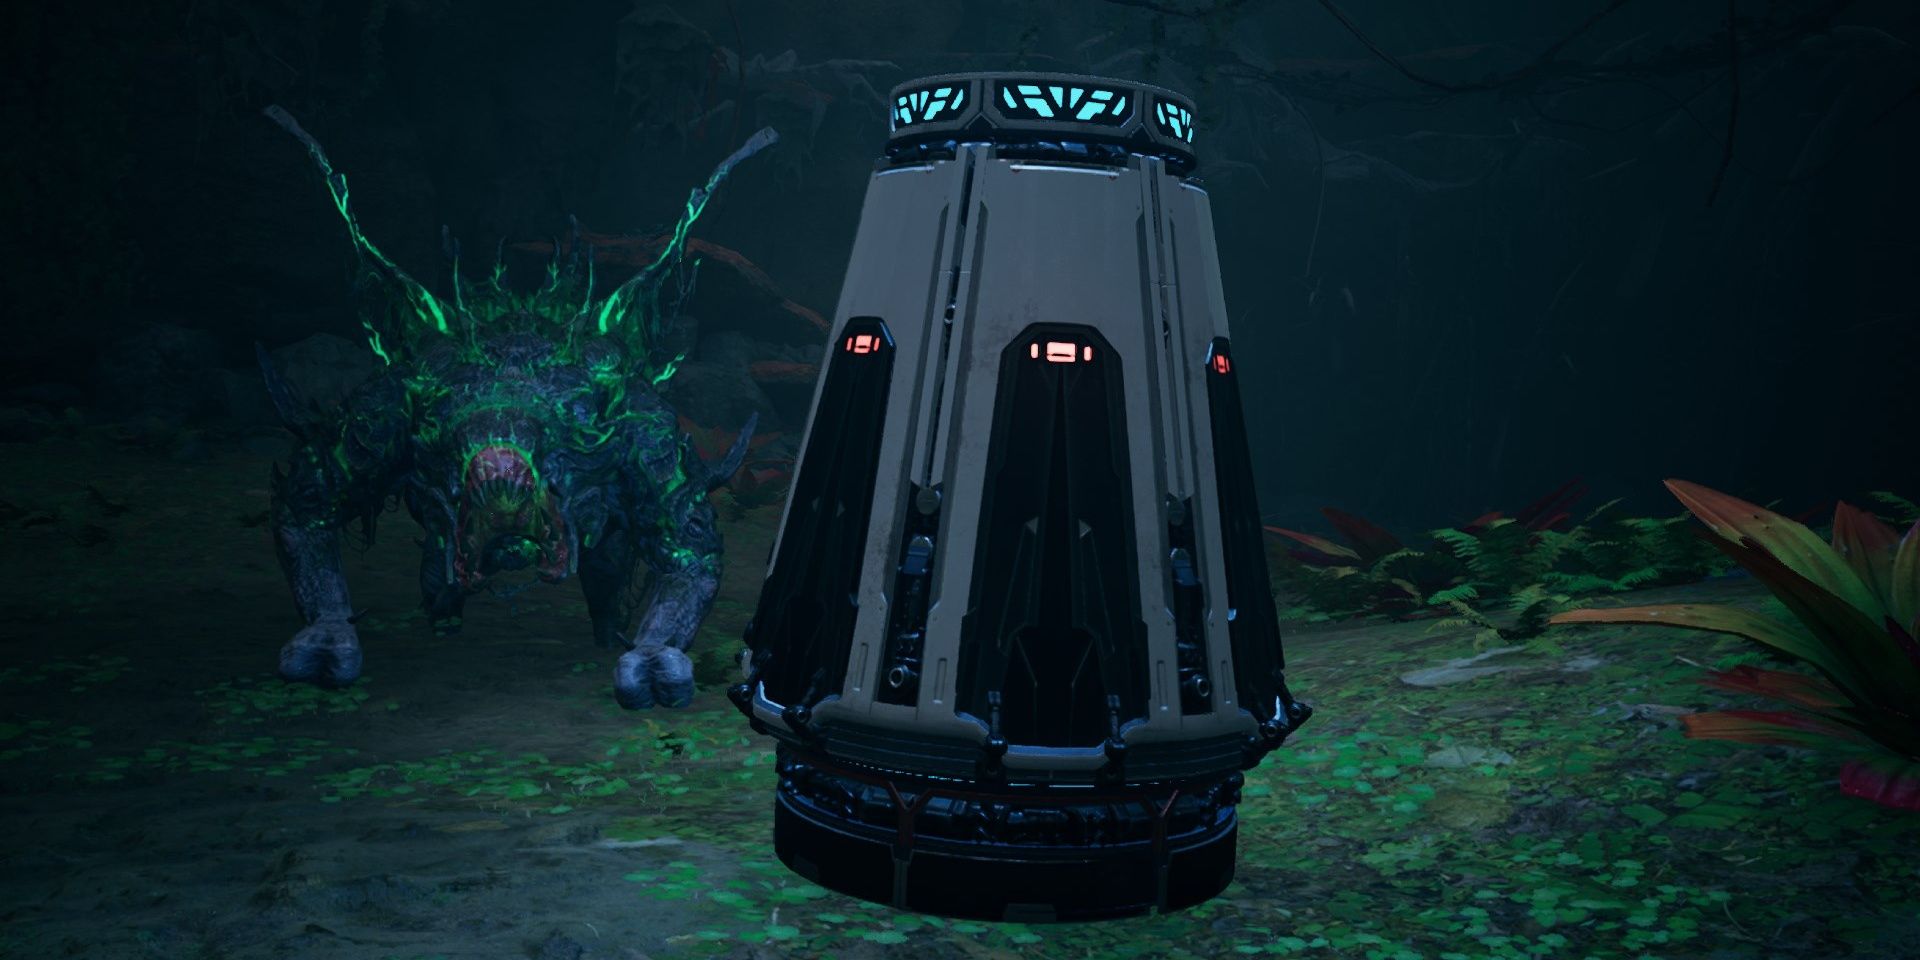
If that wasn’t enough, this section also throws multiple Crawlers and Strix at you. The Crawlers are easily the most dangerous out of the bunch. These enemies can easily inflict you with Freeze if they get an ability off. Treat them similar to the Behemoth, attacking them from behind whenever possible. After they’re defeated, kill the Strix floating around the arena. They’re fairly tough to hit, so crowd control abilities are fantastic here. Clear out the myriad of Beasts to finish the mission and unlock the drop pod.
Next: Outriders Complete Guide And Walkthrough

- Guides
- Outriders
Charles Burgar is an expert on all things tech and gaming. Graduating from Pikes Peak Community College in 2018 with an Associate of Science, Charles has spent his time dissecting popular video games, movies, and technology. With an understanding of games for as long as he can remember, Charles has a large interest in understanding what makes things fun. He is currently a Freelance writer for TheGamer and Game Rant.
Source: Read Full Article