Quick Links
- How To Kill The Bird
- Finding The Battery Charger Parts
- How To Make The Zipline Tool
- Getting The Mayor's Chest Key
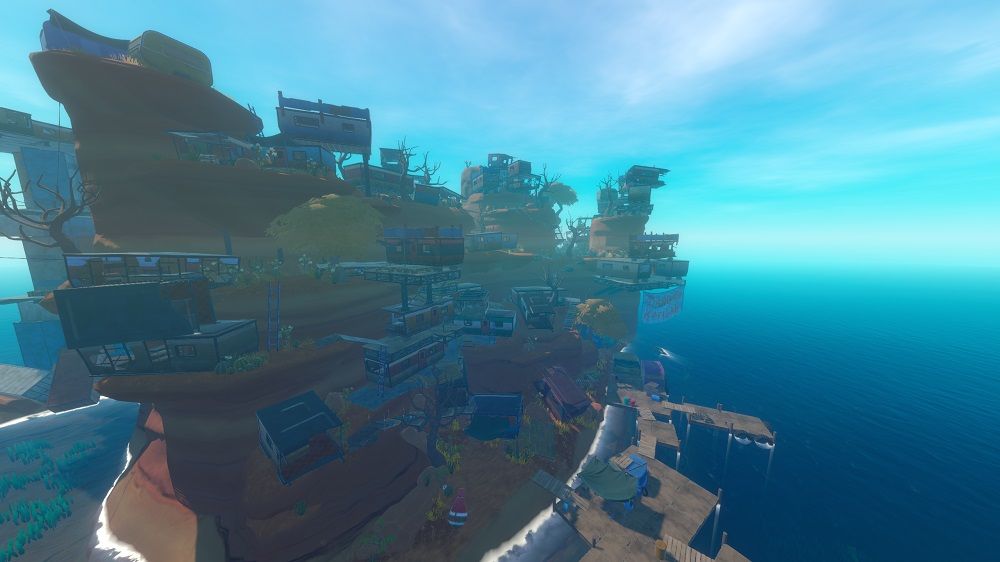
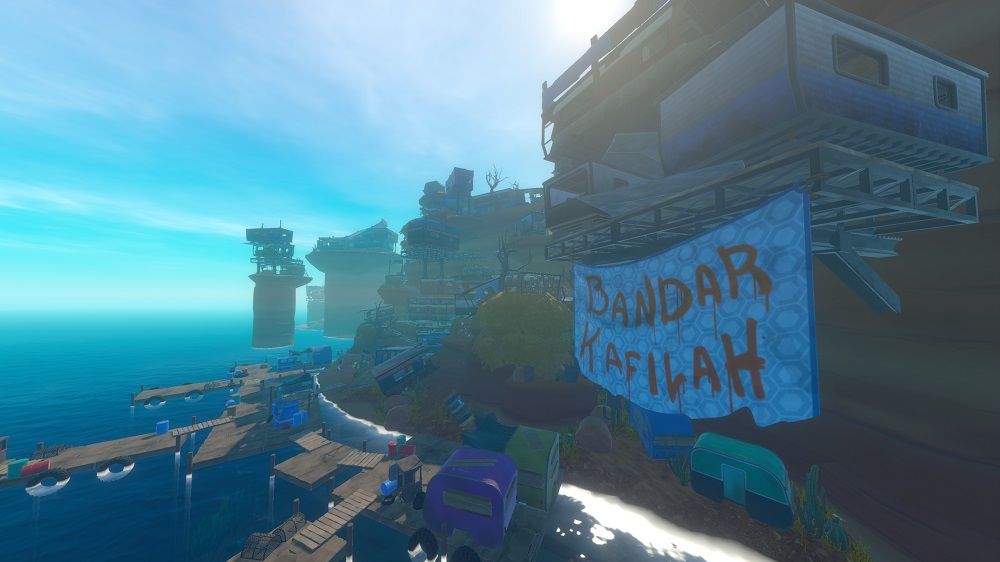
Caravan Town, a shoddy attempt to rebuild civilization using old trailers and, ahem, caravans to line the cliff sides. It's the first time you've seen a desert so far in Raft, but that doesn't mean it's completely devoid of life. Patrolled by a rock-throwing bird, this area is densely packed with resources and story information — if you can get your bearings in the ramshackle town.
The White Screecher, once locked on to you, won't stop chucking rocks your way. You have a decision to make even before you step off the raft — do you put up with the constant harassment, or do you dispatch the bird menace?
How To Kill The Bird
Let's be honest, you don't want to be jumping from caravan to caravan, solving environmental puzzles, and looting to your heart's content with a hyper-aggressive flying demon after you. You're going to need to get rid of the screecher, and to do that, you're going to need a bow.
To craft a bow, you'll need:
- 6 Plank
- 4 Rope
- 2 Vine Goo
- 1 Bolt
And some arrows:
- 3 Plank
- 6 Stone
- 6 Plastic
Each instance of crafting arrows adds six to your inventory, so it may be the case that you need to do this multiple times. The screecher has 100 hit points, and with each stone arrow you craft dealing ten points of damage, it doesn't take a maths whizz to figure out that you'll need to land ten arrows to down the bird.
It will fly away from you to pick up a rock, then fly towards you and drop the rock where you're standing. The strategy here is simple: as the bird flies towards you in a straight line, let loose with your arrows, once you hear the stone drop, quickly run in any direction. Rinse and repeat, and you're free to explore the island uncontested.
Finding The Battery Charger Parts
Now that the unpleasantness is over with, it's time to push on with your vague objectives. Entering the town via the docks is the way to go here. Looking around the dock area you should notice a building signposted Port Office. Inside, you'll find a battery charger part.
Make your way up the path through the caravans until you reach a blue and white striped caravan with a ladder to its side. Climb this ladder and you'll find the second battery charger part on top.
Make your way further up the makeshift path and you'll come to a marketplace. You'll notice the signs of the merchants trying to sell their wares, although this seems long abandoned. Climb onto the market caravans, and you'll see a ladder leading up to a flat part of the rock, the last battery charger part is up there.
All of these caravans have drawers and cupboards you can open and search through. It may be your preference to do this as you progress through the story, or come back once you've completed the island to hoover up anything that isn't nailed to the floor.
How To Make The Zipline Tool
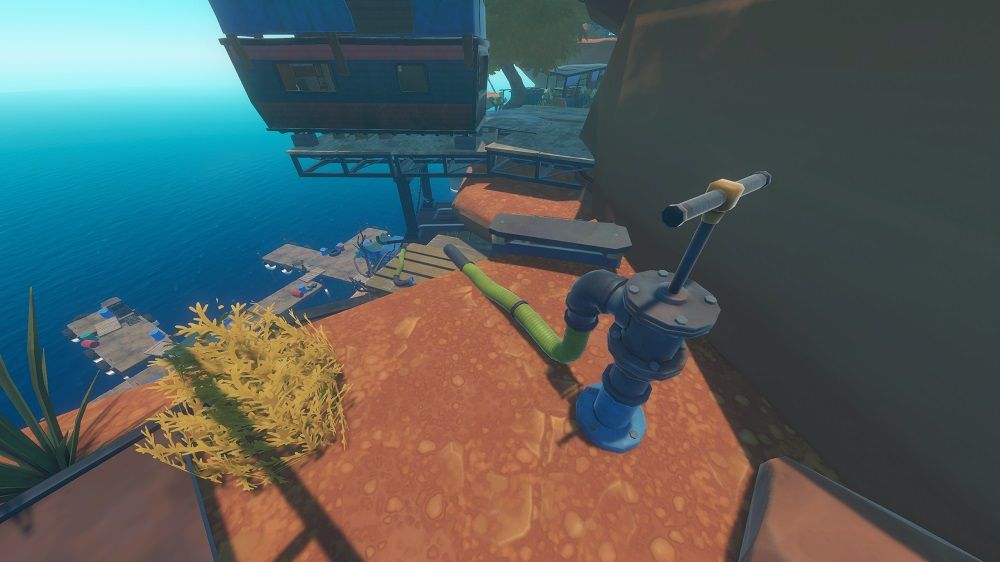
Next, you have to collect parts in order to create a tool, to use the various zip lines that streak the sky. From the market, find the red and blue caravan and you'll notice there is a water pump behind it. Take a second to use the pump, and you'll notice it shoots water out in the general direction of the pipe below it.
The puzzle here is to adjust the angle of the nozzle of the pipe below, so it catches the water. Do this for the pipes below also, so whenever you activate the water pump it will fill the well at the bottom.
Once the well is sufficiently filled, you'll be able to grab the zipline tool part.
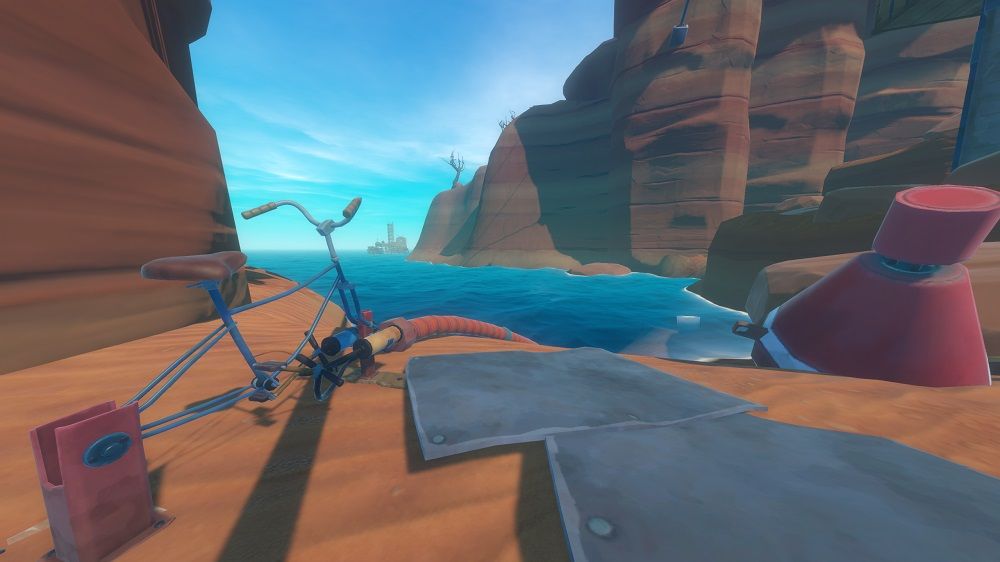
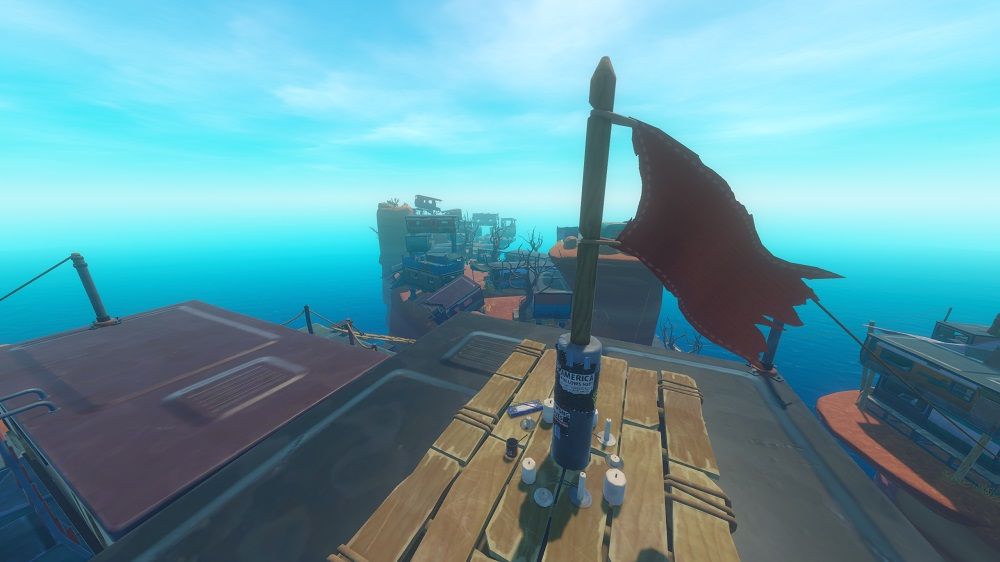
There is a bridge with some pieces missing to your right, near the building with the red flag. Head across this bridge and down, you'll notice a bicycle with a hose attached.
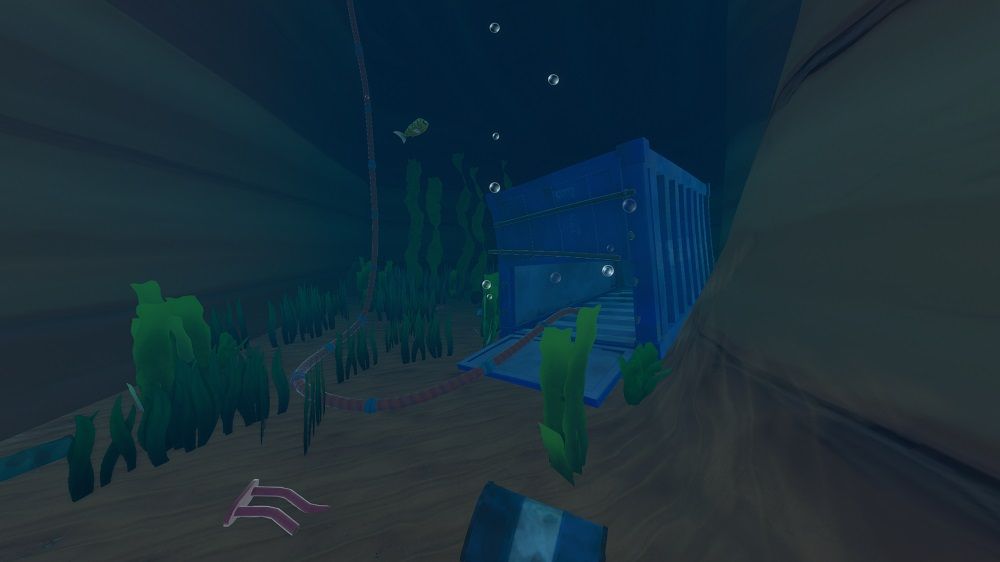
For this next area, you're going to be using the makeshift oxygen supply to swim deeper than you've ever been before, so get ready. If you have the flippers item researched, it might be worth taking the time to craft a pair now.
Follow the hose from the surface, it will take you to several containers, each of which has a pocket of air, so you can get your breath. Once you've reoriented yourself and filled your lungs, go back down and keep following the line.
There are several poisonous puffer fish in this area, you can take them out with your bow of melee weapons, but it is safer to just swim close enough so they being to inflate. Once they reach critical mass, they will explode. Bait, then swim away to safety.
The last container you find will house a zipline part, the infirmary key, and a blueprint for the metal detector.
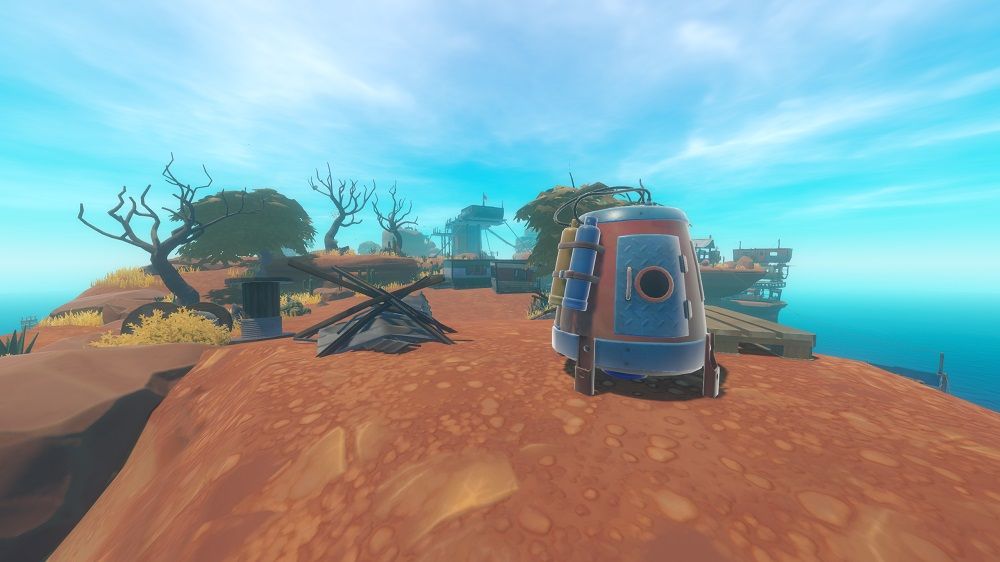
Head back up to the broken bridge, this time crossing the whole way and coming to what looks like a red water tank propped up on four legs. This is a very unconventional-looking rocket, and it's going to be your job to set it off. To do this you'll need some explosive powder, obtainable by drying out some explosive goo in your smelter (you can loot explosive goo from the puffer fish in the previous section).
The rocket explodes shortly after taking flight. Jump down towards the debris below, where the last zipline part will be attached to a doll that was riding the rocket before its demise.
Head back to the building with the red flag; you'll be able to craft yourself a zipline tool and obtain the blueprints should you wish to craft more. Simply equip the zipline tool in one of the slots below your inventory, and you're good to go.
Getting The Mayor's Chest Key
Once you have the zipline tool equipped, you're able to traverse the island using the many ziplines positioned atop the buildings. Take the one from the red flag building to the caravan marked as the infirmary. Inside you'll find a multitude of healing salves and the key to the Mayor's chest.
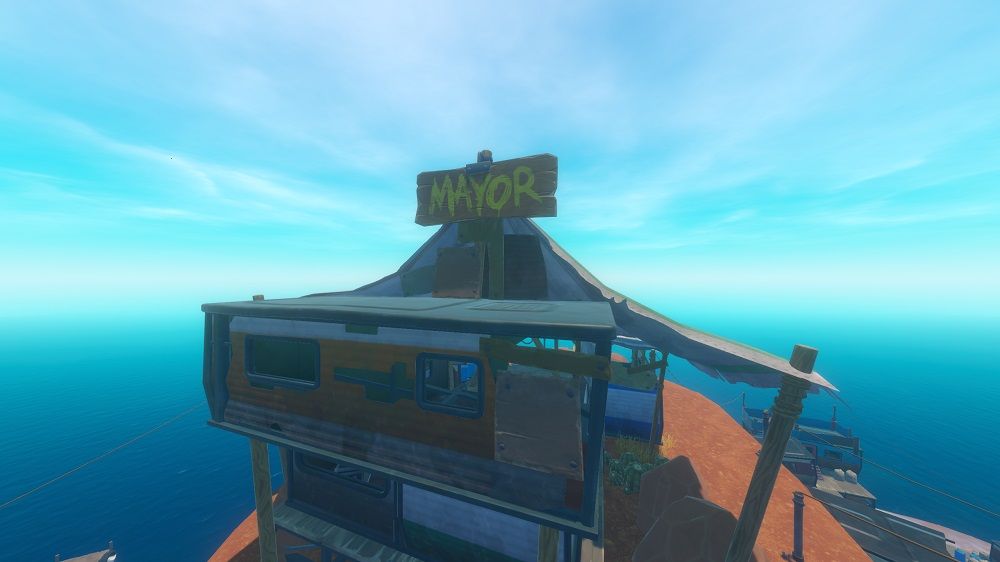
Back up to the red flag building again, but this time you'll want to take the zipline towards the caravan with the rather large MAYOR sign above it. Once inside you're able to place the battery charger parts you've found to obtain the battery charger blueprint, and also unlock the chest in the corner. Inside the chest are the blueprints for the engine controls and also the coordinates for Tangaroa.
It doesn't matter much to your progression, but make sure you pick up the rather spiffing top hat from the Mayor's table. Equip it using the slots below your inventory and take pride in knowing you're about 50% more swanky than you were before.
Once you have the coordinates for Tangaroa, you're free to leave the island and continue your journey. This place — while frustrating to navigate at times — is densely packed with resources, so it is worth taking some time to rummage through all the cupboards and drawers to pick up anything you may have missed.
Caravan Town is also a good place to capture chickens if keeping livestock is something you're planning on doing. They are a good source of feathers, eggs, and meat if you find yourself without food.
Source: Read Full Article
