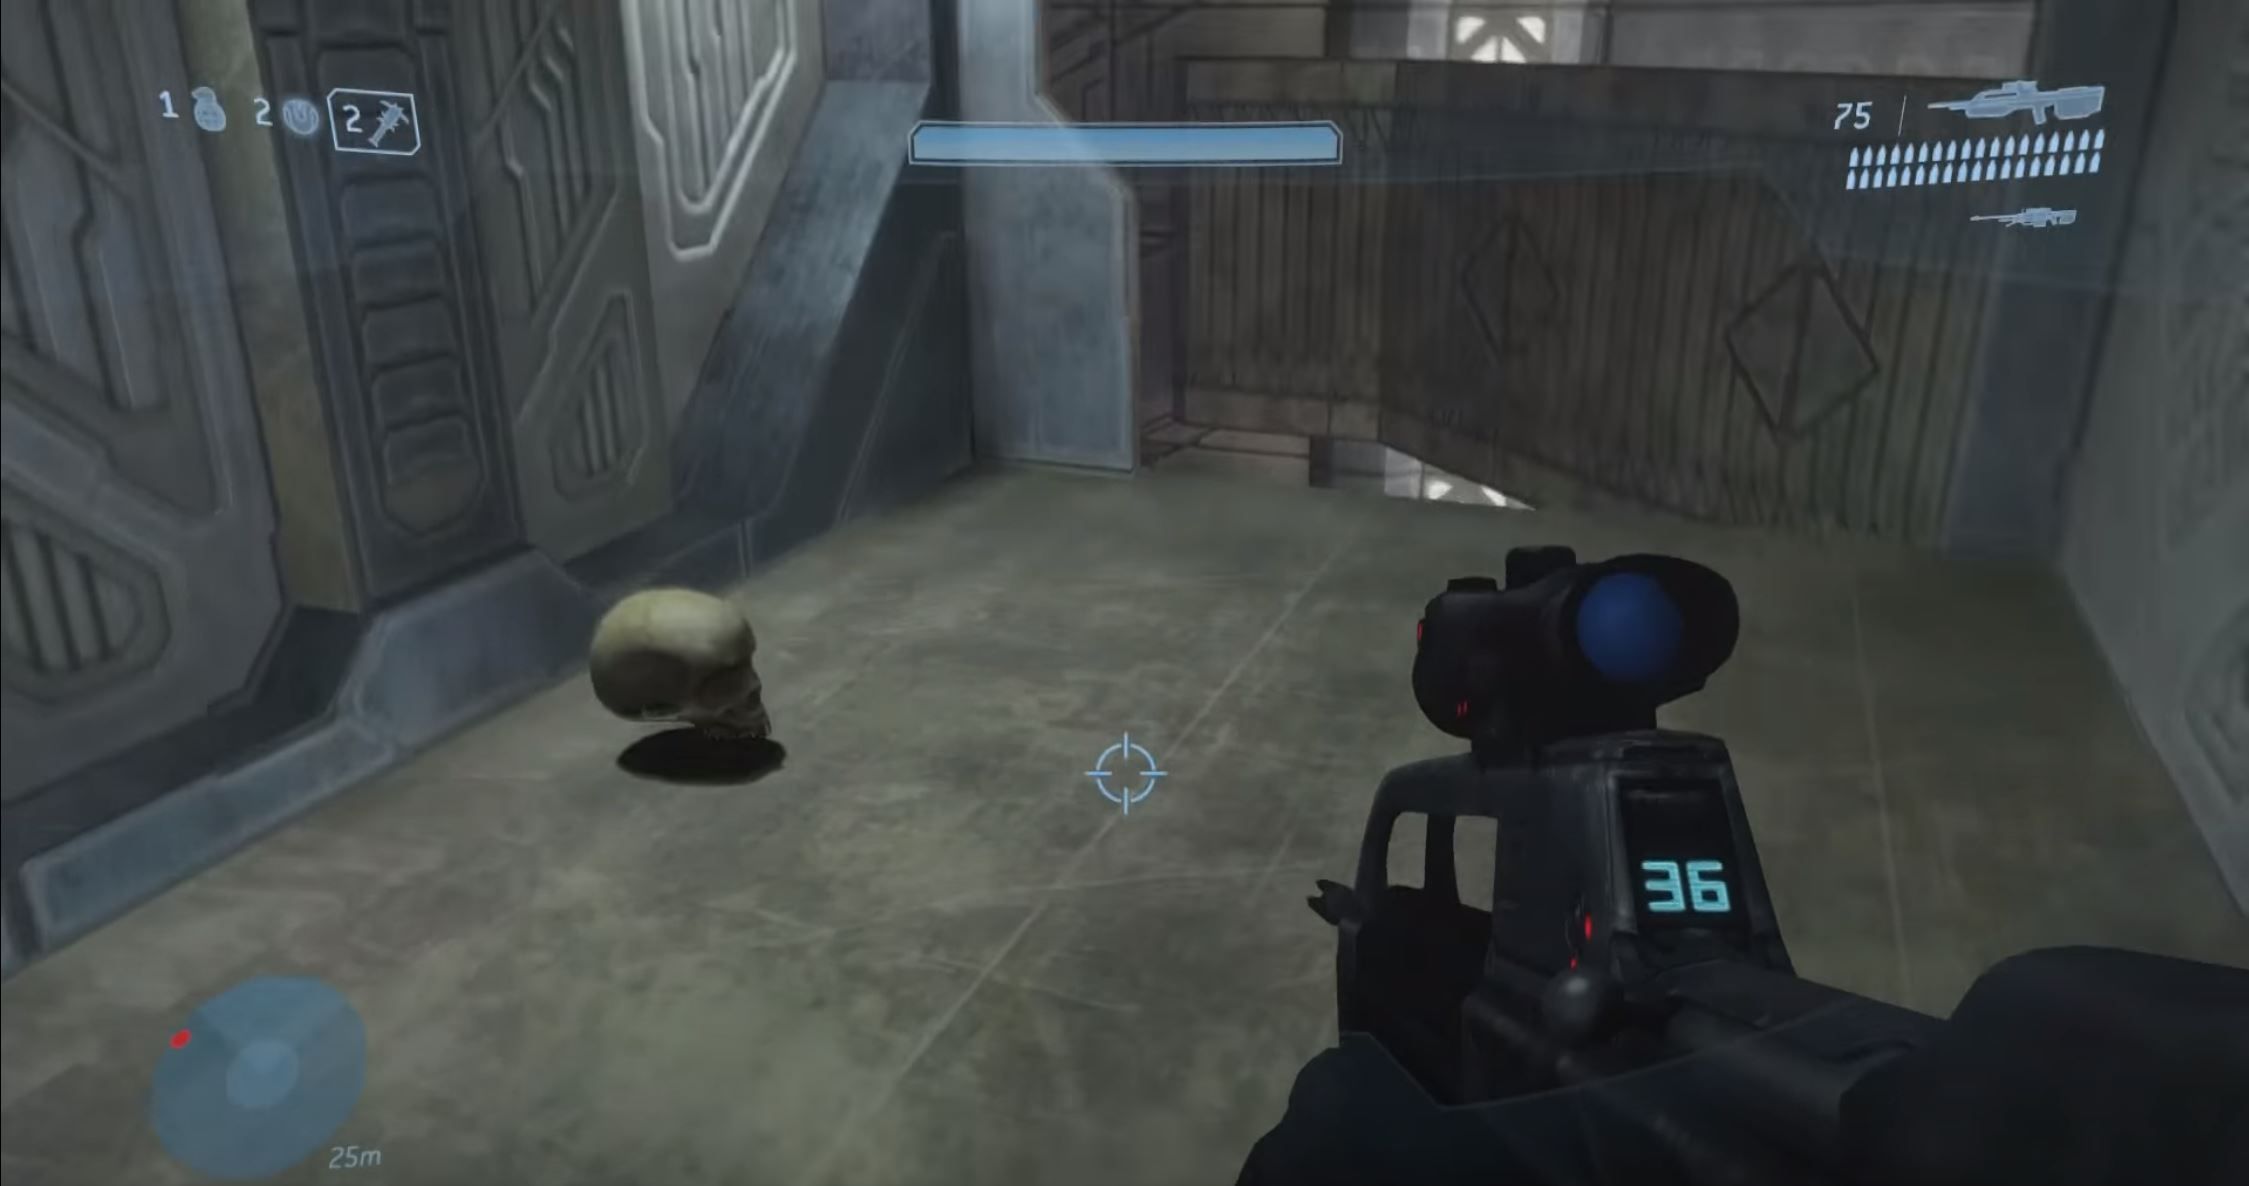
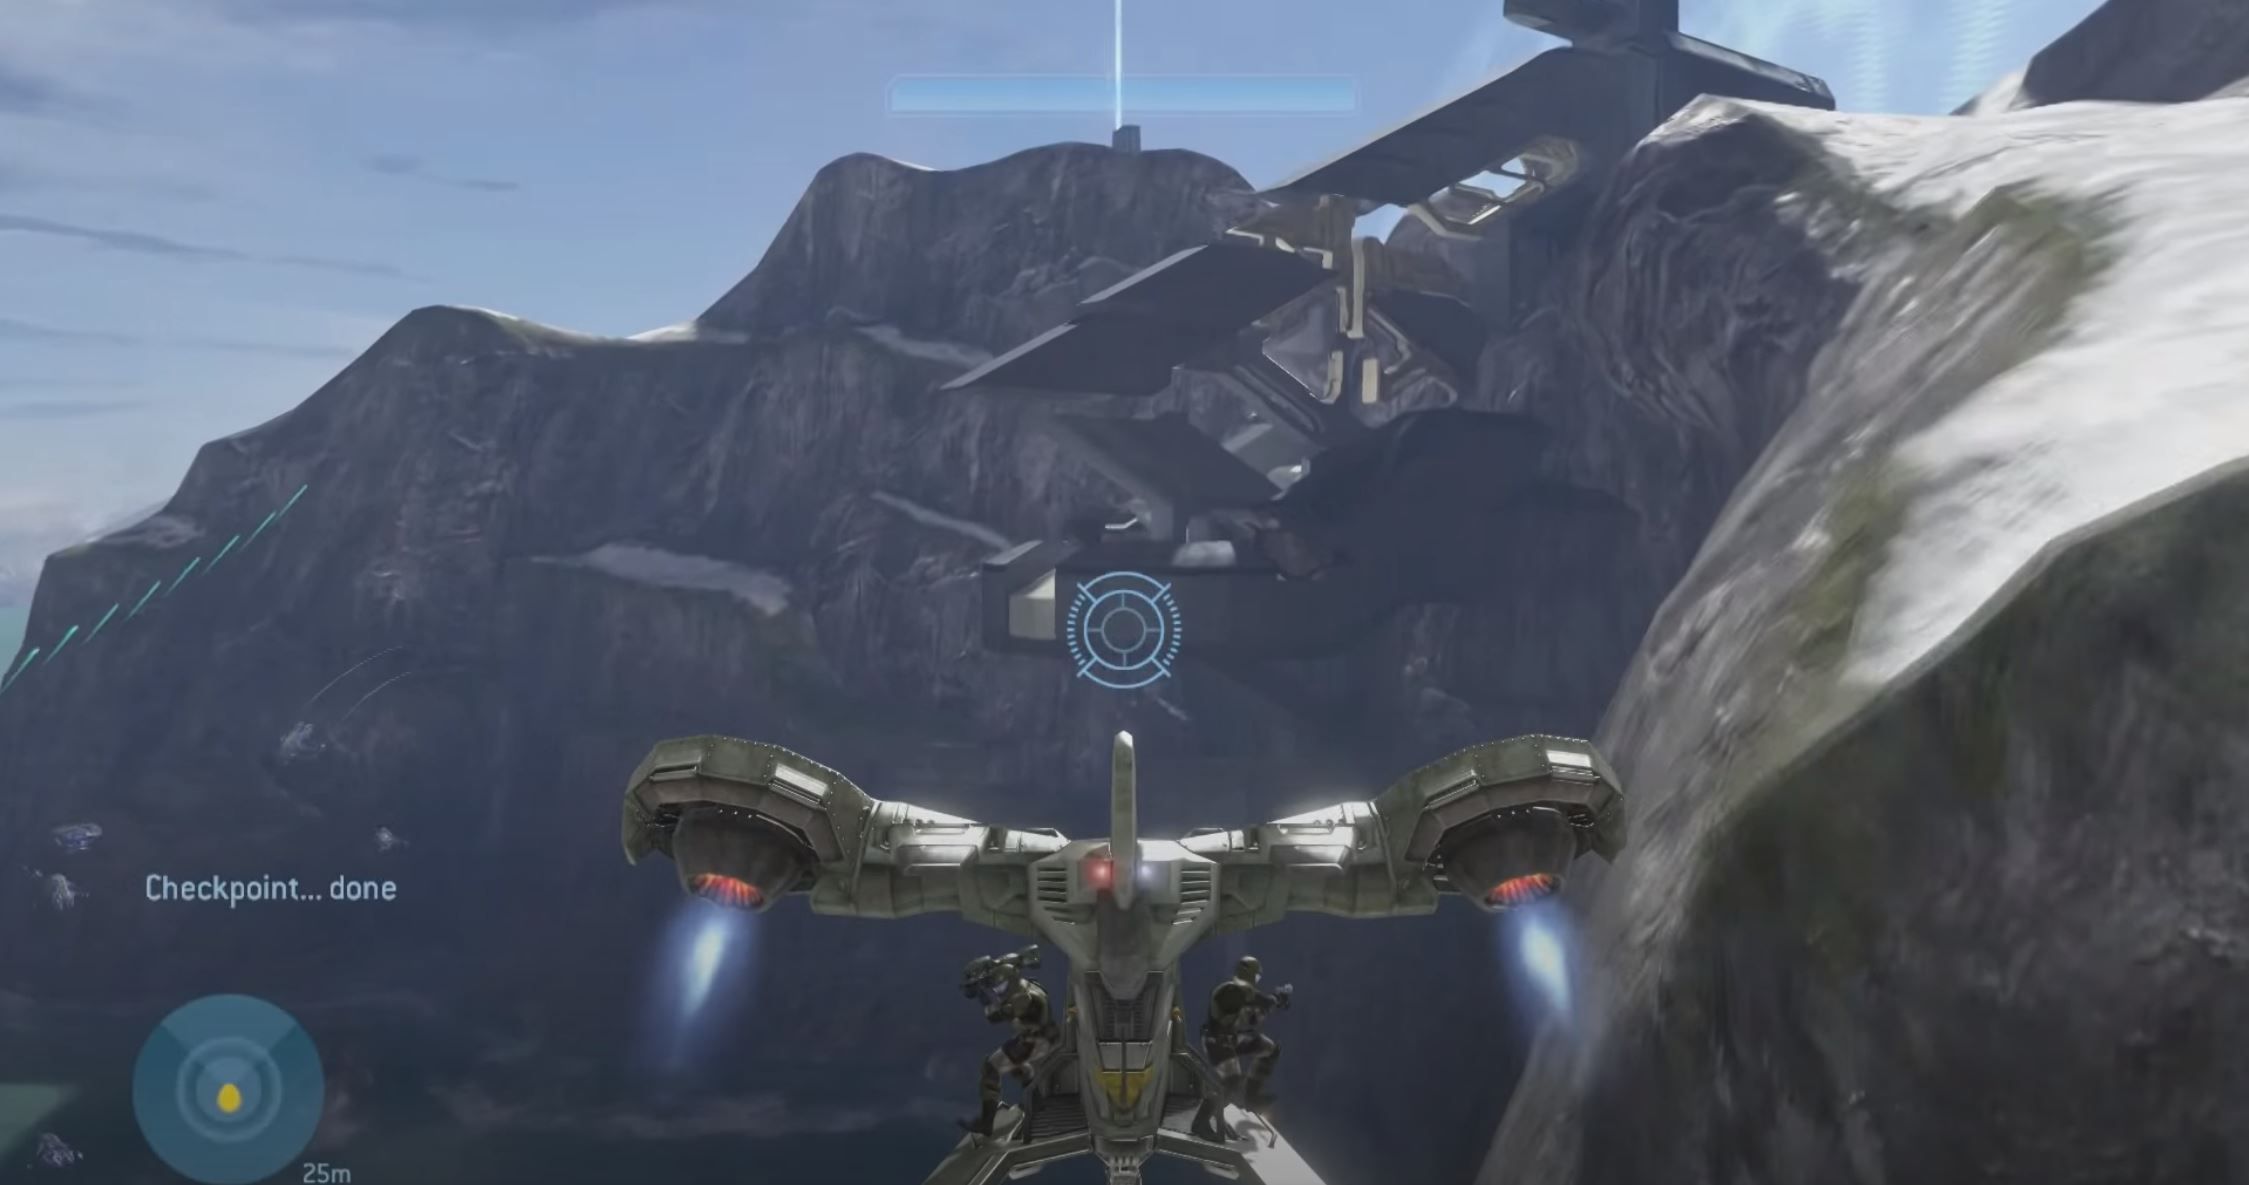
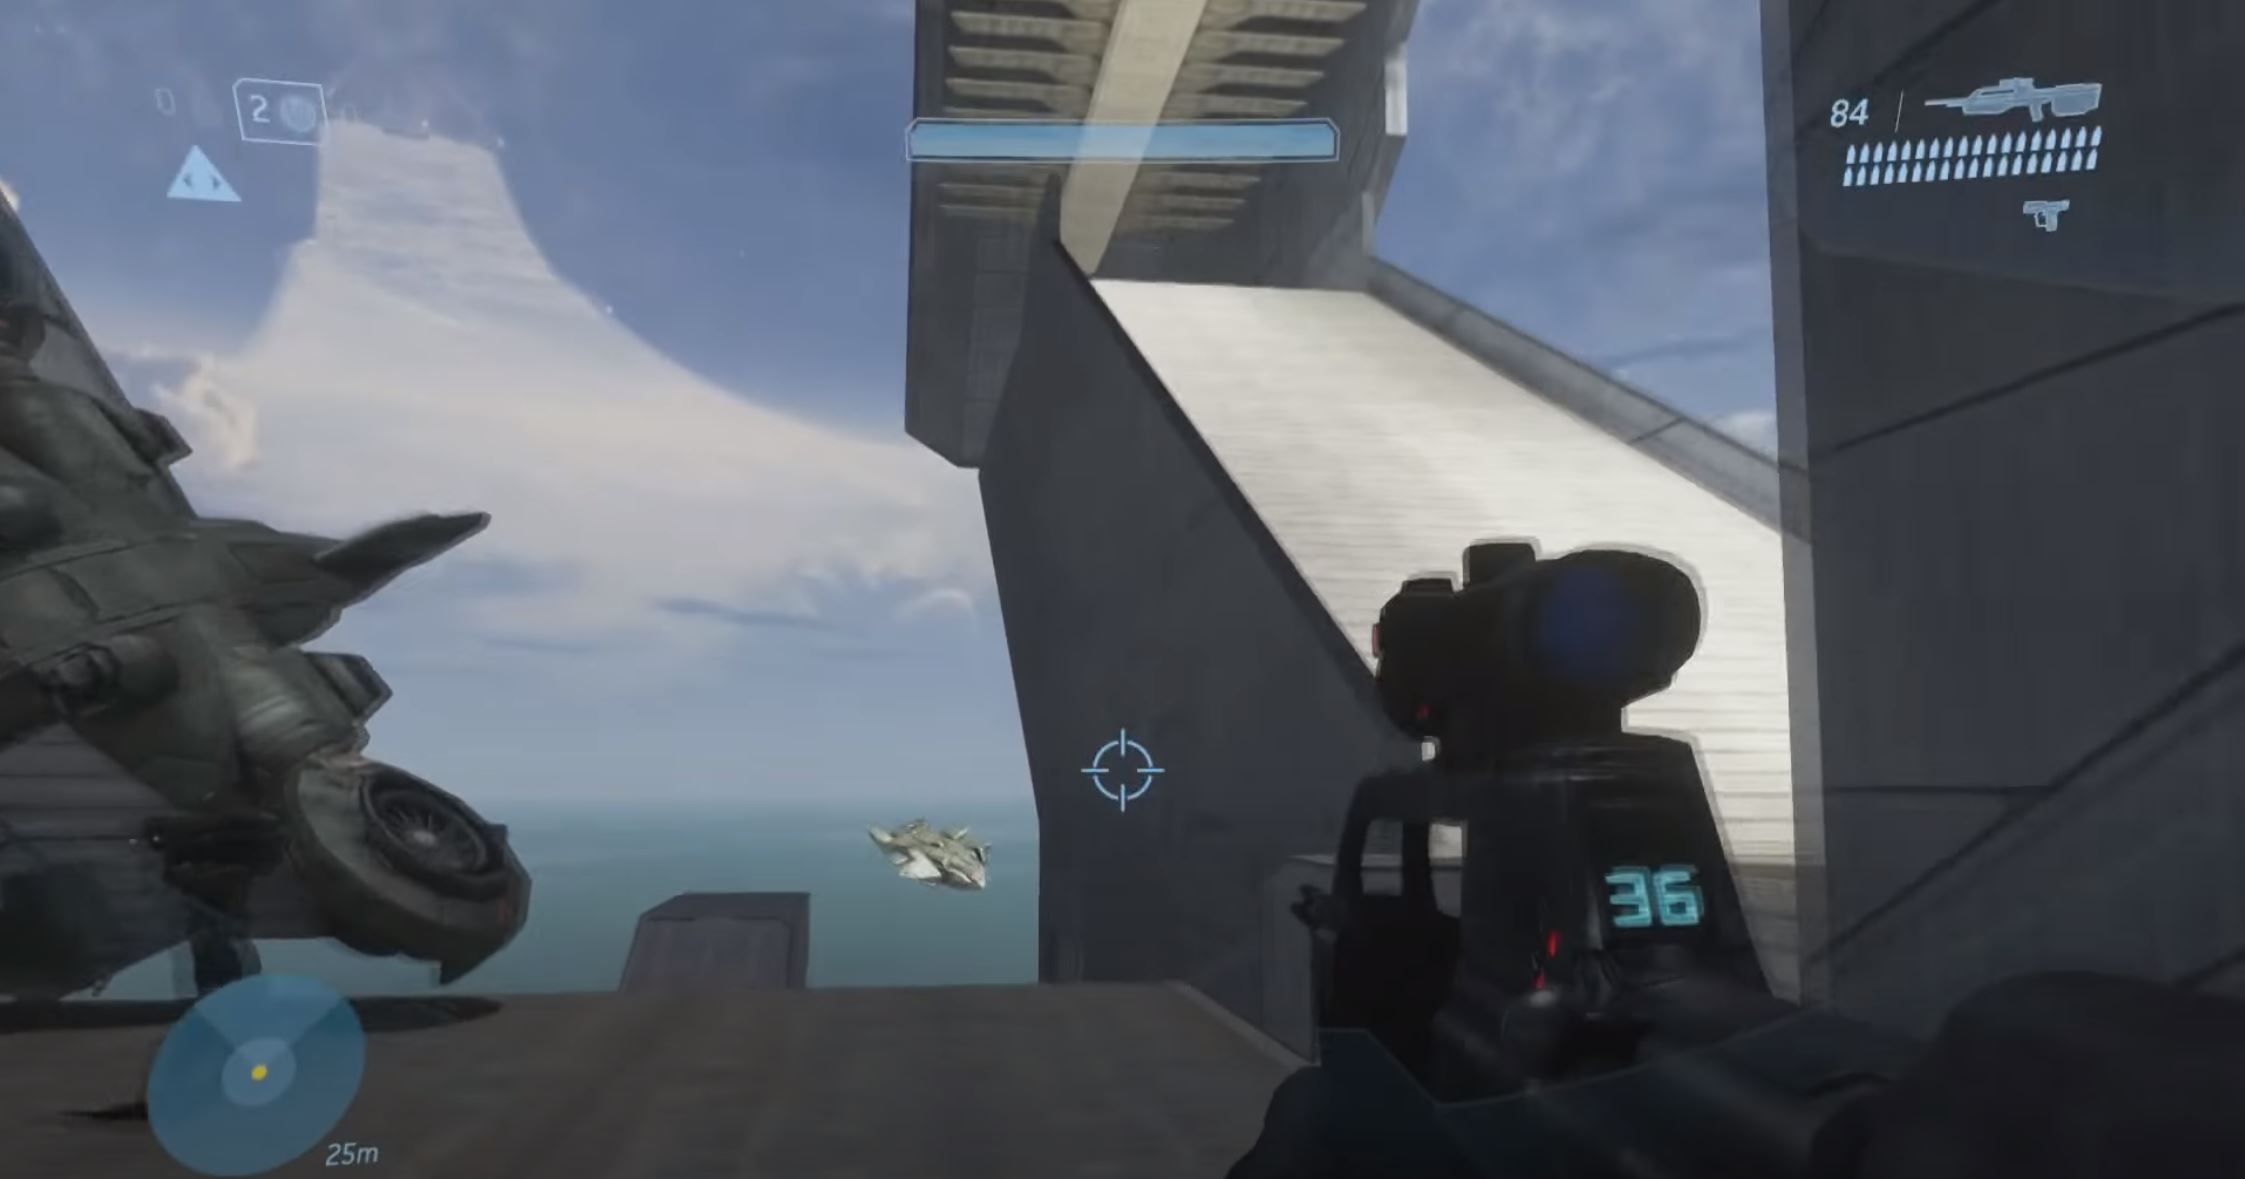
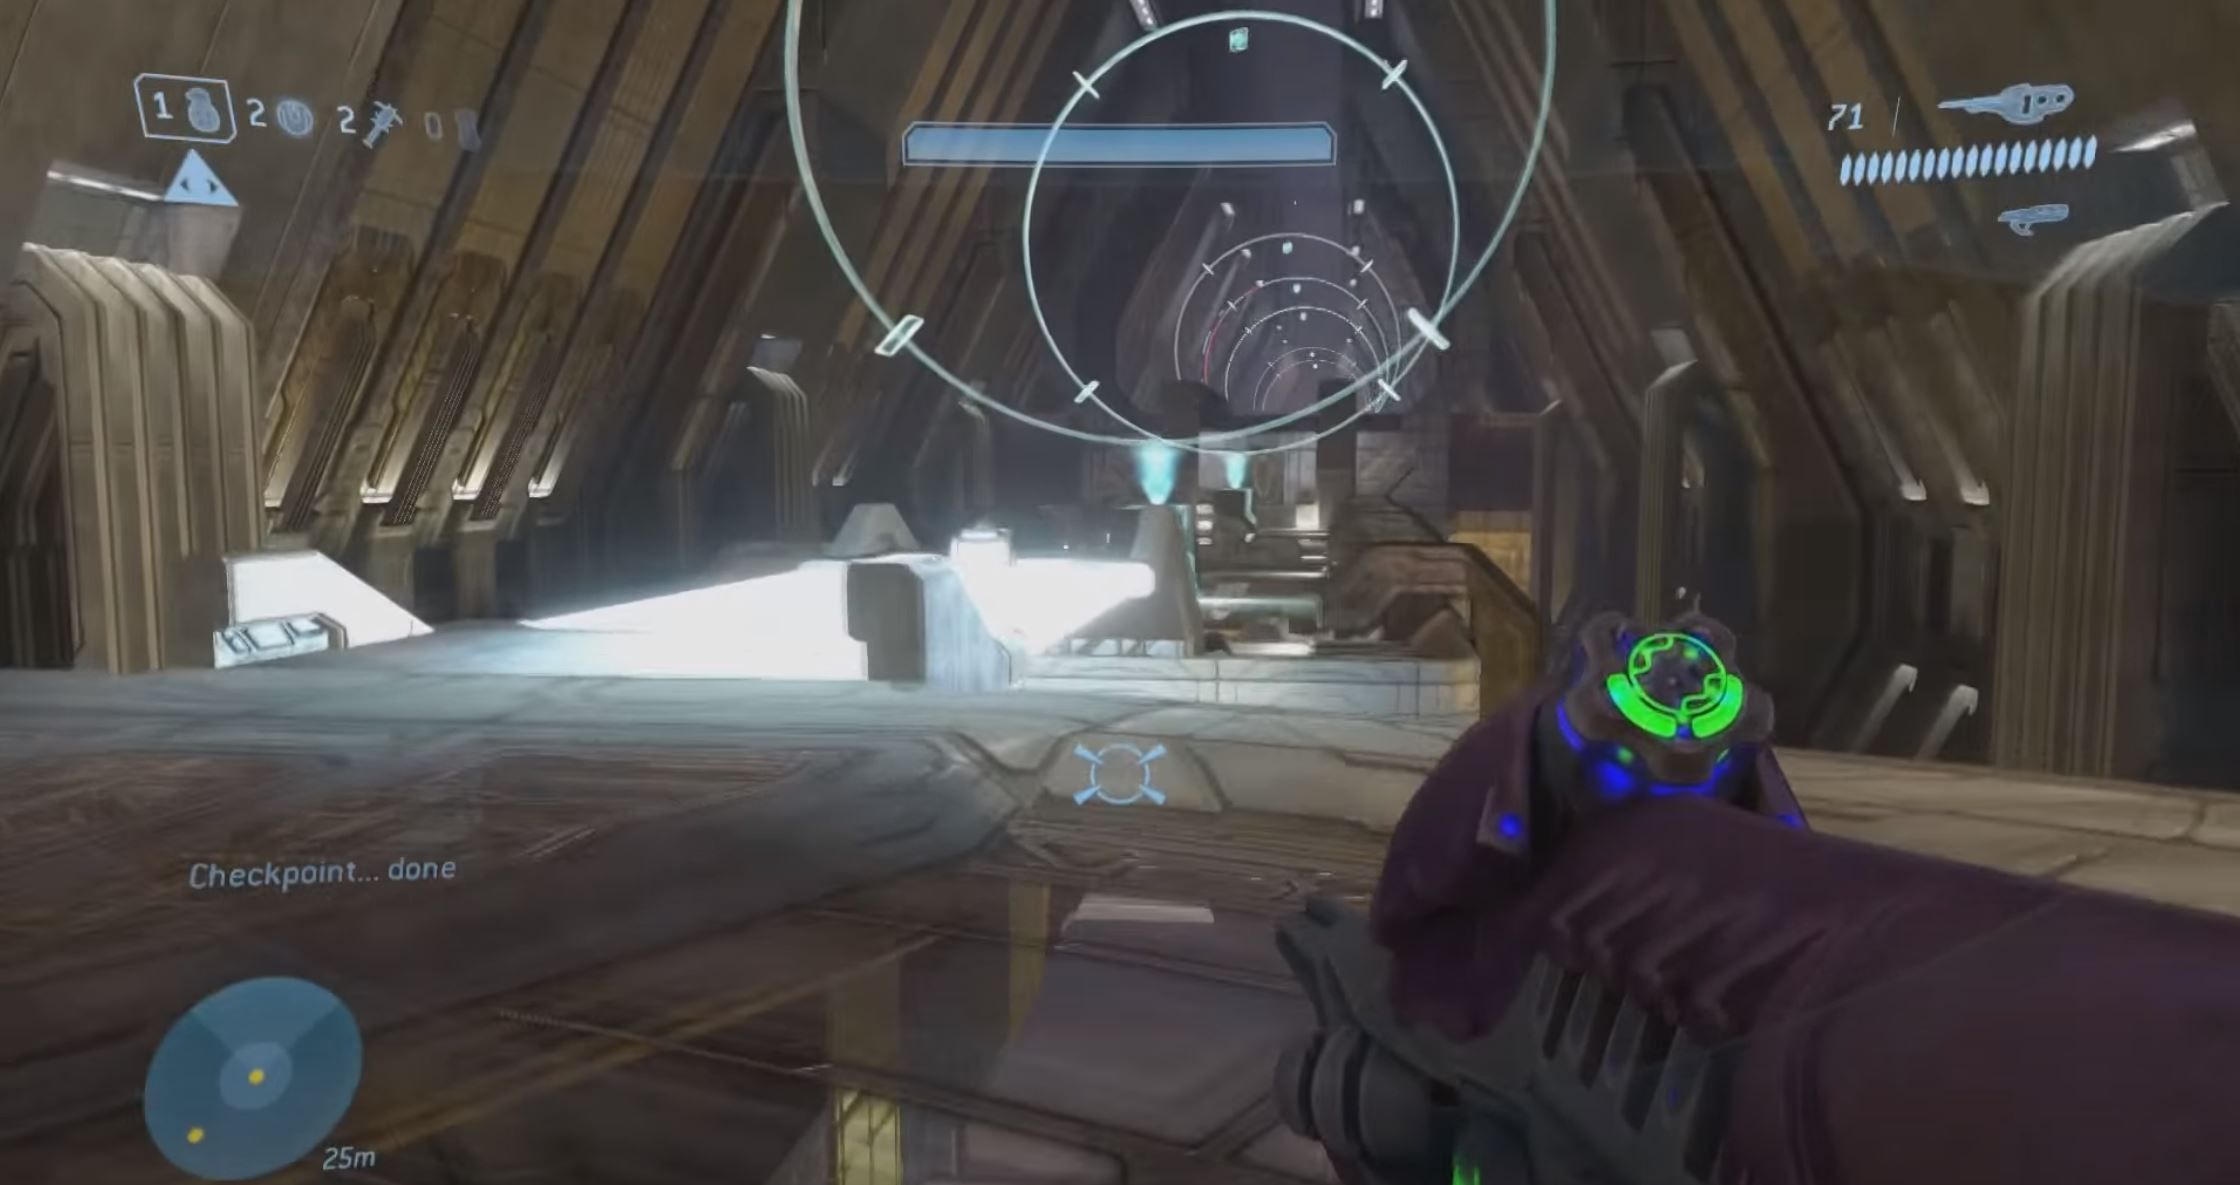
Halo 3 was the first game in the franchise to really go all-in on the collectibles, featuring skulls in both the campaign and multiplayer, as well as terminals spread throughout the campaign. Halo 2 featured skulls, but didn’t add it’s terminals or dolls until the anniversary release, and Halo: CE didn’t have collectibles of any sort until 2011.
Halo 3 has 19 skulls total, with 13 in the campaign and six in multiplayer maps. The campaign skulls are traditional skulls that can be “activated” and affect gameplay, both for better and worse. The multiplayer skulls do not have any affect other than to give you that sweet, sweet gamerscore, but they will be detailed here as well. There was also a limited time “Acrophobia” skull that could be unlocked by killing 343 flying enemies in the campaign, though that deadline has since expired.
There are a total of 13 skulls scattered throughout the campaign. In order to collect them, you must start each level from the beginning on at least Normal difficulty. Skulls will not spawn if you play on Easy or if you start the mission from a later rally point. One skull in this game will require the game to have been completed previously on at least Normal difficulty, so it’s best to save these collectibles until your second playthrough.
Sierra 117
Blind & Iron
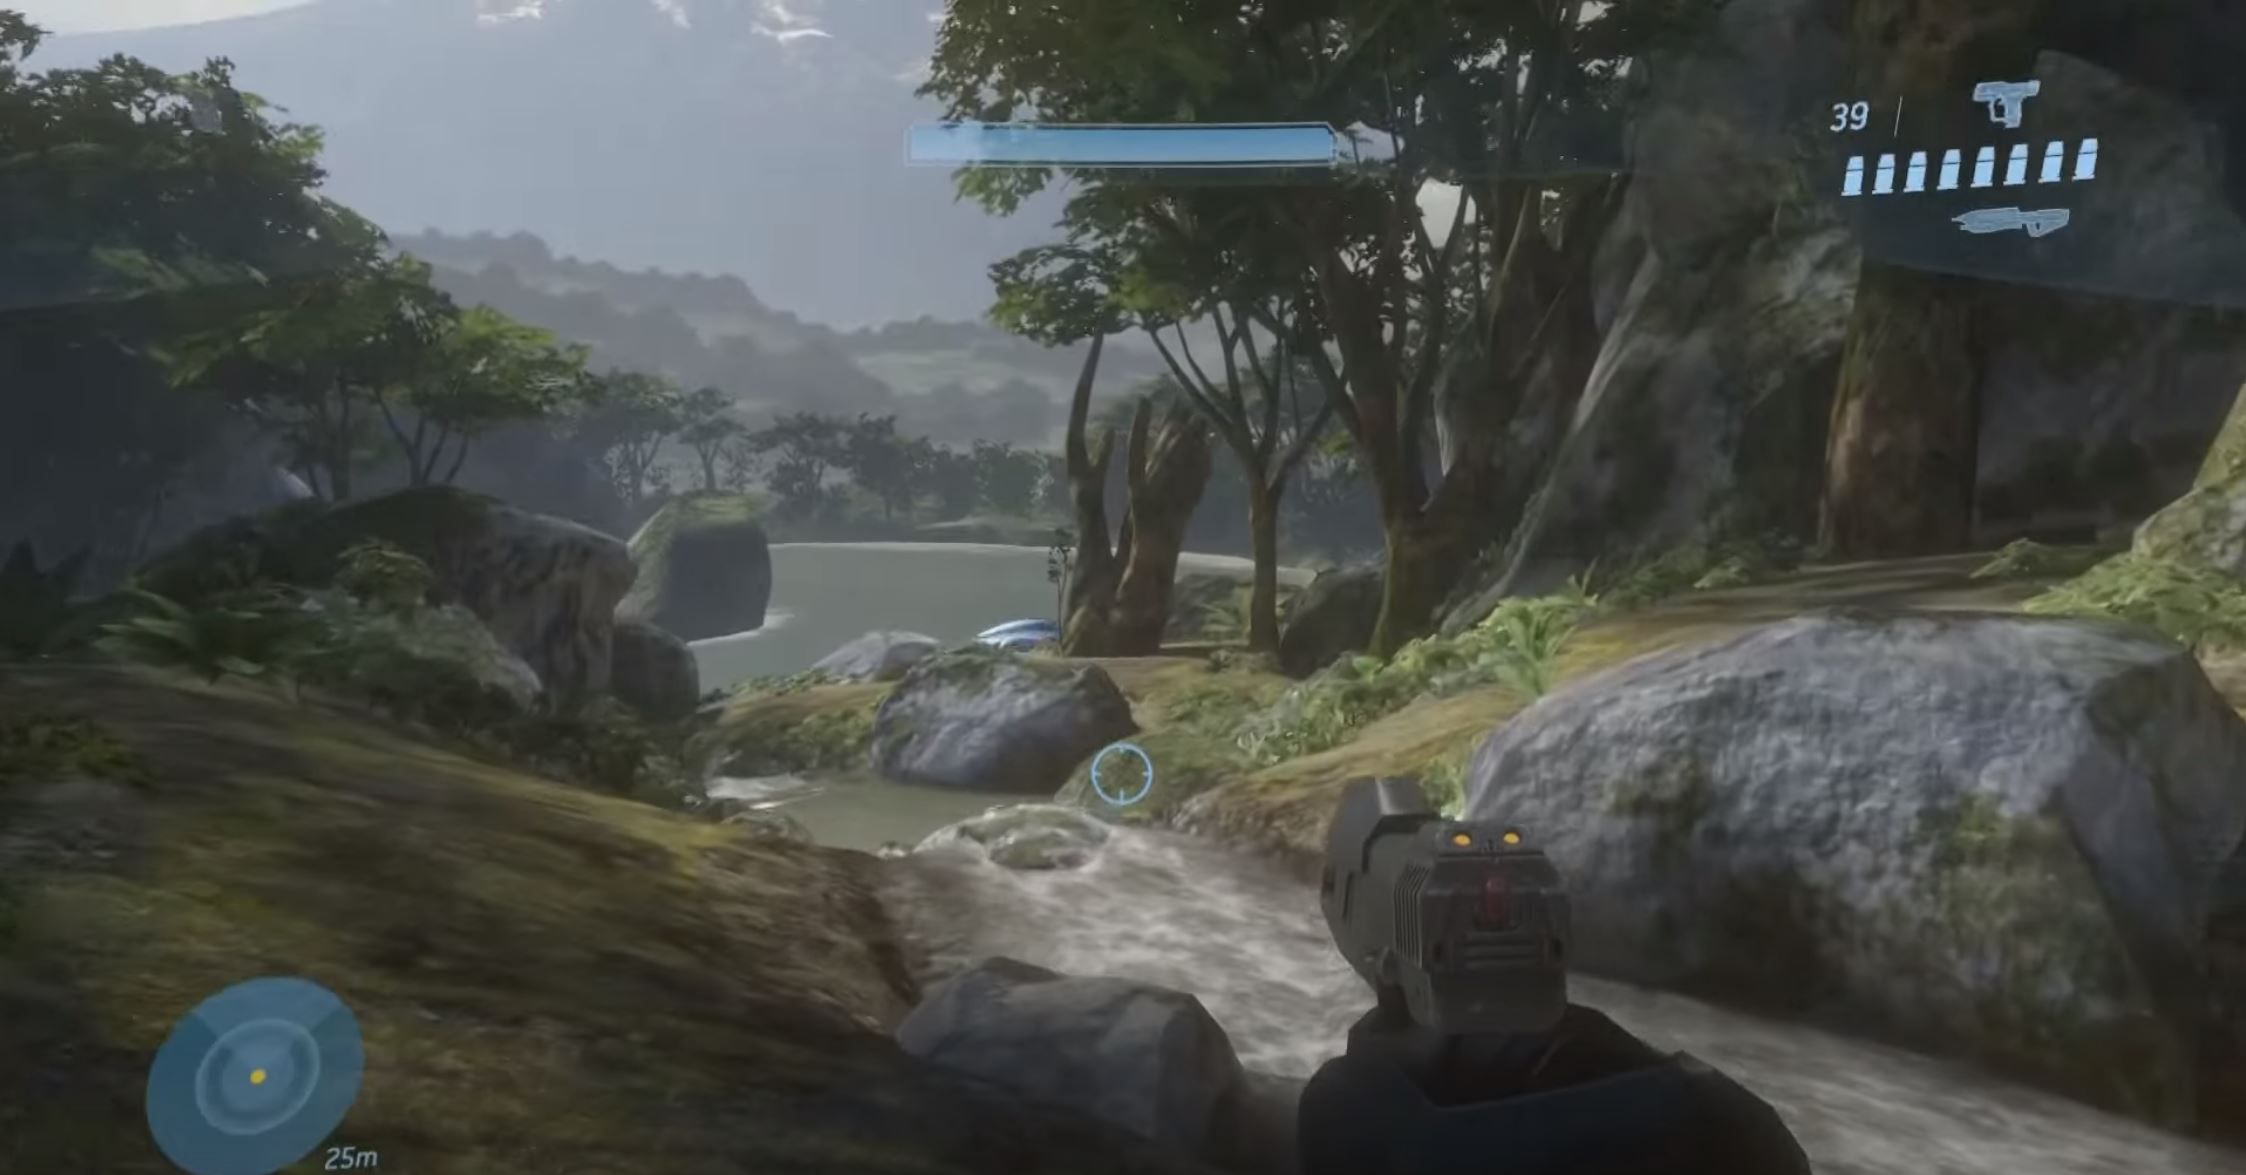
The first skull of the game, “Blind” can be found after the first fight in Sierra 117, at the far end of the area. After you’ve cleared out the area pictured below, walk to the far right corner of the area near the water, and “Blind” can be round sitting on a rock.
The skull disables your HUD, so you can’t see your reticle, gun, ammo, health or radar.
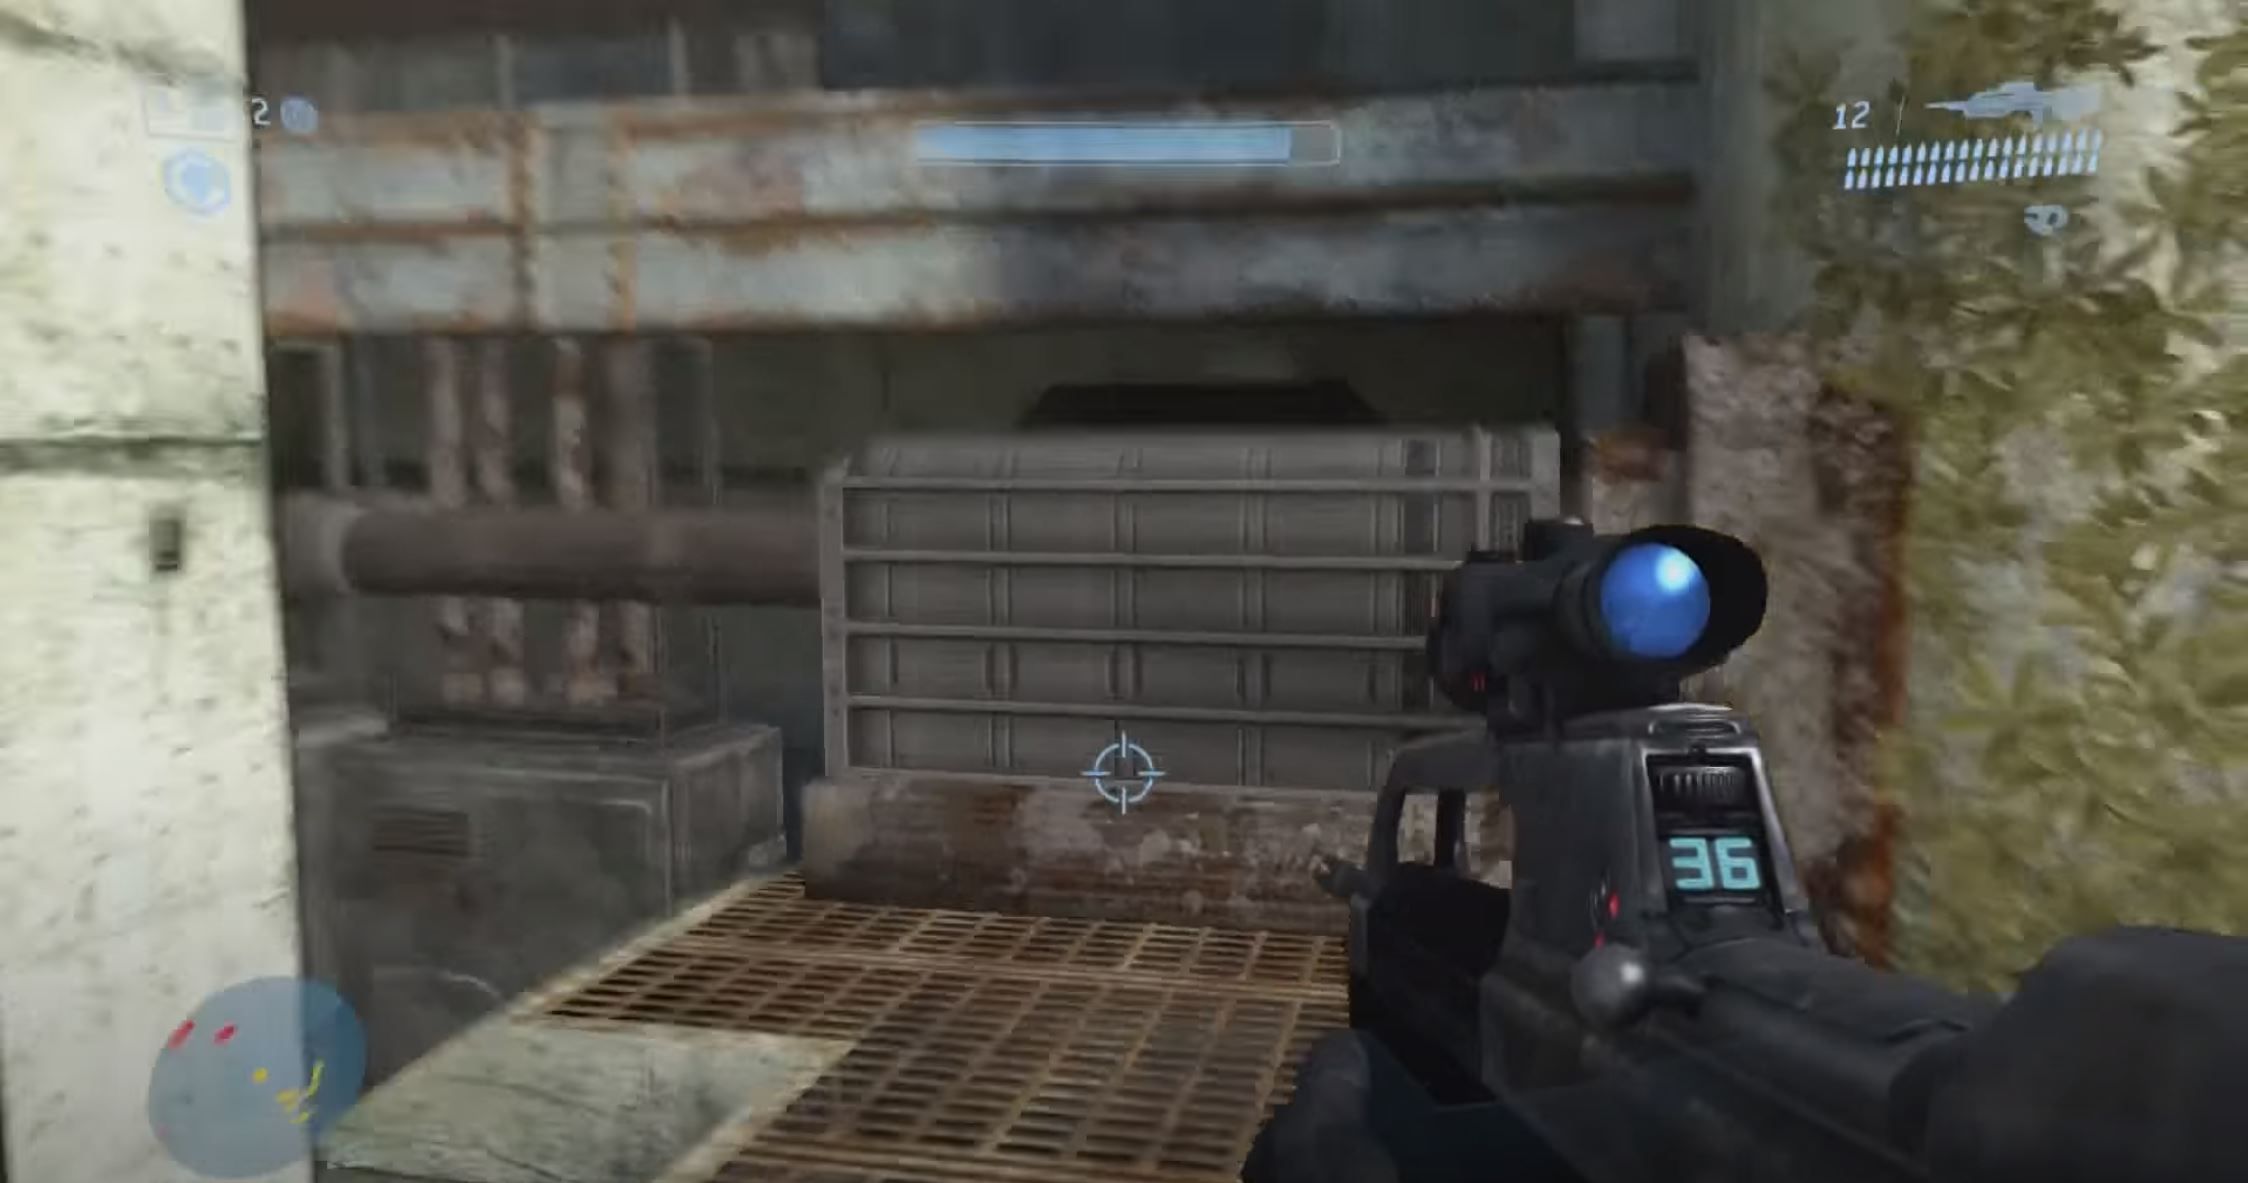
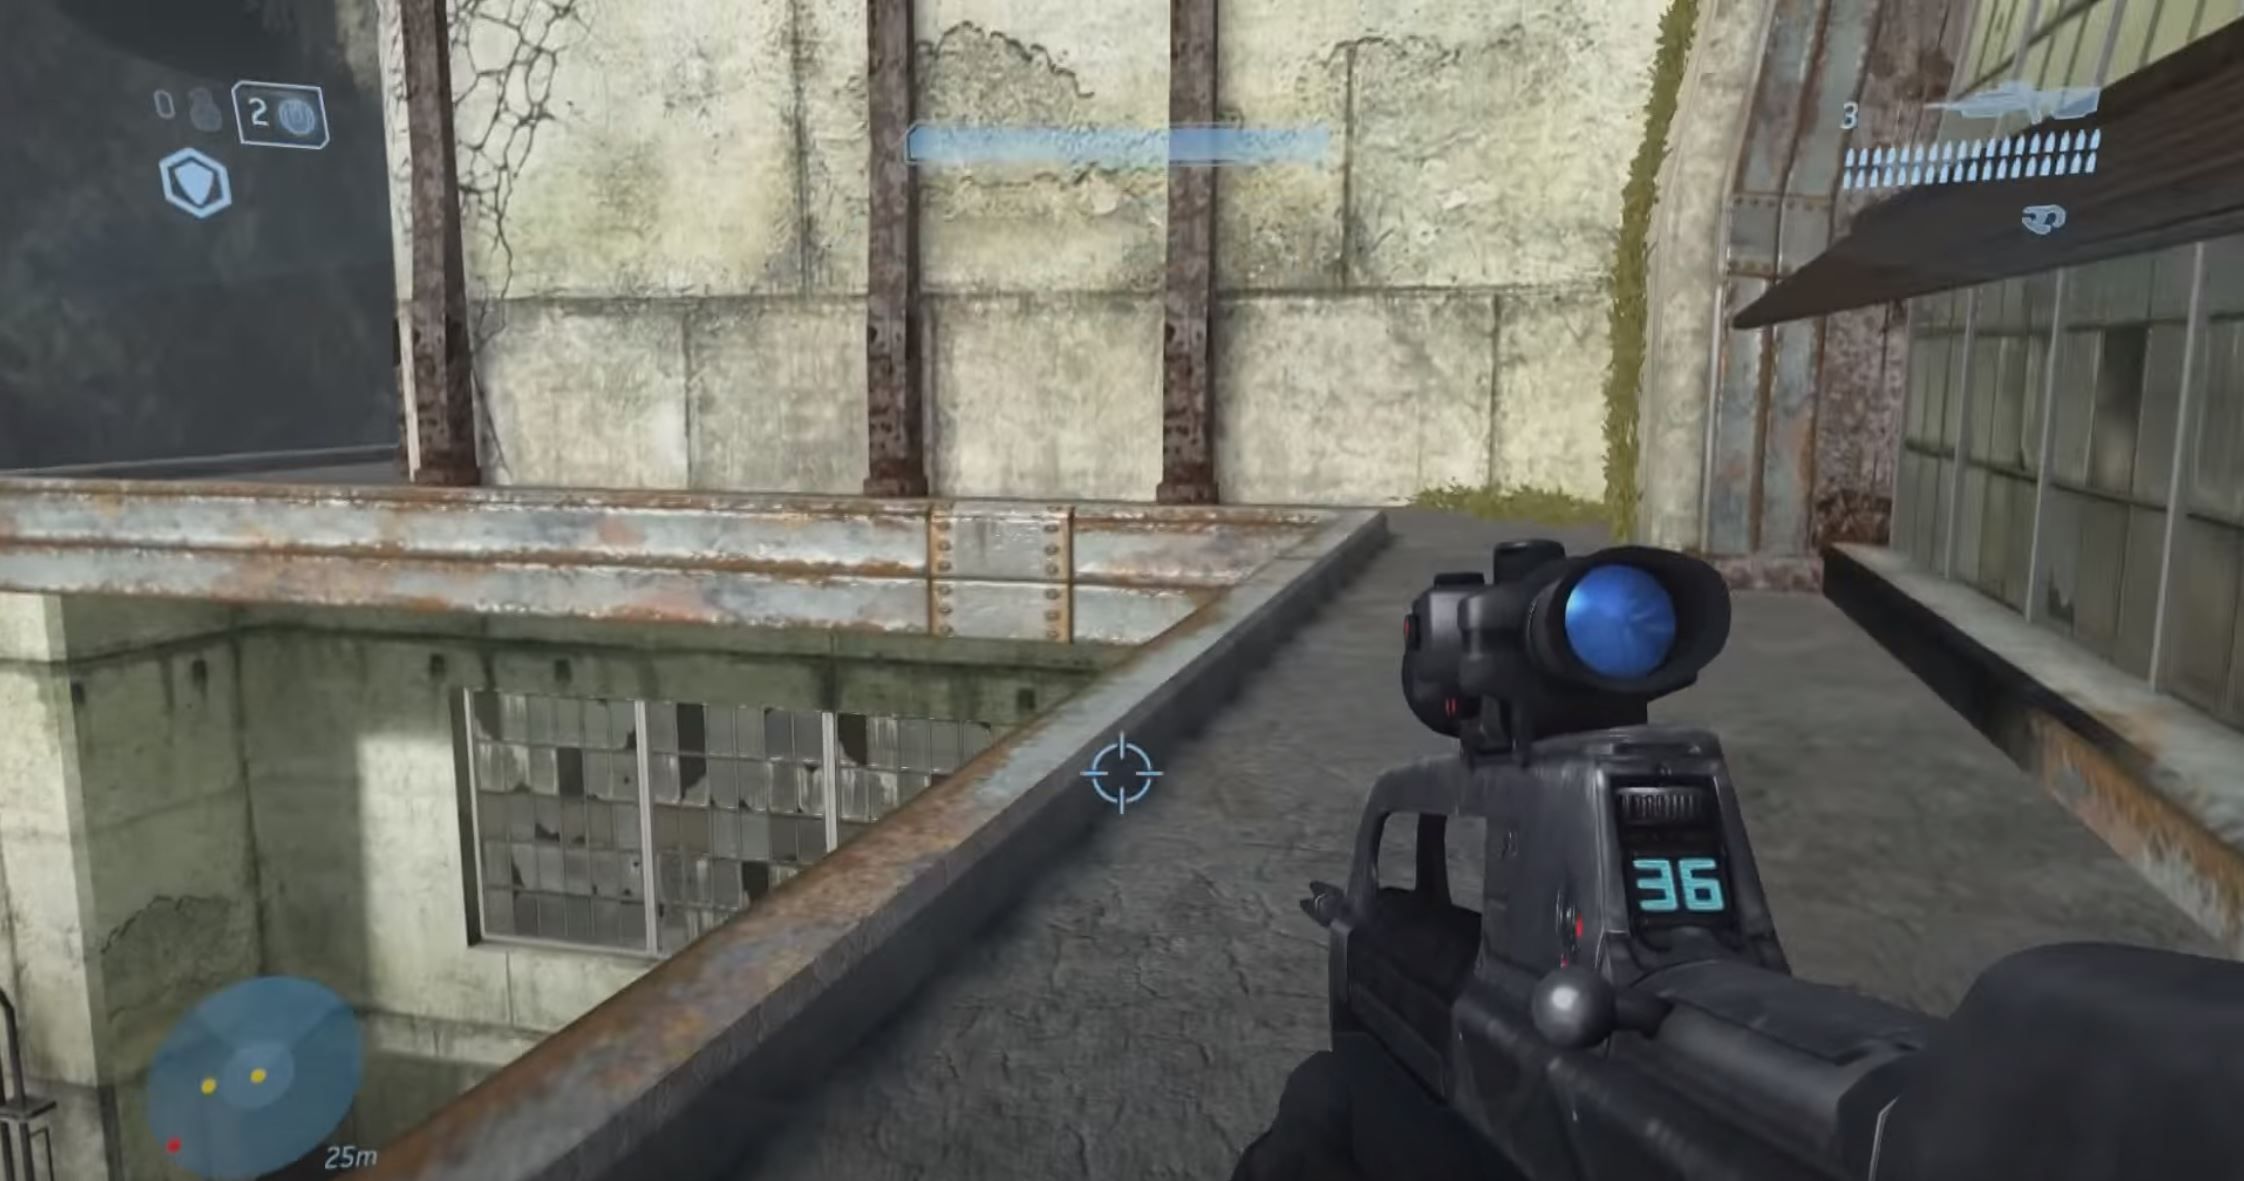
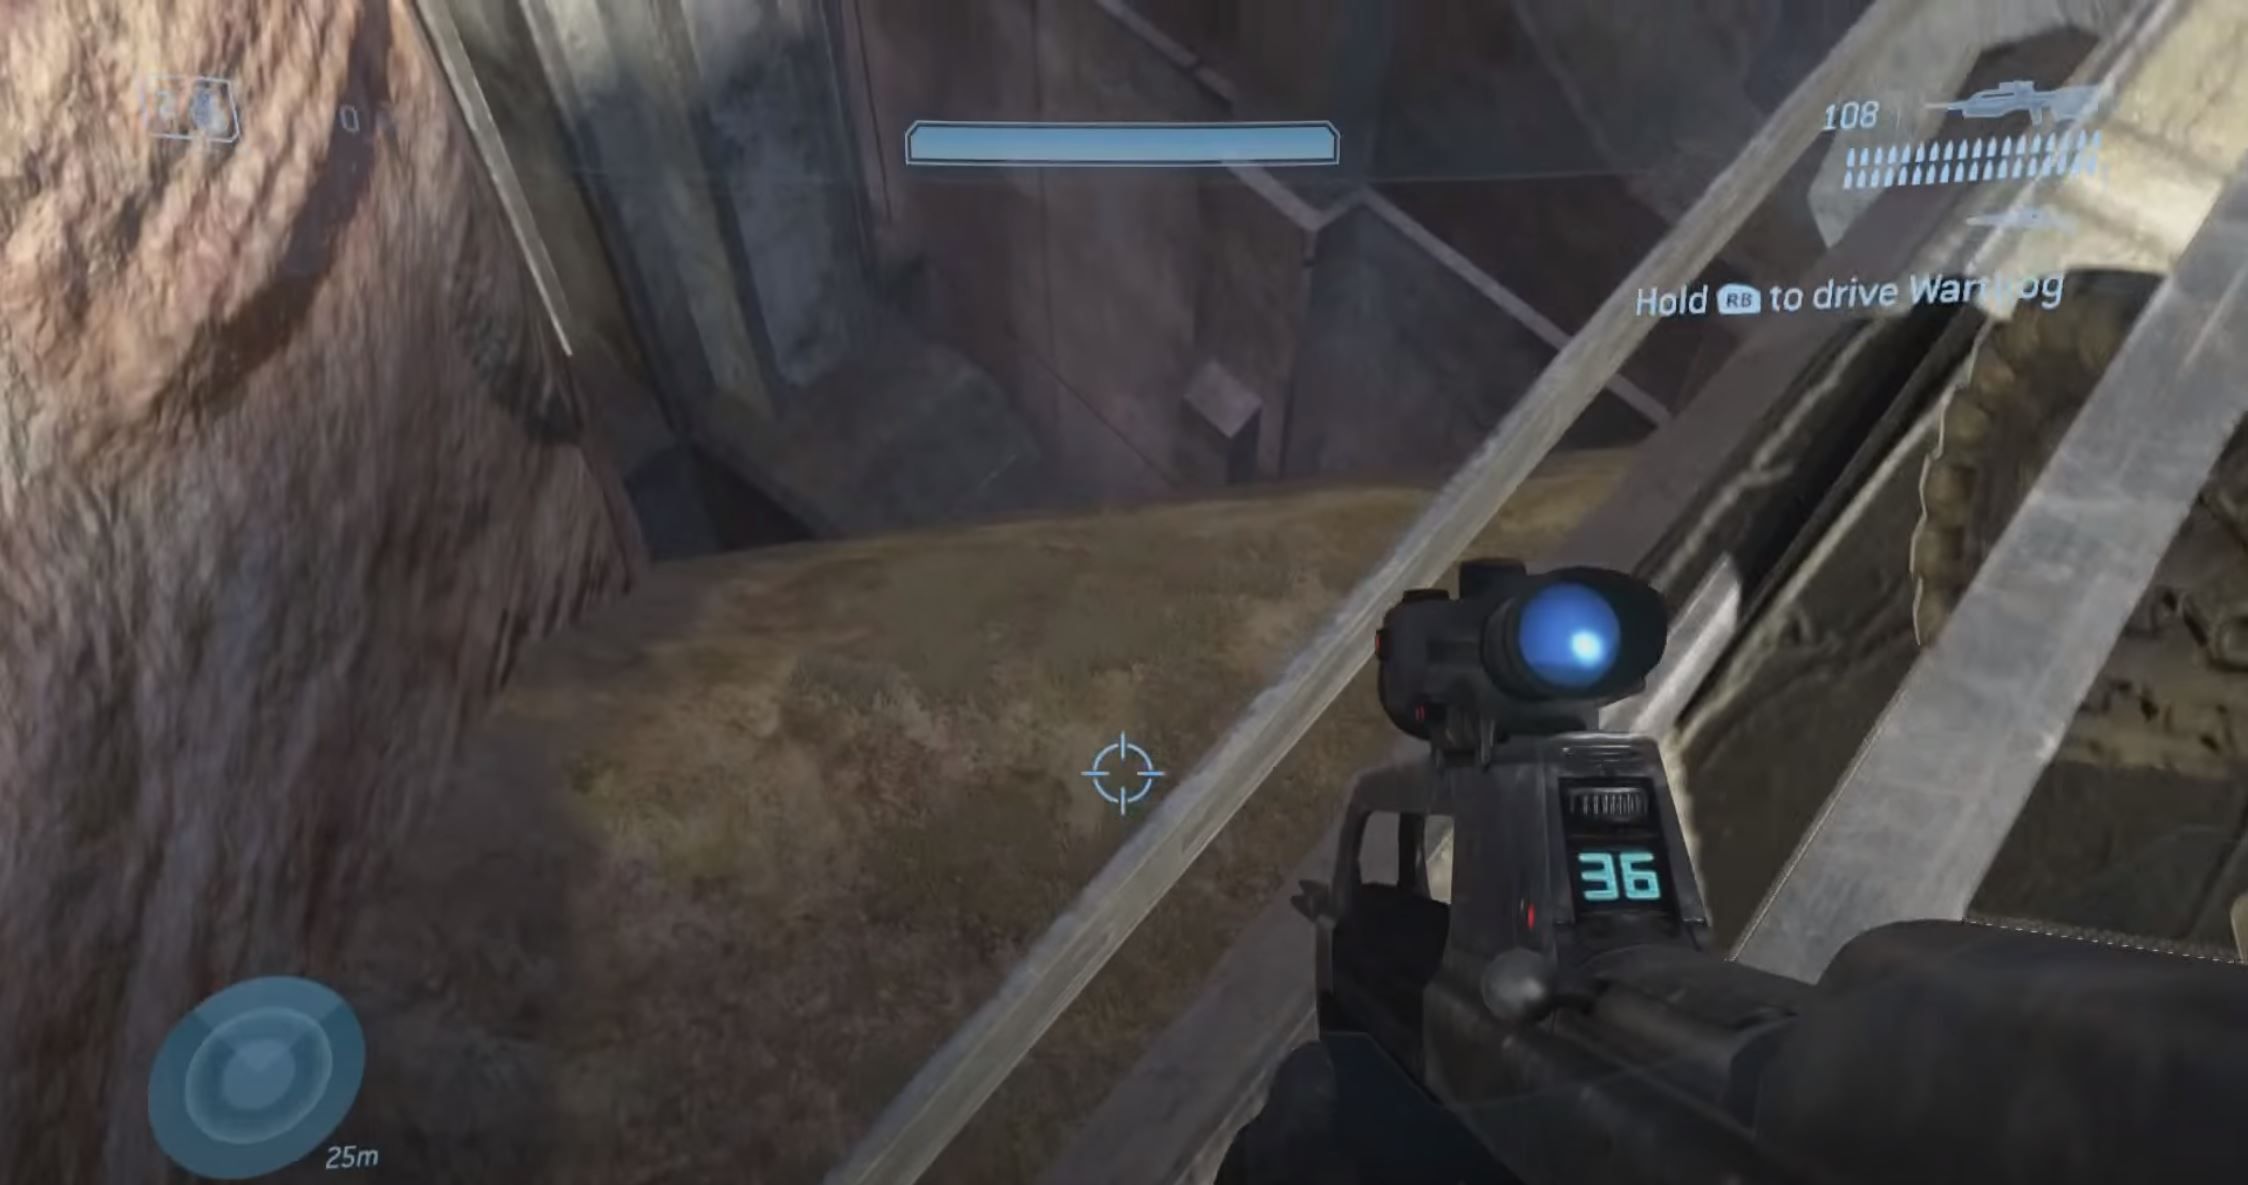
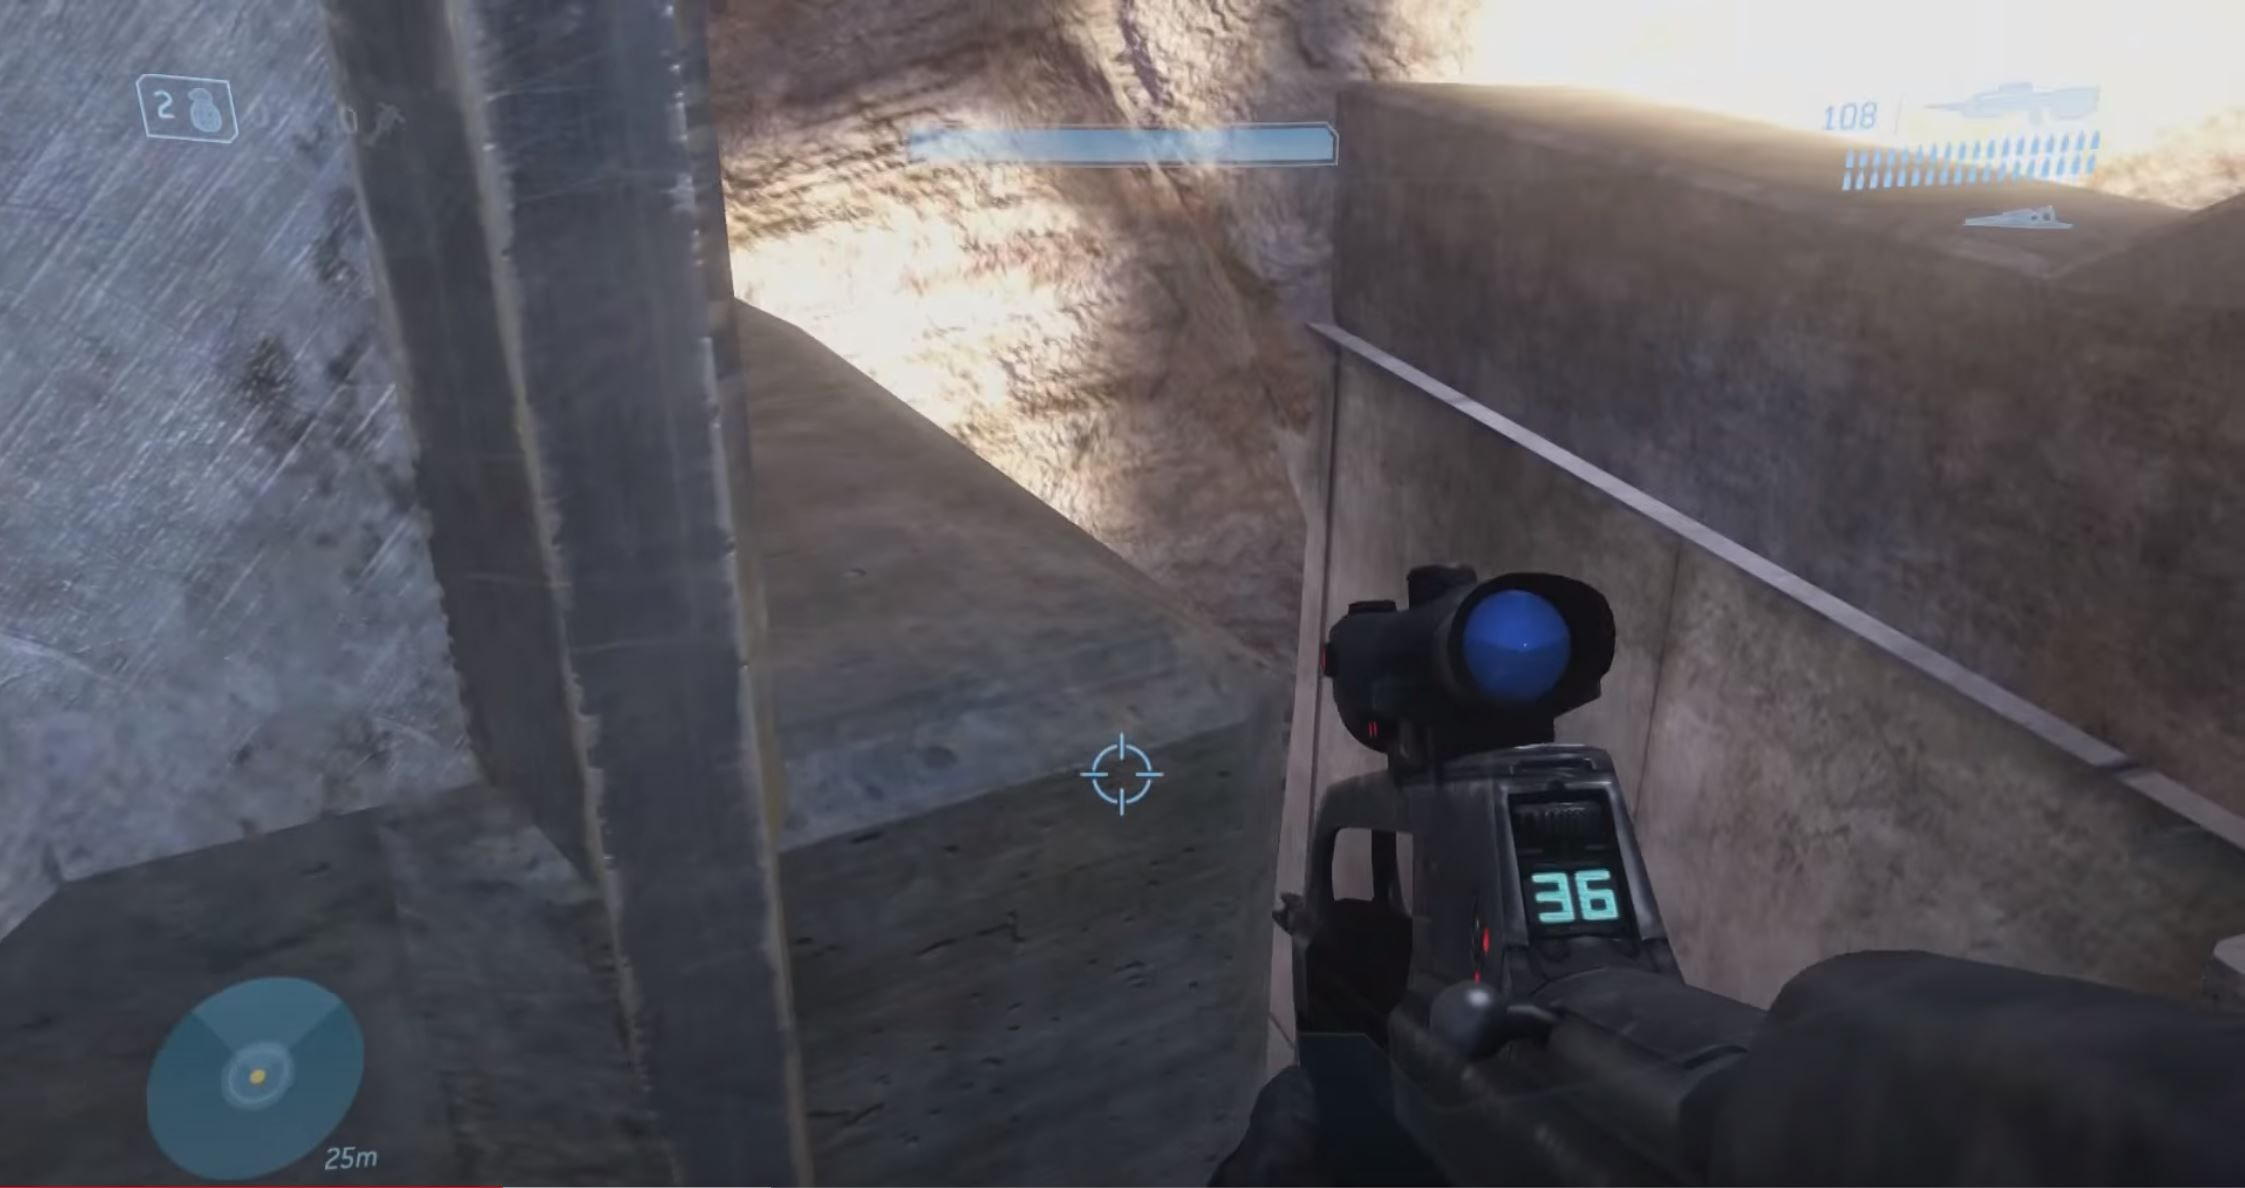
The second skull of the level, “Iron” is at the very end of the level, when you have to rescue Sergeant Johnson and the marines from captivity. When you cross the dam, stay on the right ledge and you will come to a crate pictured below, which you can use to jump up onto the upper ledge.
Follow this ledge all the way around and you will find the skull tucked away in a corner.
This skull makes it so the level restarts upon deaths in solo play, but resets the checkpoint upon one player’s death in cooperative play.
Crow’s Nest
Black Eye & Grunt Birthday Party
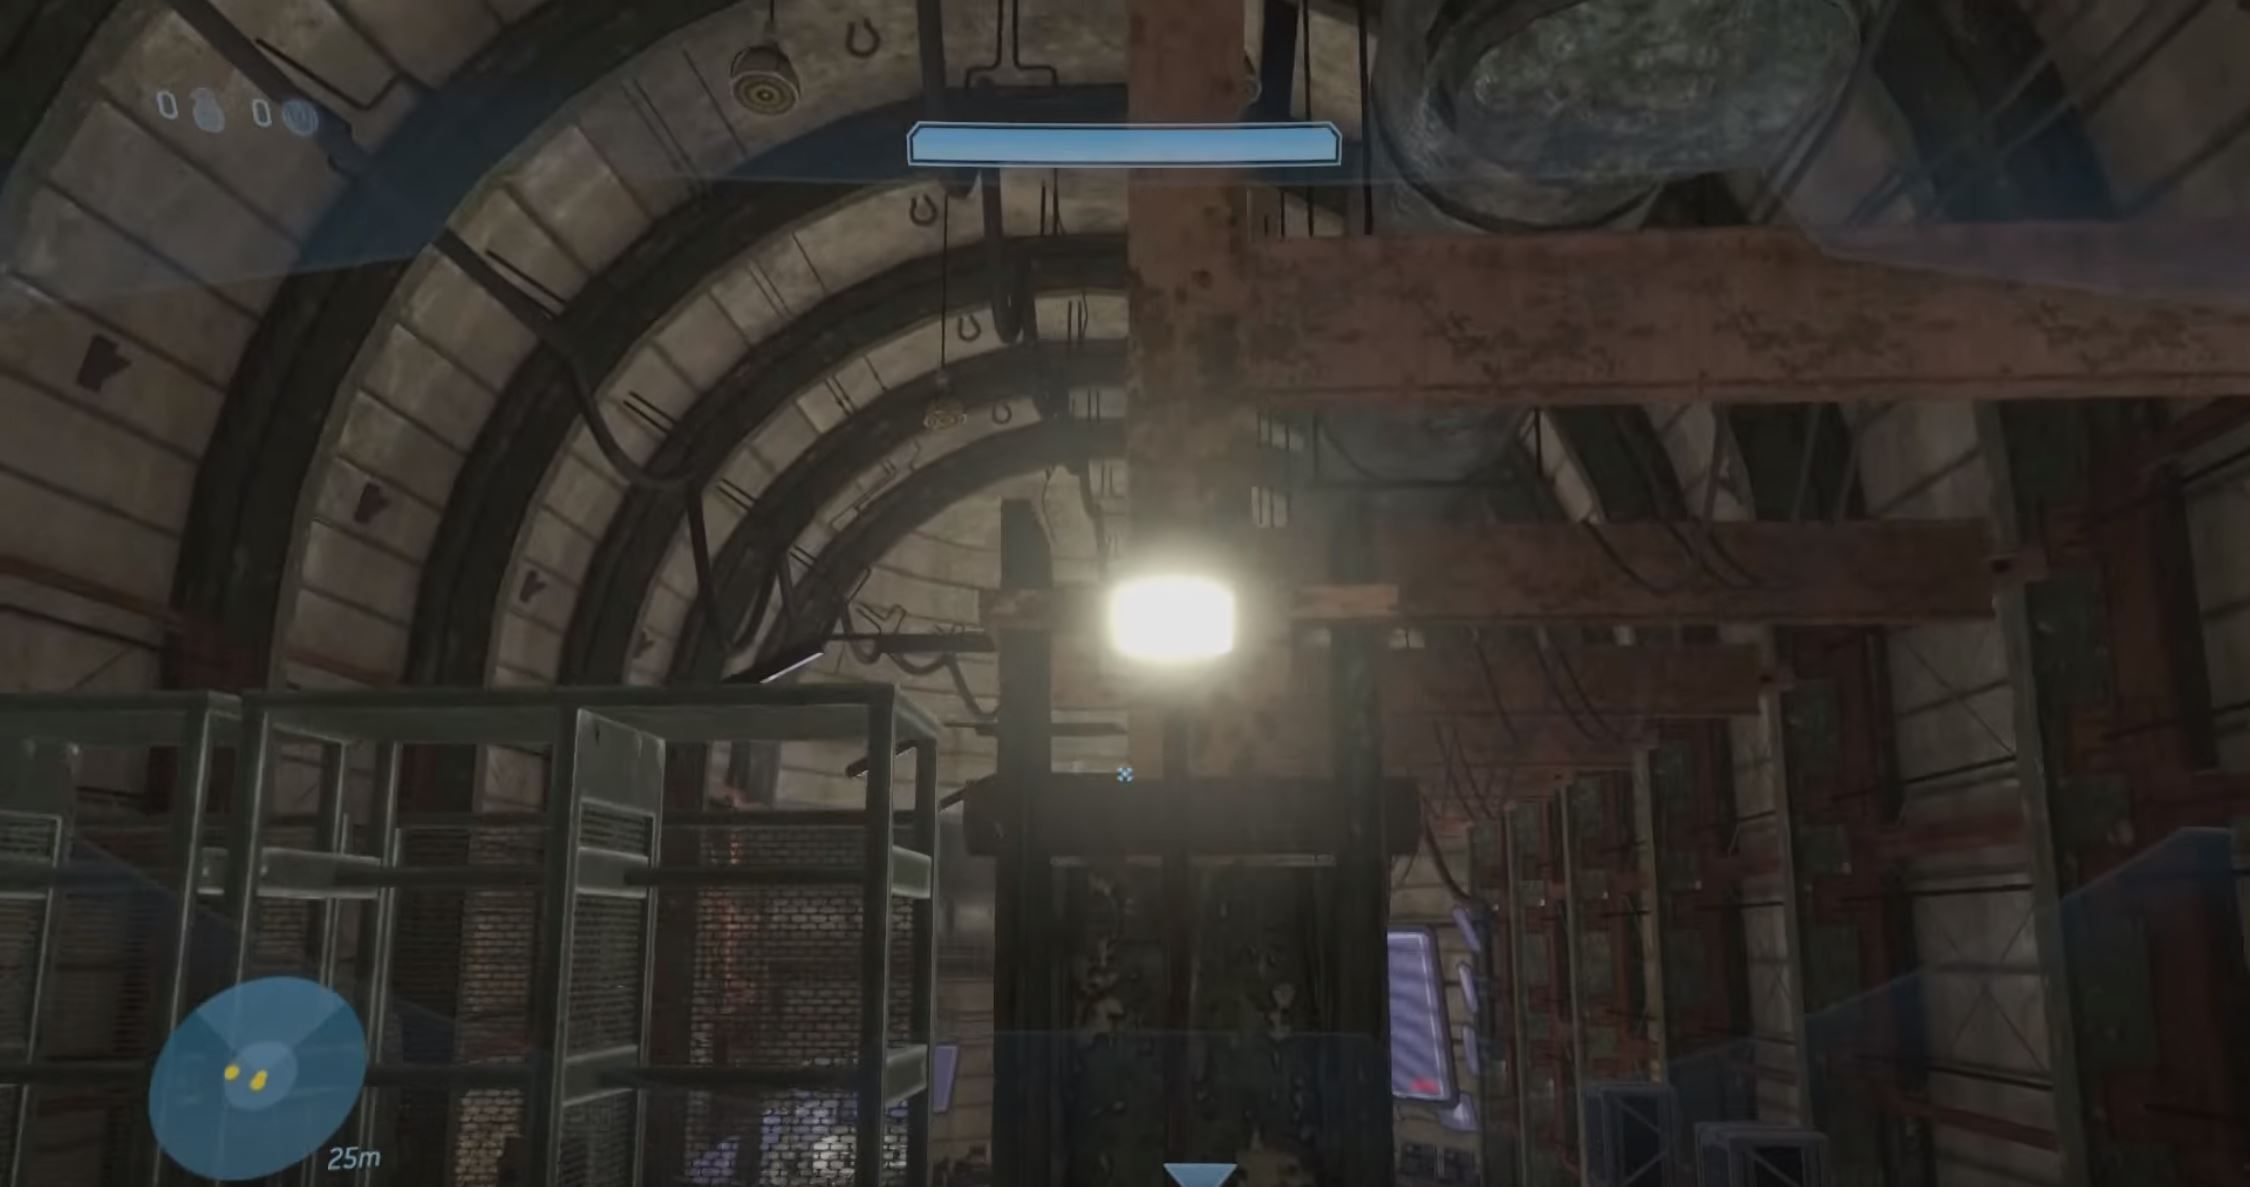
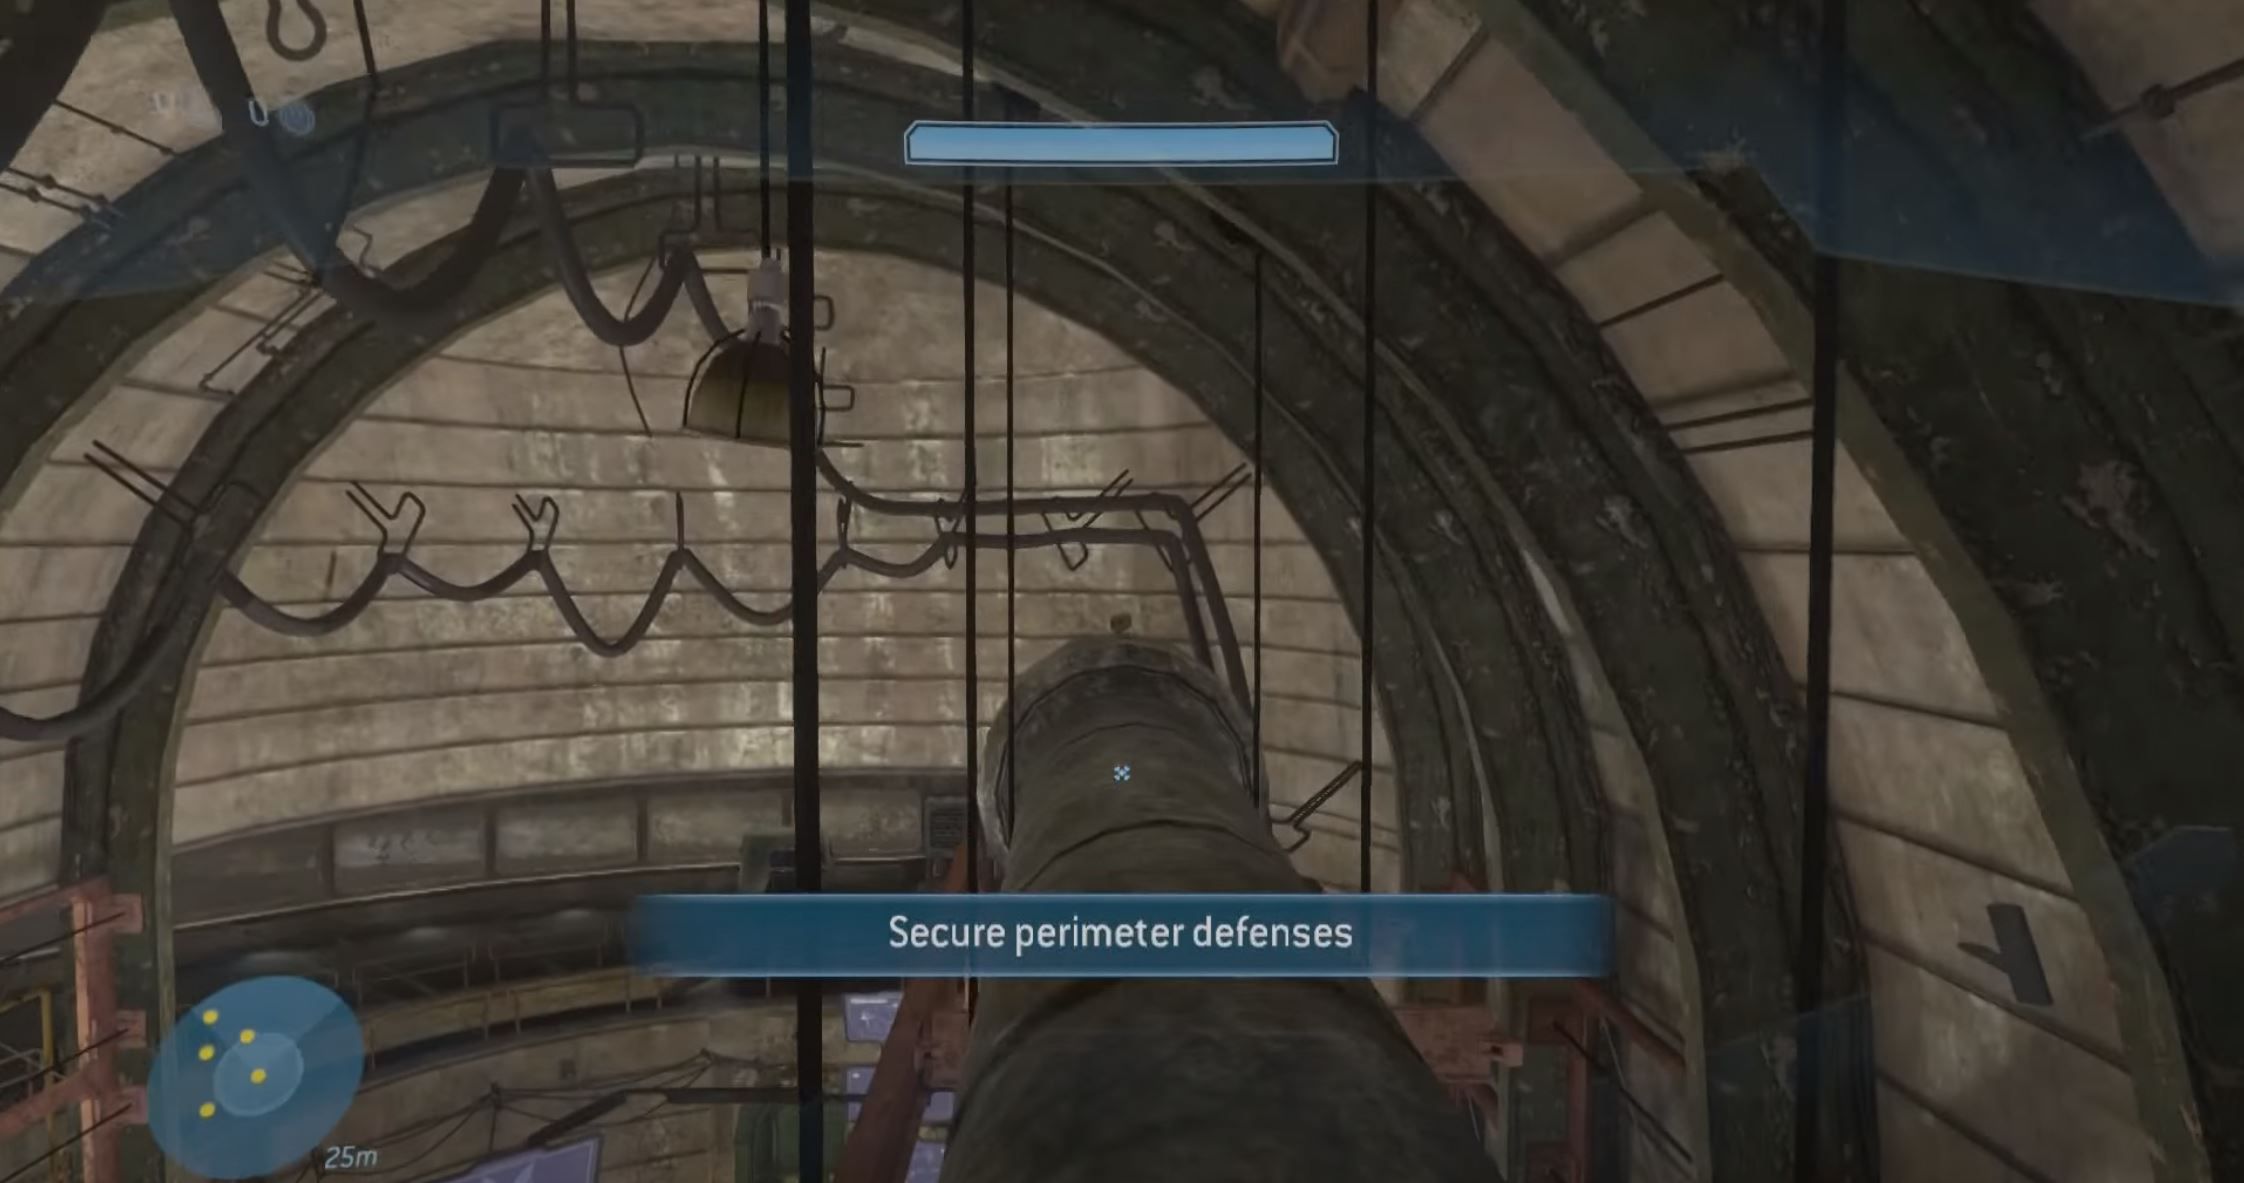
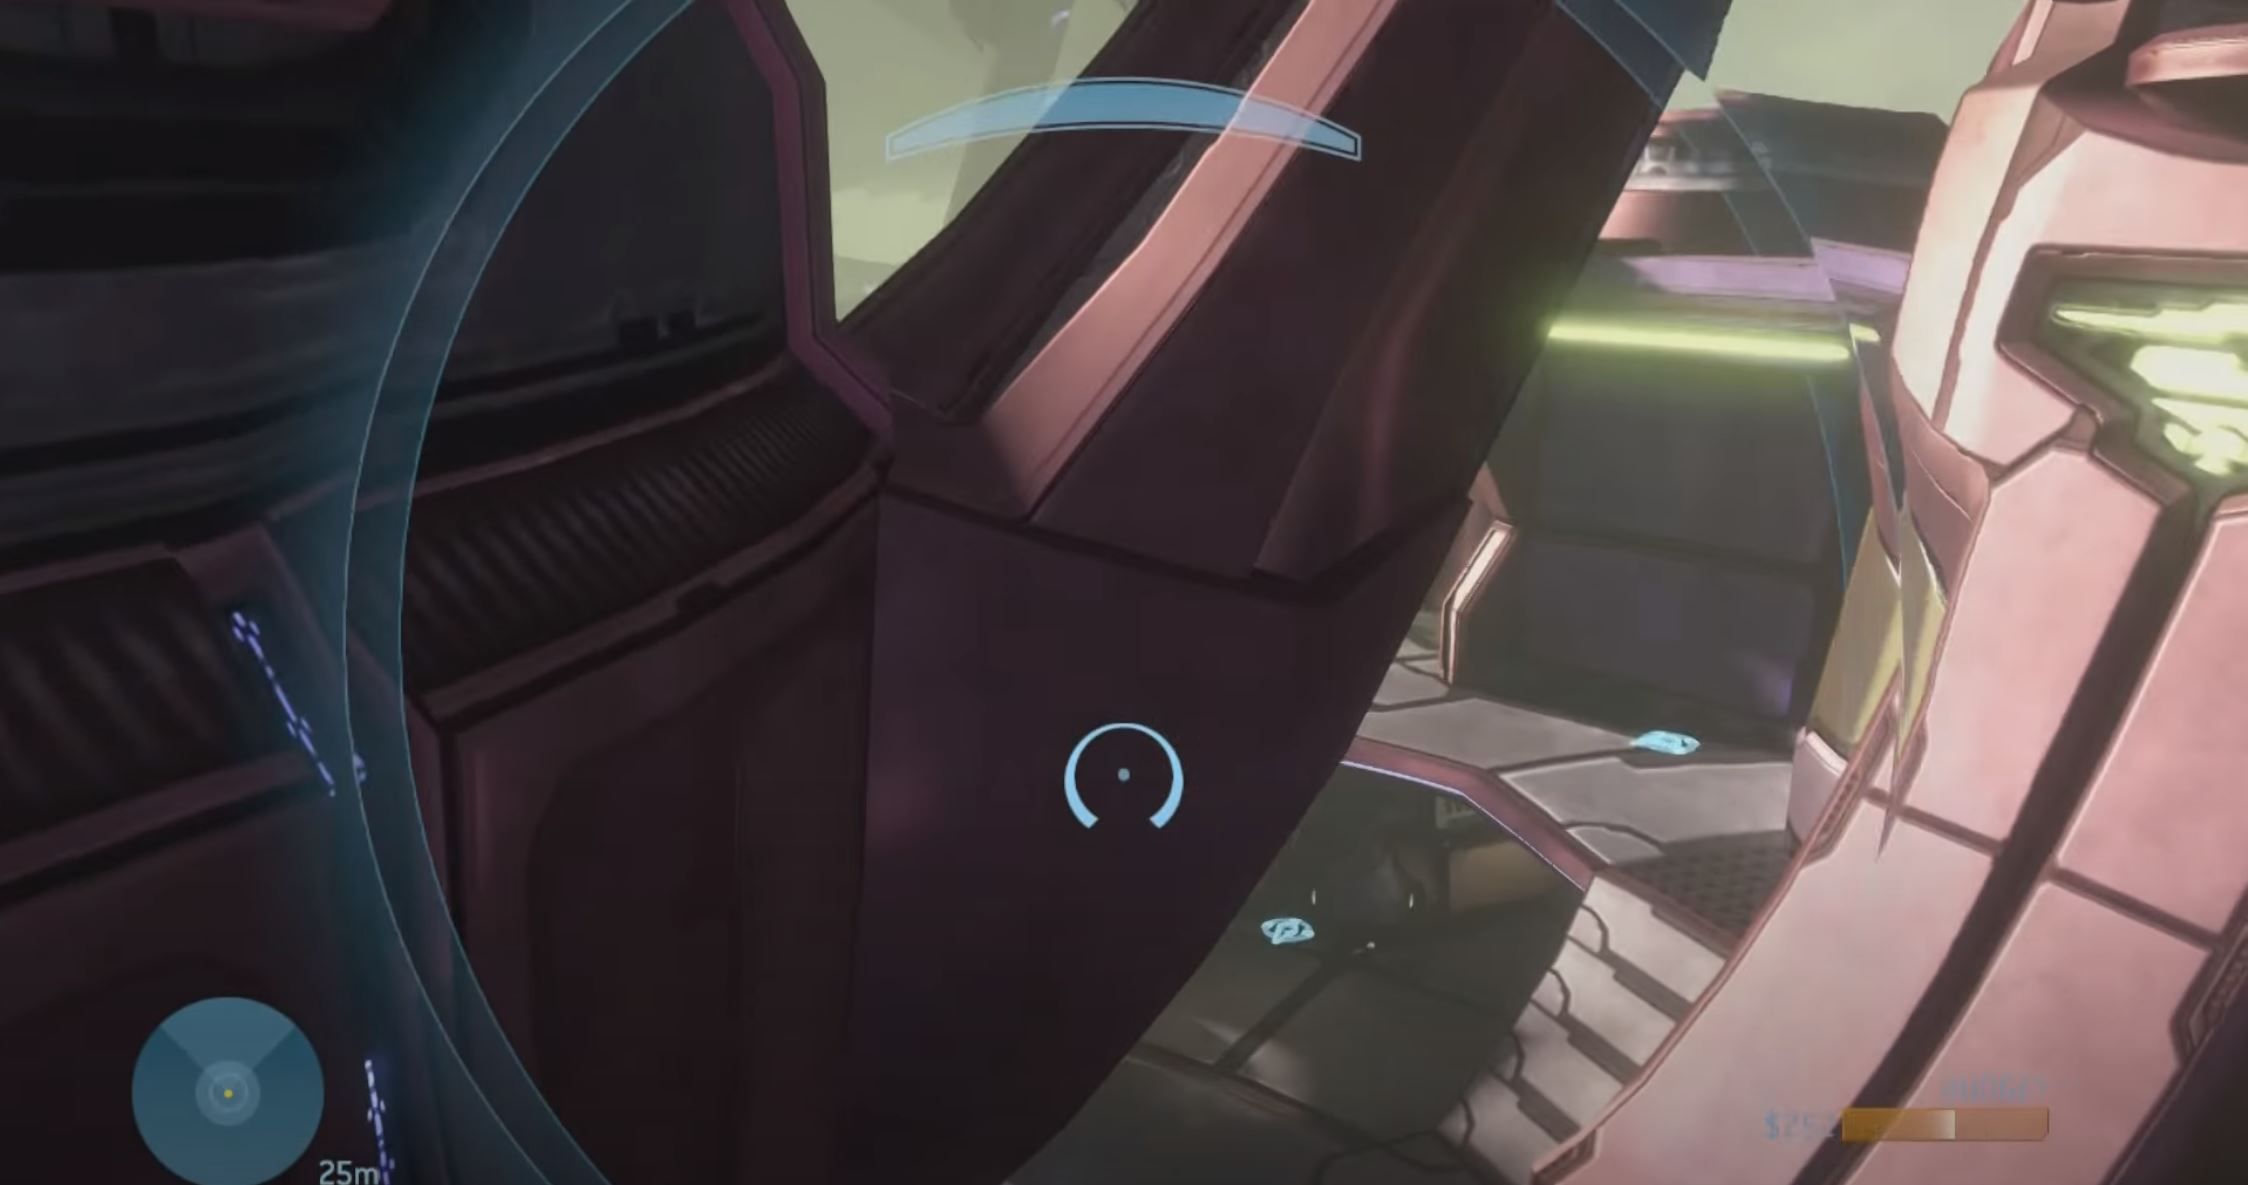
The “Black Eye” skull can be found at the very beginning of Crow’s Nest, in the spawning room. Head to the far end of the room and turn around. You should see some shelves behind you that you can jump up. Do so, then hop onto the curved part of the red girder above you.
Hop up onto the pipe to your right and walk to the end of it to find the skull waiting for you.
This skull makes it so you can only regenerate shields by meleeing enemies.
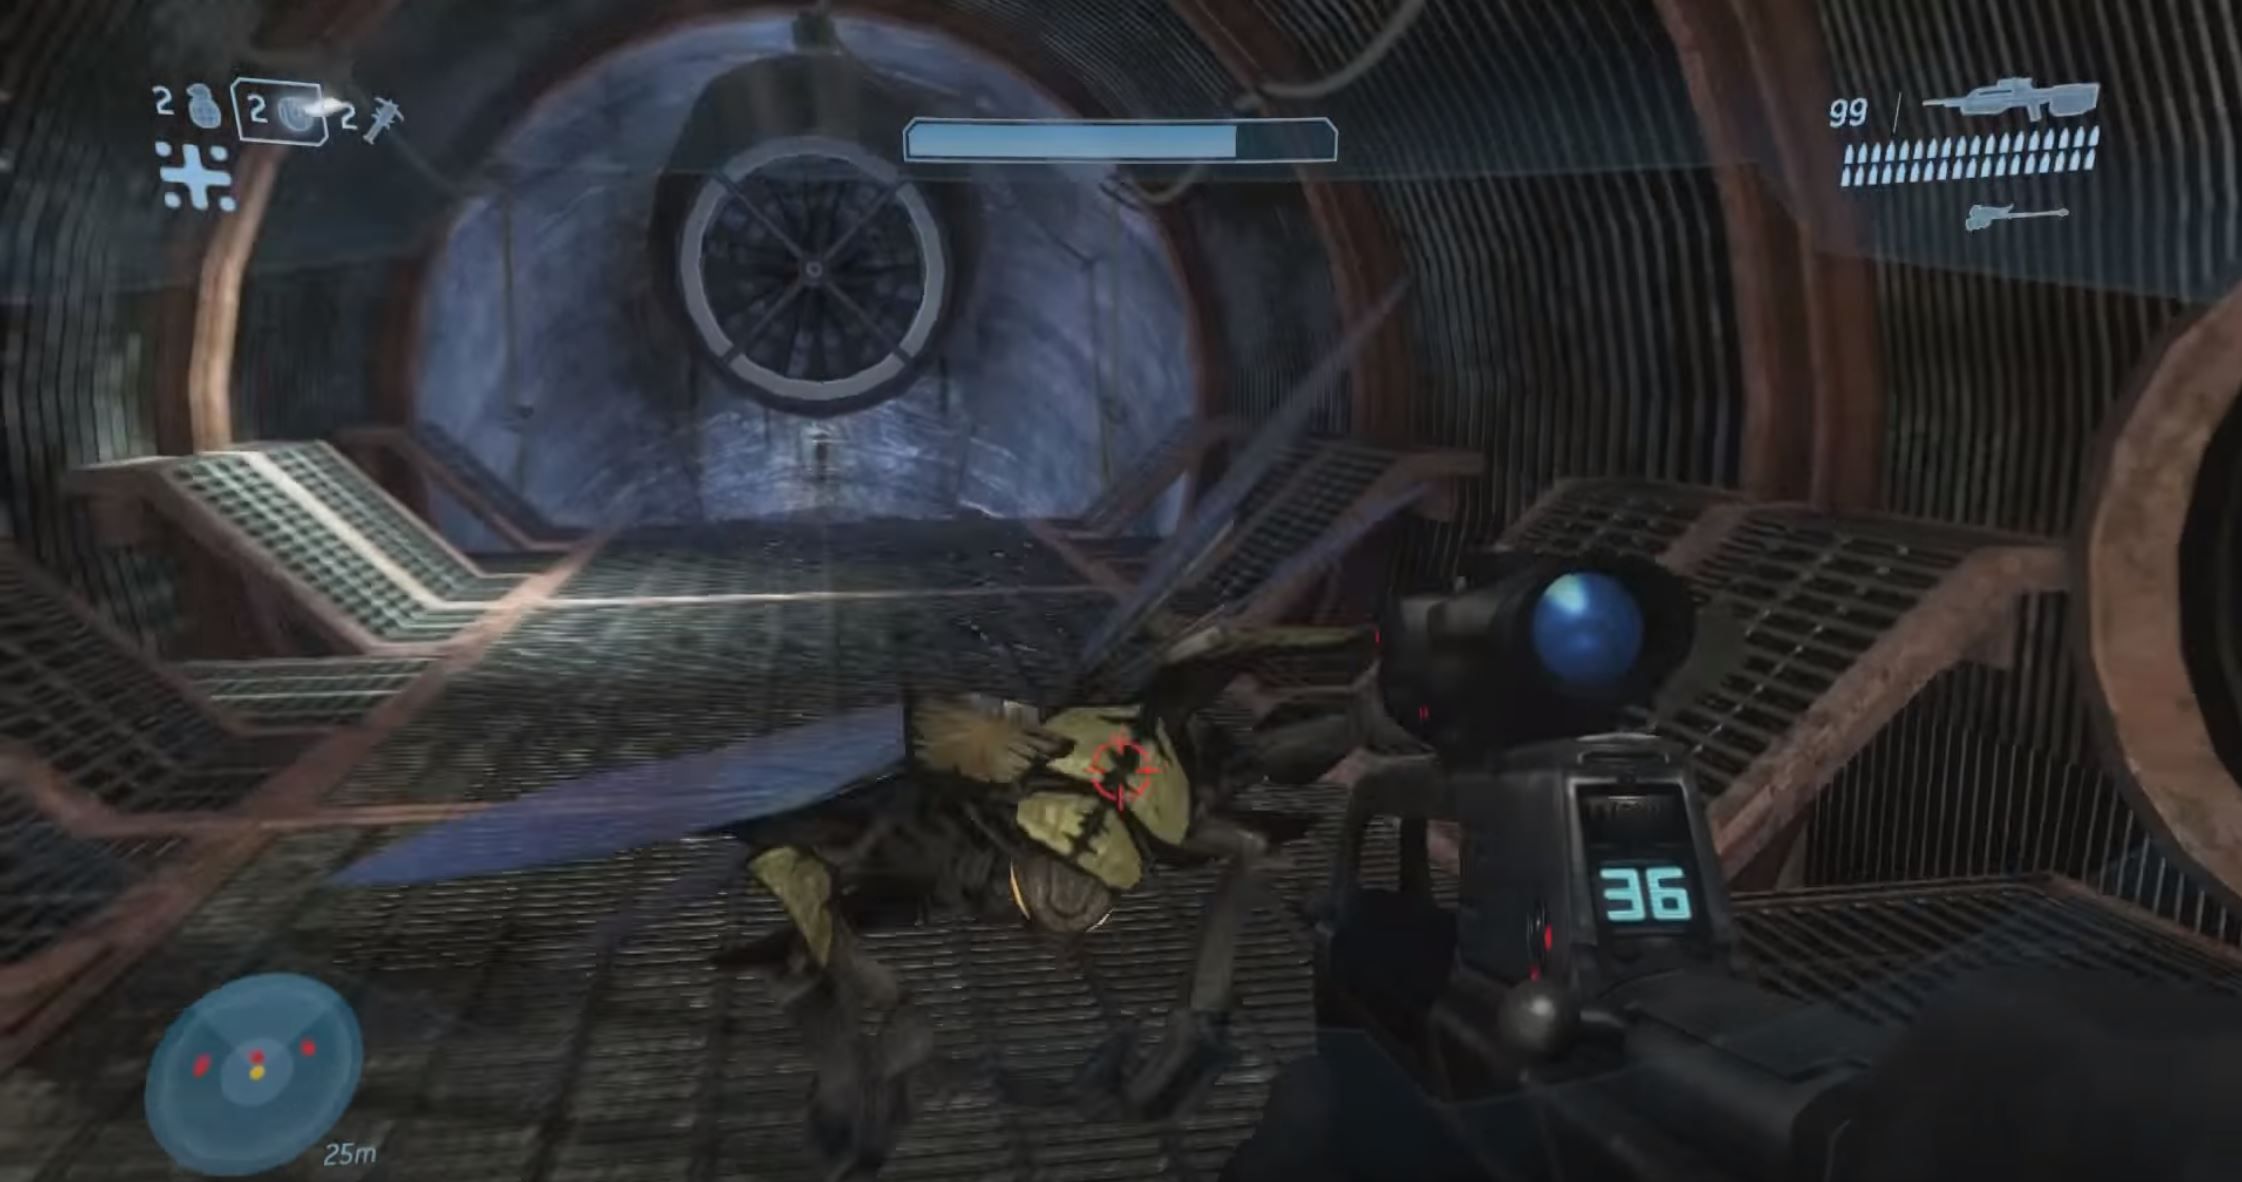
Further into the level, after taking out the Chieftain and his brute pals, you will drop down into a vent area with drones flying back and forth.
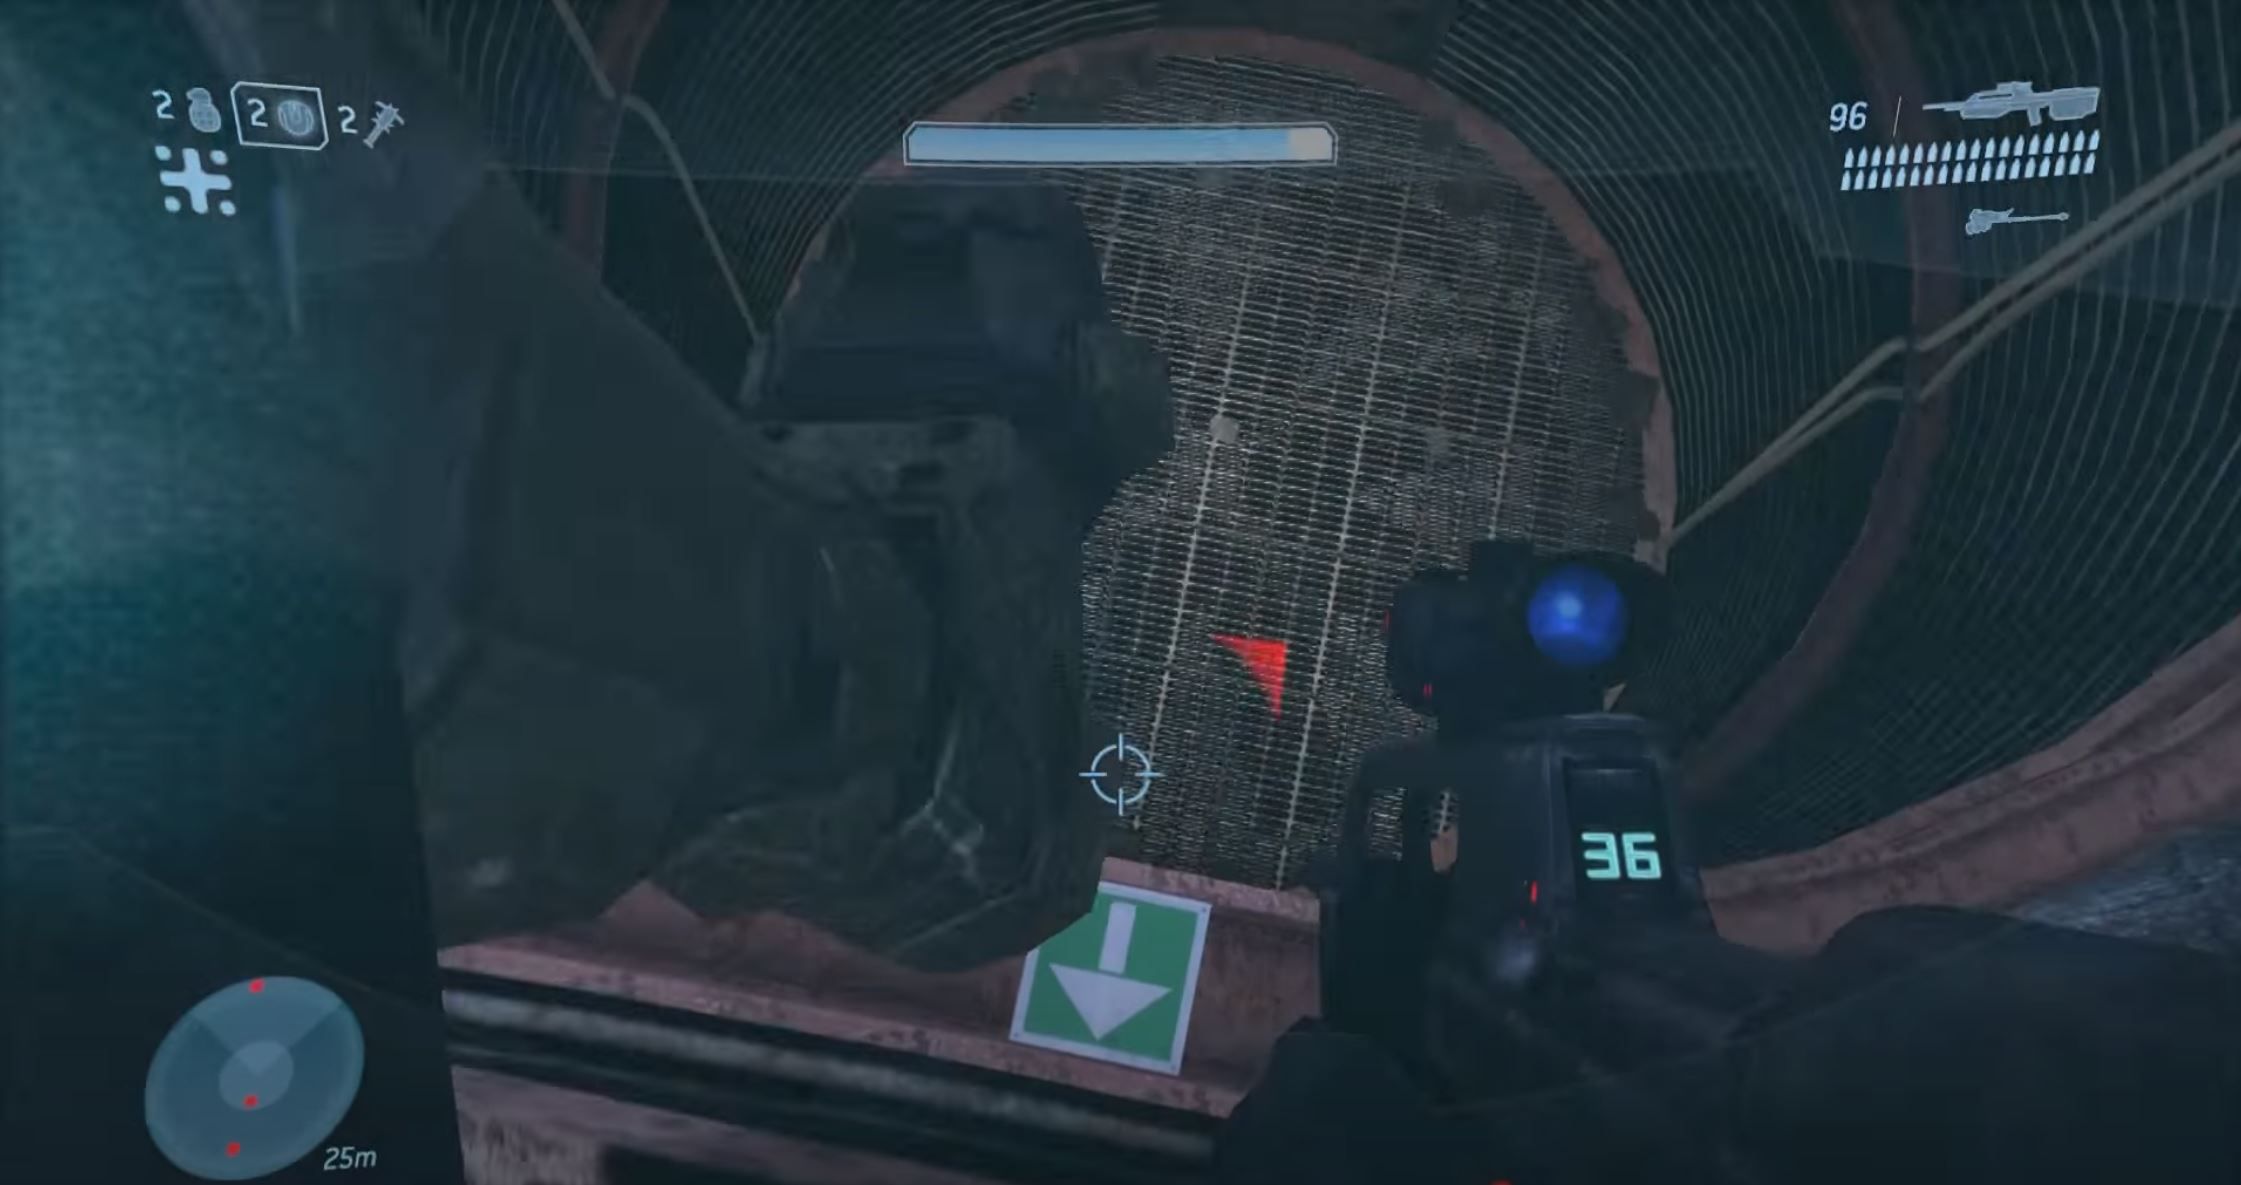
Walk to the very end of this vent but do not drop down. Instead, inch yourself ever so slowly over the edge. You should see a green arrow beneath you, which you want to land on. Tease over the side then immediately hold back to drop into the lower part of the vent, where the skull can be found behind you.
This skull makes it so grunts explode into confetti and cheering when they are killed with headshots.
Tsavo Highway
Tough Luck
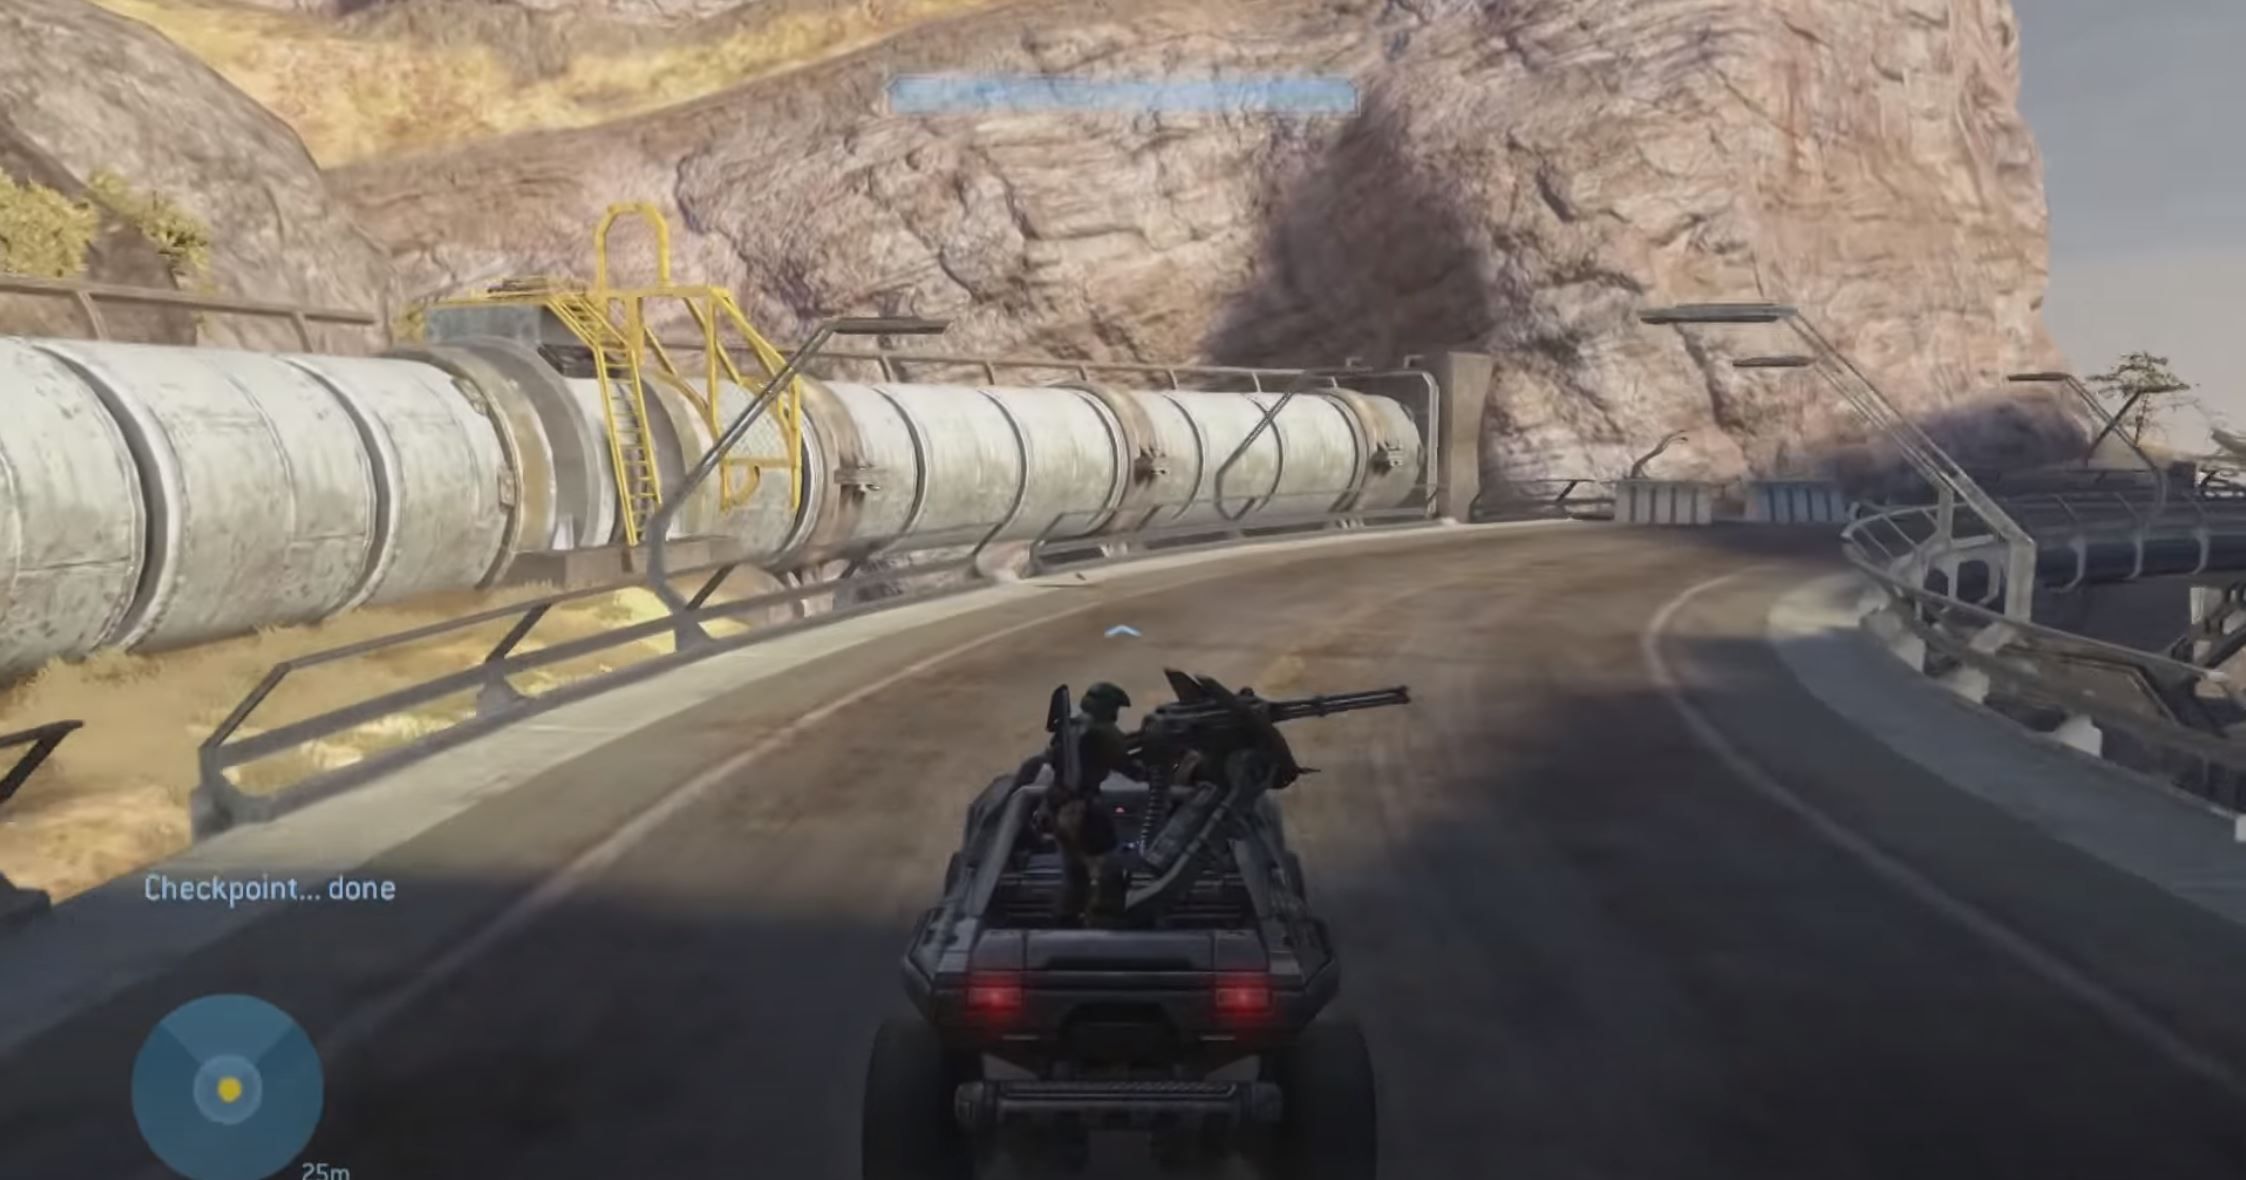
Plow through the level until you reach the first bridge section. Get out of your warthog once you reach the yellow ladder, pictured below.
Hop over the side of the bridge, down onto the ground beneath you, then head to the large pillar in front of you.
From the close side of the pillar, carefully jump around to the opposite side, where you should be able to see the skull on a rock, hanging over the cliffside. Run and jump to reach it.
This skull makes enemies evade your attacks more frequently, while brutes will berserk more commonly and grunts will kamikaze more commonly as well.
The Storm
Catch
The “Catch” skull tends to generate a lot of confusion surrounding it, so to clear things up, you must have beaten the game on Normal difficulty or higher for it to spawn. It can be found on The Storm, often requiring the player to wait a few seconds for it to appear. If it doesn’t appear after 30 seconds, restart the level and try again.
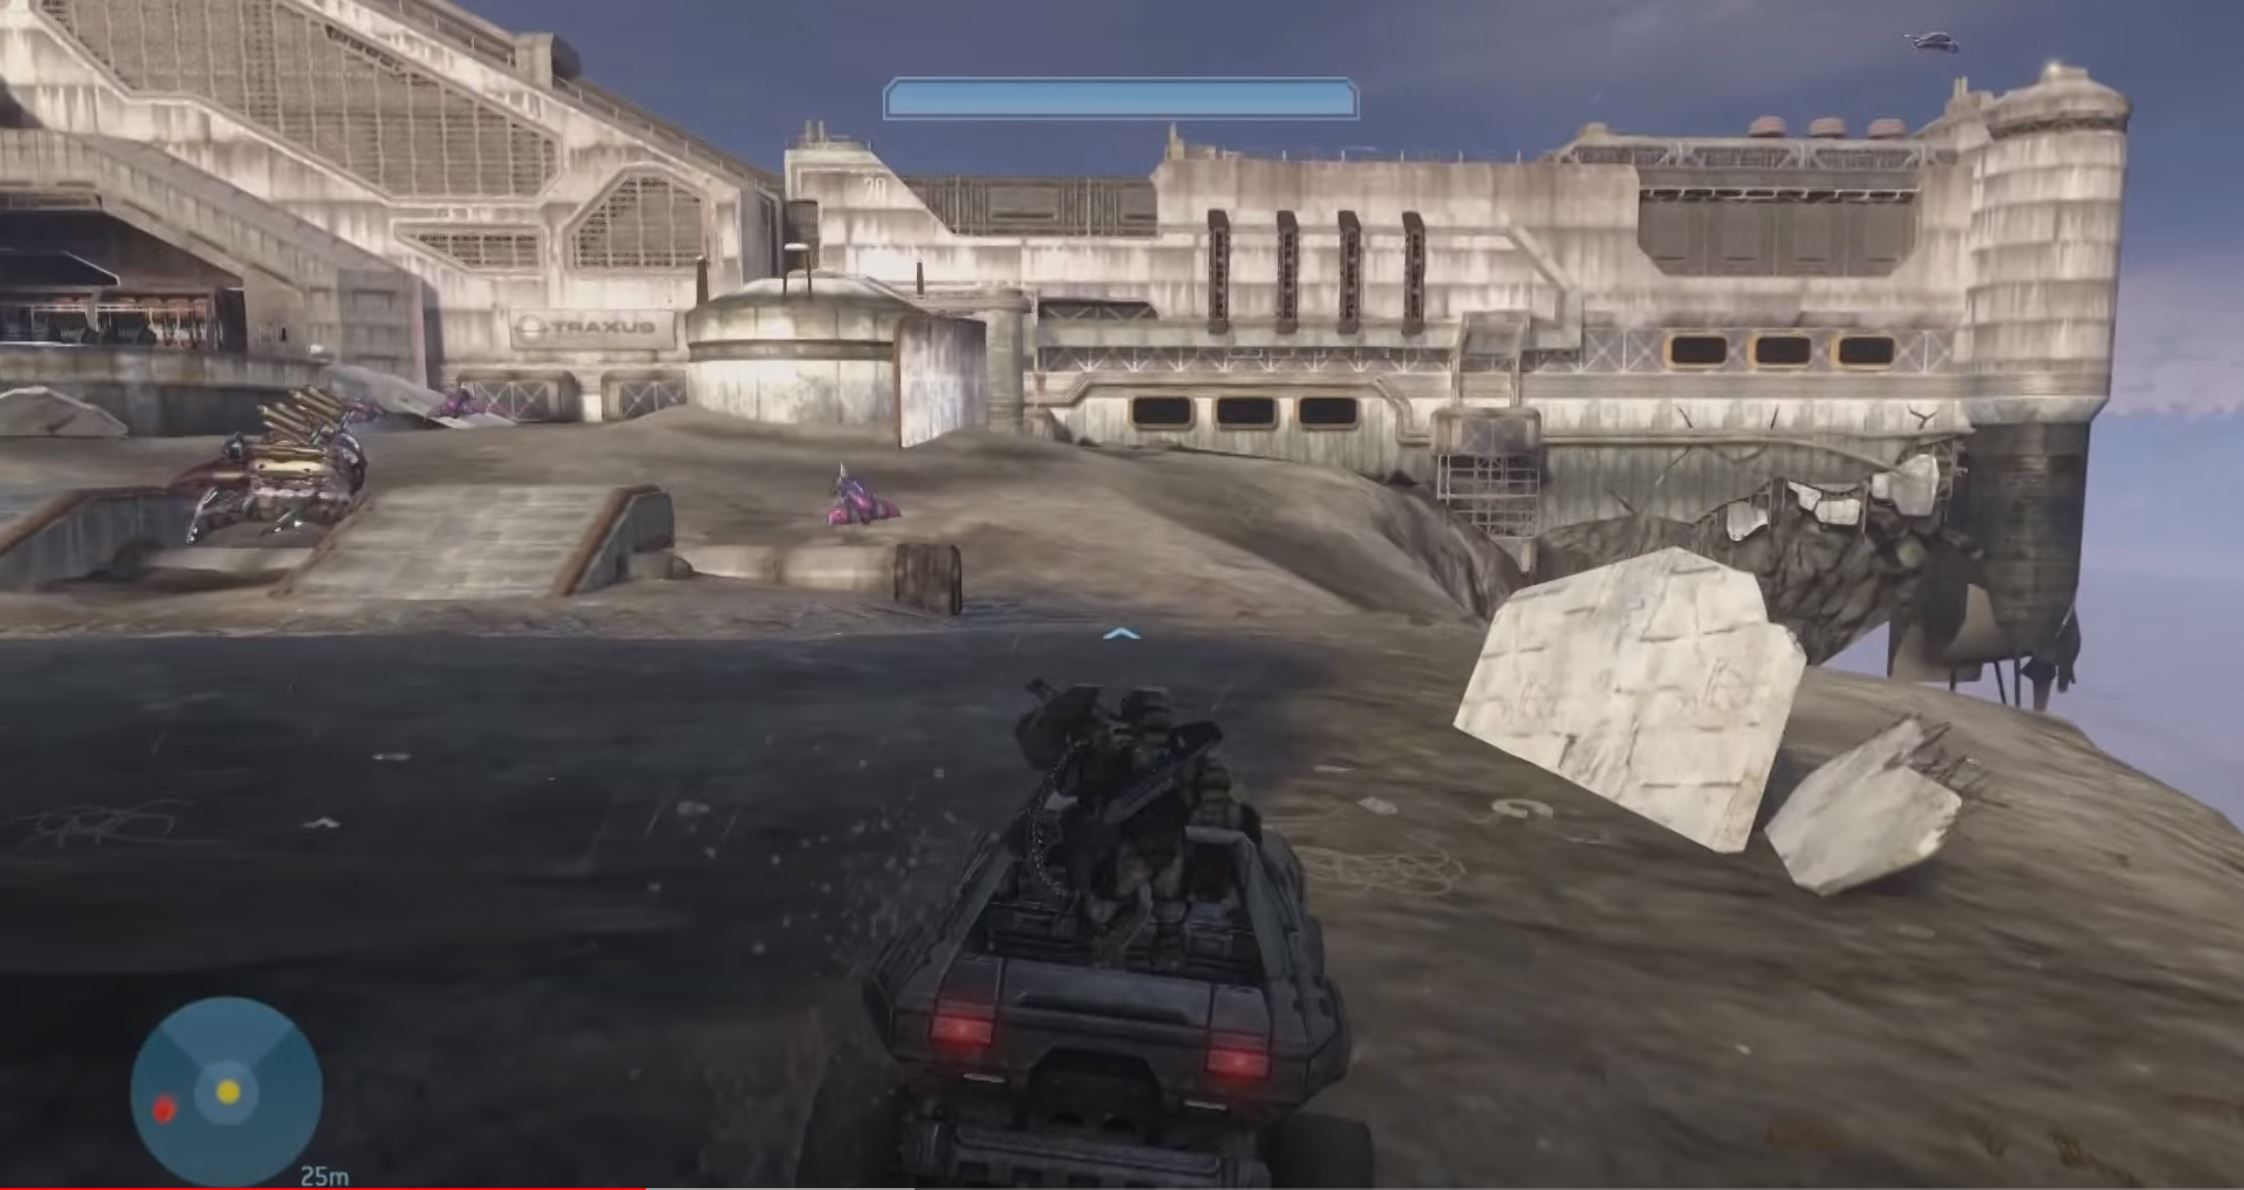
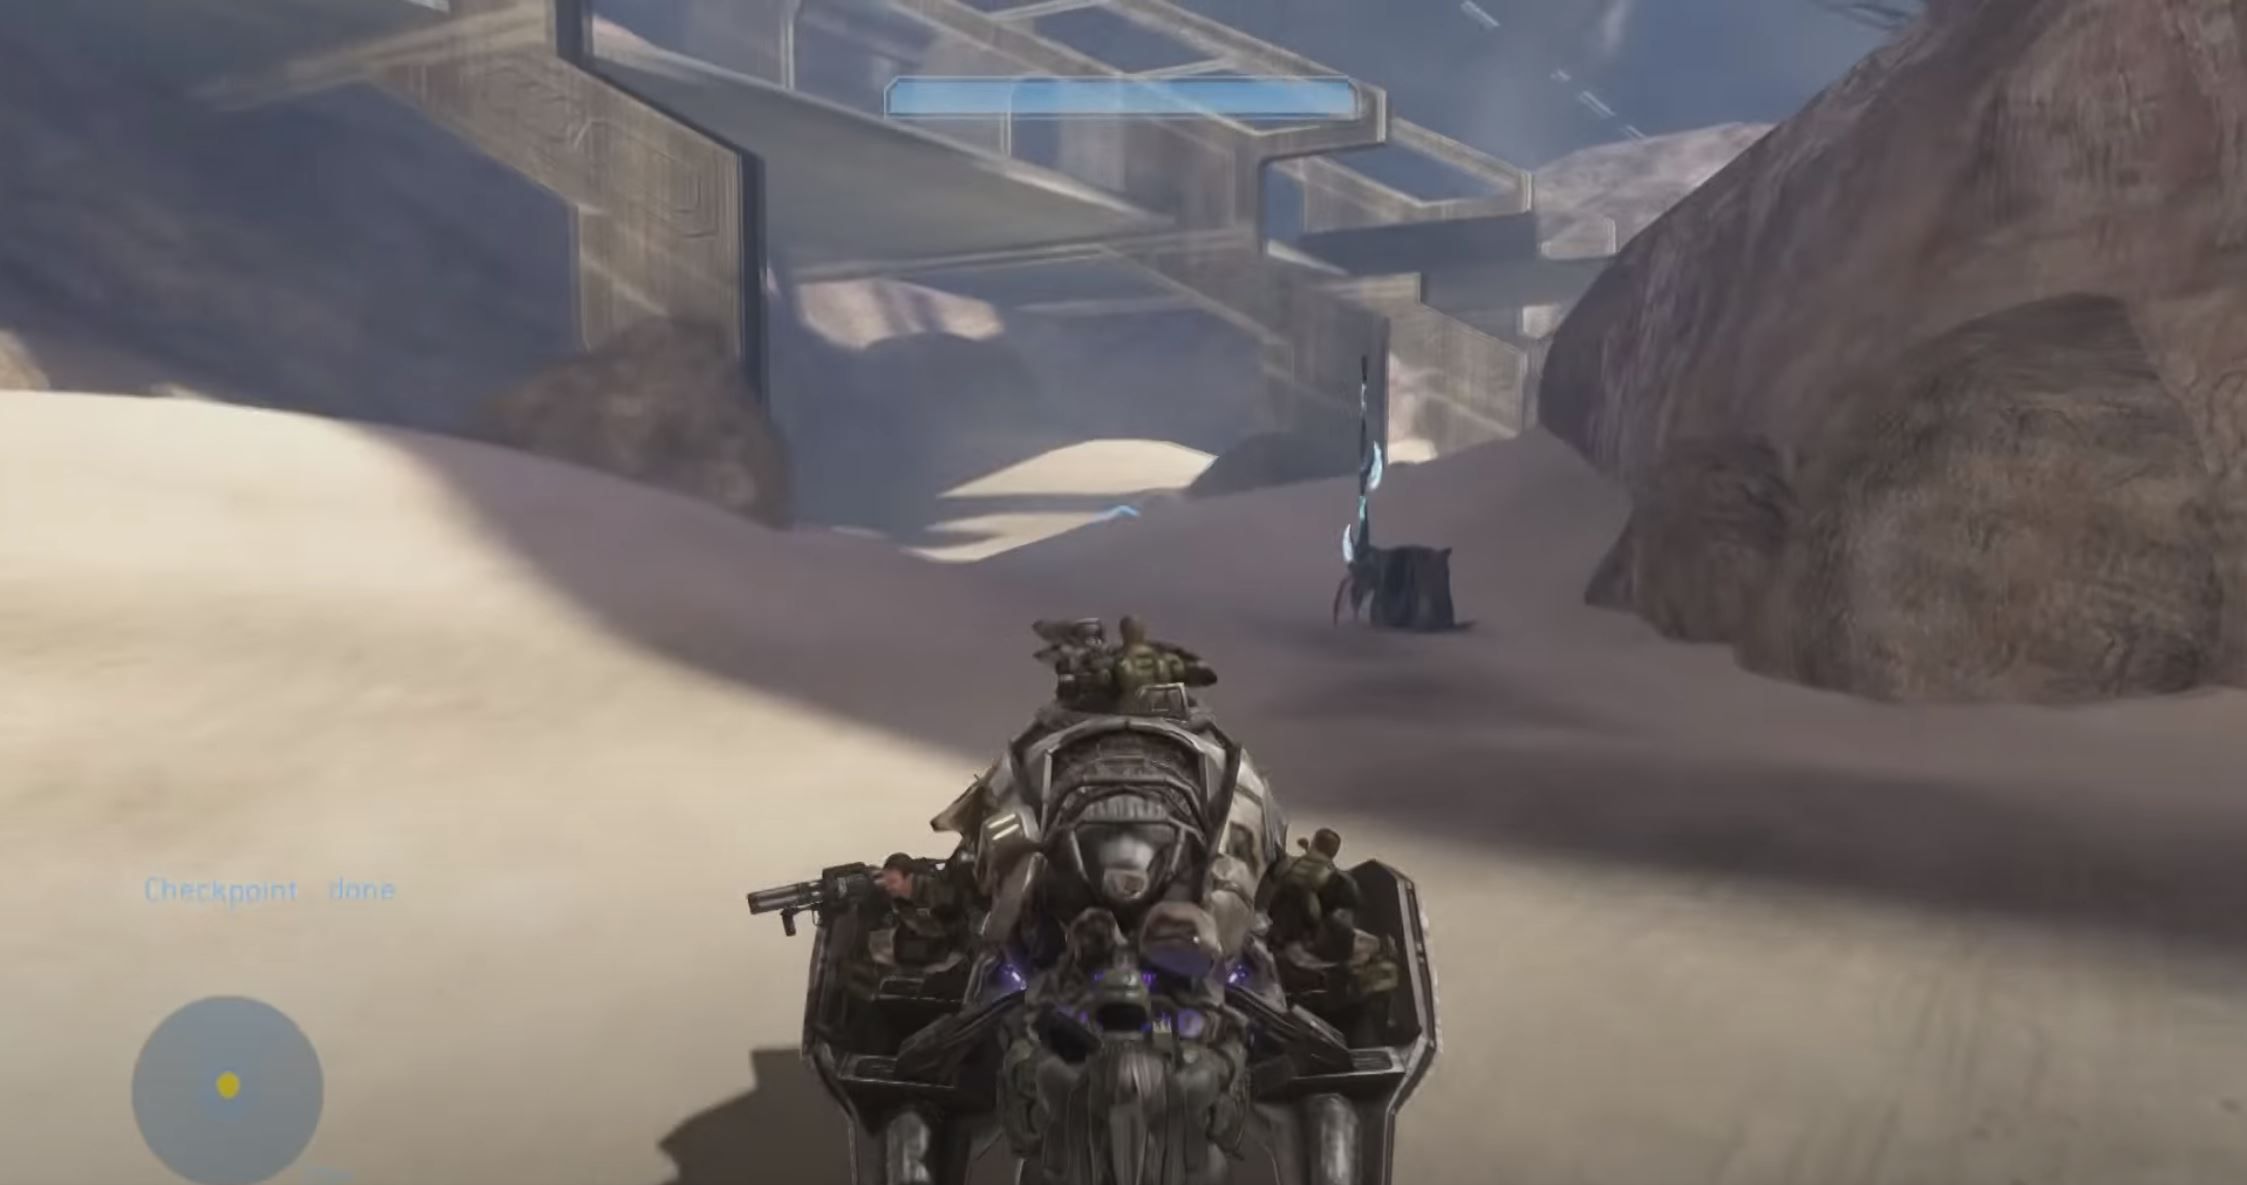
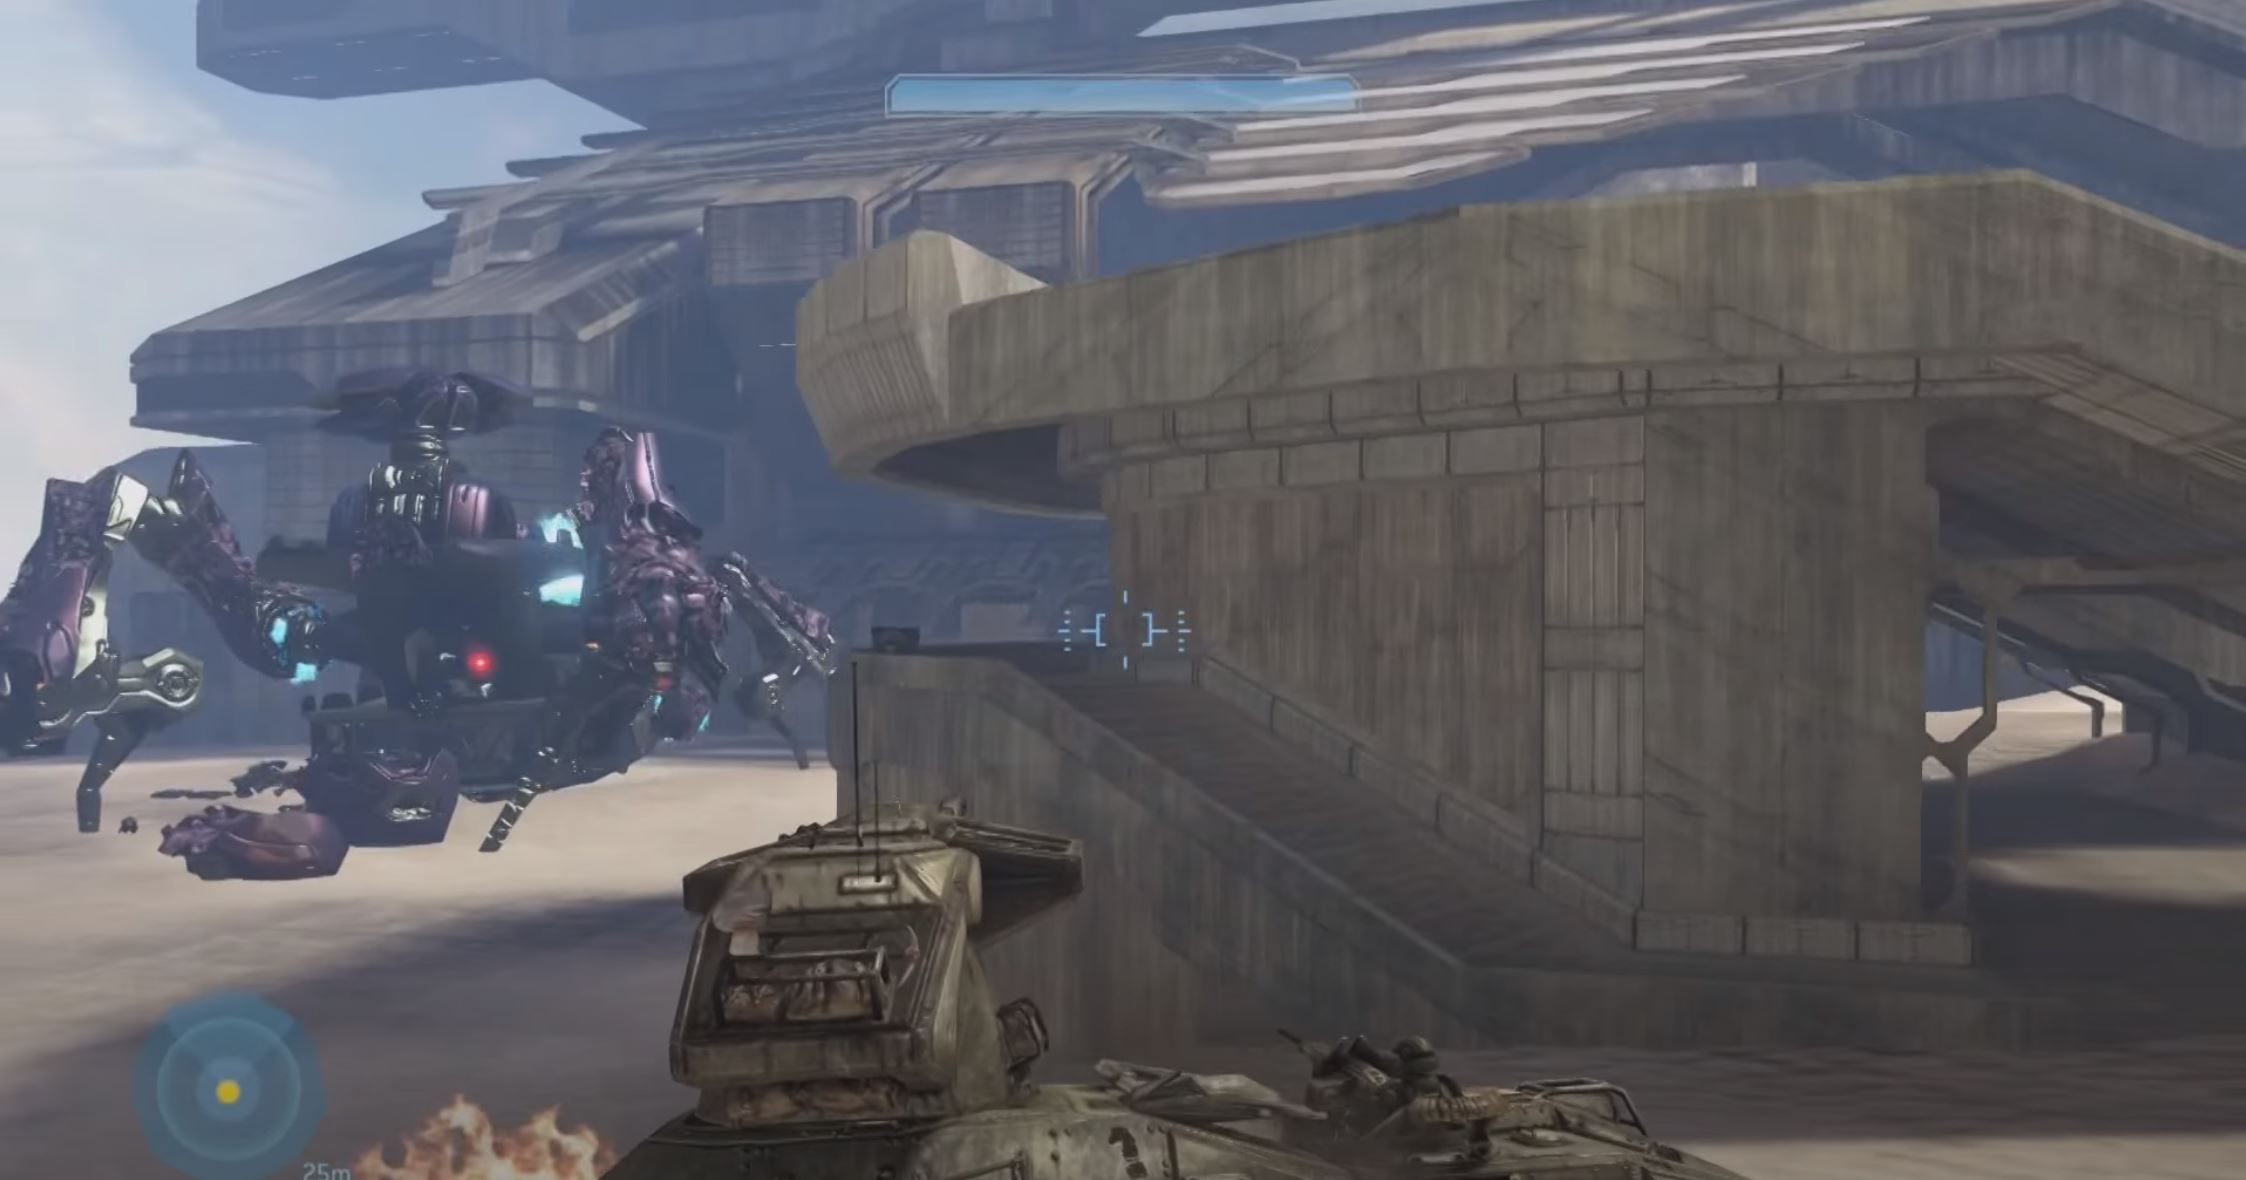
Play through the first indoor section of the mission. When you return outside, make sure you have either a warthog or a ghost. You should appear in place like what is pictured below.
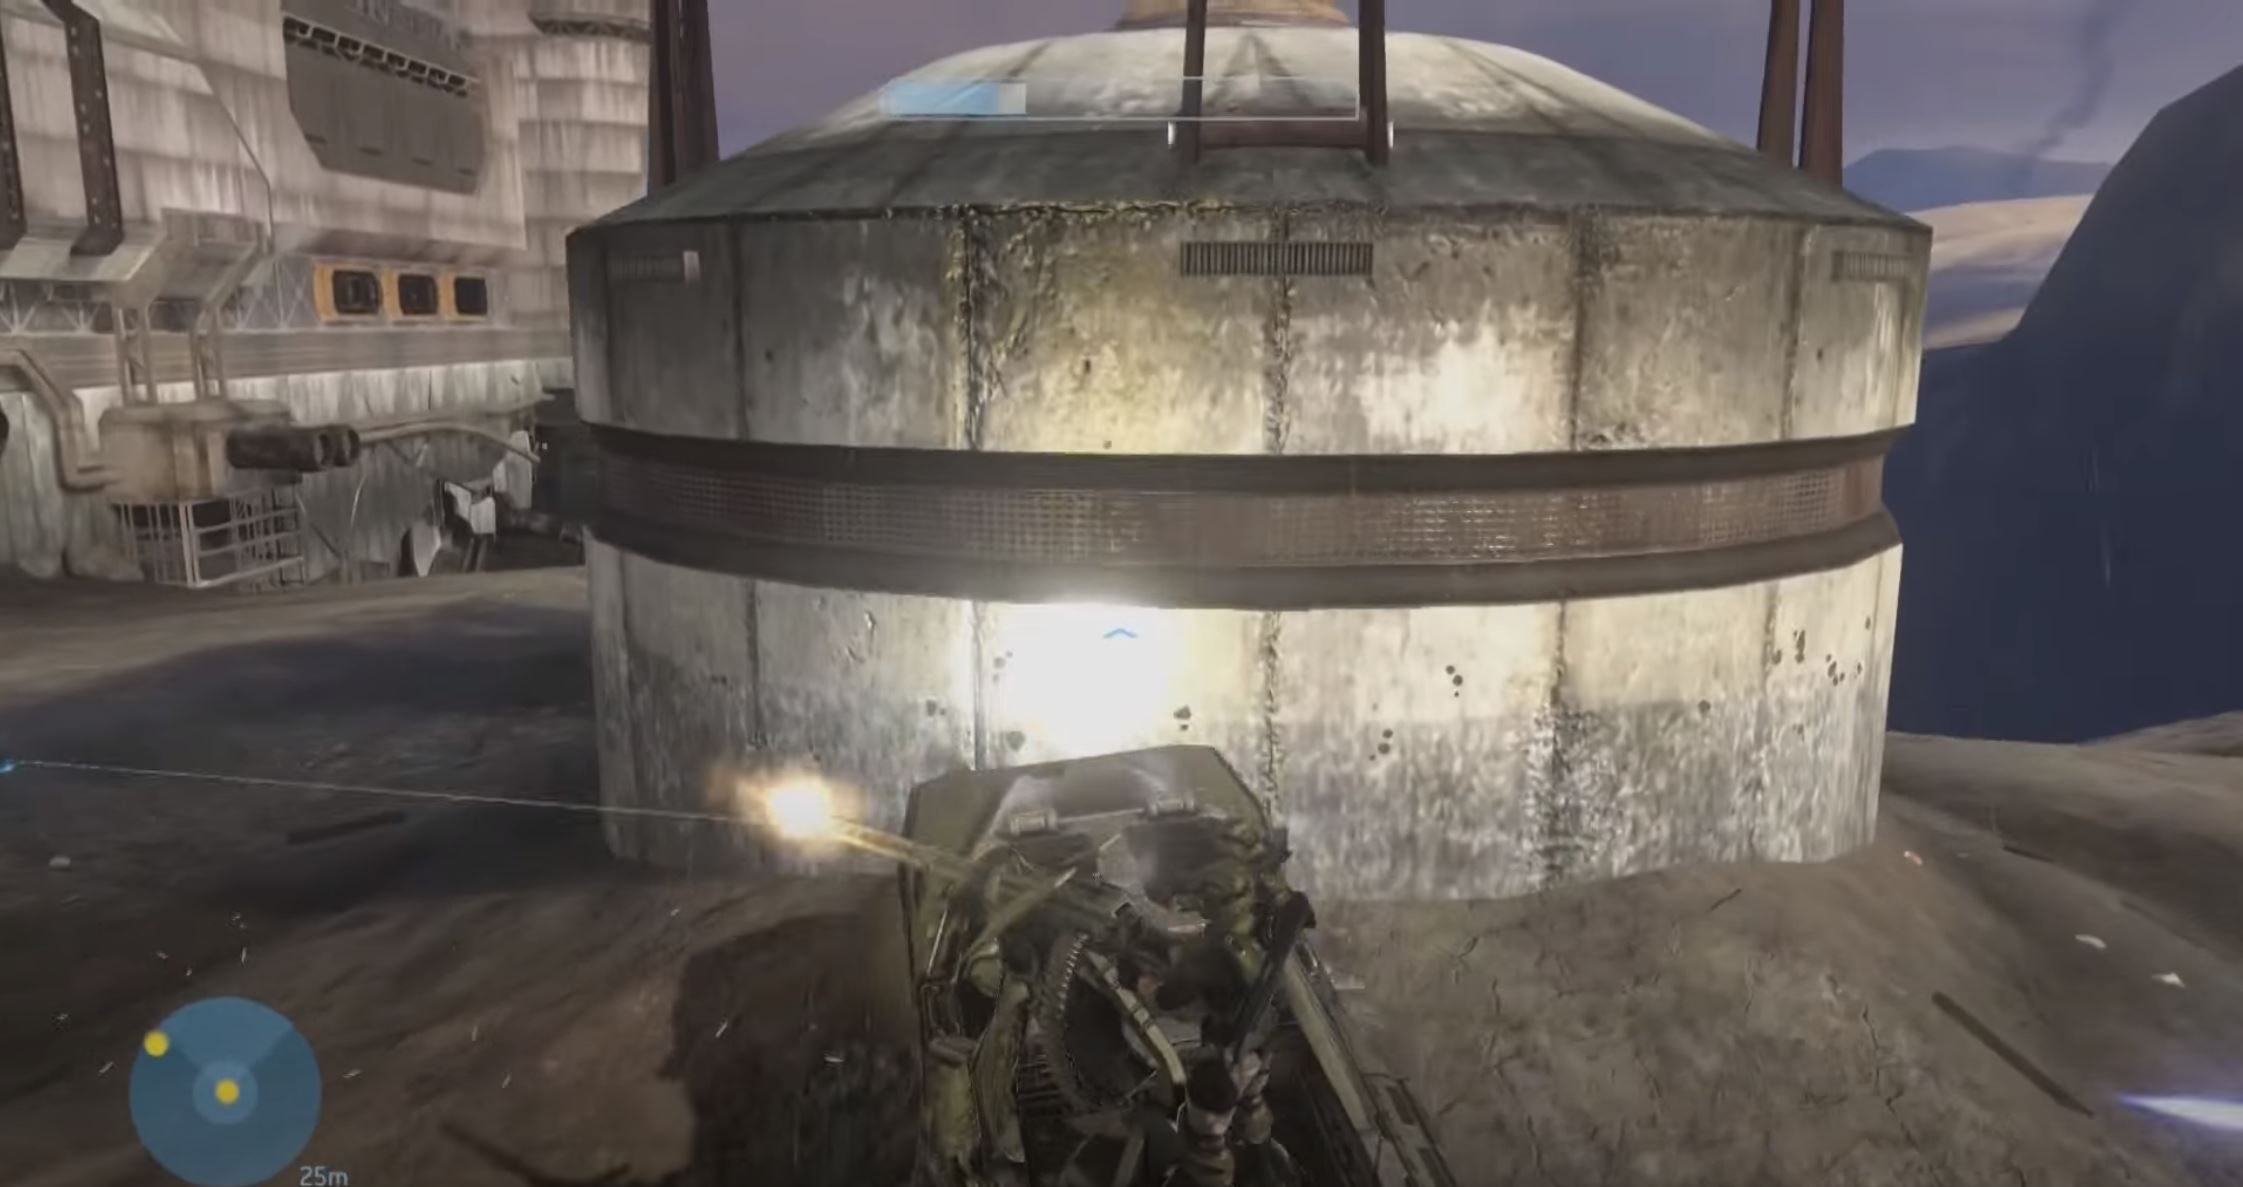
You will see a wraith, but be careful not to damage it. You can snipe the turret guy out of it, but damaging the wraith itself can cause the skull to not appear. Drive your warthog (or whichever vehicle you are using) over to the circular silo near the wraith and park it right up against the side of it. You will need to be quick here.
Jump out of the vehicle and use it as a platform or higher elevation. Crouch jump up to the top of the silo and the skull should be here. If it isn’t, wait a few seconds as it may have just not spawned yet.
This skull increases the frequency at which enemies throw grenades.
Floodgate
Fog
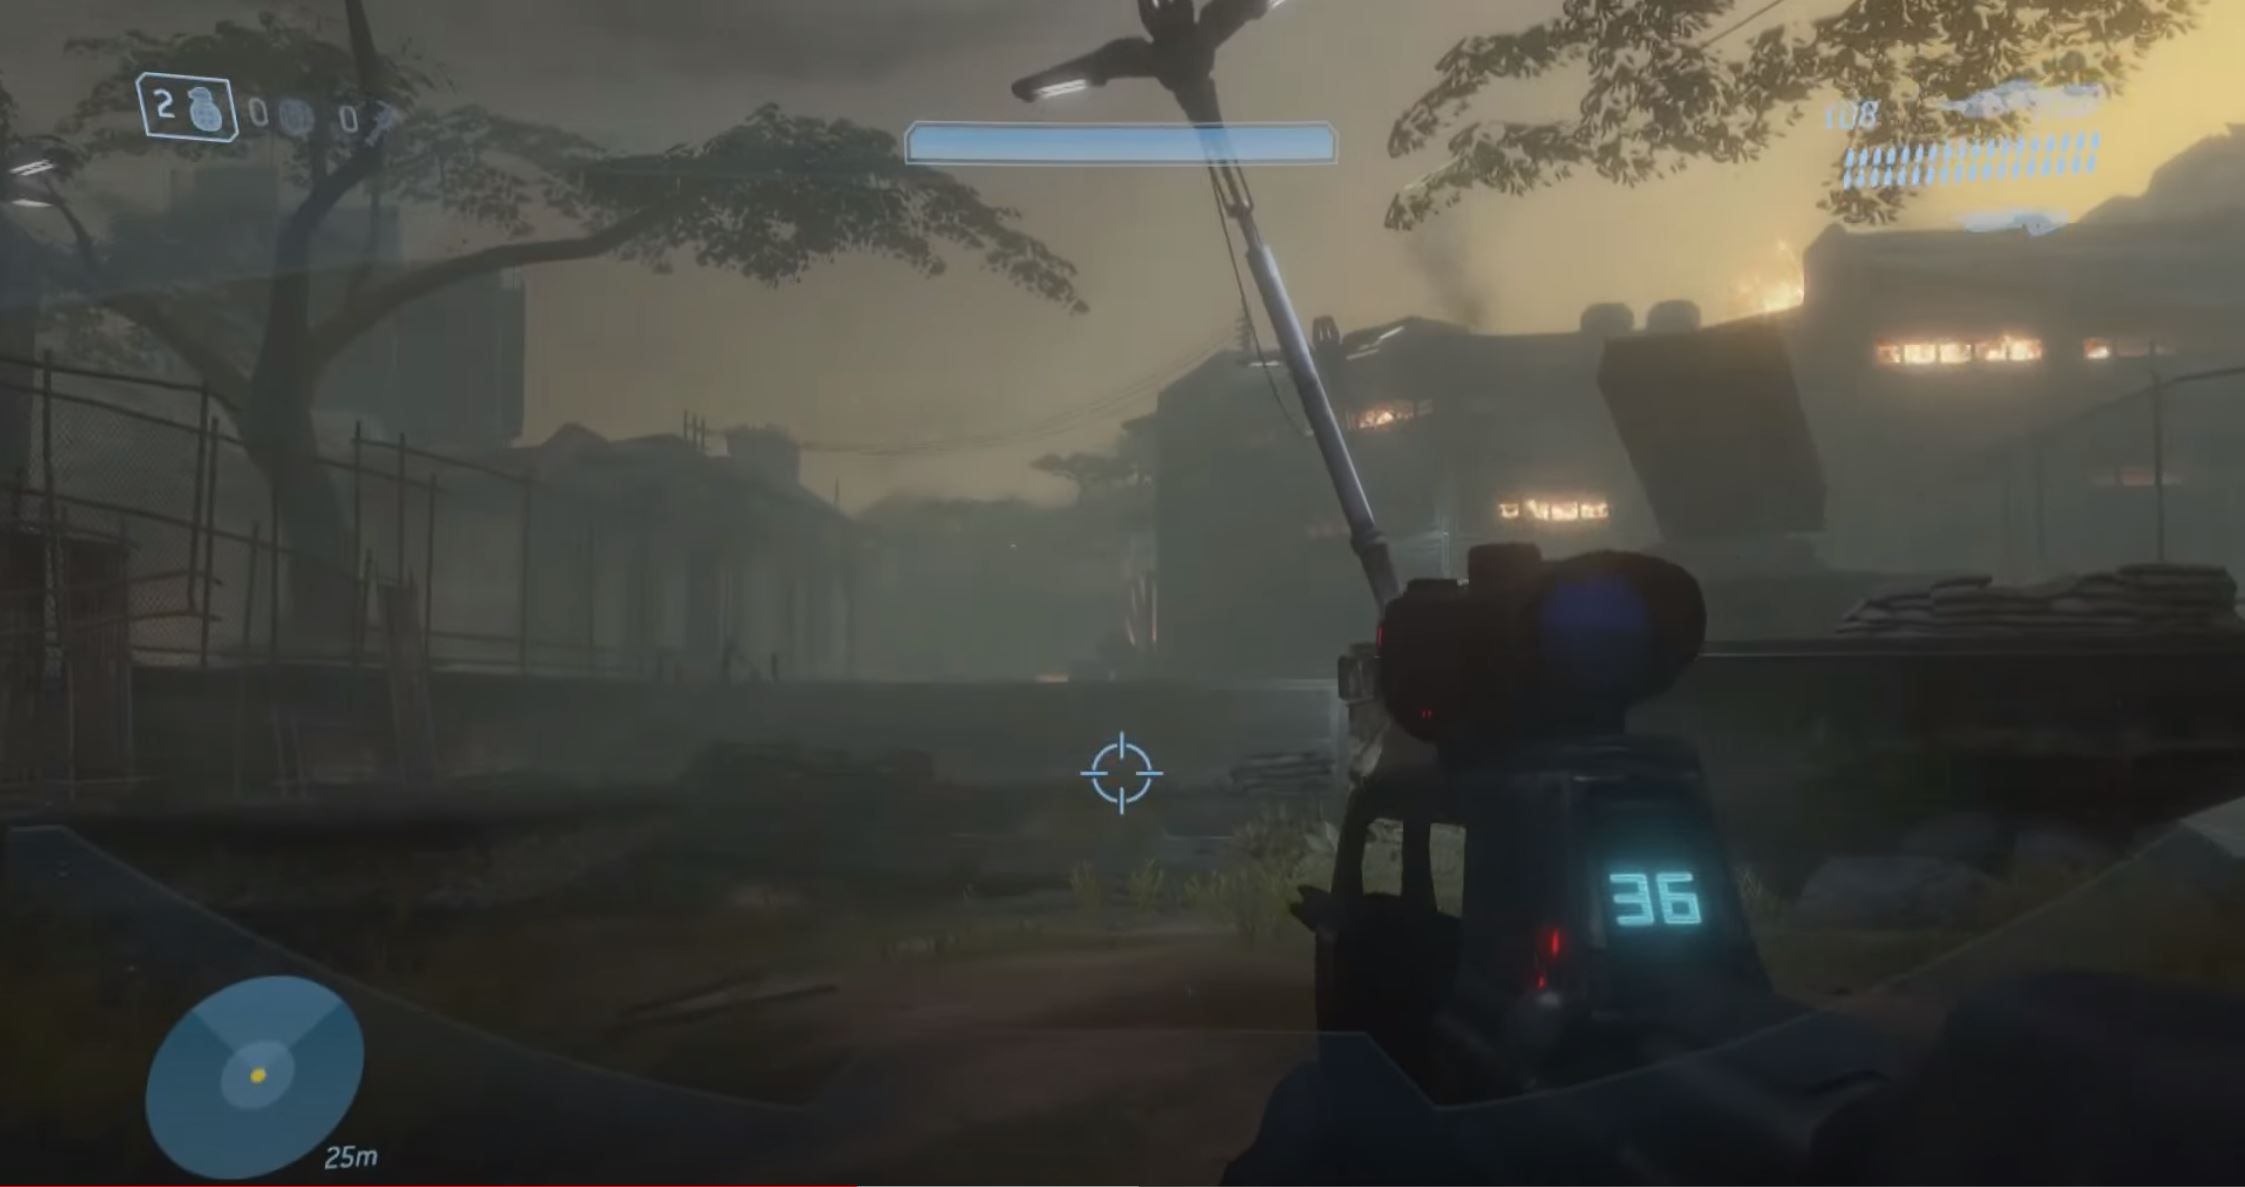
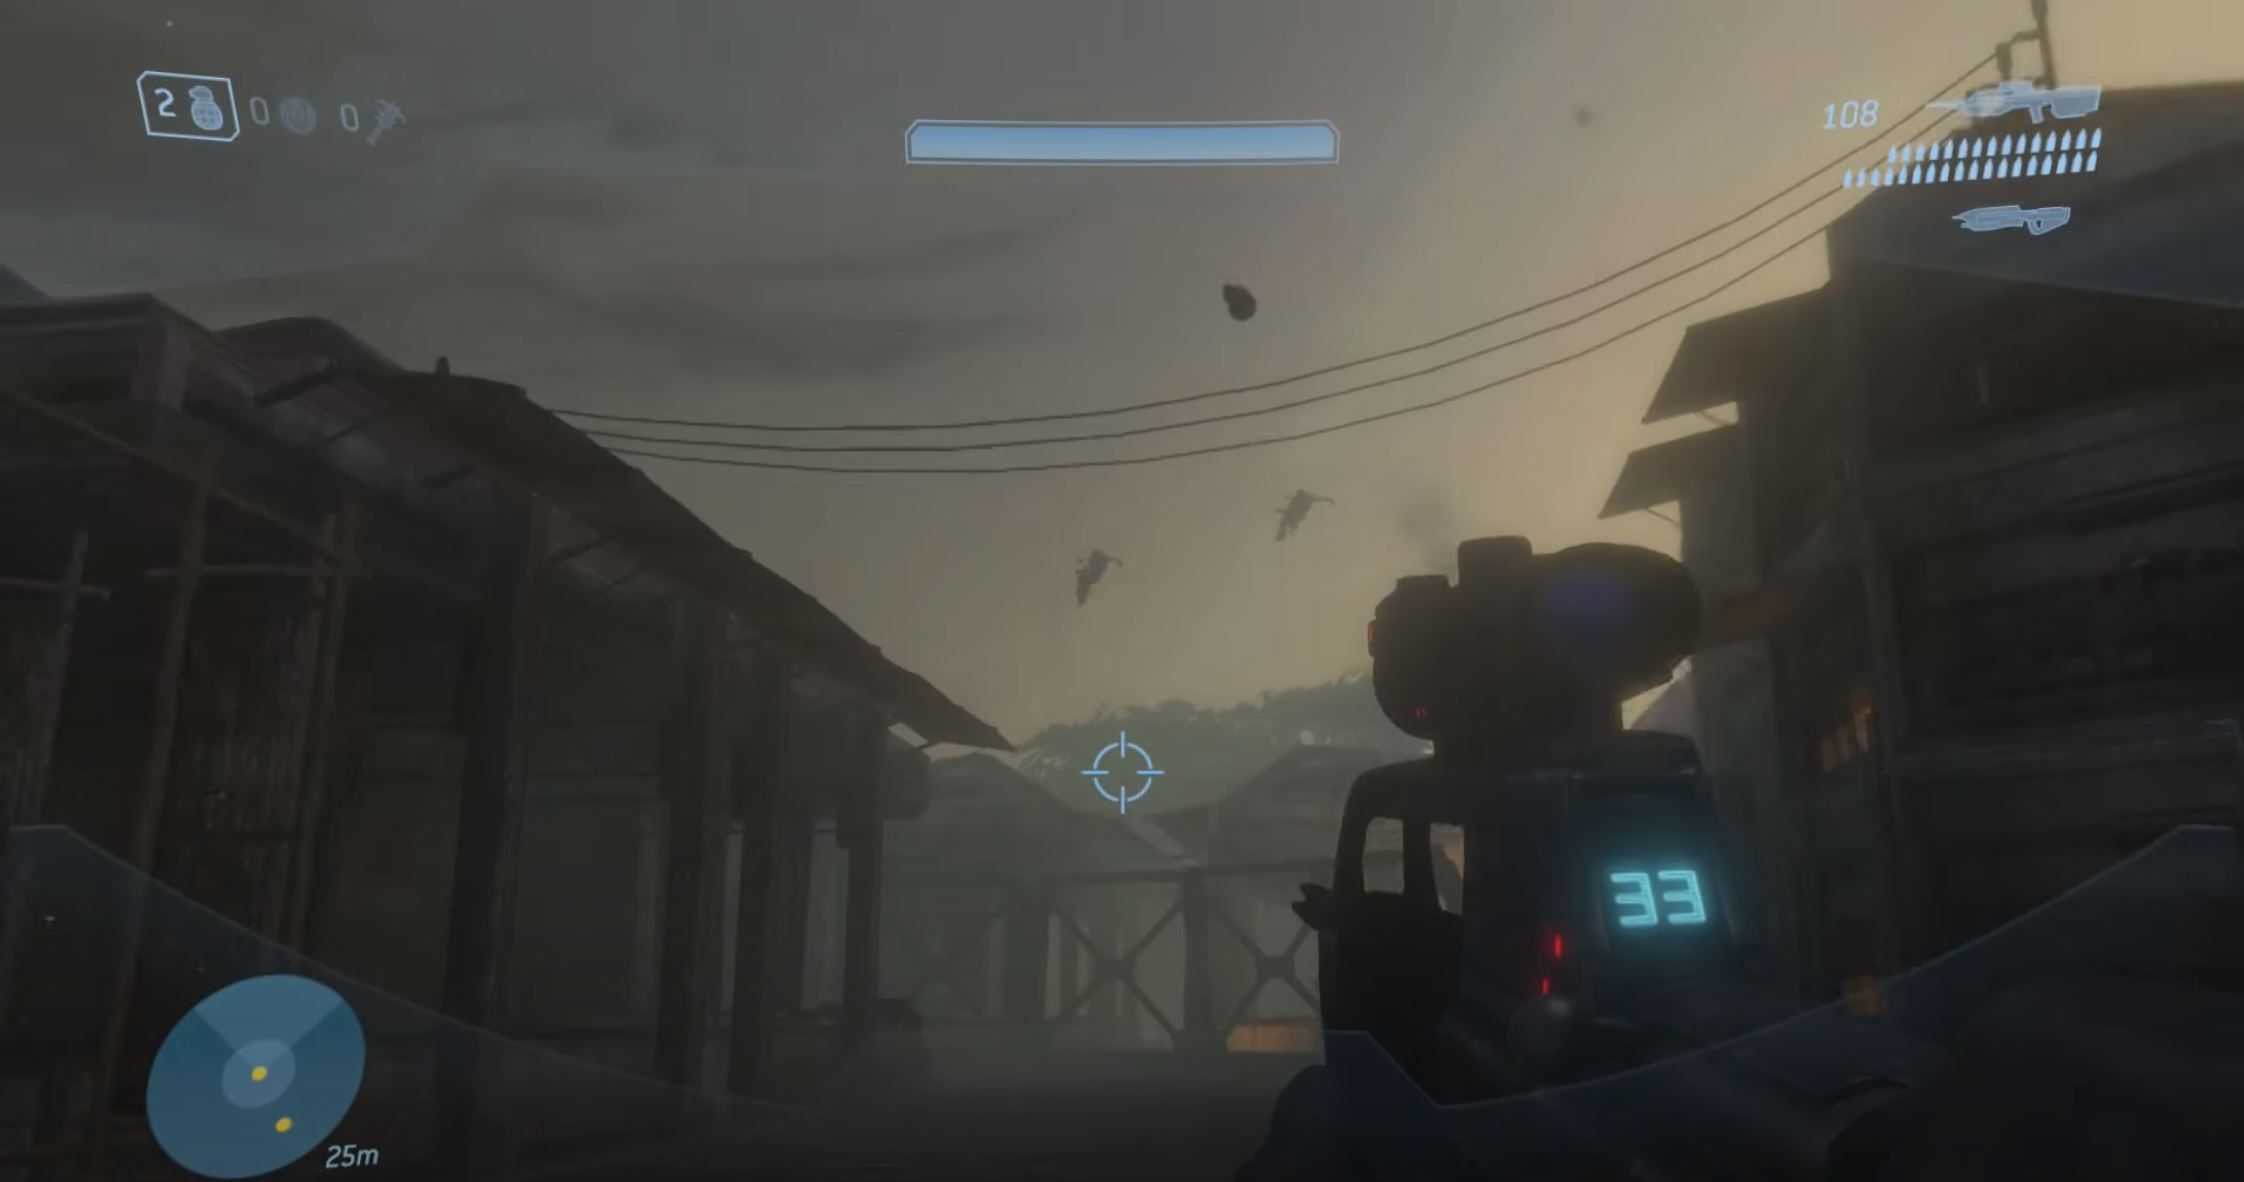
The “Fog” skull can be found at the very beginning of Floodgate. Just before you walk down the street between the buildings, pay close attention to the roof of the first building on your right. A flood form should appear on top of the building once you get close enough.
Quickly headshot it to kill it and you should see the skull fly out of it, down onto the street below, where it can be picked up. If you miss the flood form and he gets away, or the skull lands somewhere out of reach, simply revert to the previous checkpoint and try again.
This skull deactivates your motion sensor.
The Ark
Famine & Cowbell
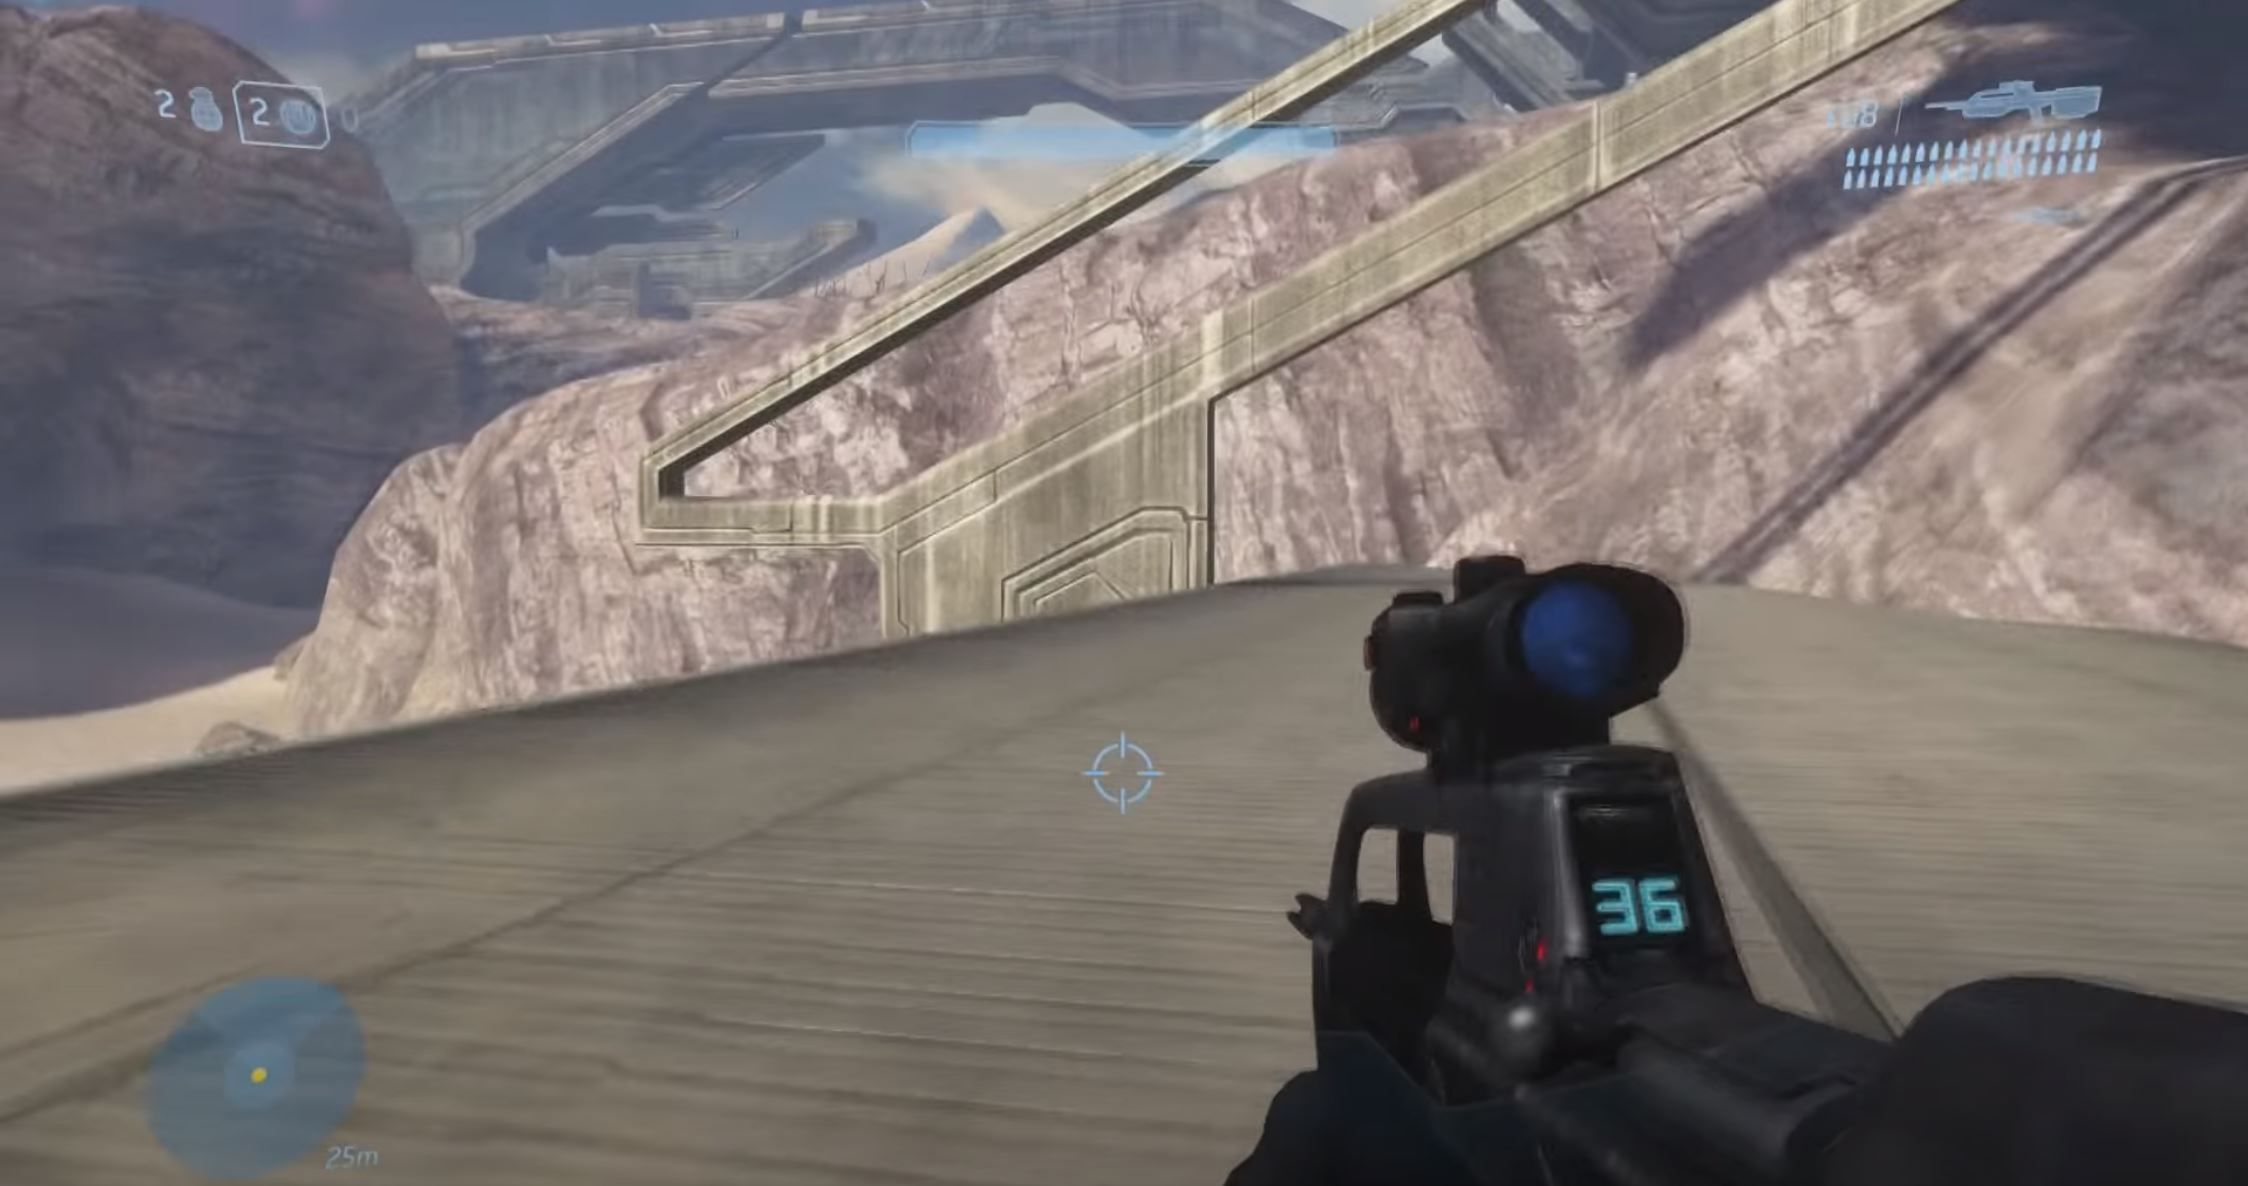
The Ark features two skulls, one in each half of the level. The first skull, “Famine” can be found after you pass under this structure pictured below.
When you reach the other side of it, exit a vehicle (provided you are in one) and climb up the rock incline, using the rocks on the left if you need to. From here, you can jump up to the structure on the right.
Walk all the way down the walkway, to the final strut. Do a grenade jump here, up and to the left to reach the lower part of the strut, where you skull can be found.
This skull reduces the amount of ammo in dropped weapons by half. Spawned weapons are unaffected.
Much later in the level, after you’ve destroyed the scarab, enter the small building at the bottom of that area, where you should be able to find a few deployable gravity lifts surrounding a crate. Grab one and hold onto it.
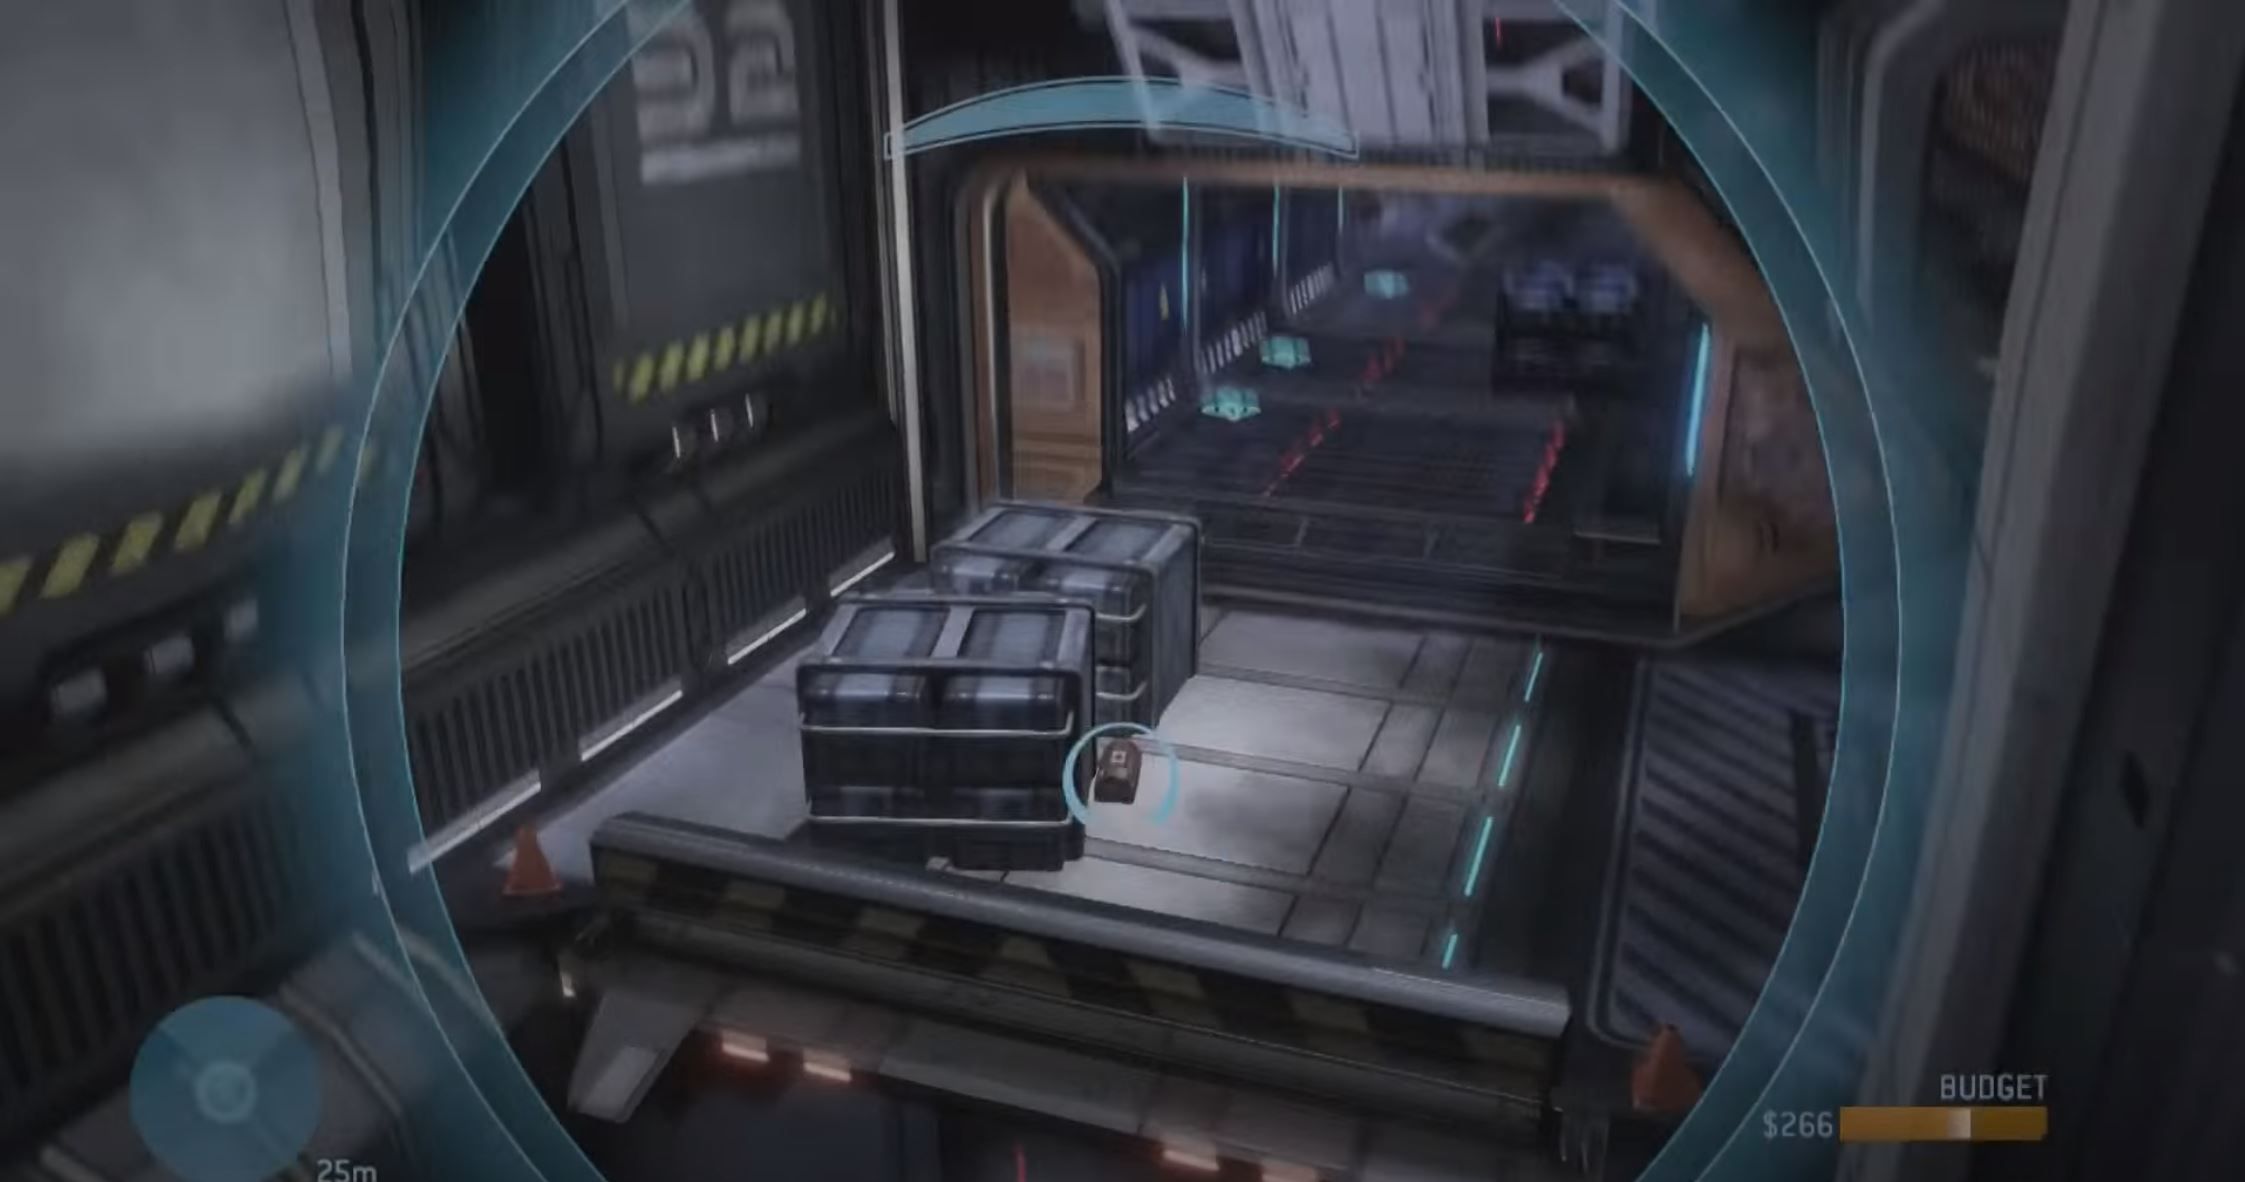
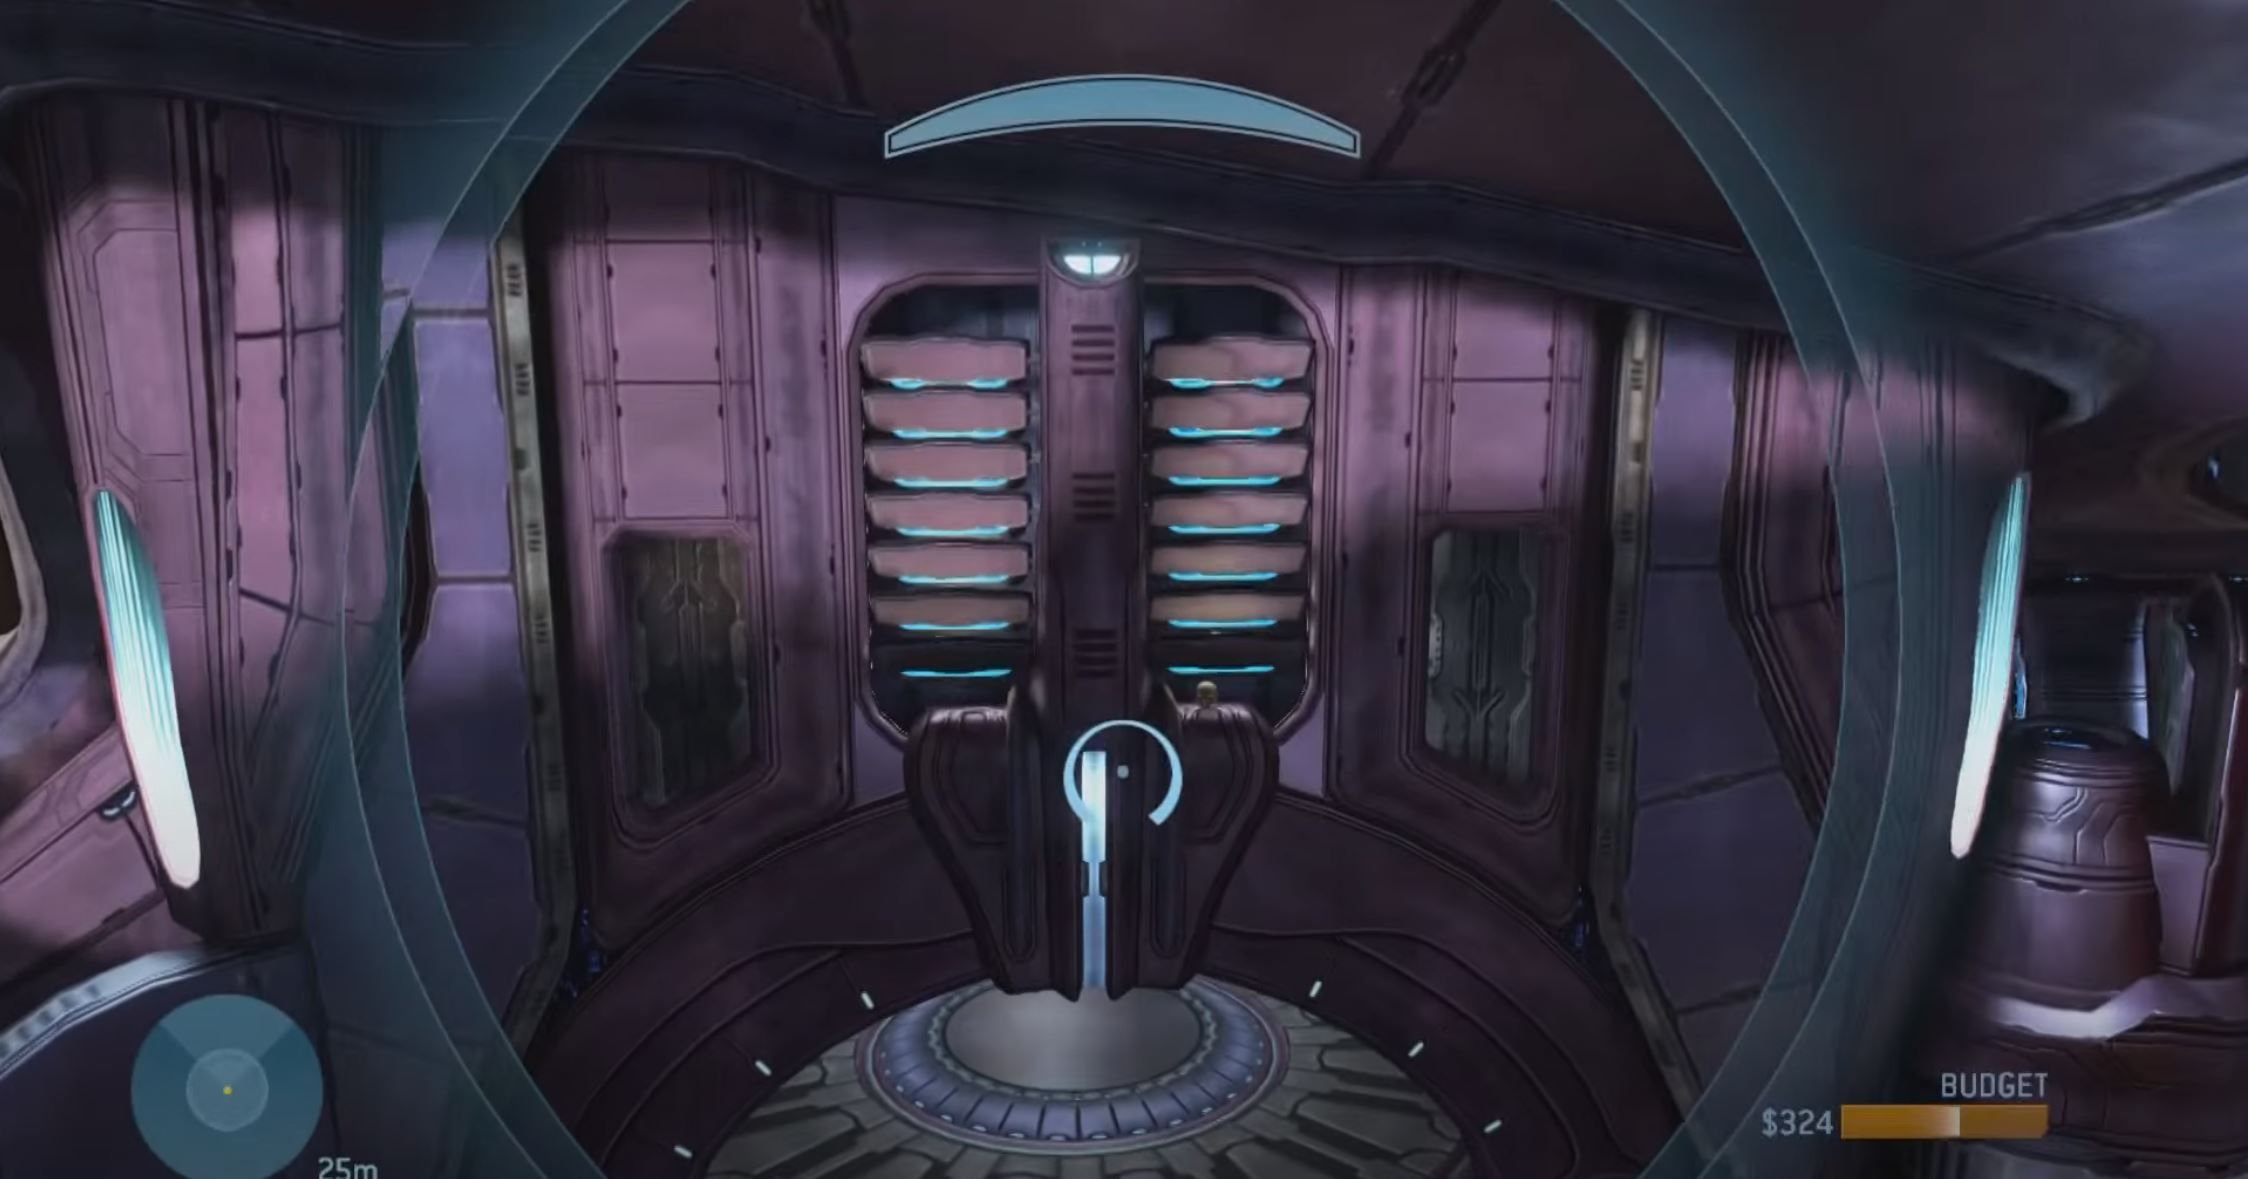
Once you are inside the building, you will eventually come to a downward ramp with numerous stacked alcoves at the bottom on the left, pictured below.
Drop the gravity lift a few feet up the ramp. You’re going to want to try and land in the uppermost alcove. This is done easily by jumping just as you enter the gravity lift for extra upward momentum. Up here, you can find the “Cowbell” skull on the floor.
This skull causes explosions and melee attacks to impart further movement than usual, though damage is not affected.
The Covenant
Thunderstorm & I Would Have Been Your Daddy
Widely regarded as the best mission in all of Halo, The Covenant features two skulls. The easier of the two skulls, “Thunderstorm” can be found shortly after you take flight in a hornet. You will pass a very large building on your right, near where the wraiths and banshees are patrolling. Fly over it to and land somewhere safe.
In the center of the building is a large ramp. Walk up this ramp and to the far end of the walkway to find the skull sitting on the floor.
This skull promotes all enemies to the highest available ranks.
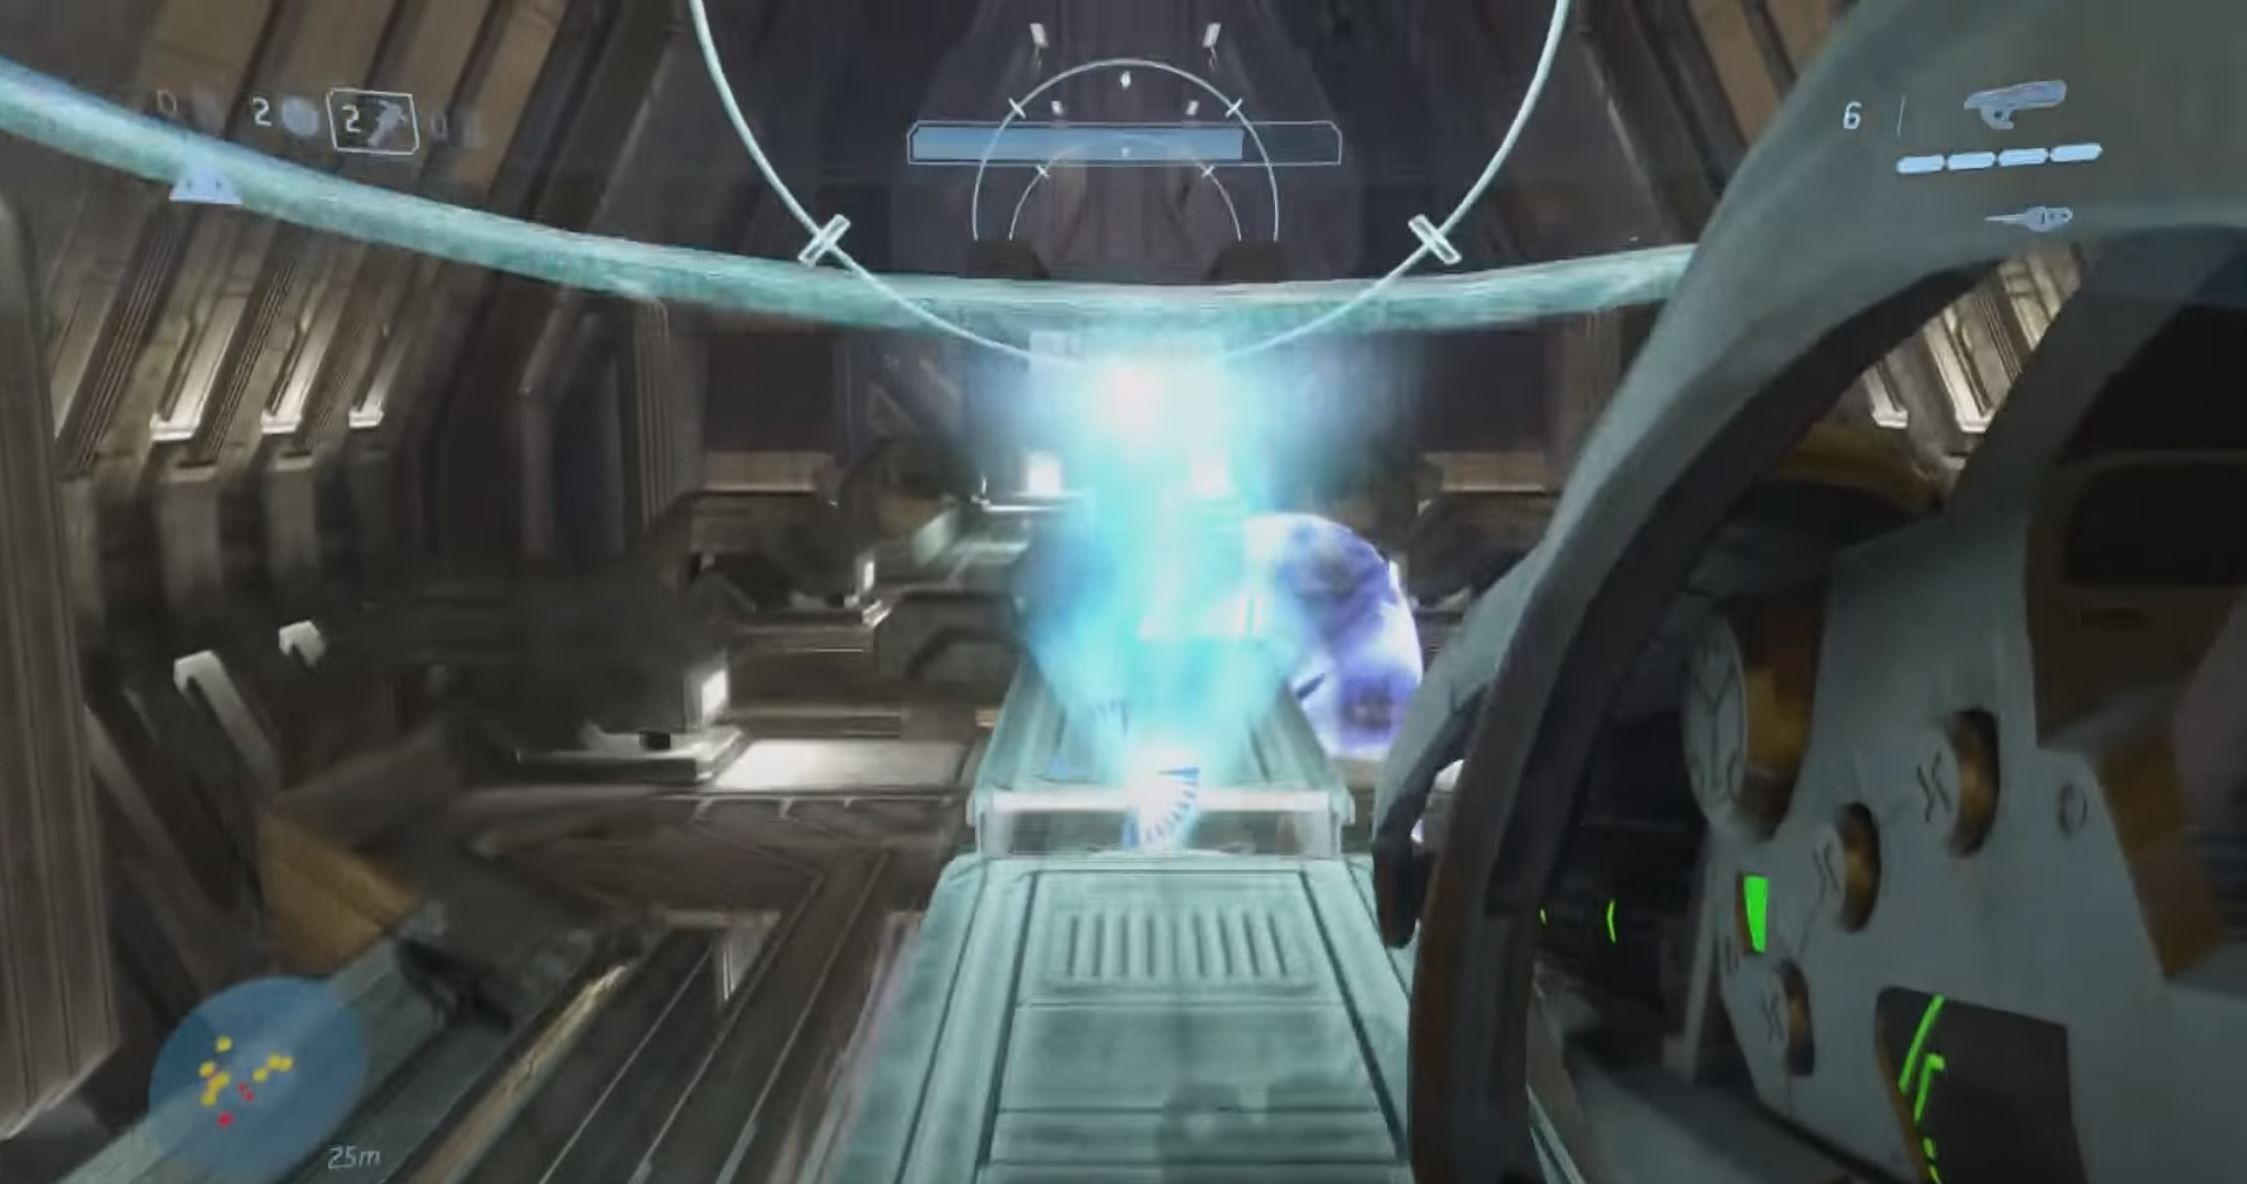
At the very end up the level, after you have crossed the long bridge for the first time and activated the button on the far end, you can find the “I Would Have Been Your Daddy Skull” by jumping through the large blue holographic Halo rings in a certain order. From where you start, pictured below, let the seven rings be numbered from one to seven, with one being the closest and seven being the furthest.
You will need to jump through the rings in the following order: 4-2-3-4-3-5-4. Simply climb to the tops of each of the little trapezoidal structures that house each ring and jump up through the ring.
After the rings are jumped through, they should start flashing if done correctly. Turn around and head back to the light bridge near where you started (at ring number one) and the most annoying skull in the game will be sat there waiting for you.
This skull decreases the rarity of traditionally rare dialogue.
Cortana
Tilt
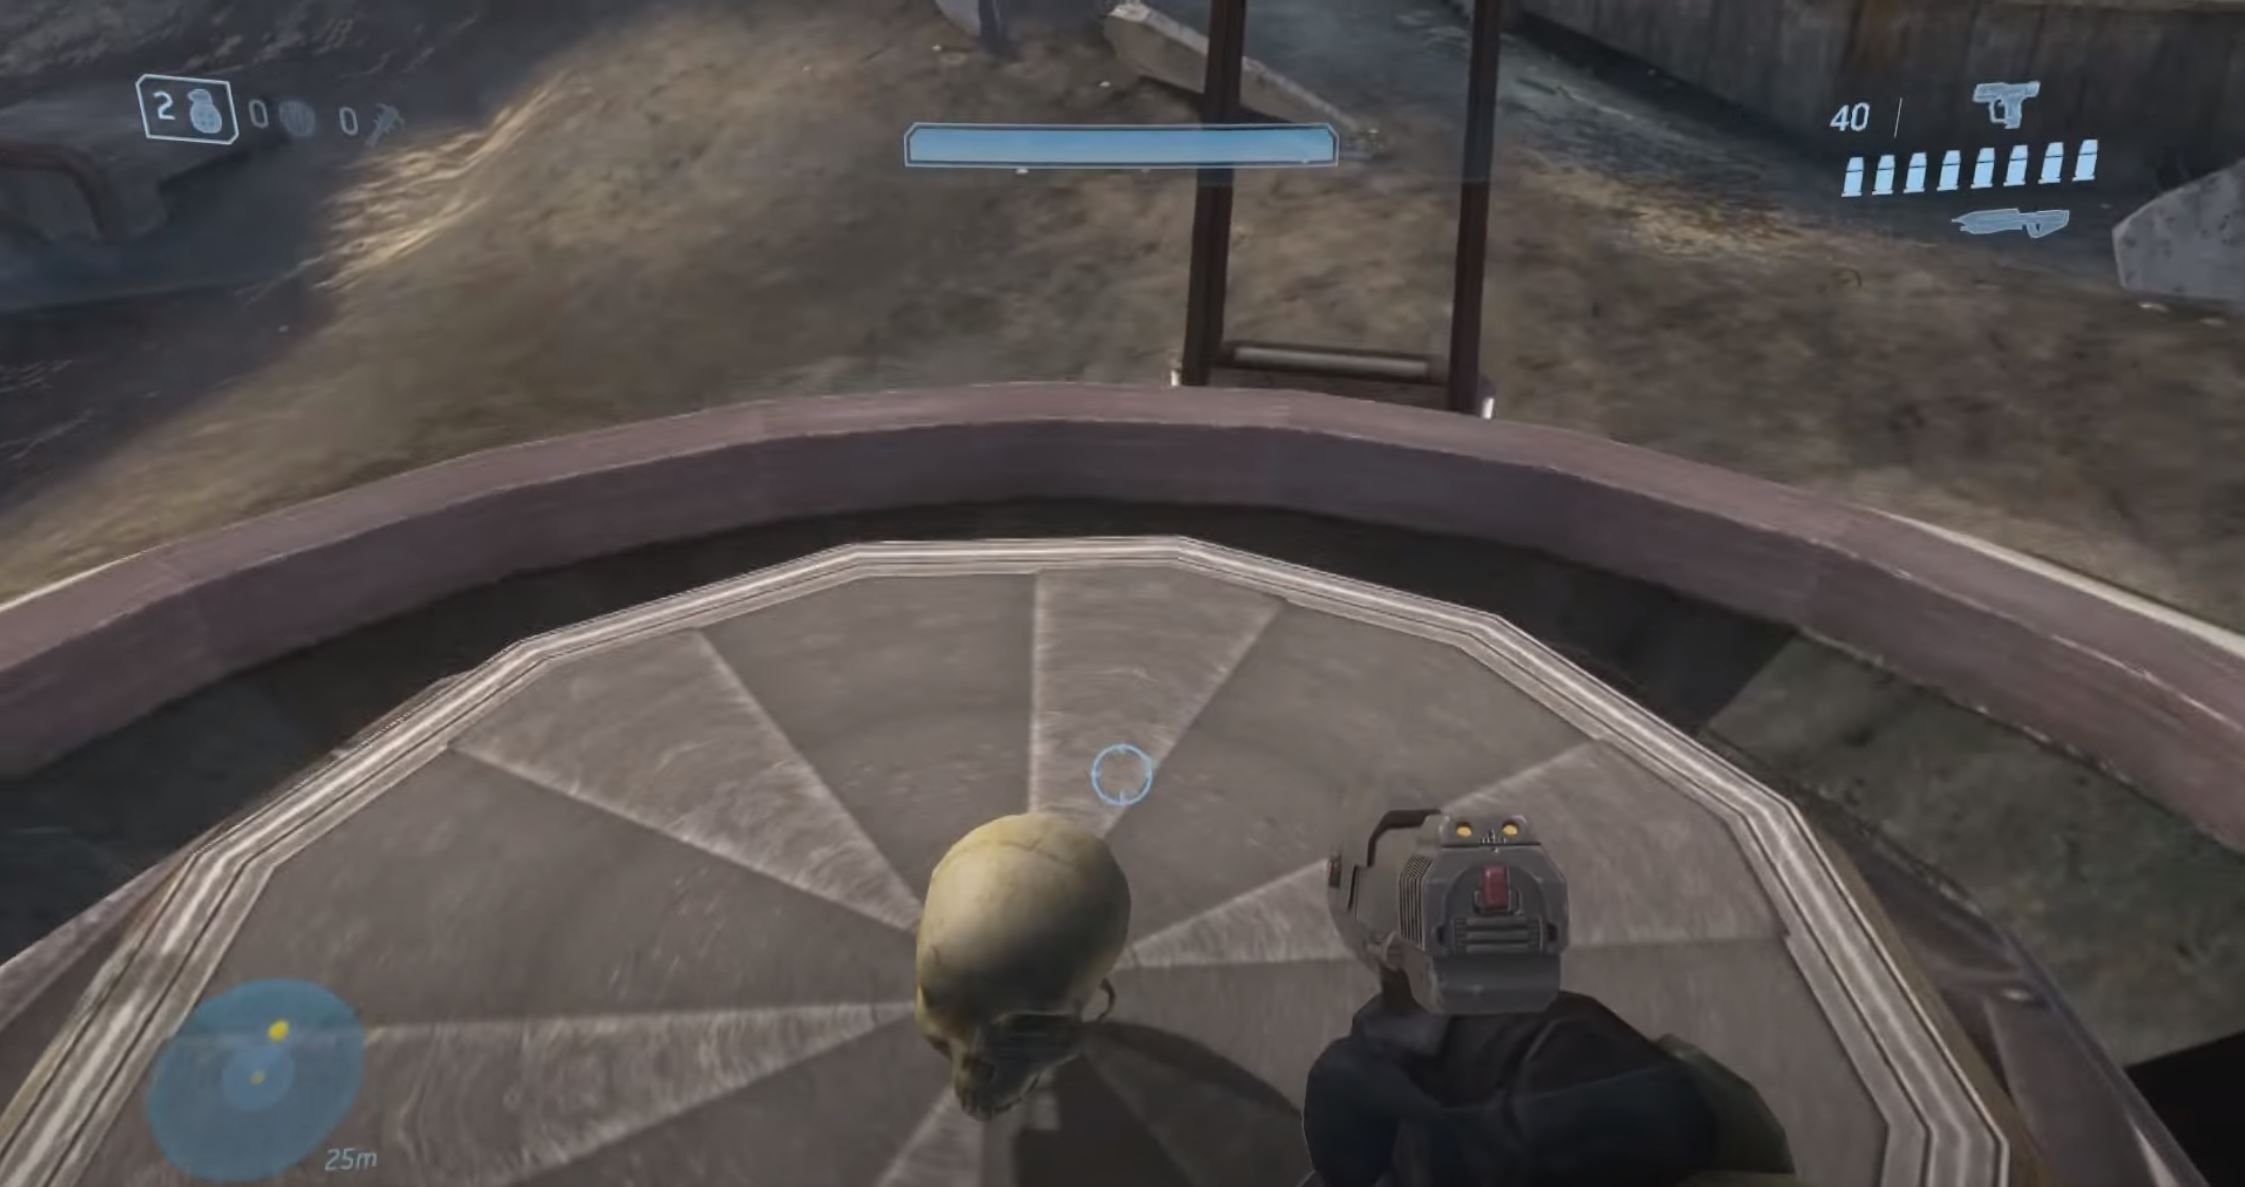
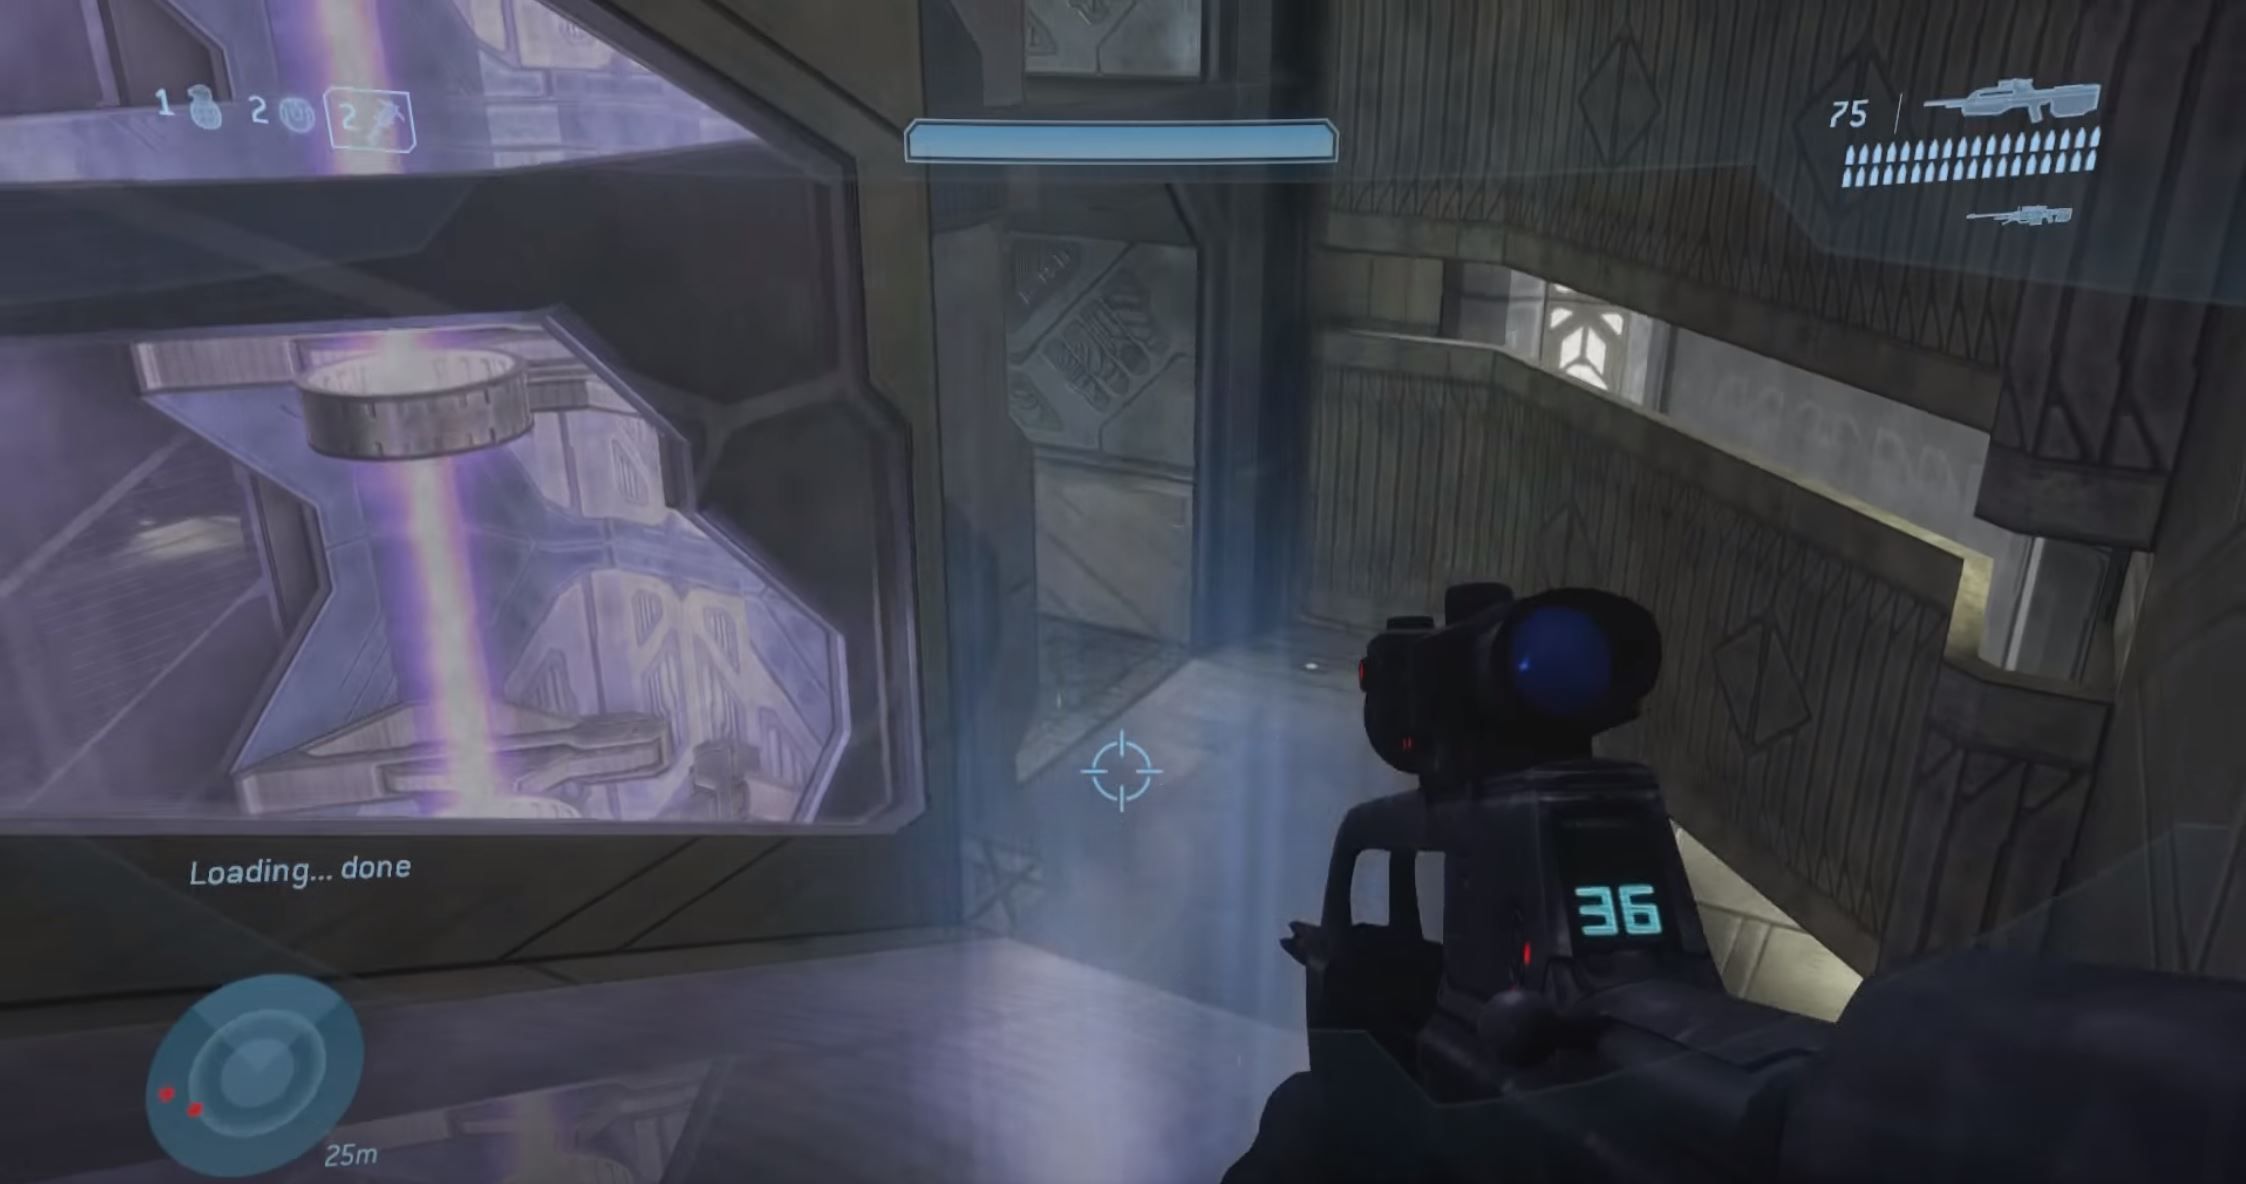
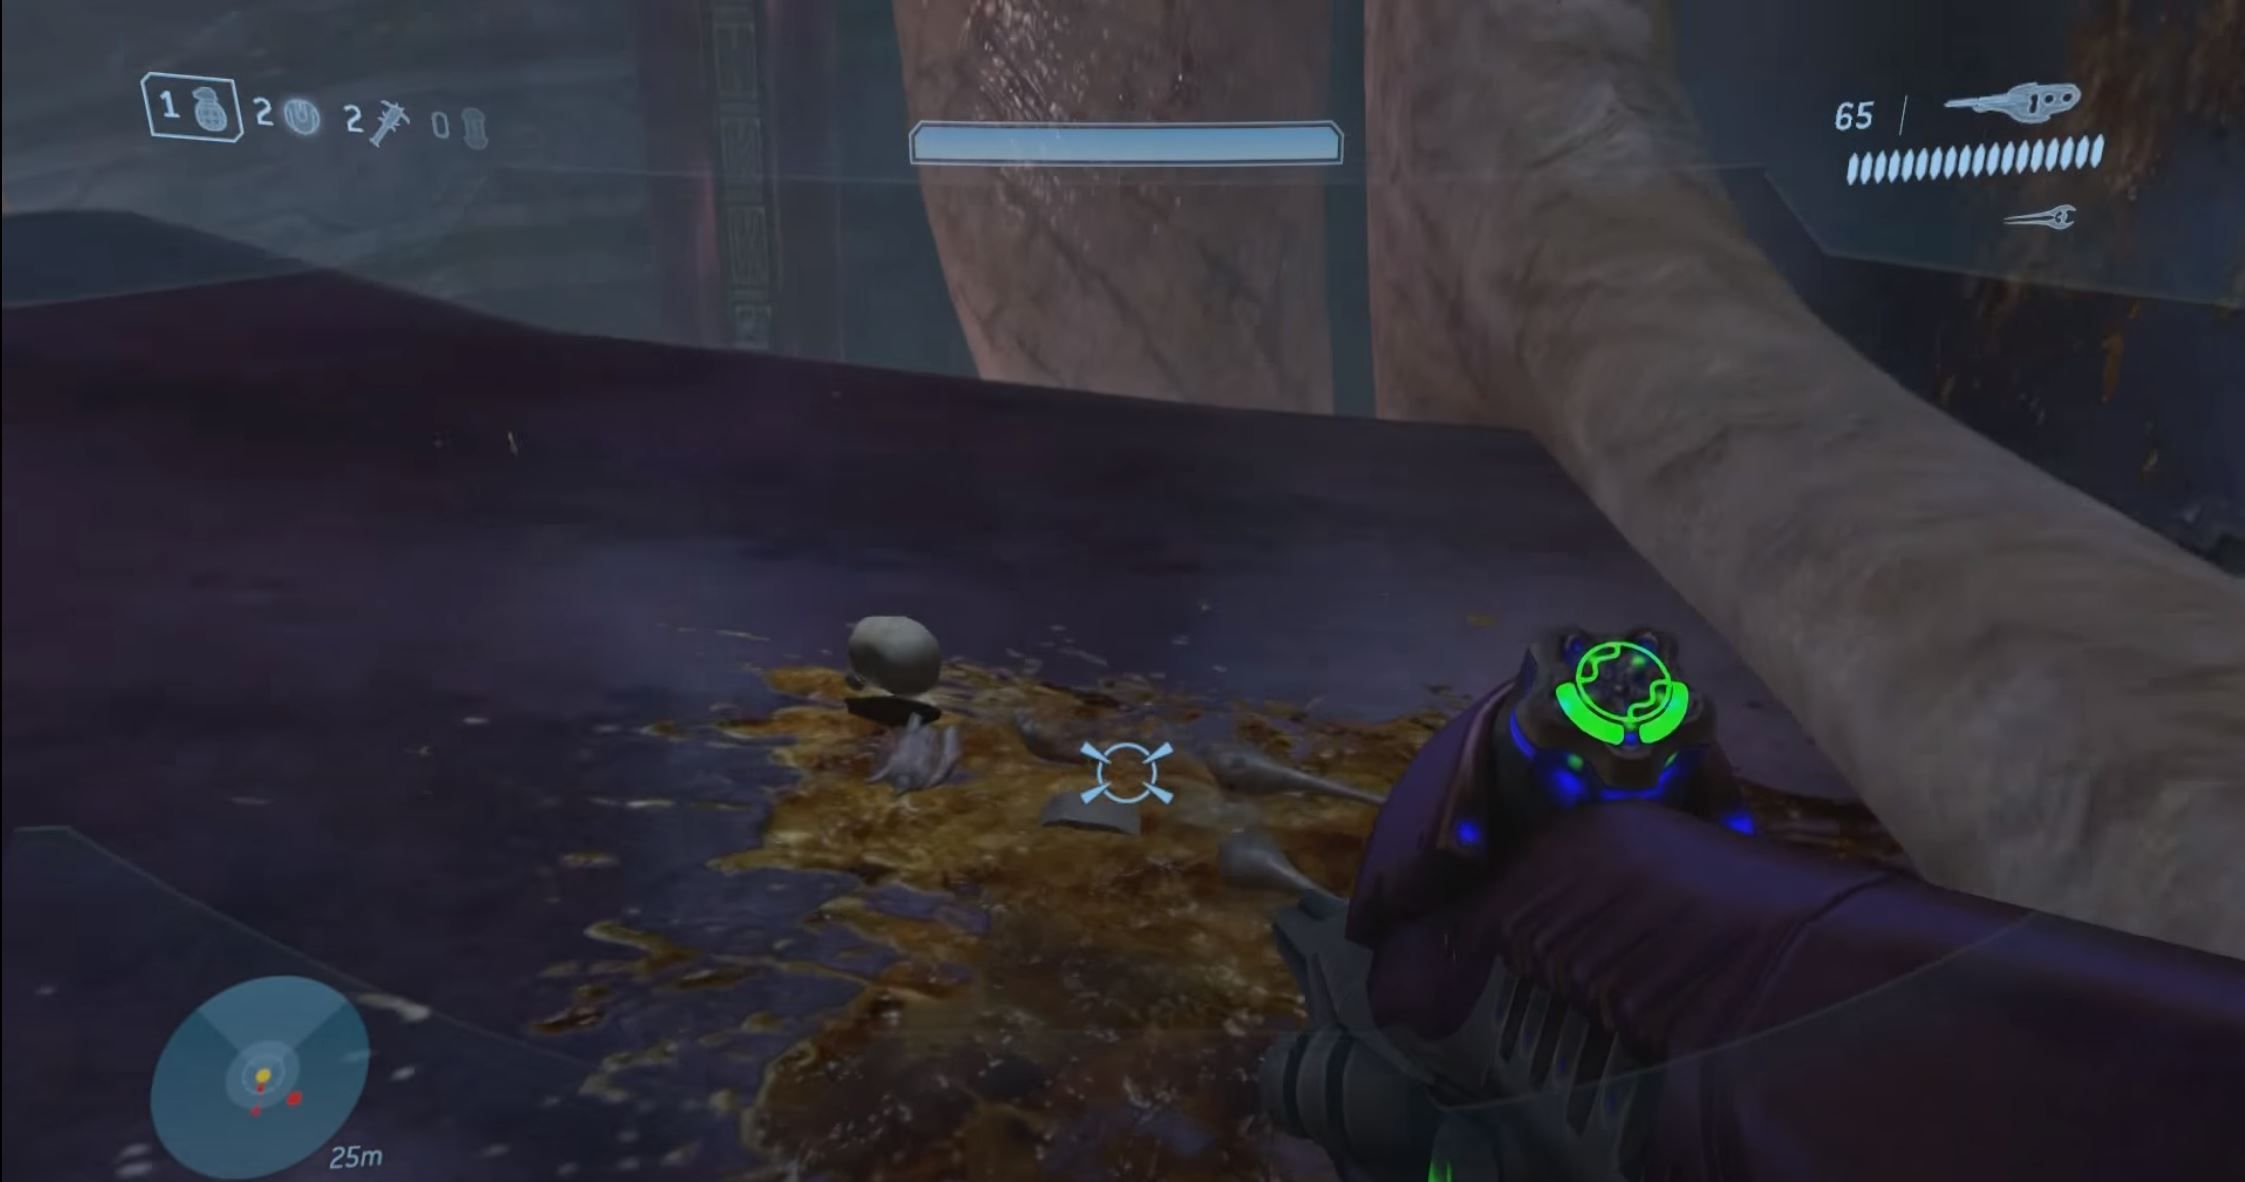
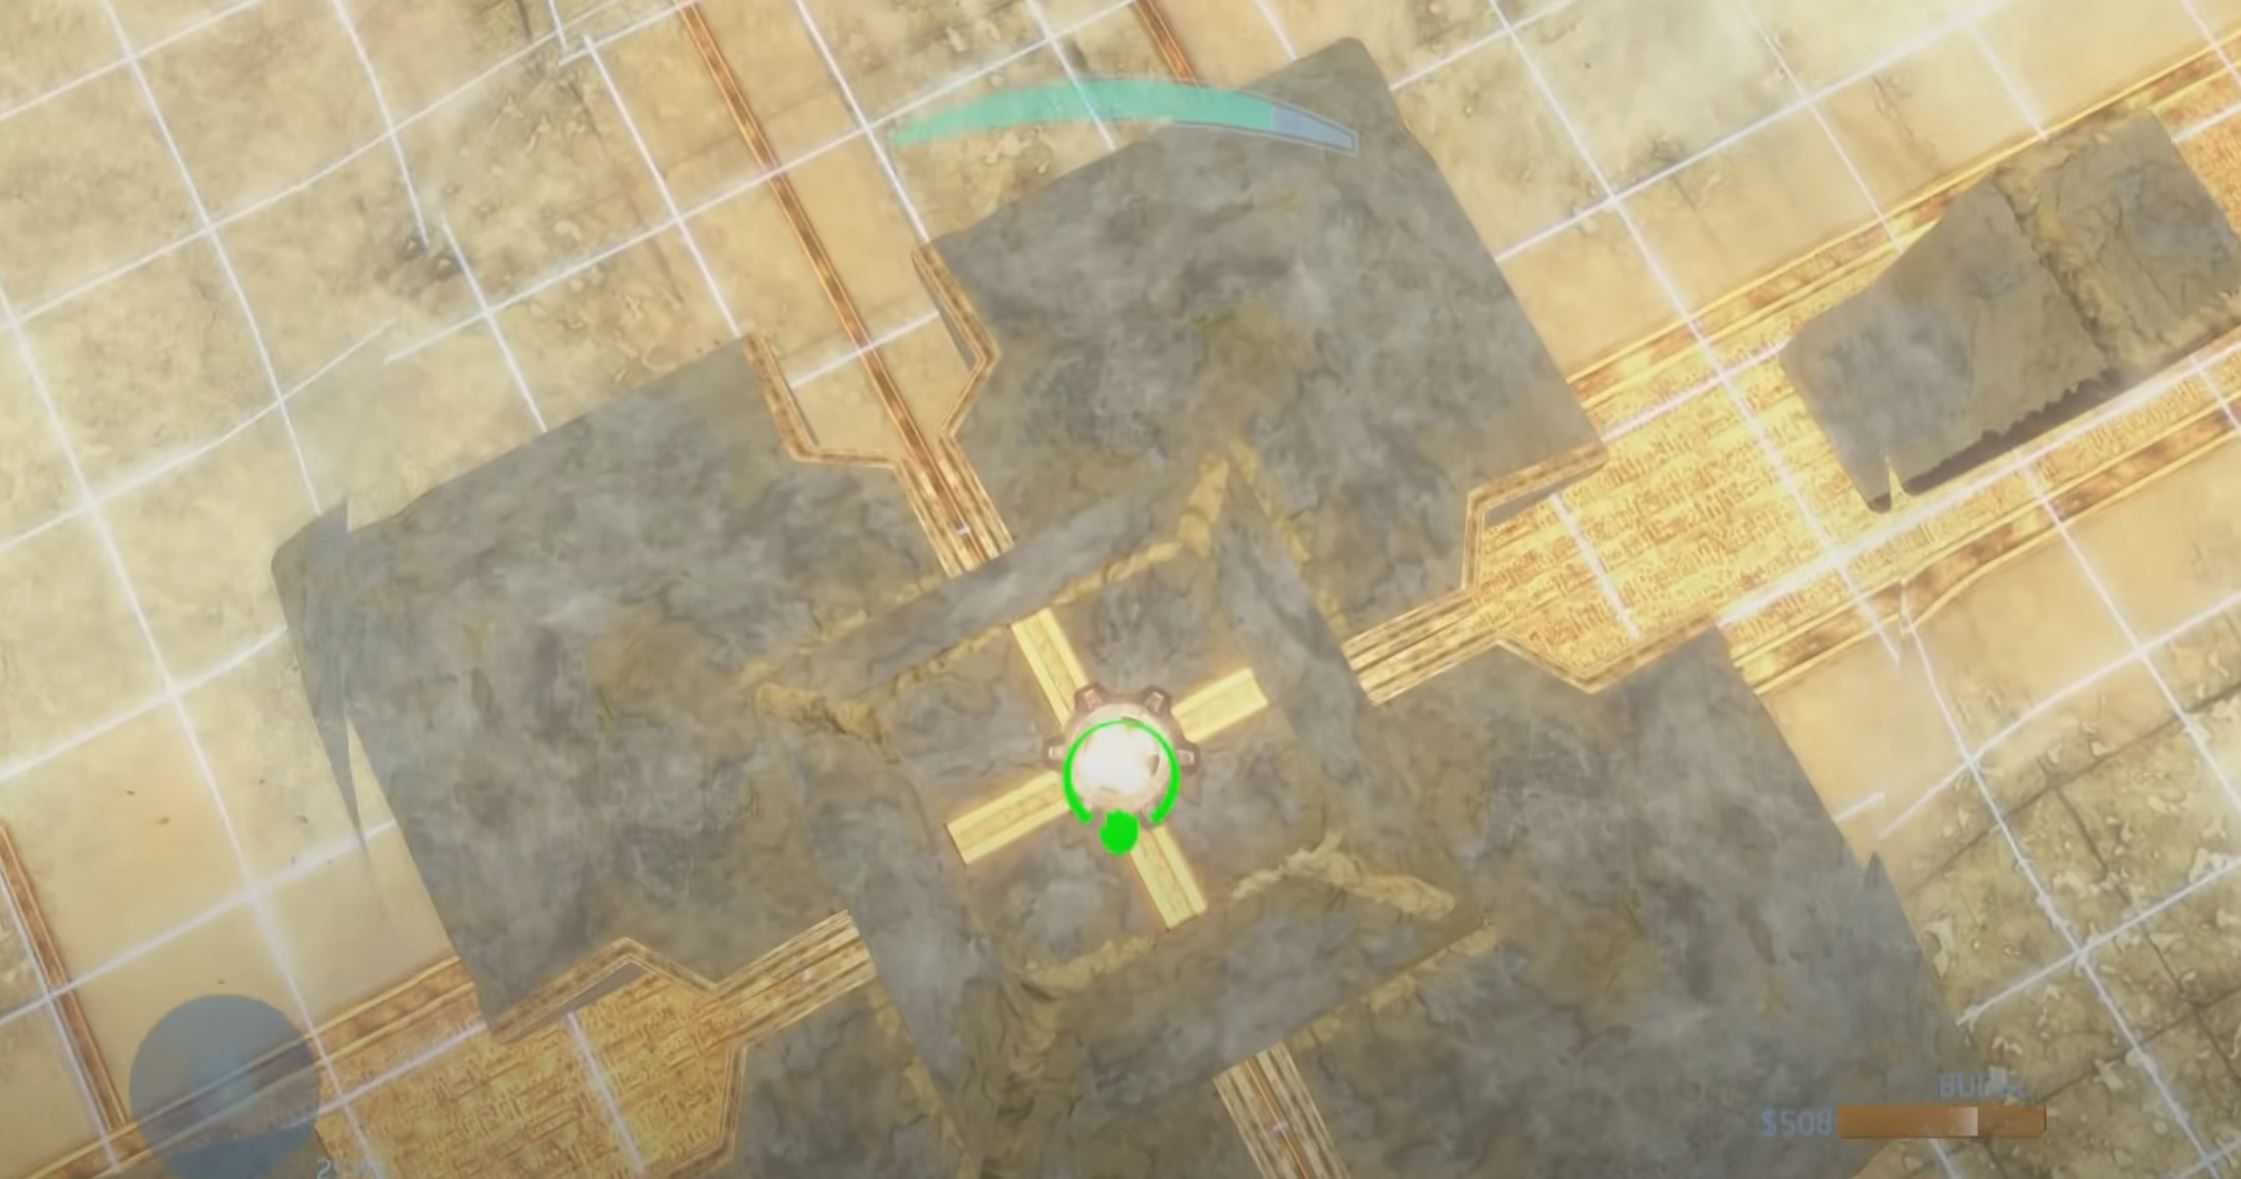
Shortly into the level “Cortana”, you will come to a large circular room, pictured below, where the “Tilt” skull can be found. Once you get in here, jump up the curved purple barrier to your left.
Jump to the beige platforms forward and to your left, then take a hard right and jump up to the higher platform in front of you, then again up to the top of the room.
Up here, the skull can be found sitting in a pile of goo.
This skull causes enemy weakness and resistances to be doubled.
Halo
Mythic
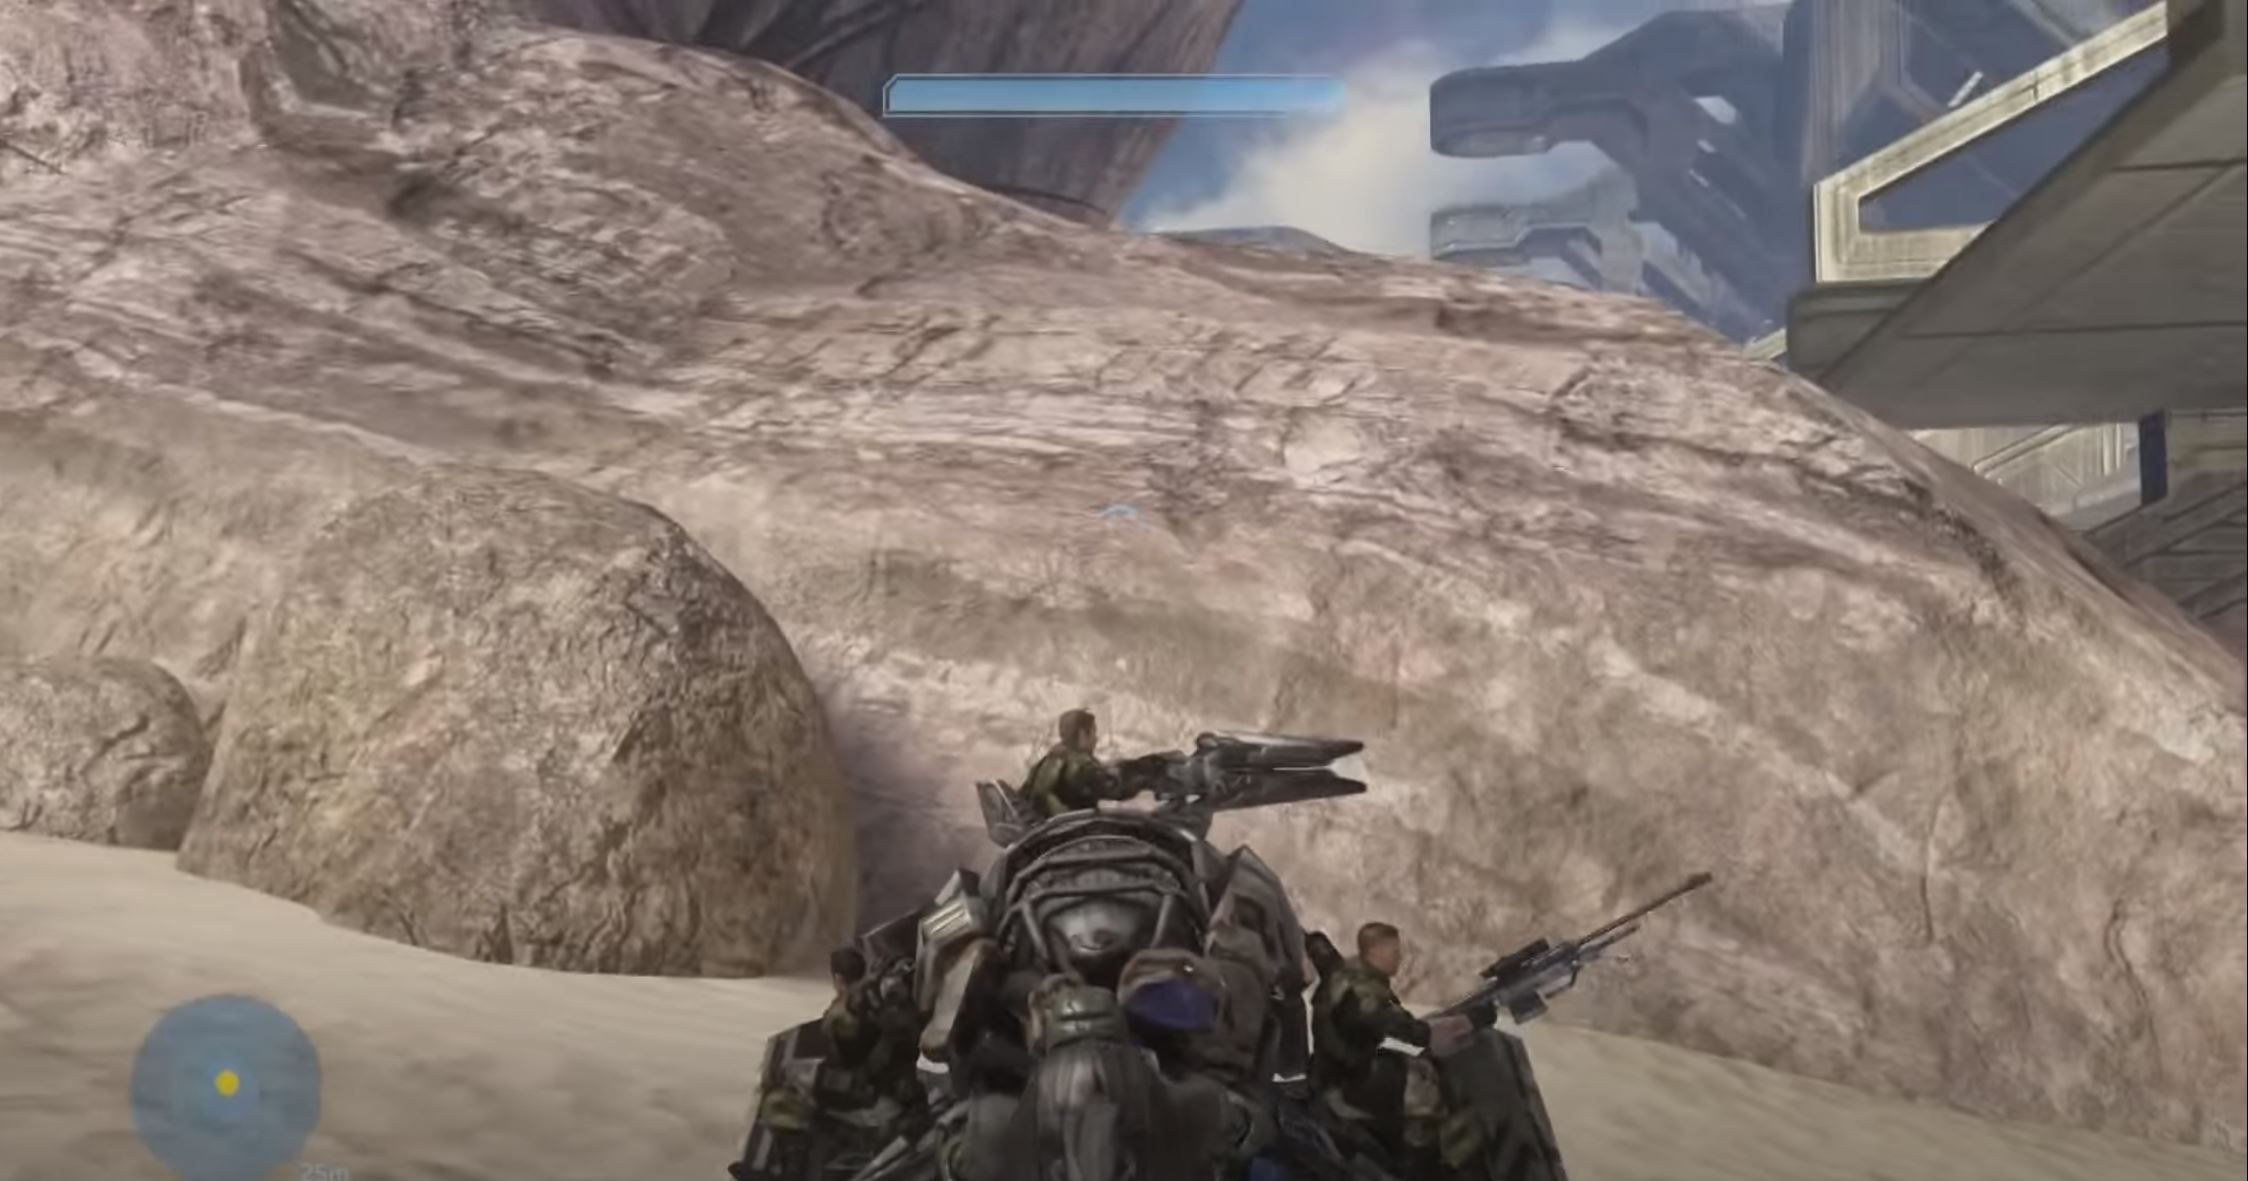
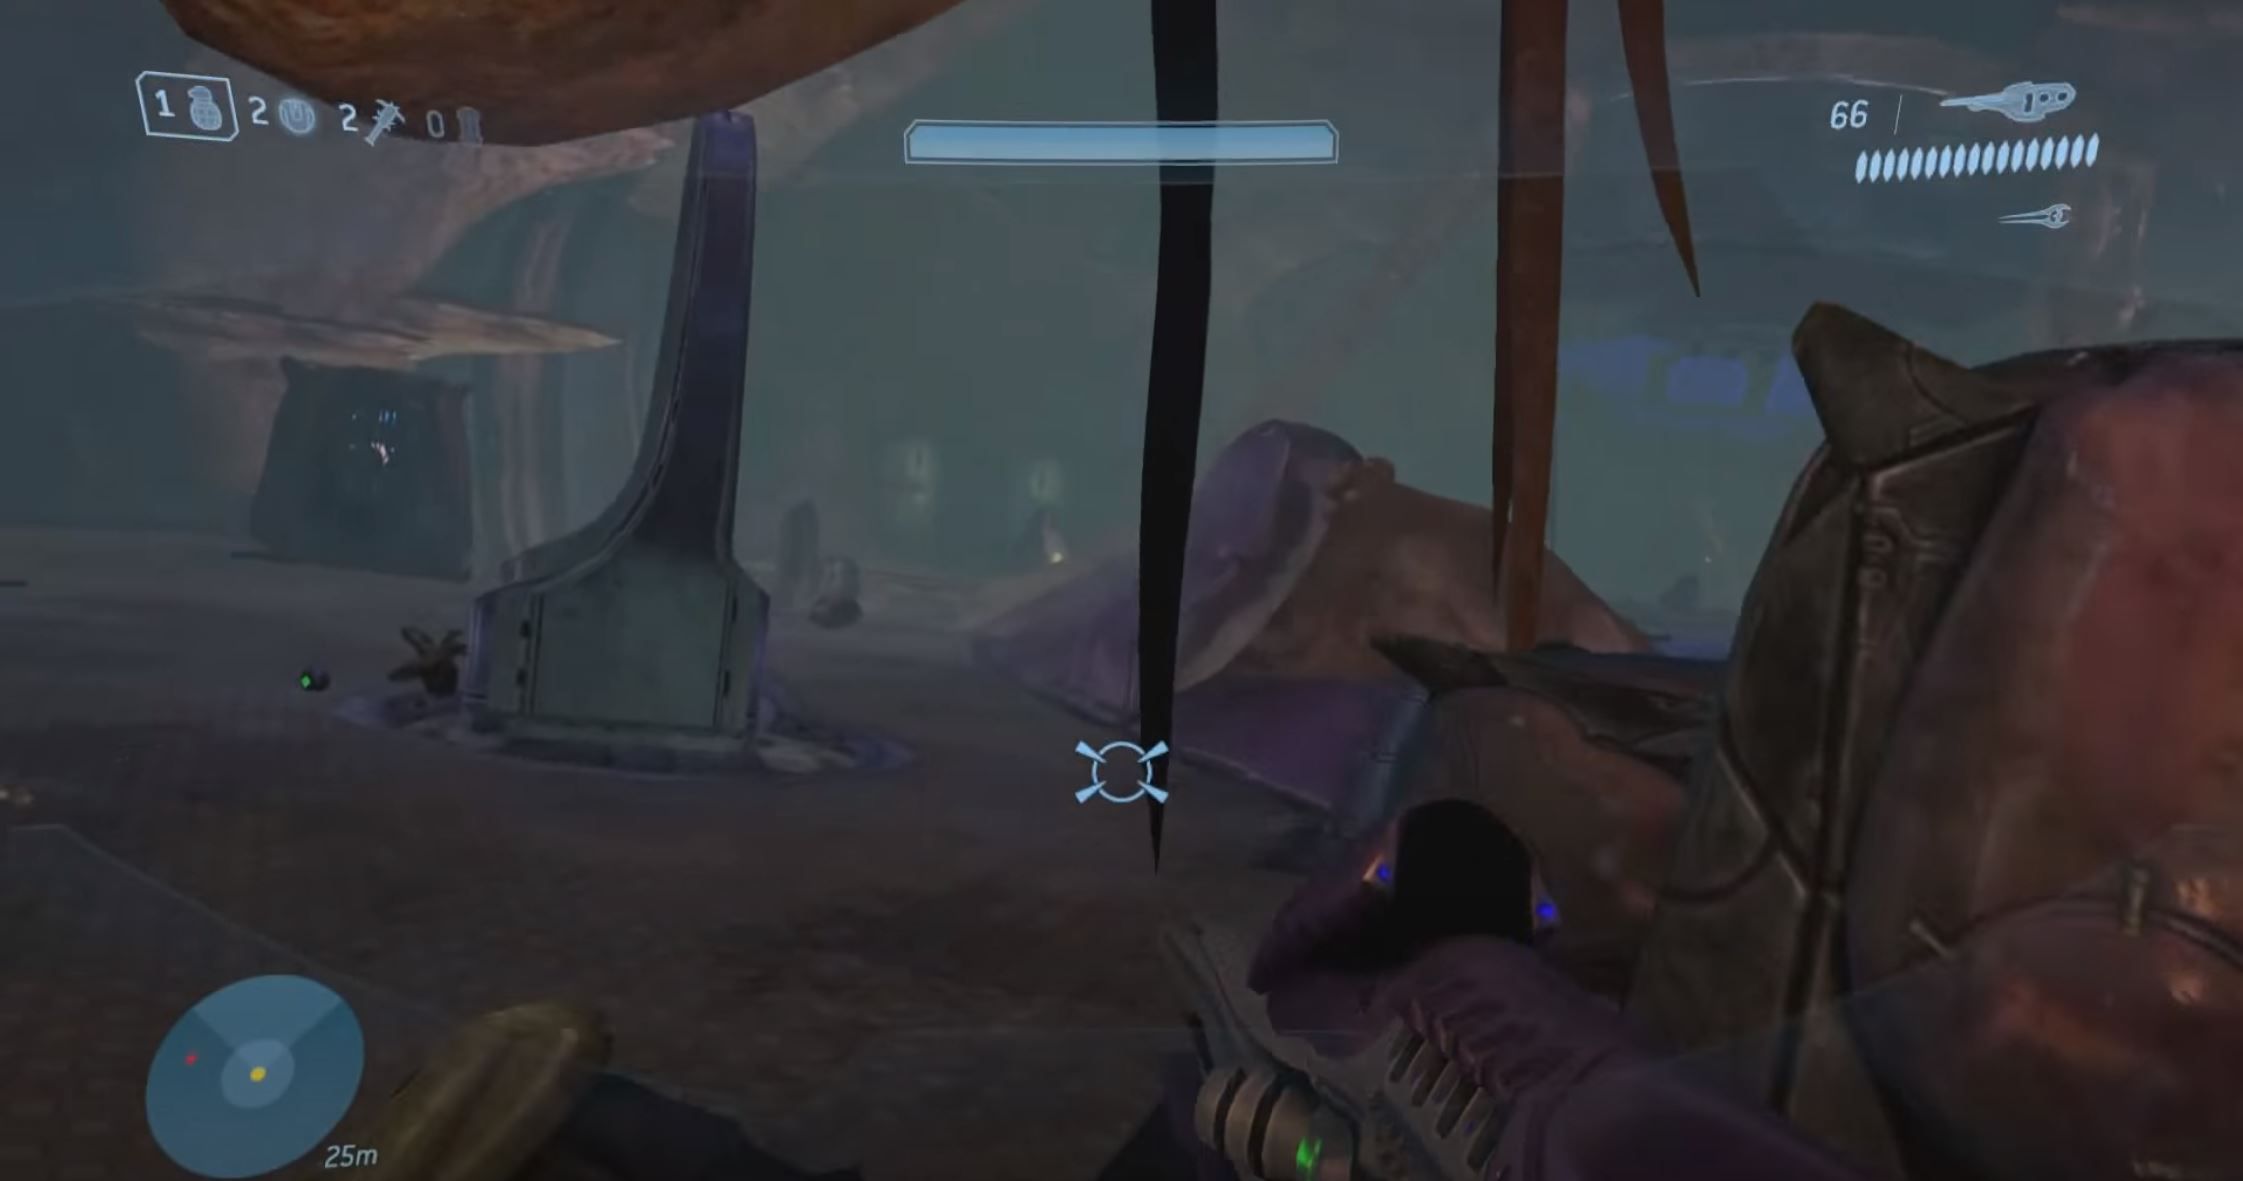
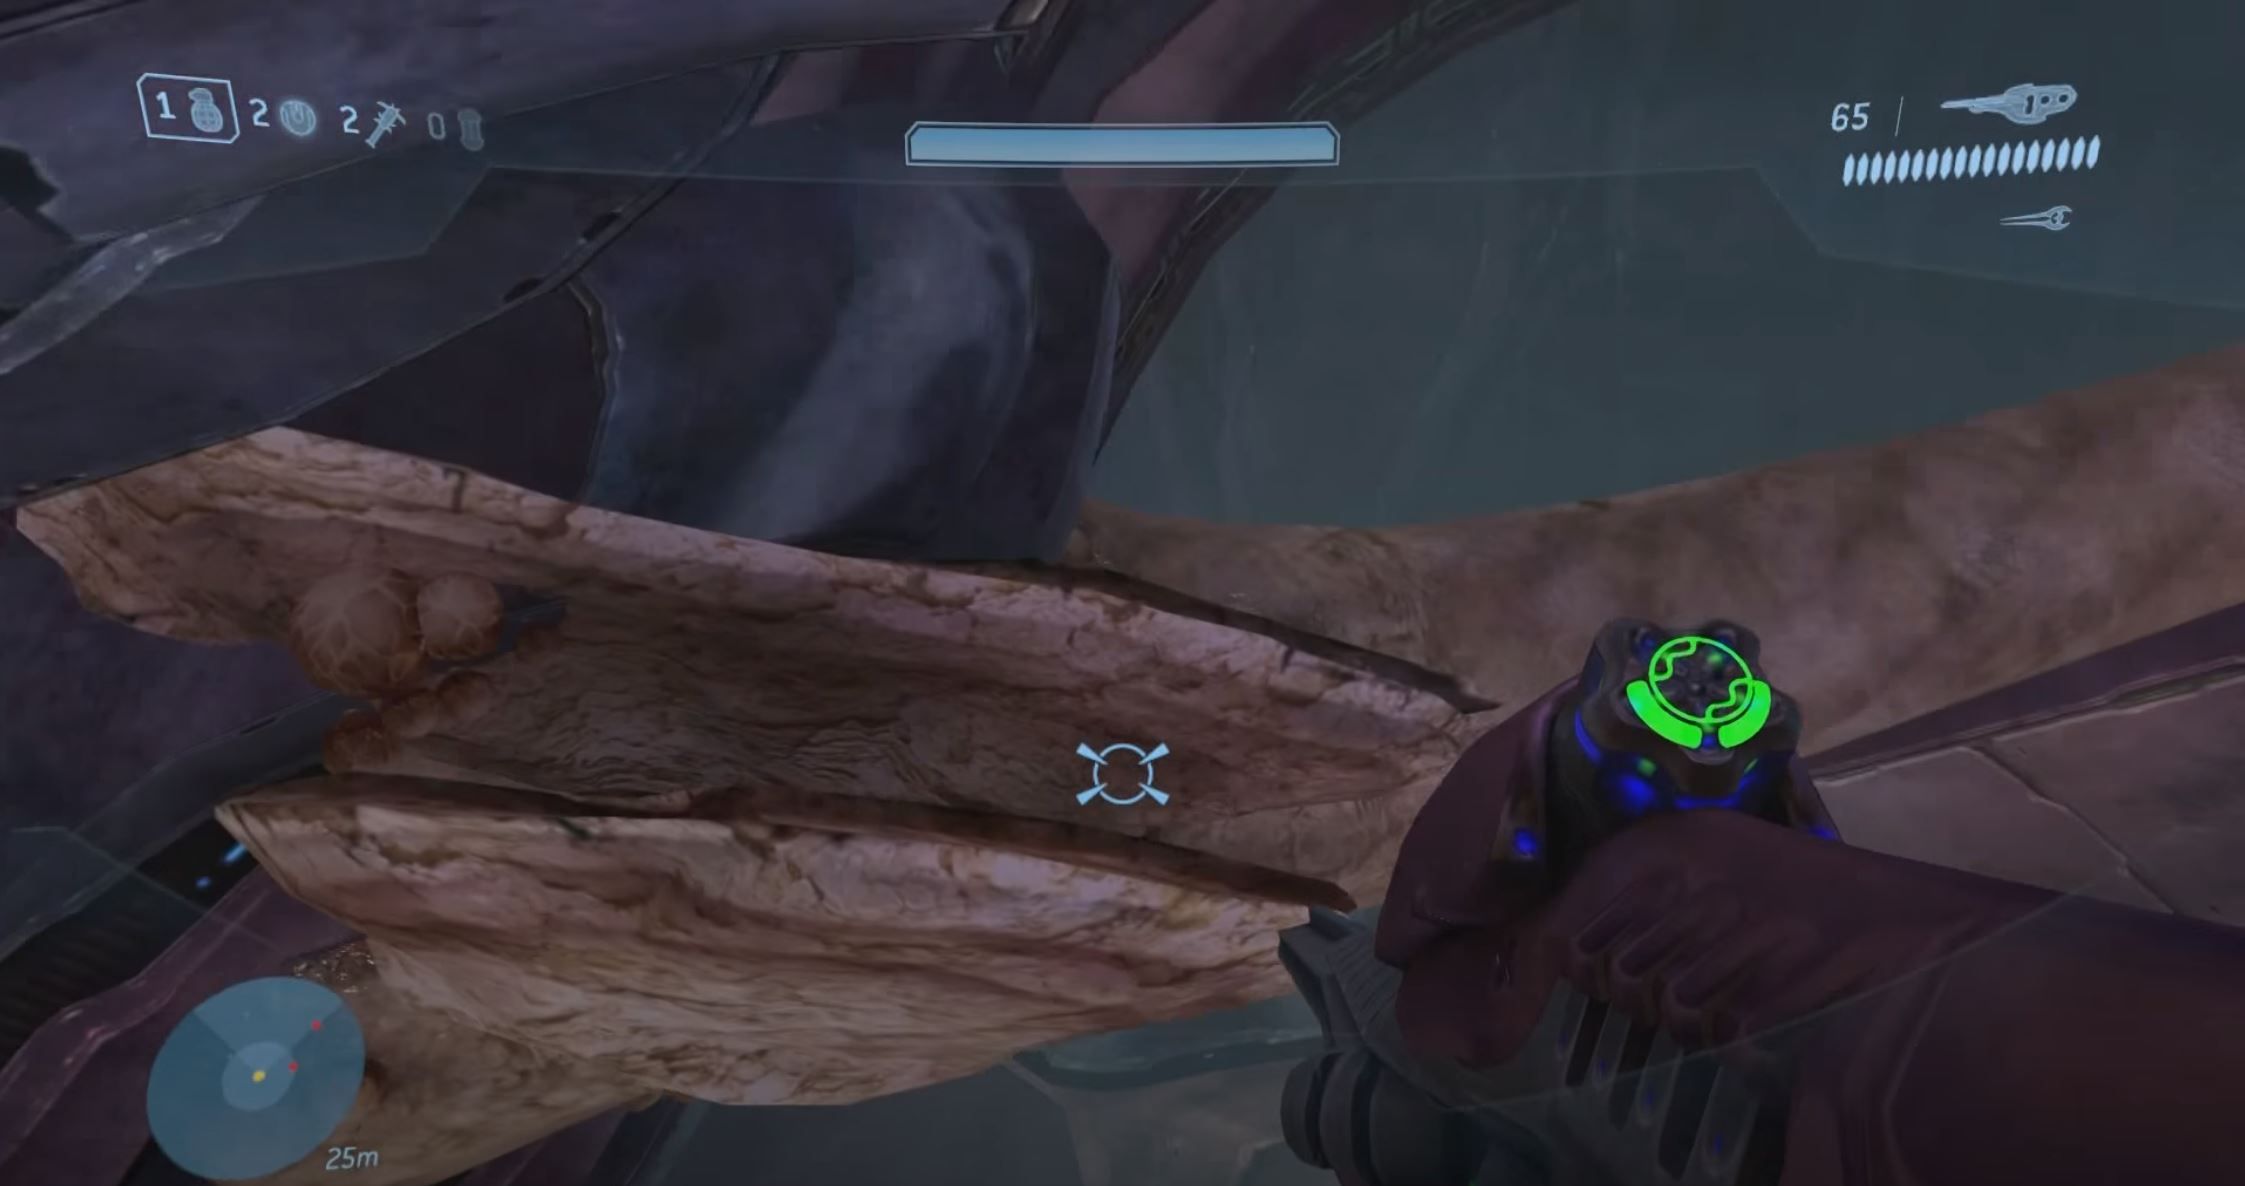
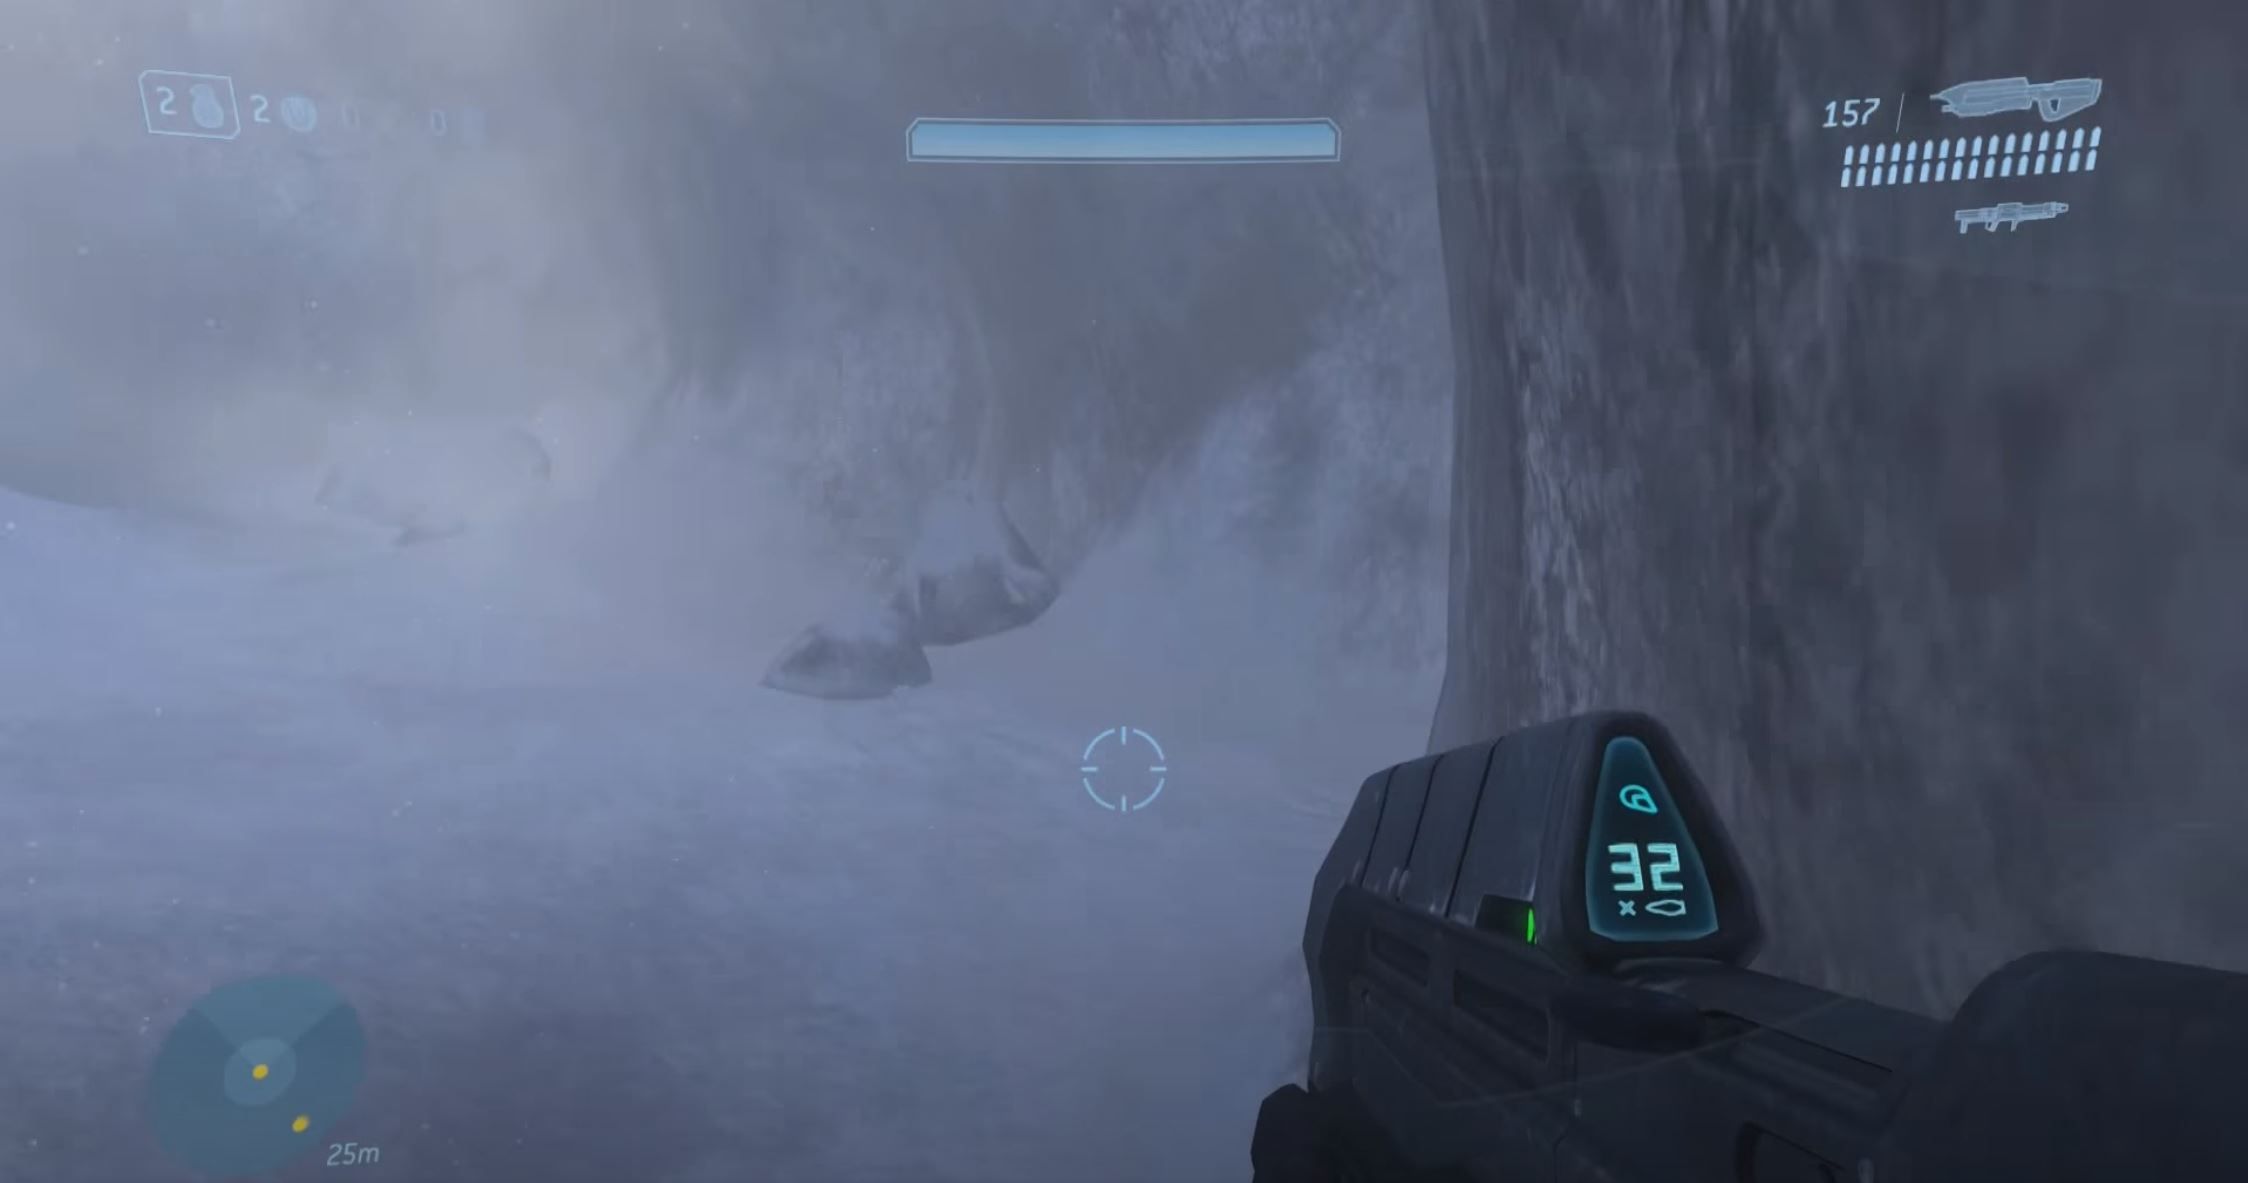
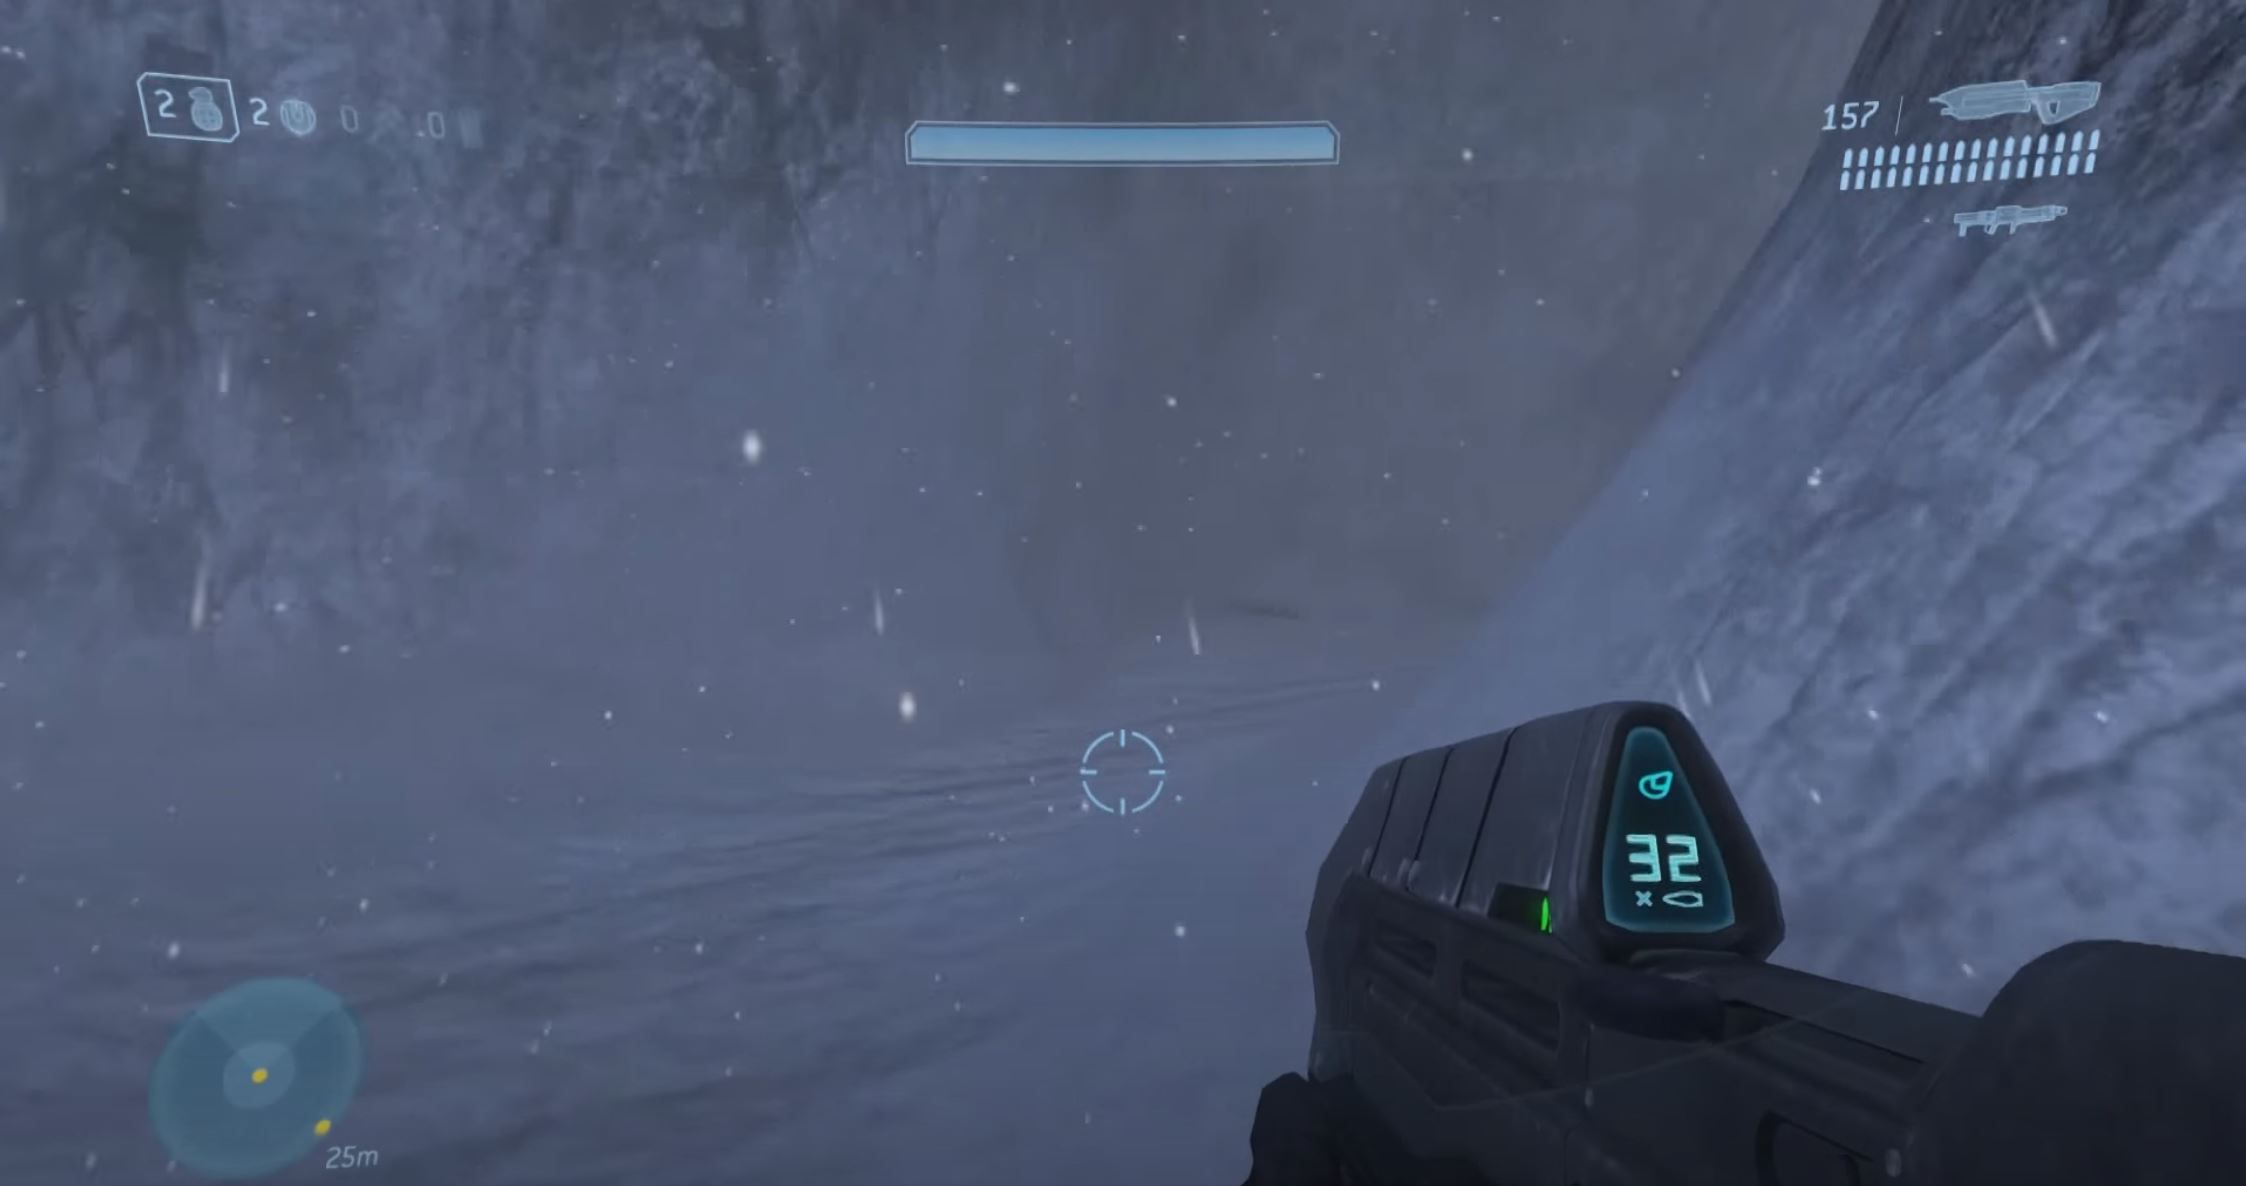
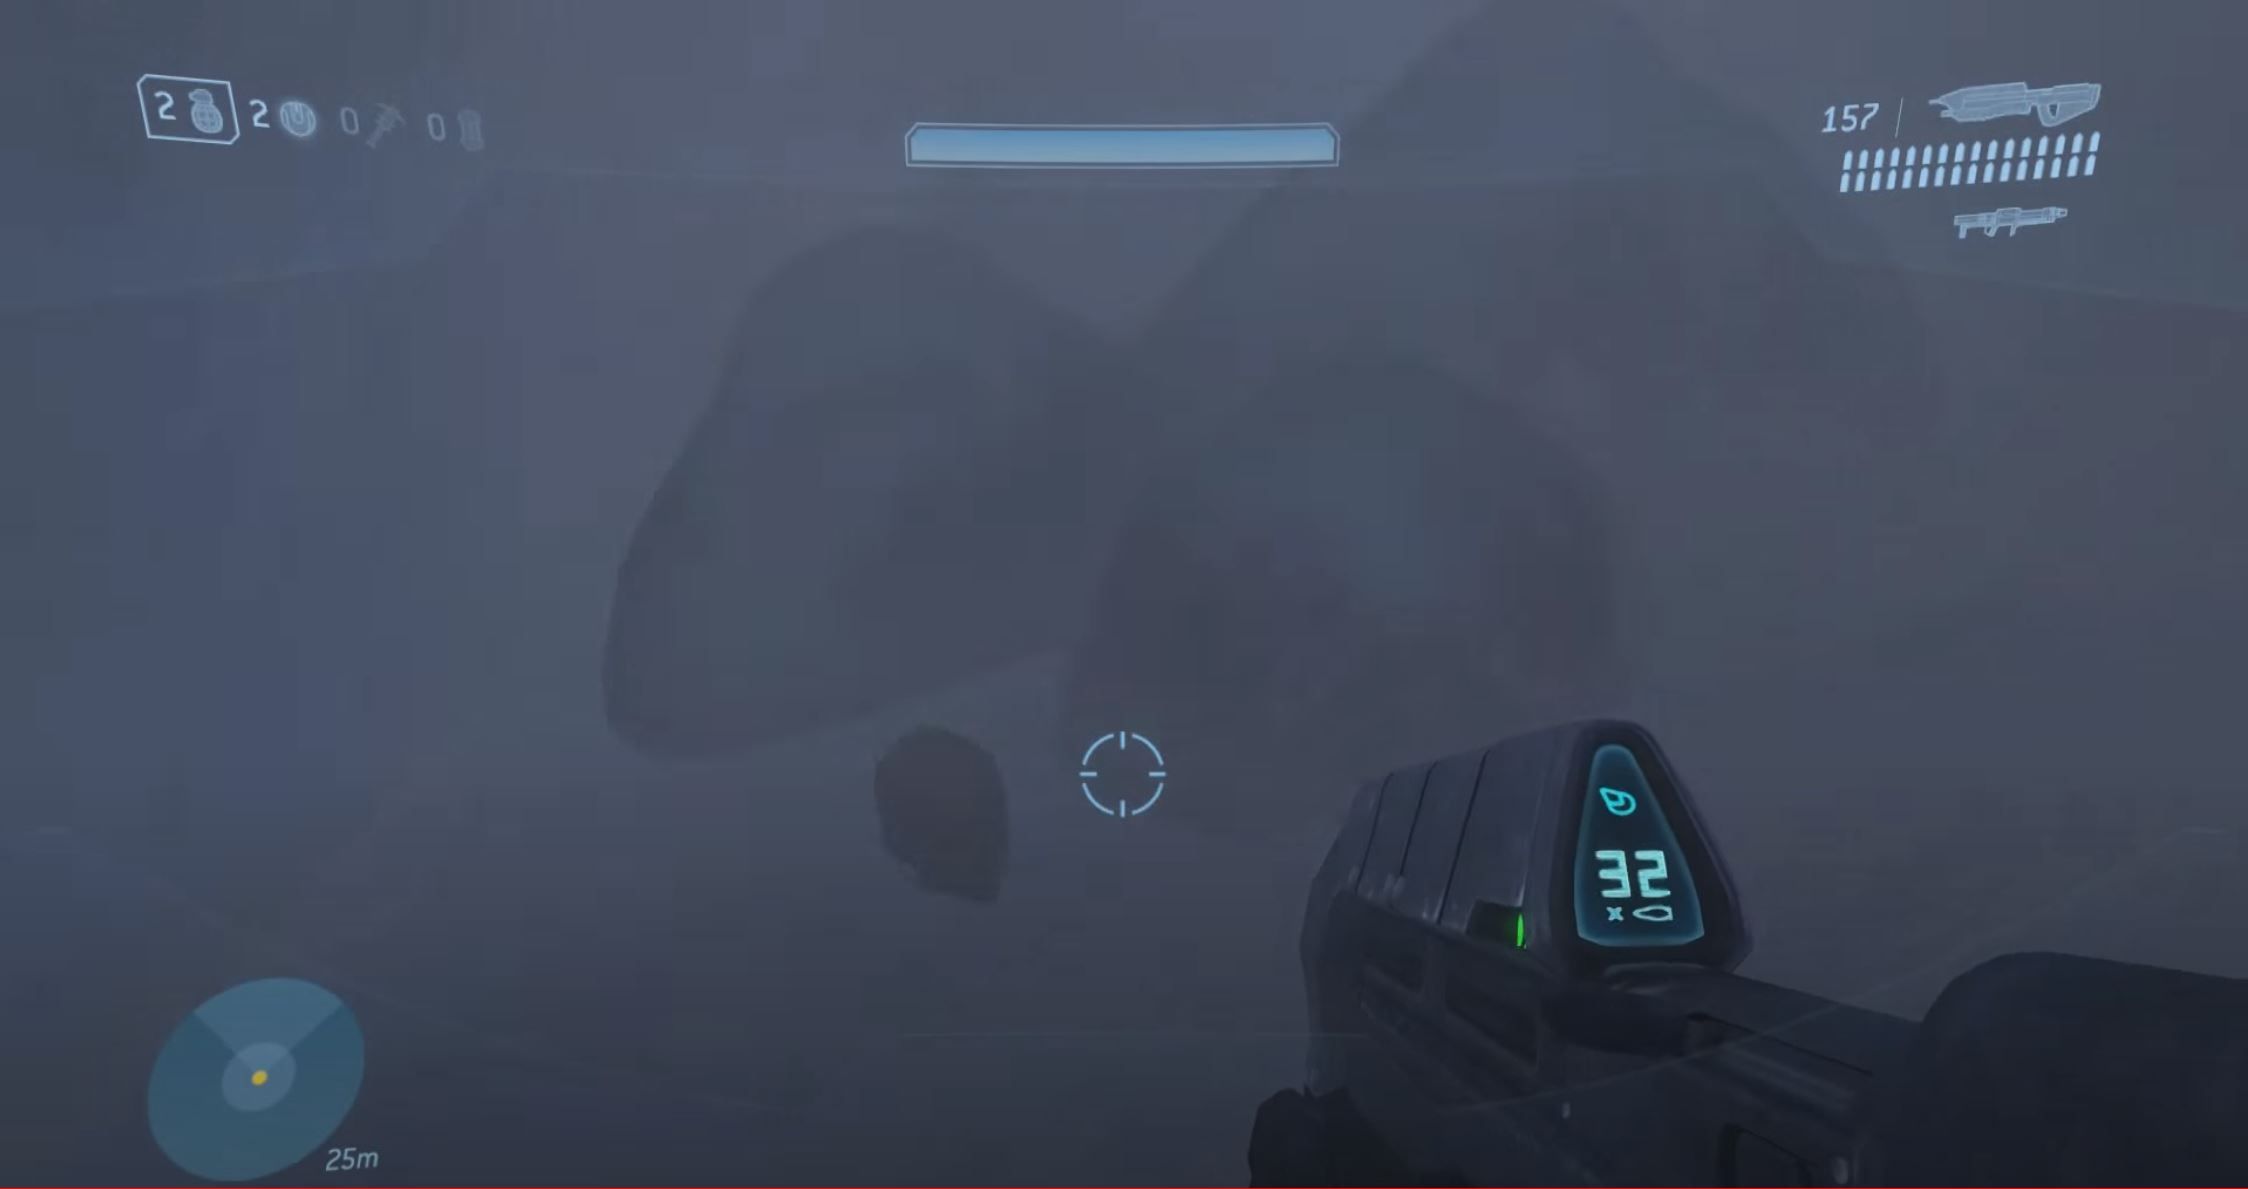
The final skull in the game, “Mythic” is also the easiest, and can be found at the very beginning of the final mission, Halo. Right from the start, continue forward through the glacier, hugging the right wall, until you see the two rocks pictured below.
Right before those two rocks, to the right will be a crevice that leads into the mountain. If you hugged the right wall, you should have ended up here naturally.
Proceed through the crevice to find the skull sitting amongst some rocks.
This skull doubles the amount of health that enemies have.
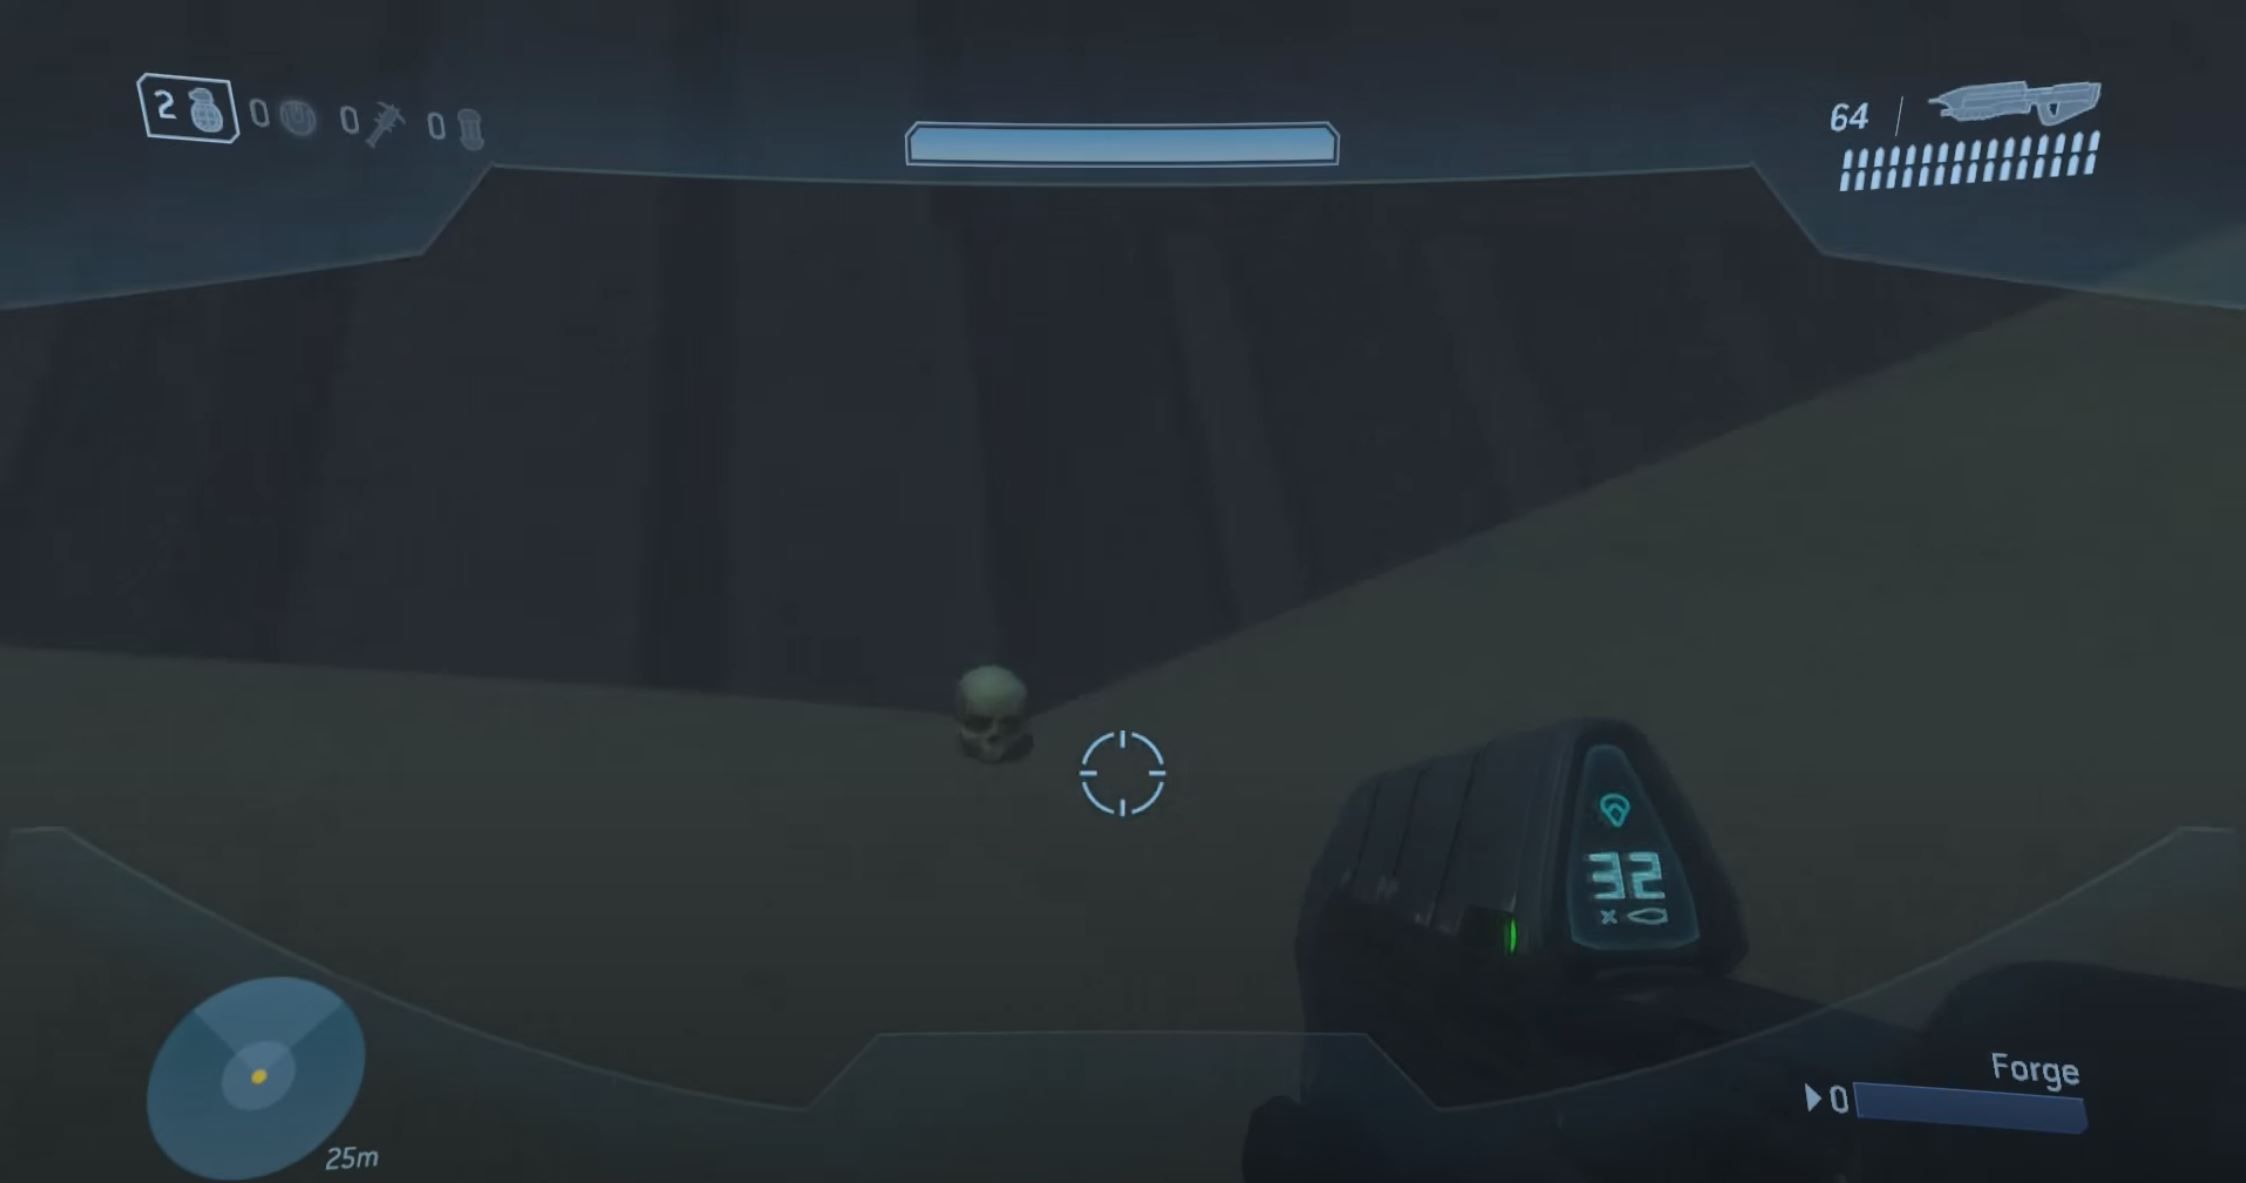
There are six skulls hidden throughout six multiplayer maps. These are much easier to attain than the campaign skulls (with the exception of the skull on Sandbox), and should be gotten in forge, where you can simply turn into the monitor and fly to the skulls. Once you reach them, turn back into a spartan/elite and quickly hold the reload button to pick up the skull. These skulls don’t have in-game effects like the campaign ones do, but they do count for achievements.
Assembly
The first skull can be found on the map Assembly. Turn into the monitor and fly around the center structure of the map. On top of one of two “arms” that extend upward from the middle structure, the skull can be found sitting on the low part of the arm. Turn into your player to grab it.
Orbital
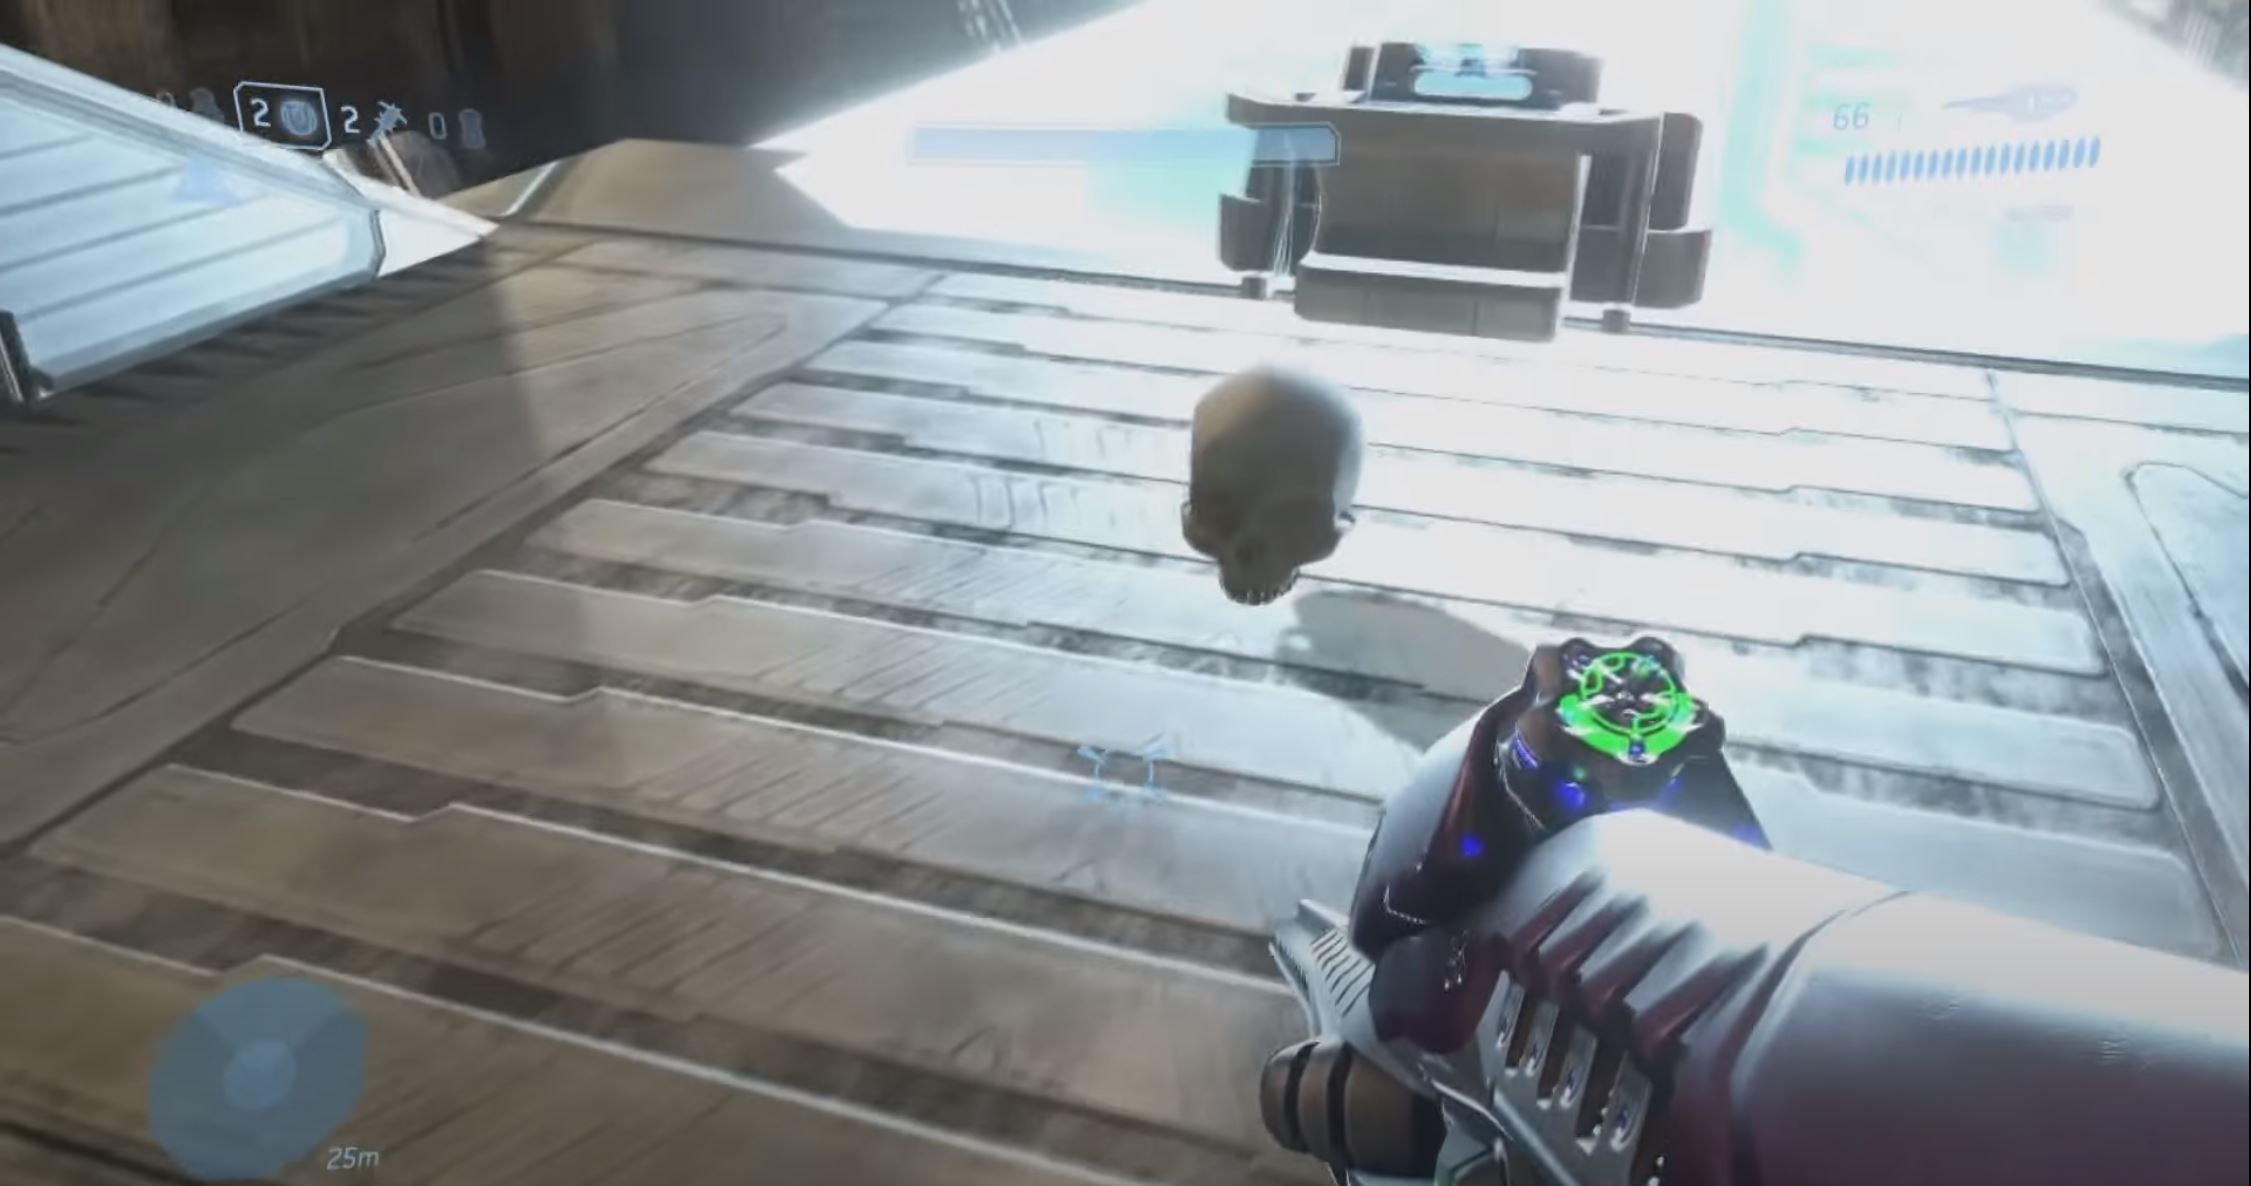
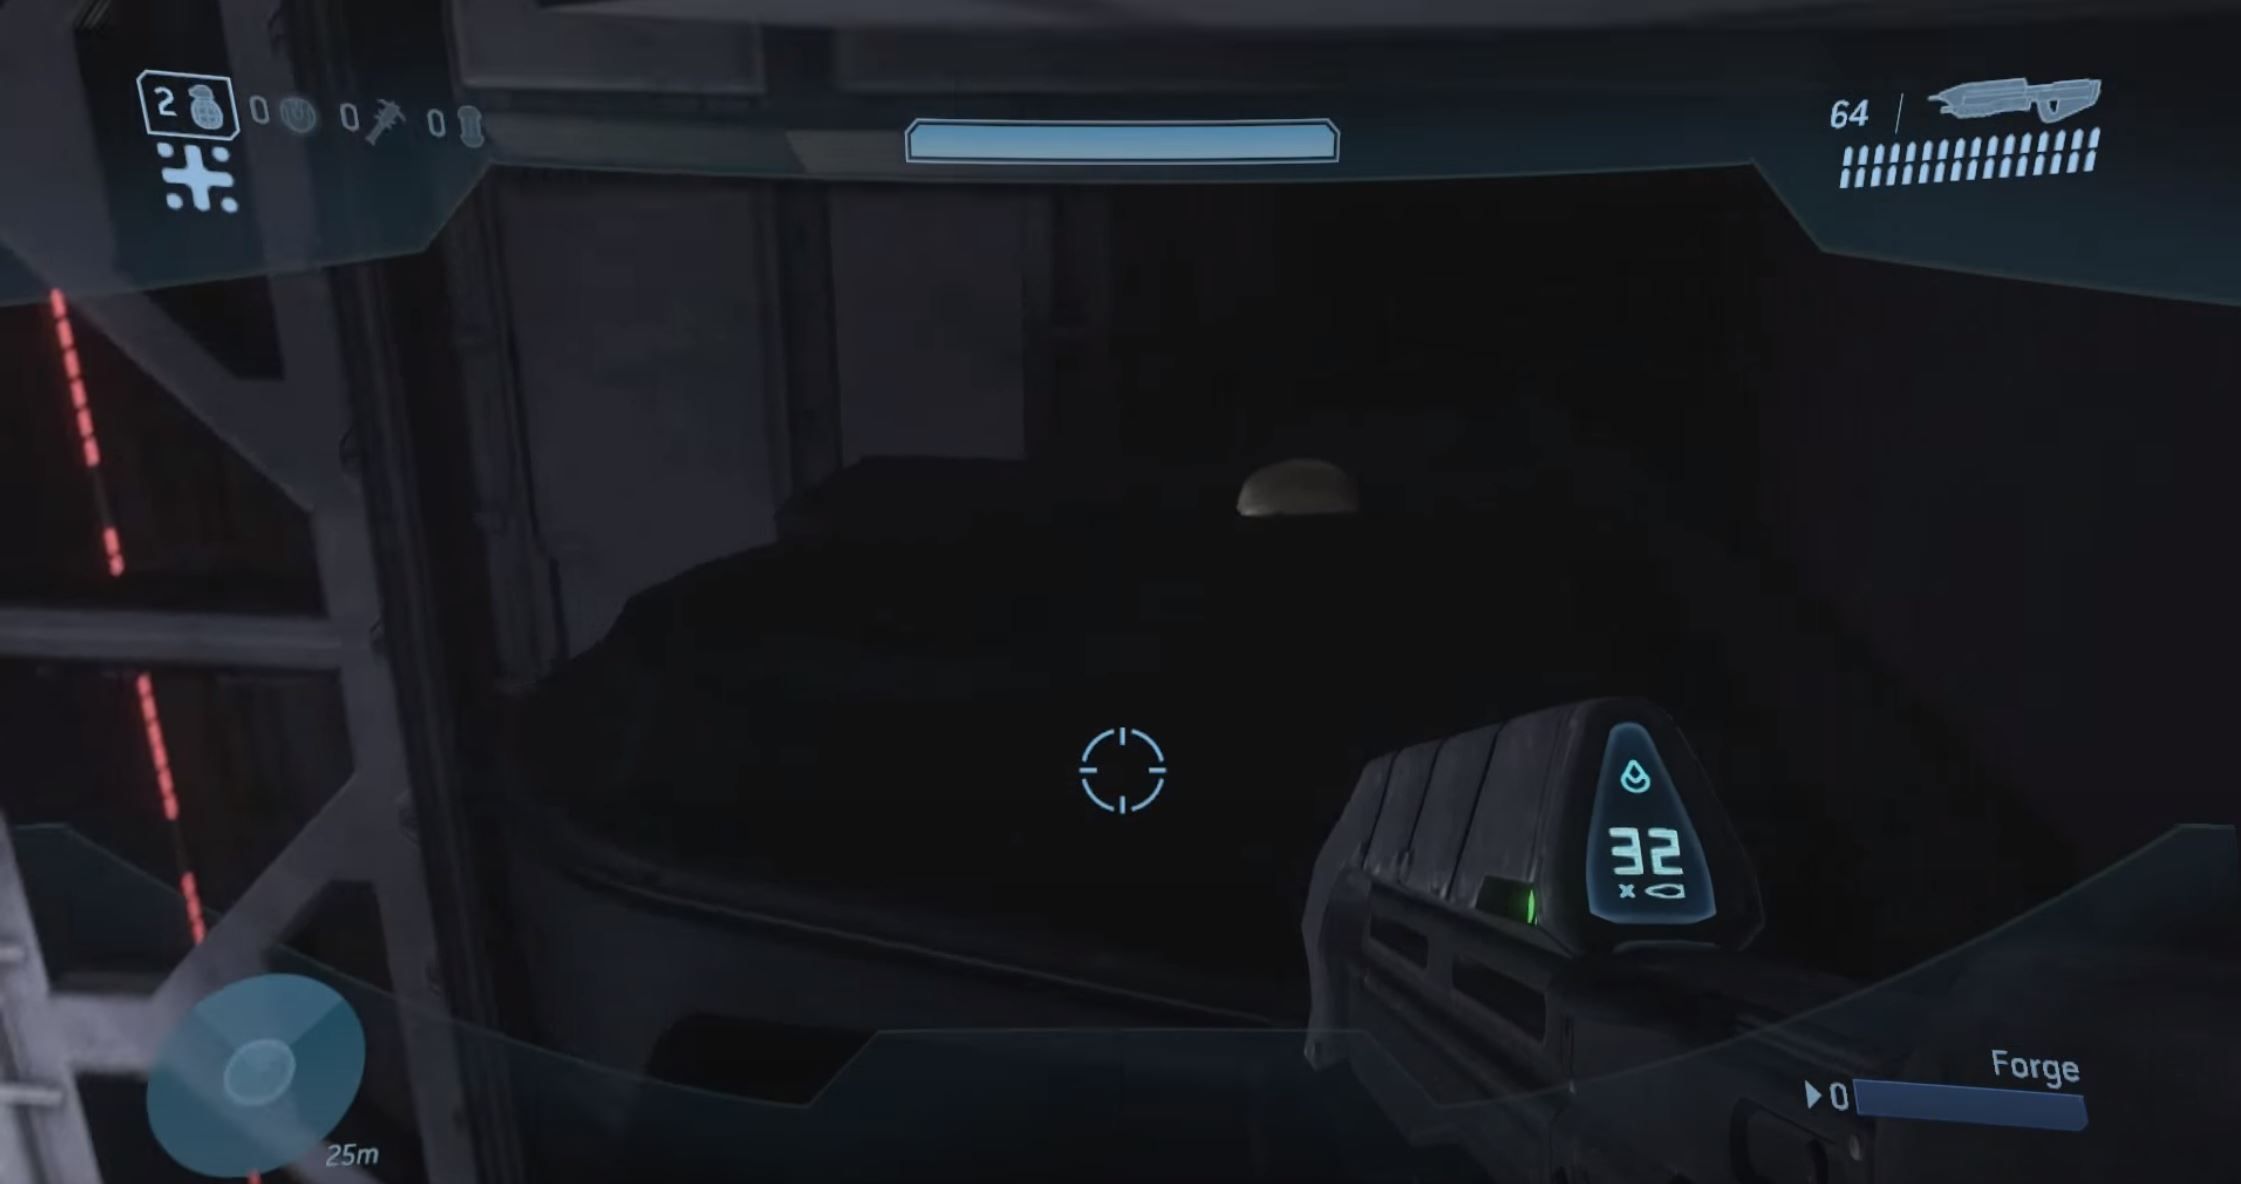
The skull on Orbital can be found above the large hole in the middle of the map. Fly here, pictured below, then go up and look to the right. You should be able to see the skull tucked away in the corner.
You can safely land on the dark platform just above the bright blue light, where you can crouch-walk towards the skull and pick it up.
Sandbox
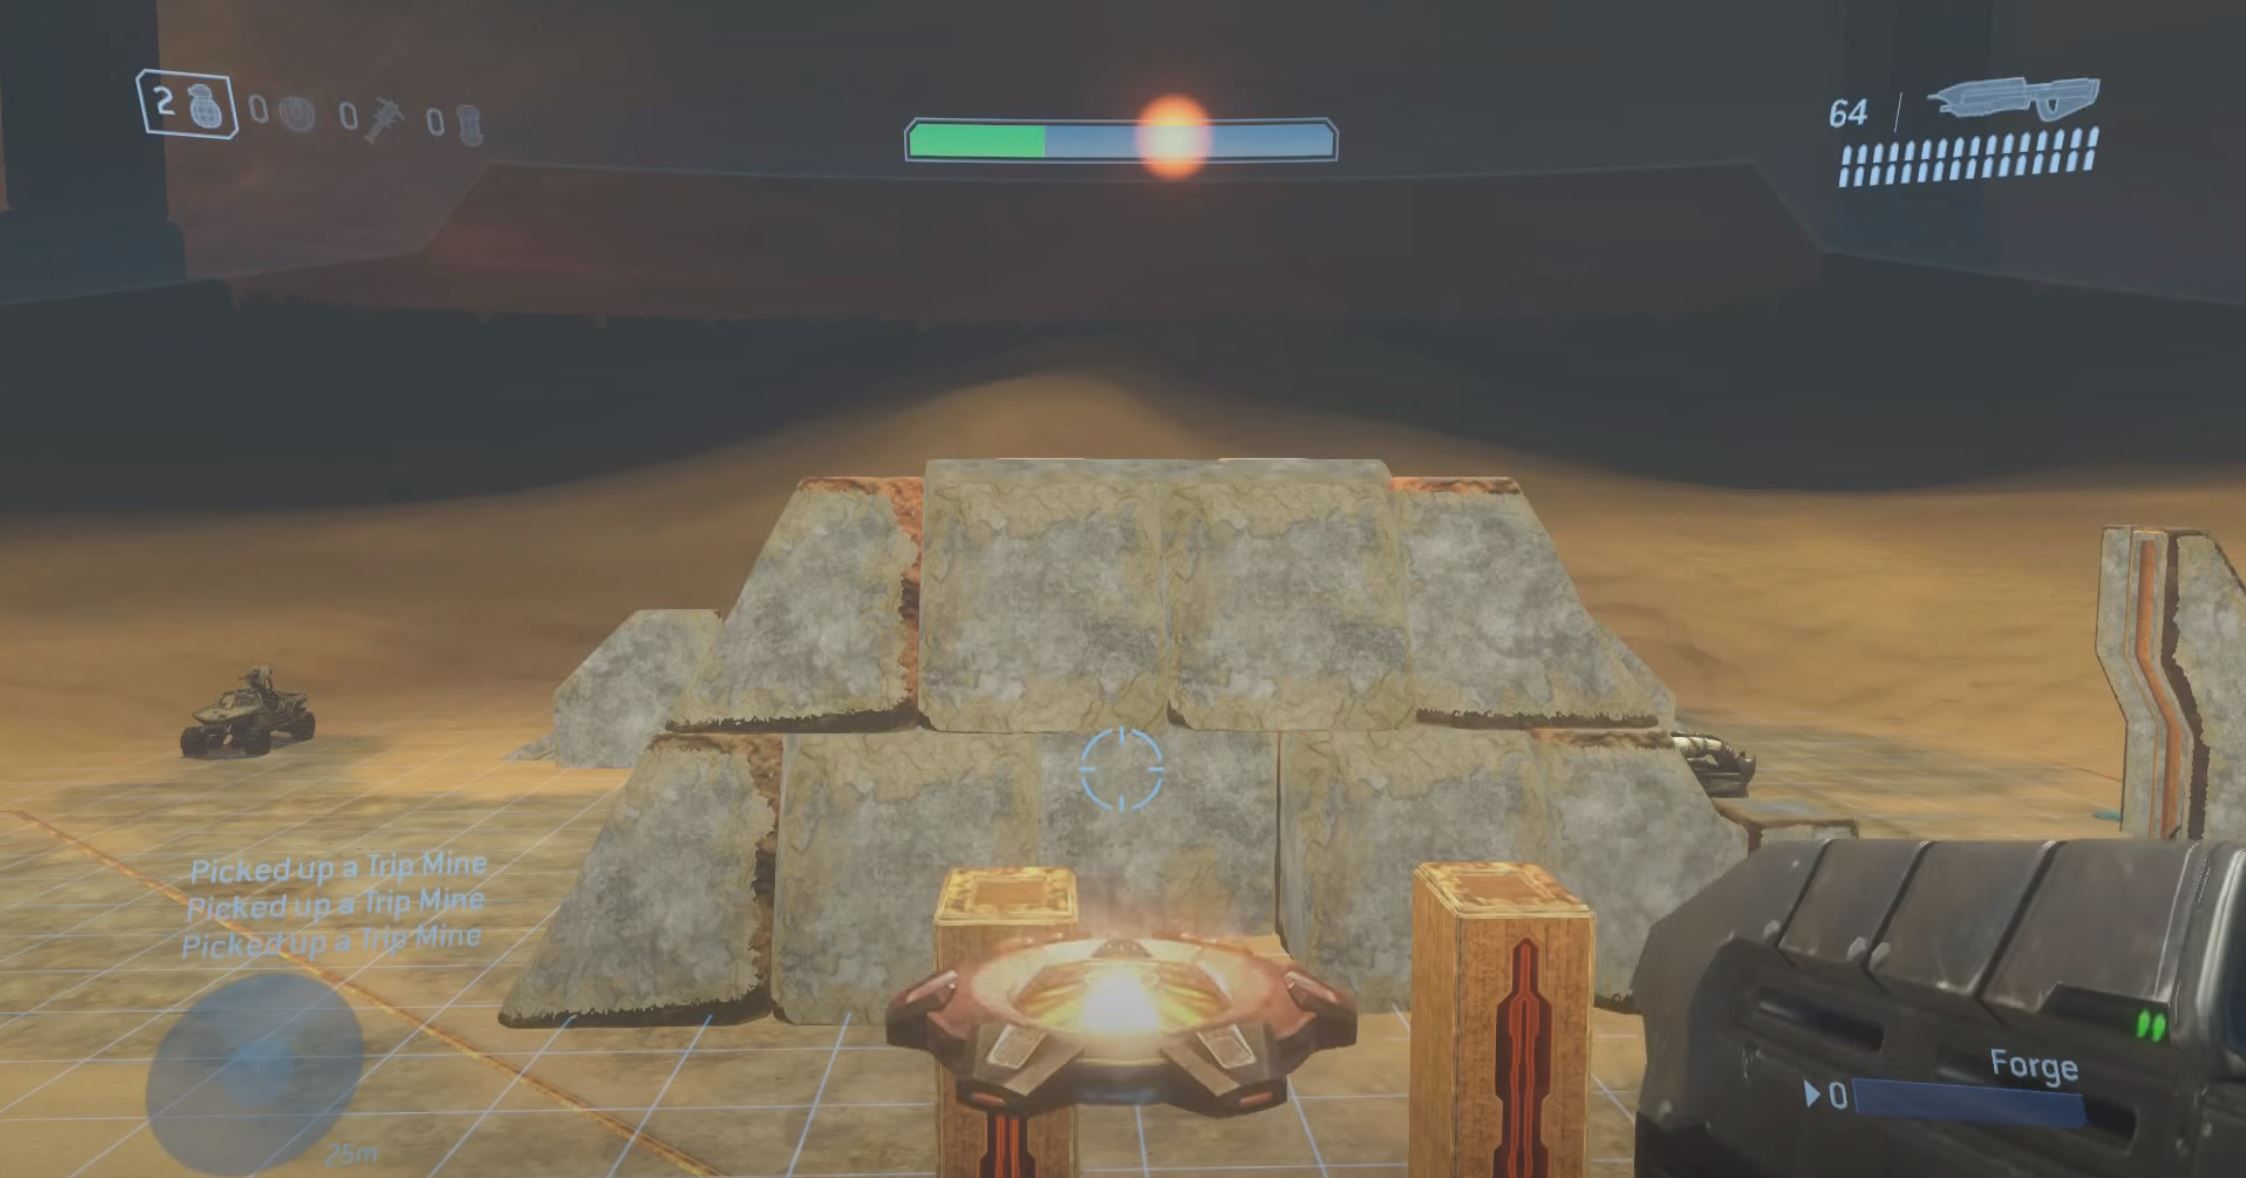
This is the most involved of the six multiplayer skulls, but there’s a clever way to get it easily. To get the Sandbox skull, start by spawning a trip mine from the “Equipment” section of the forge menu, and place it on top of the center pillar in the middle of the map.
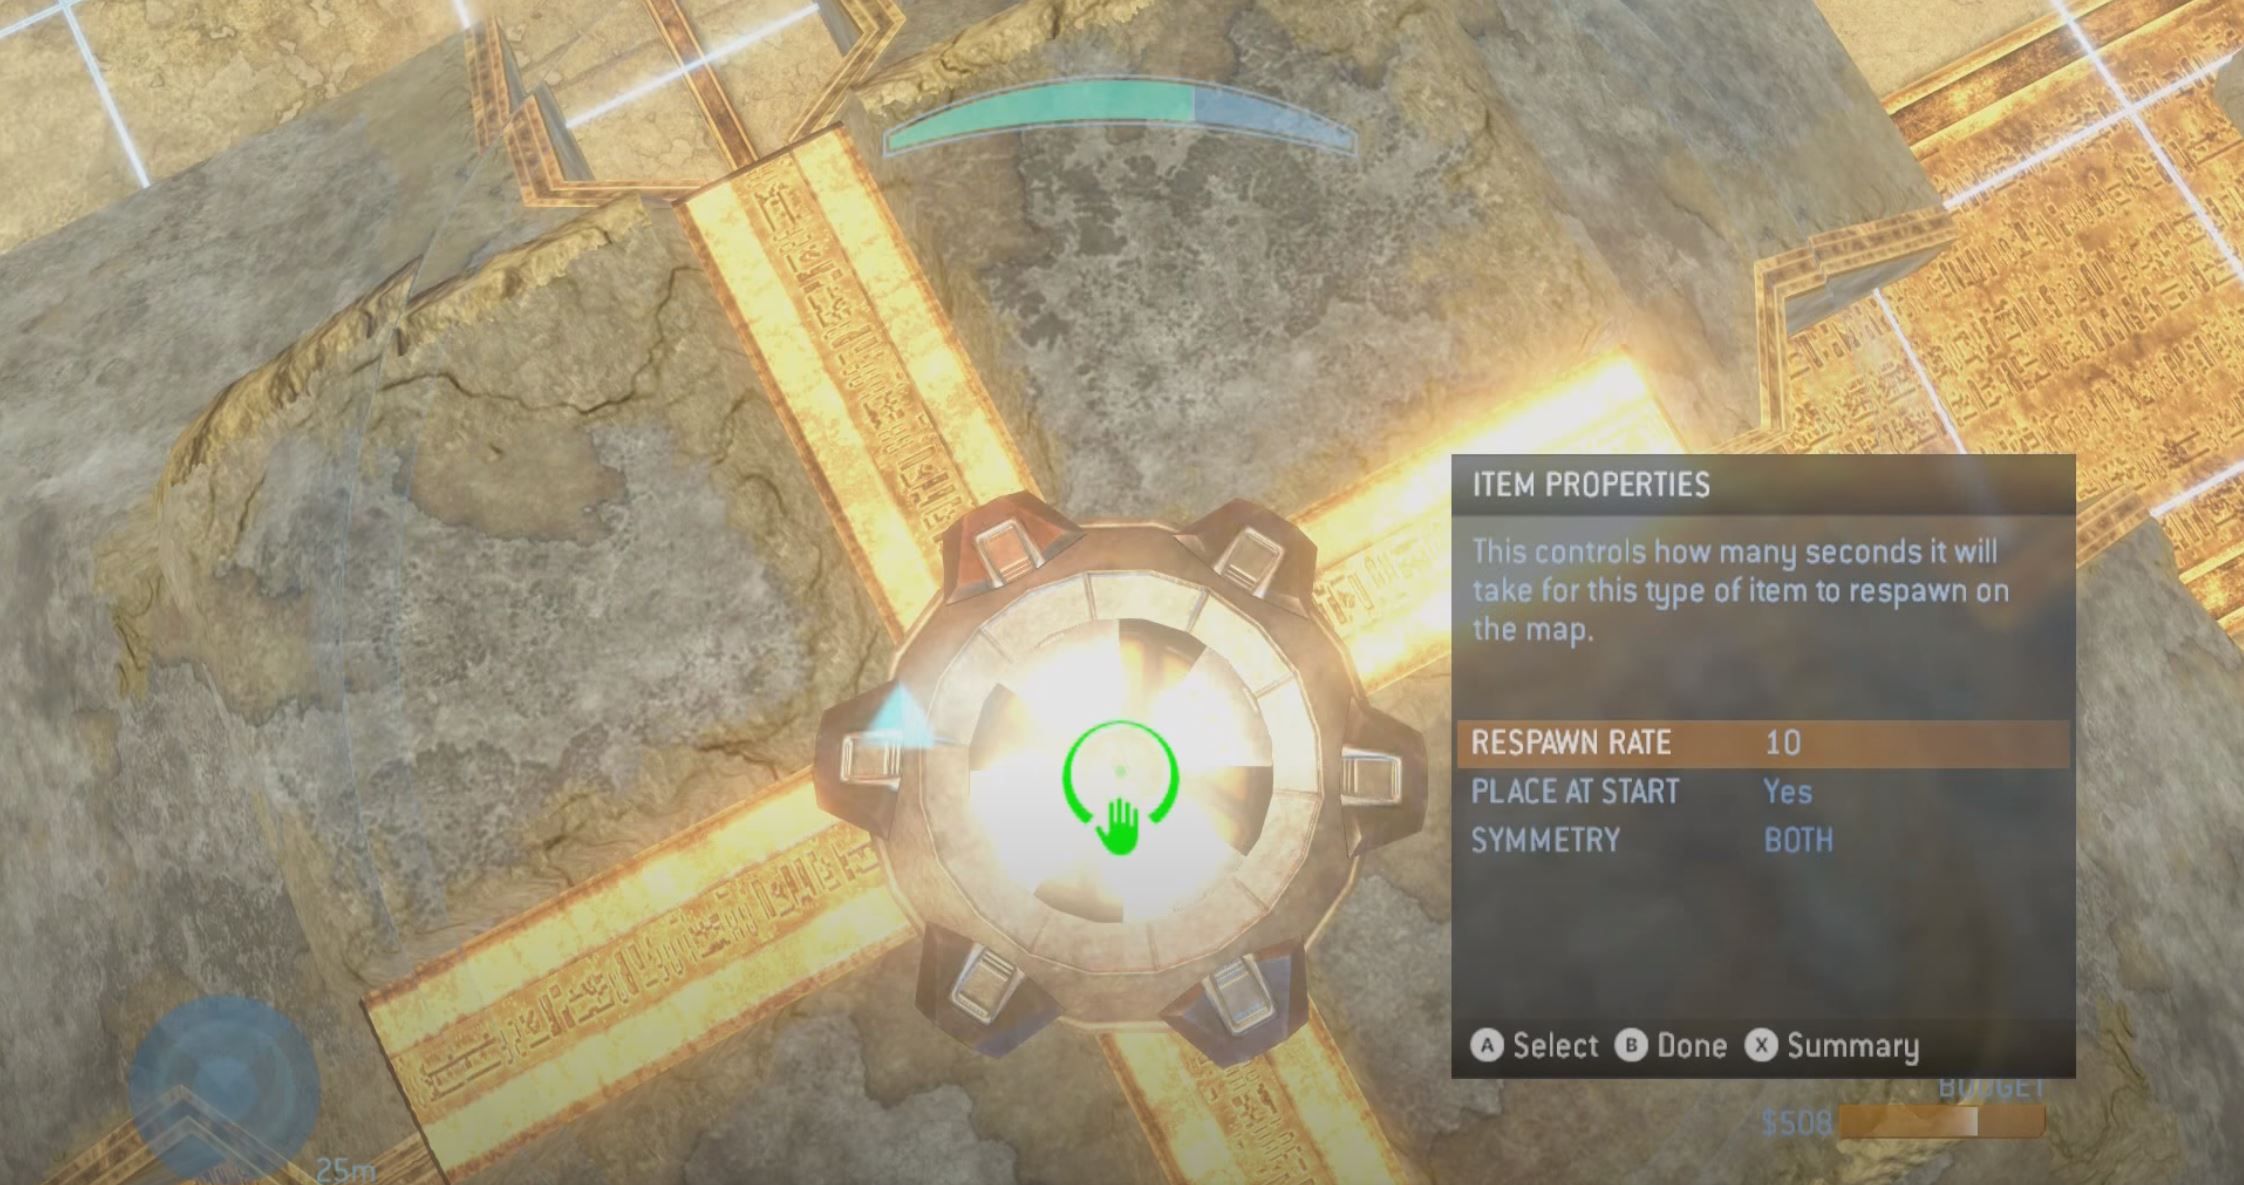
Once you release the mine, click on the mine using the reload button to open the item properties, then set the respawn rate of the mine to ten seconds.
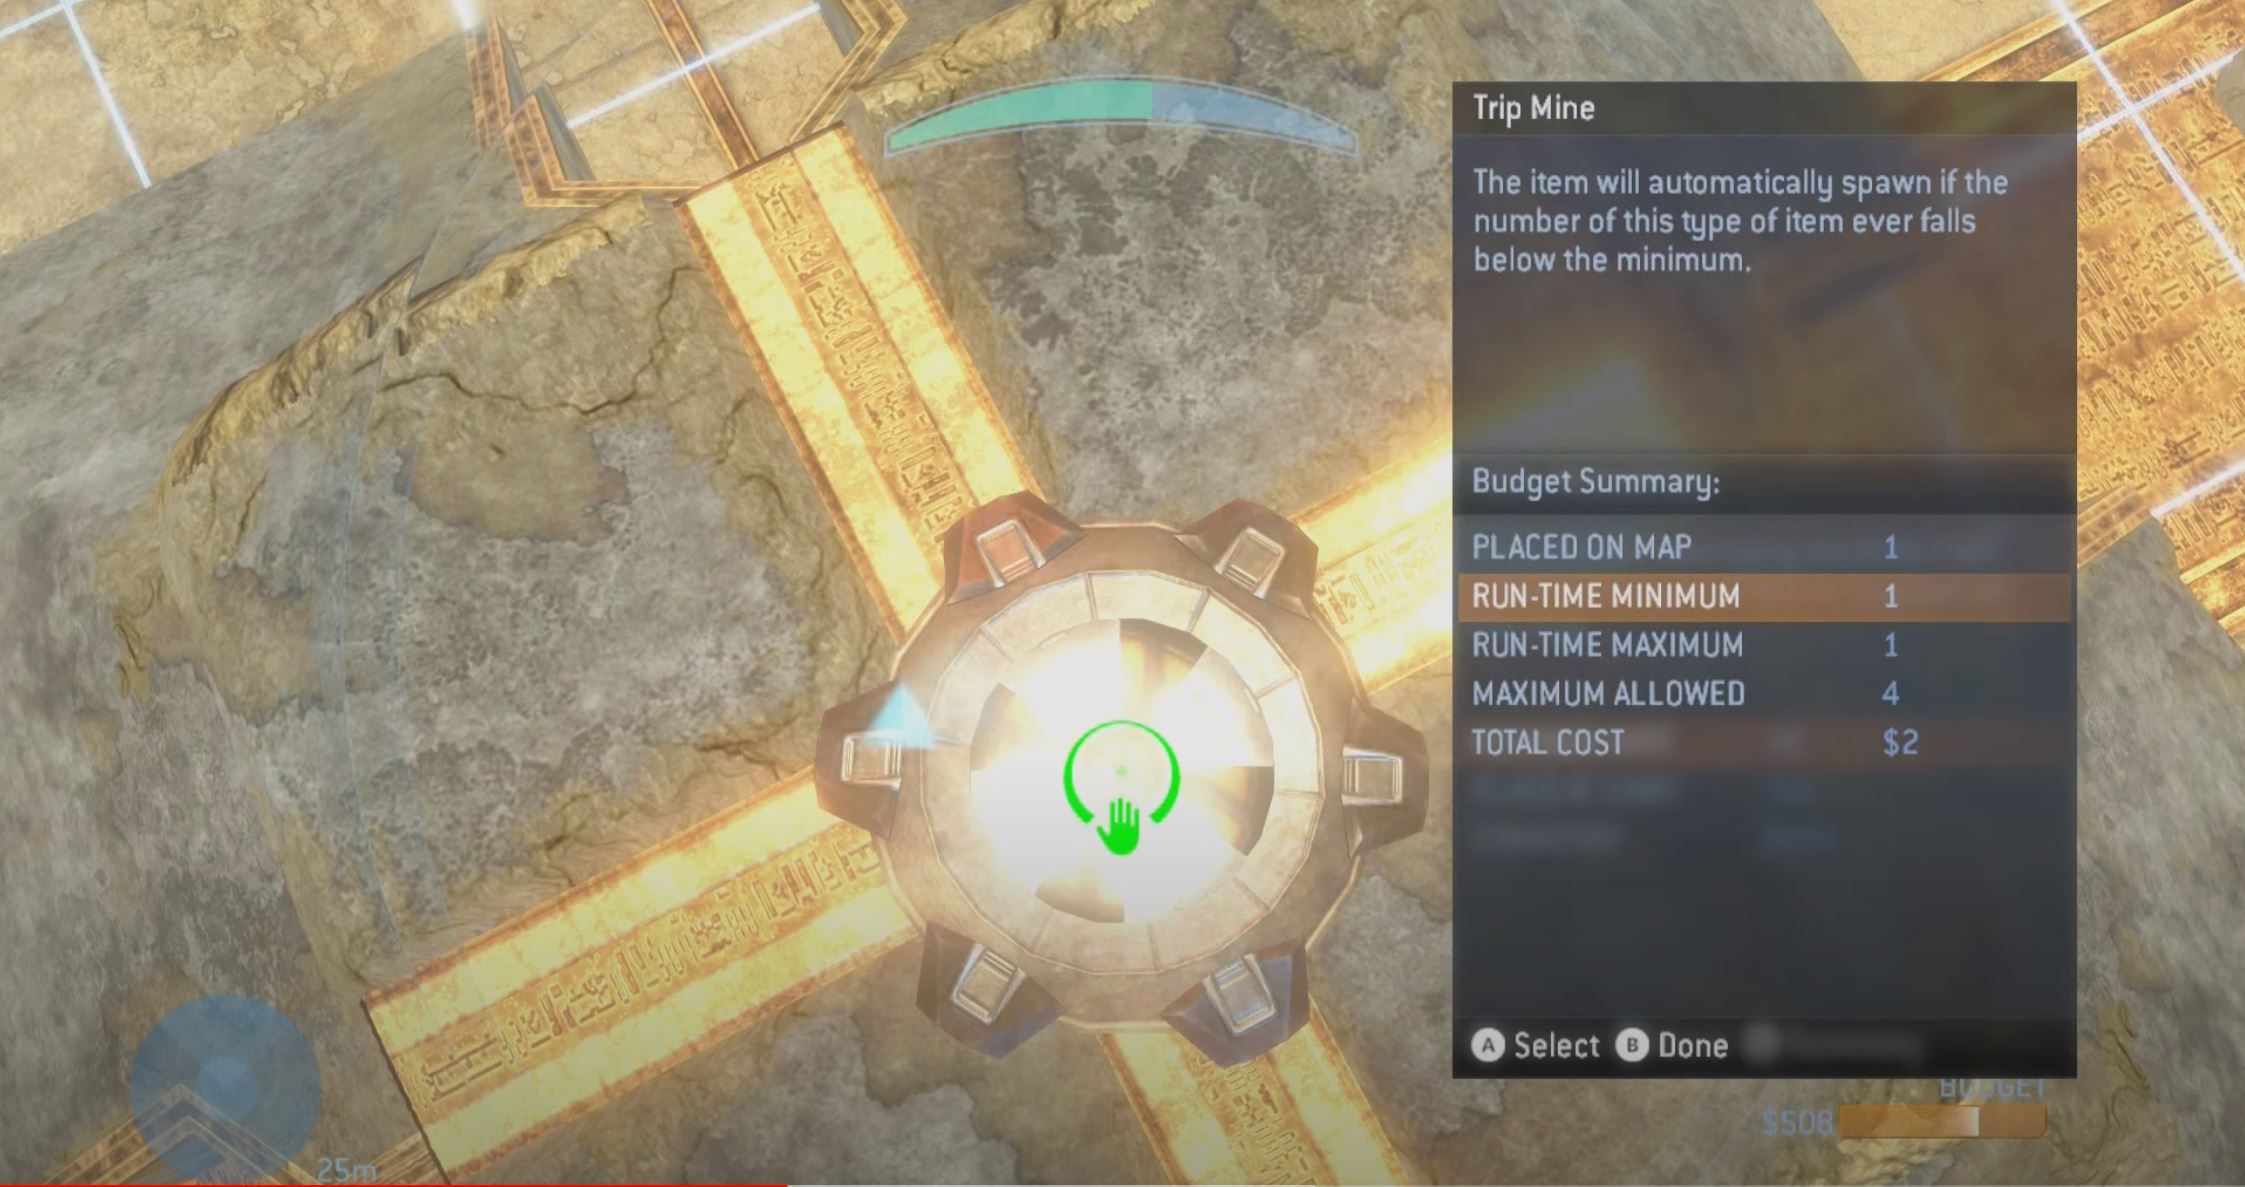
From this menu, open the summary and set the “Run-Time Minimum” to one. This will create a trip mine that respawns instantly.
Turn into a spartan on top of this trip mine and start rapidly deploying trip mines off the edge of the pillar.
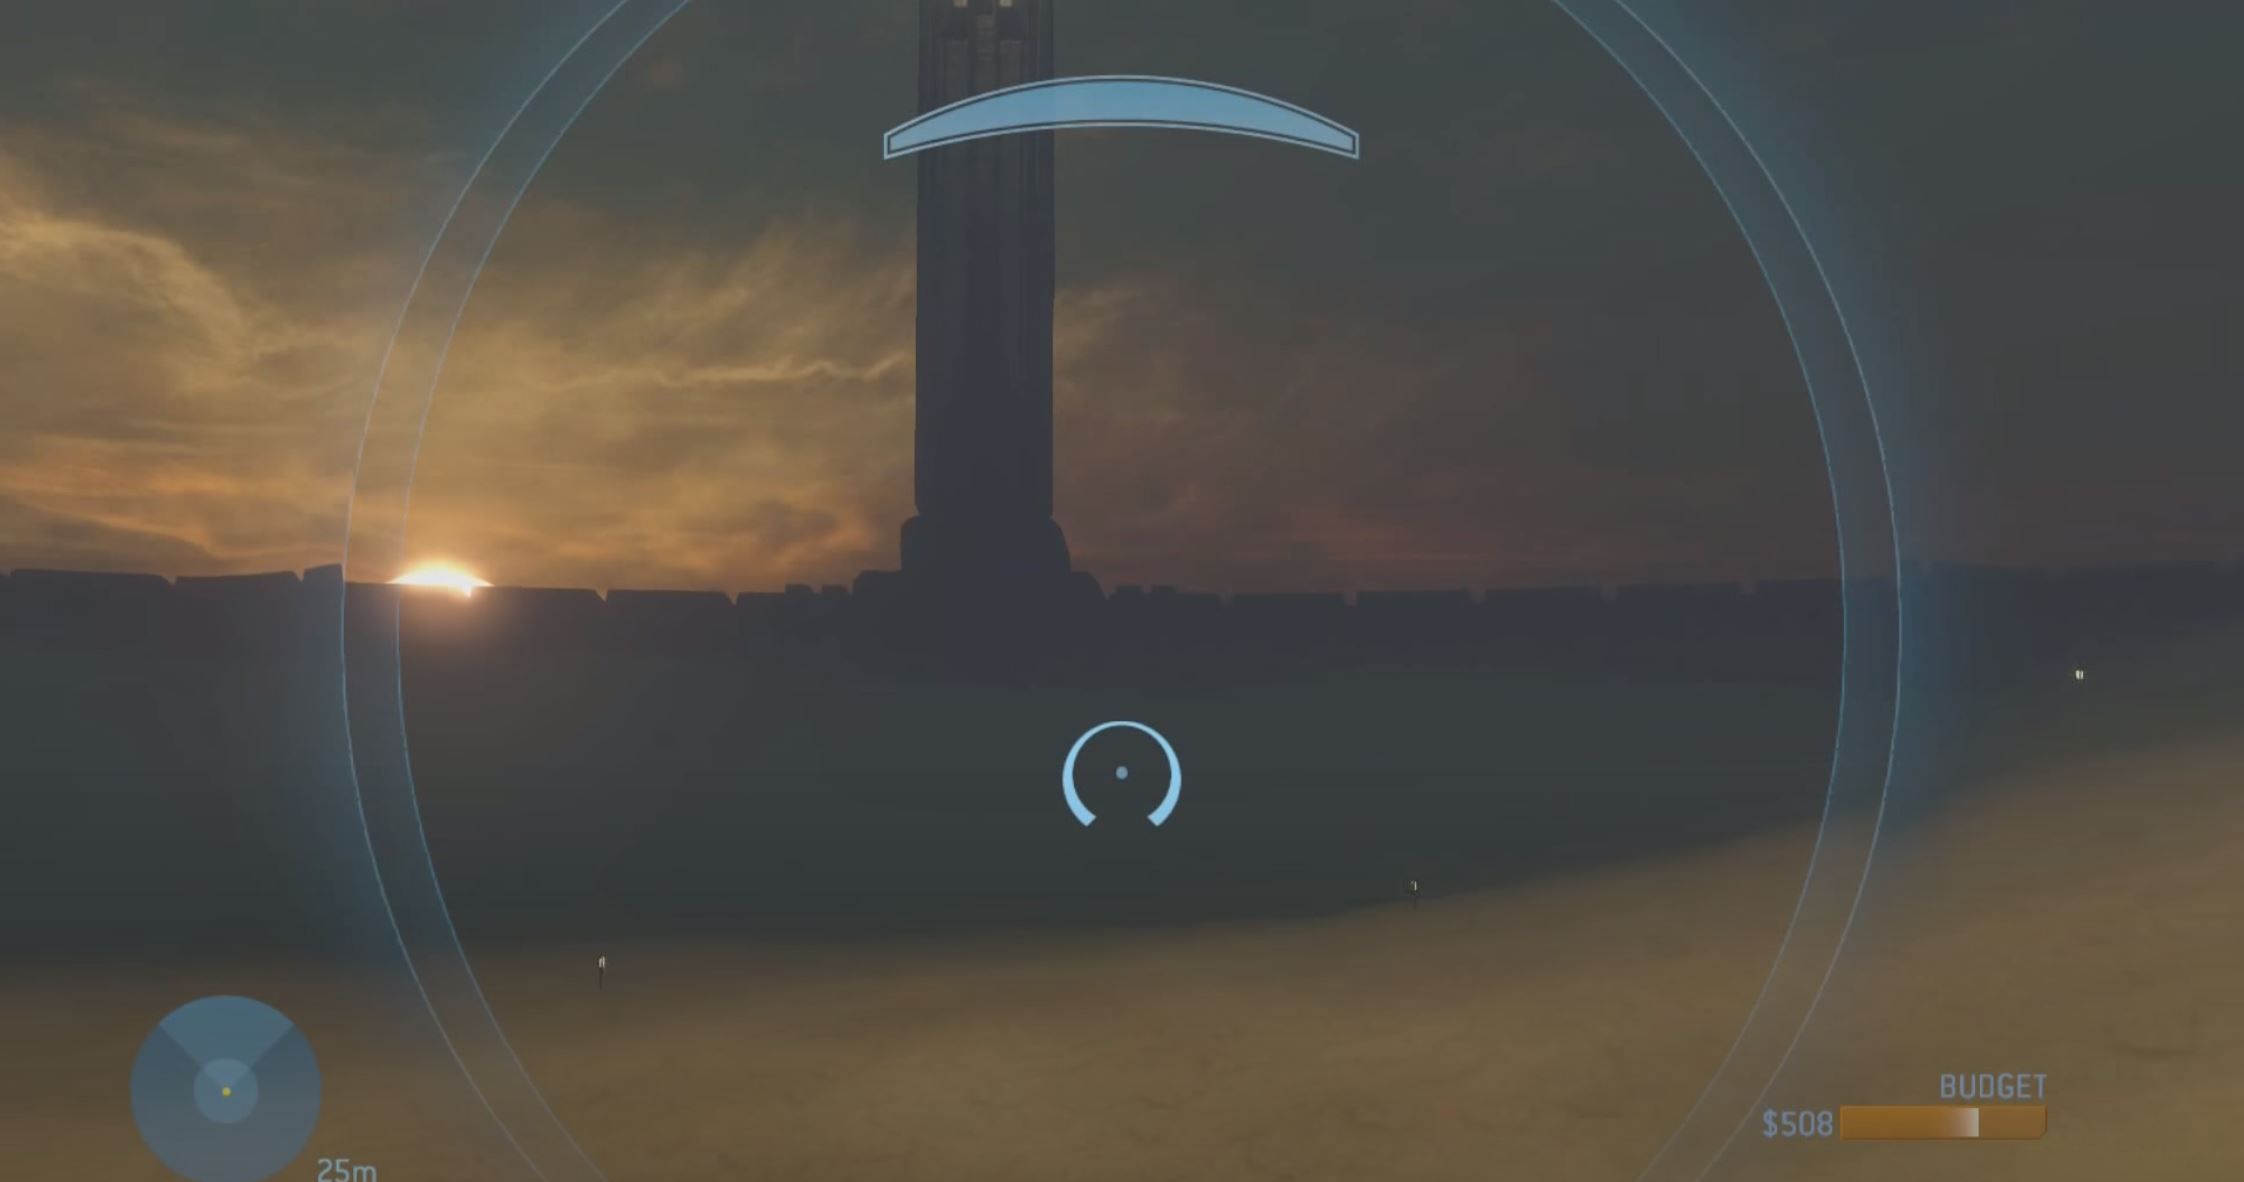
After a while, the game will get overloaded and things will start despawning. Once the pillar you are standing on despawns, turn into the monitor and fly towards the large tower to the immediate right of the sun, then a bit to the right as pictured below. Because you overloaded the game with trip mines, the guardians will not shoot you when you go out of bounds.
Out here, at the far edge of the map, you will find the skull in a small divot in the sand.
Citadel
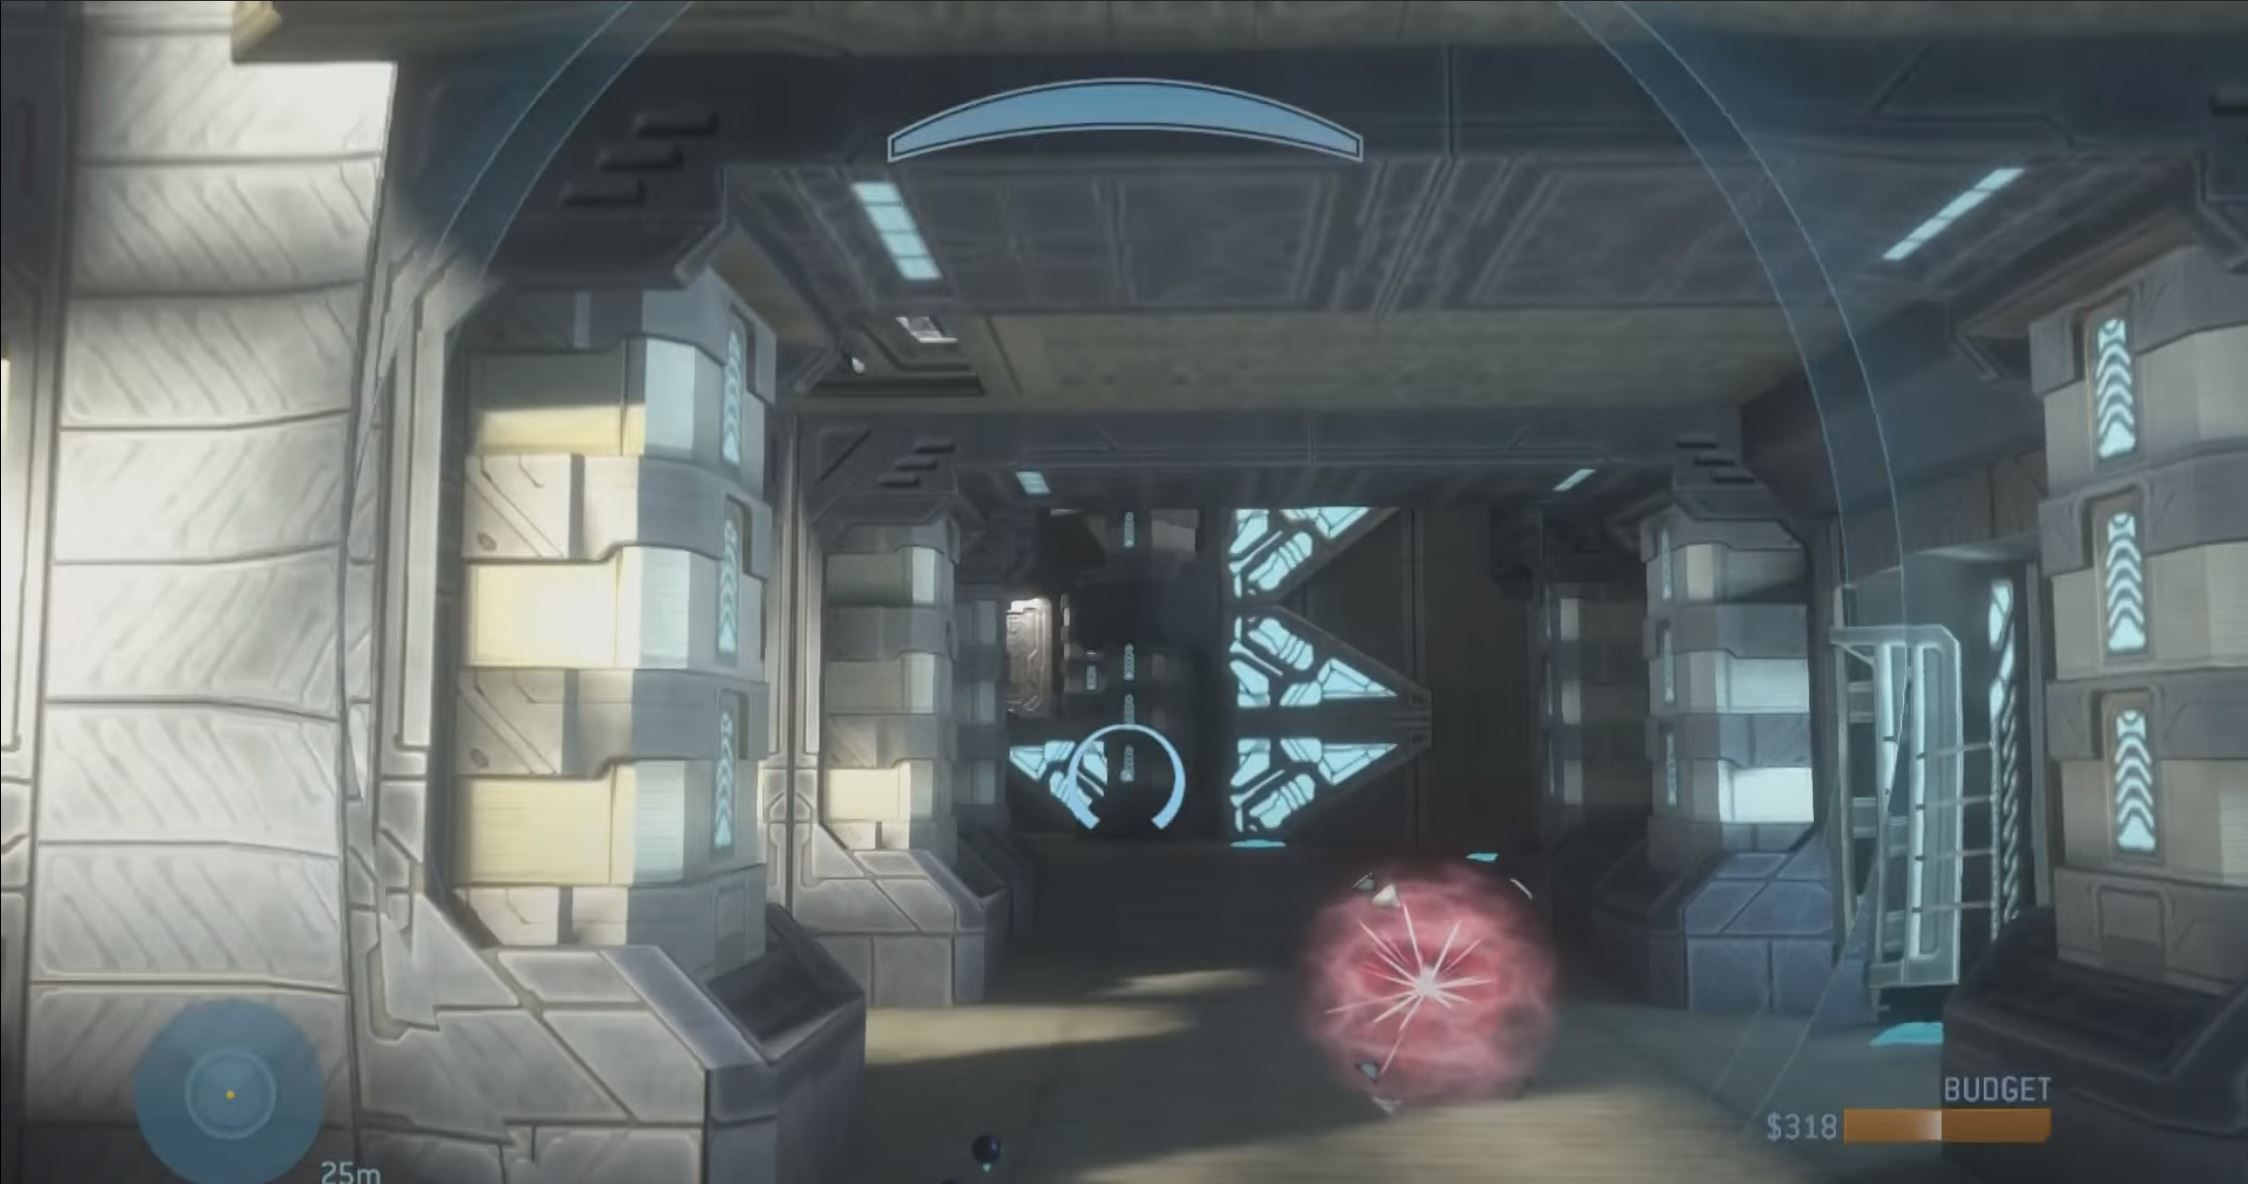
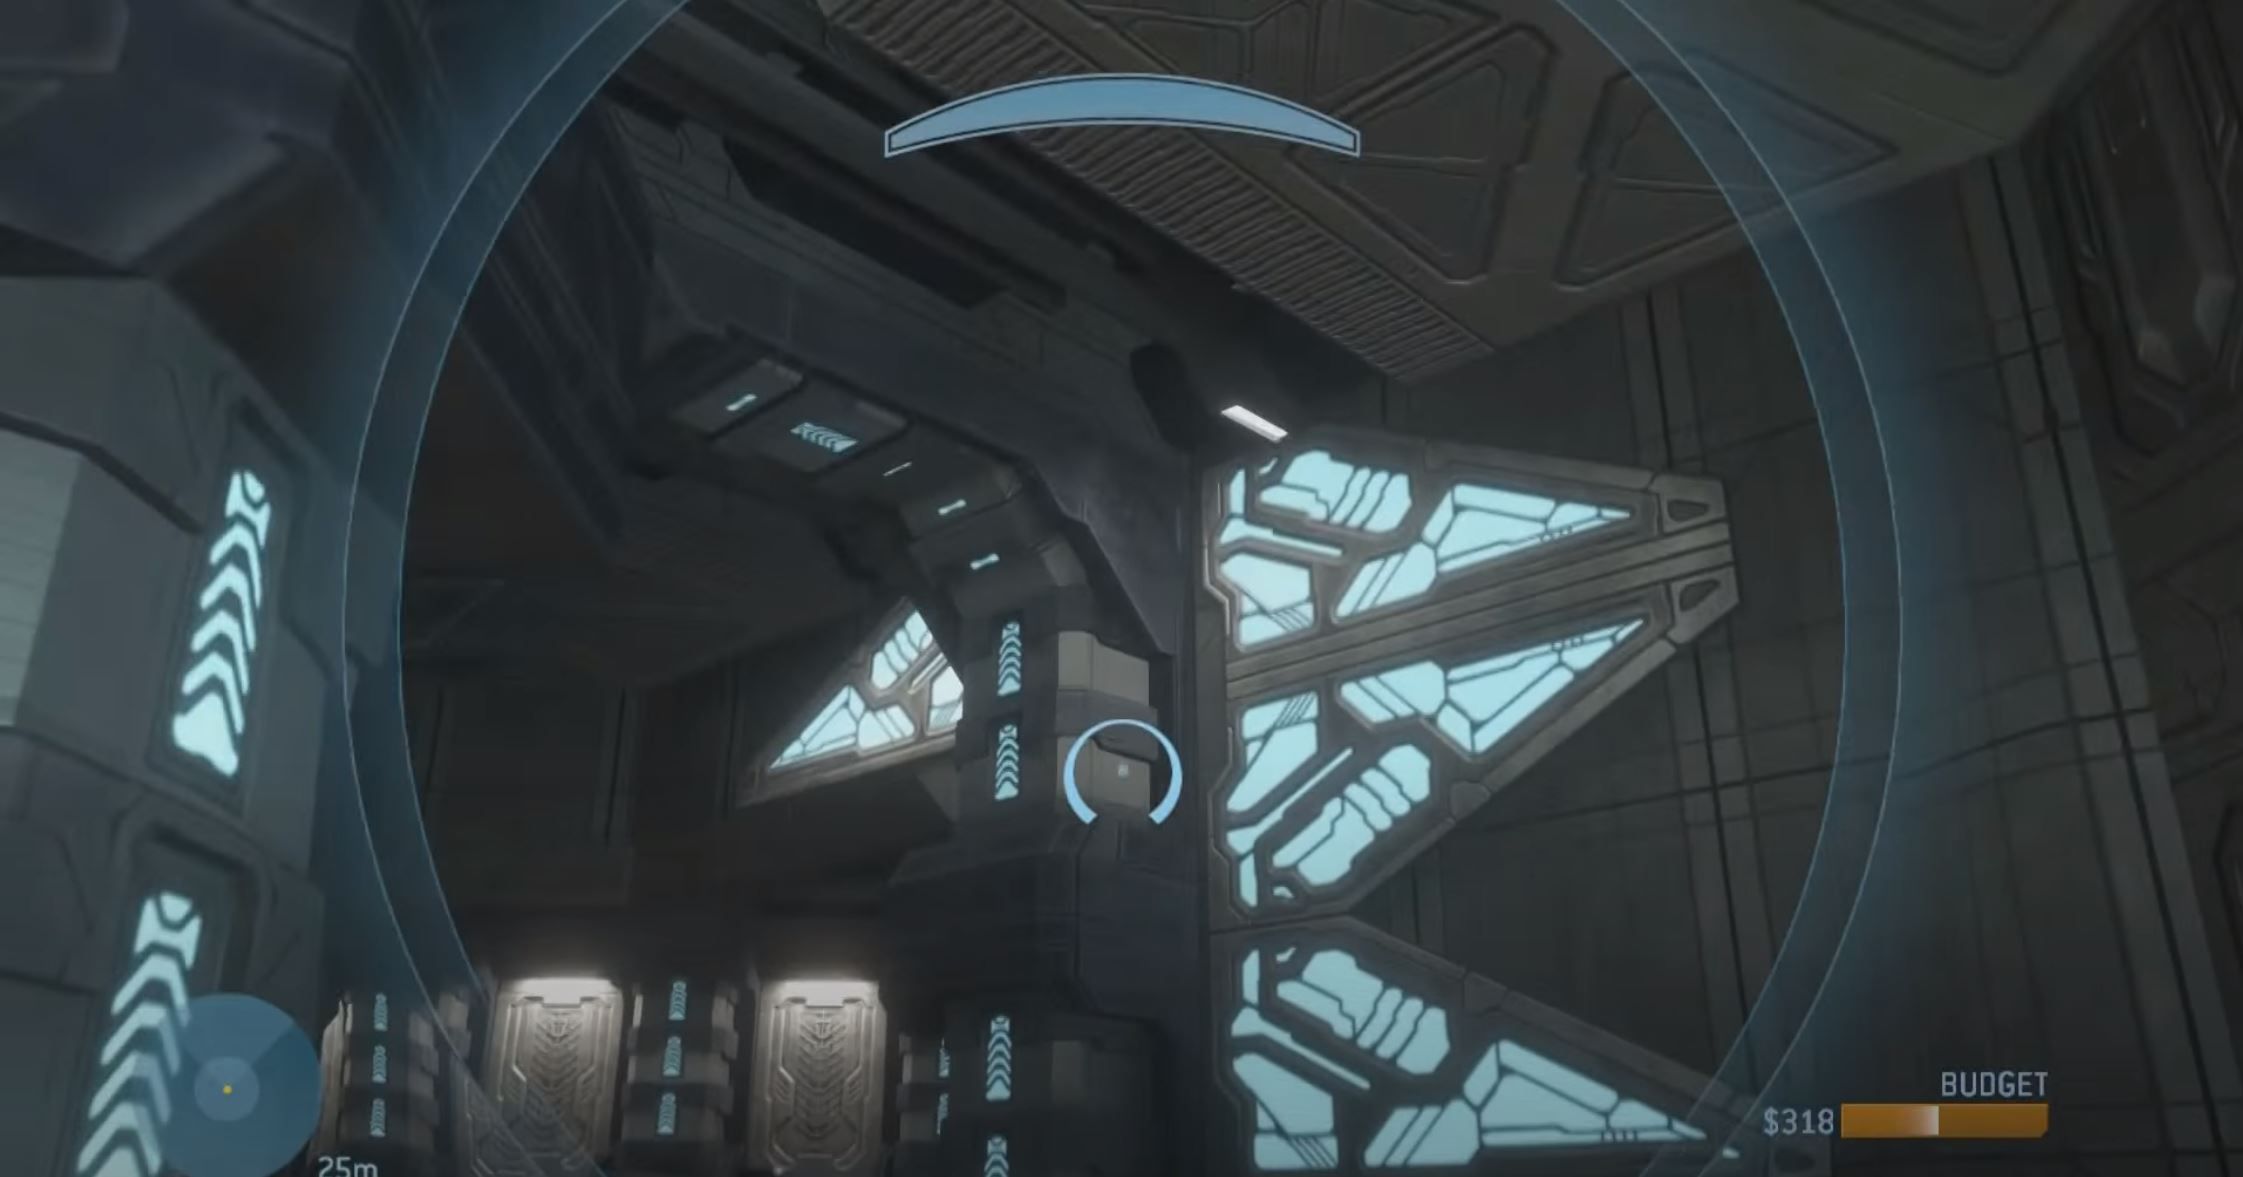
On the map Citadel, fly towards the overshield pickup in the blue half of the map, and face in the direction pictured below.
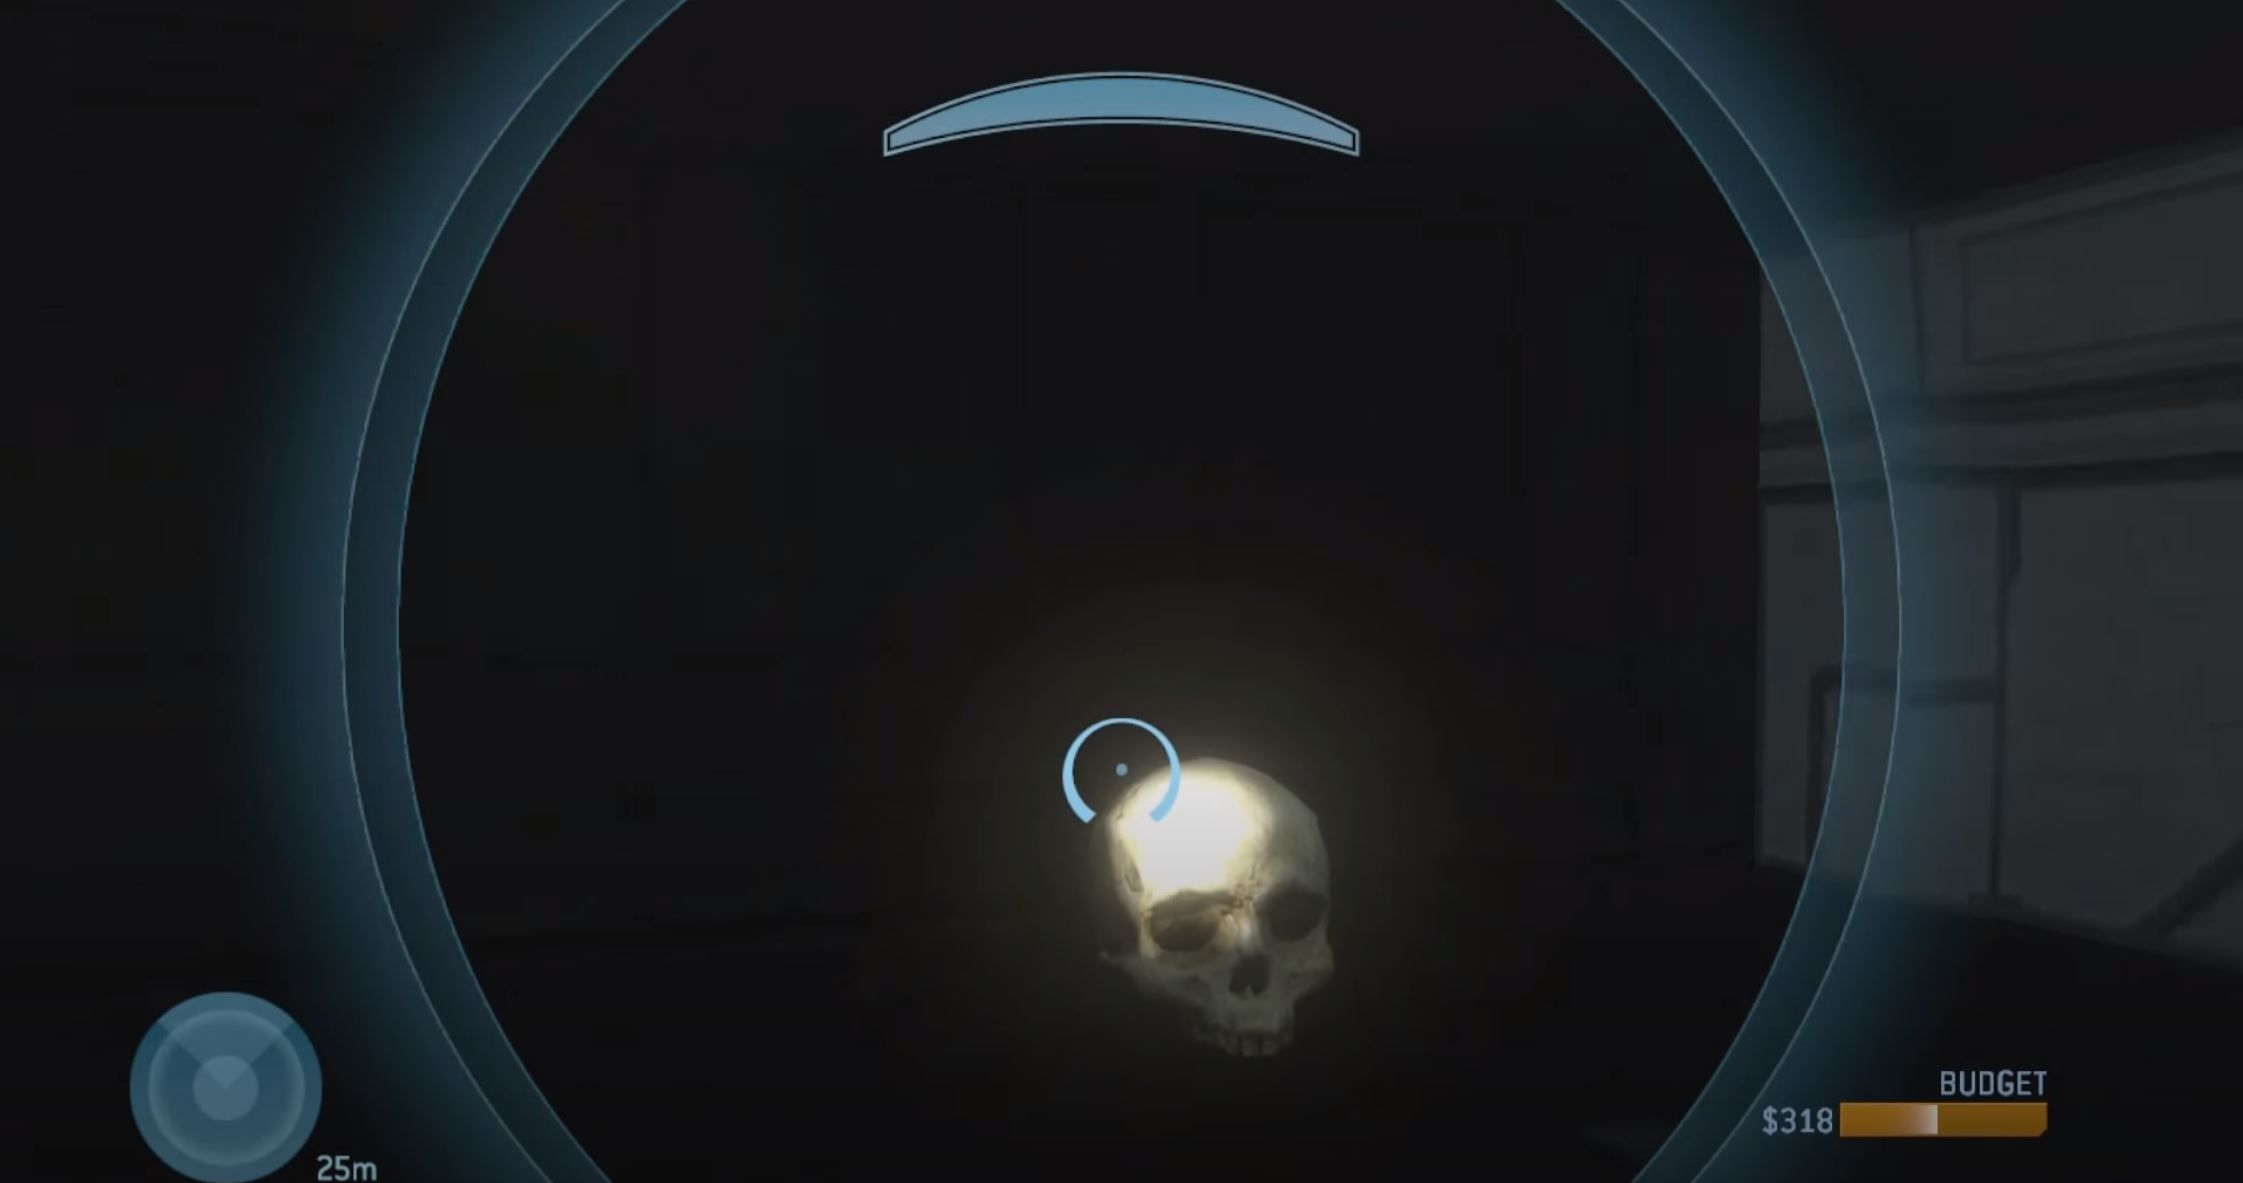
Fly forward and immediately after you exit the low-ceilinged hallway, look up into the ceiling. You should be able to ever-so-slightly see the skull in the rafters.
The monitor can fit up into these rafters, so fly up into it and as close to the skull as you can get. Turn into a spartan/elite and very quickly pick up the skull as you are falling.
Heretic
The Heretic skull is maybe the easiest one. Surround the center of the map are four sets of shutters, two over each base. Sitting at the base of one of these sets of shutters is the skull, so fly to it, turn into a player and quickly grab it.
Longshore
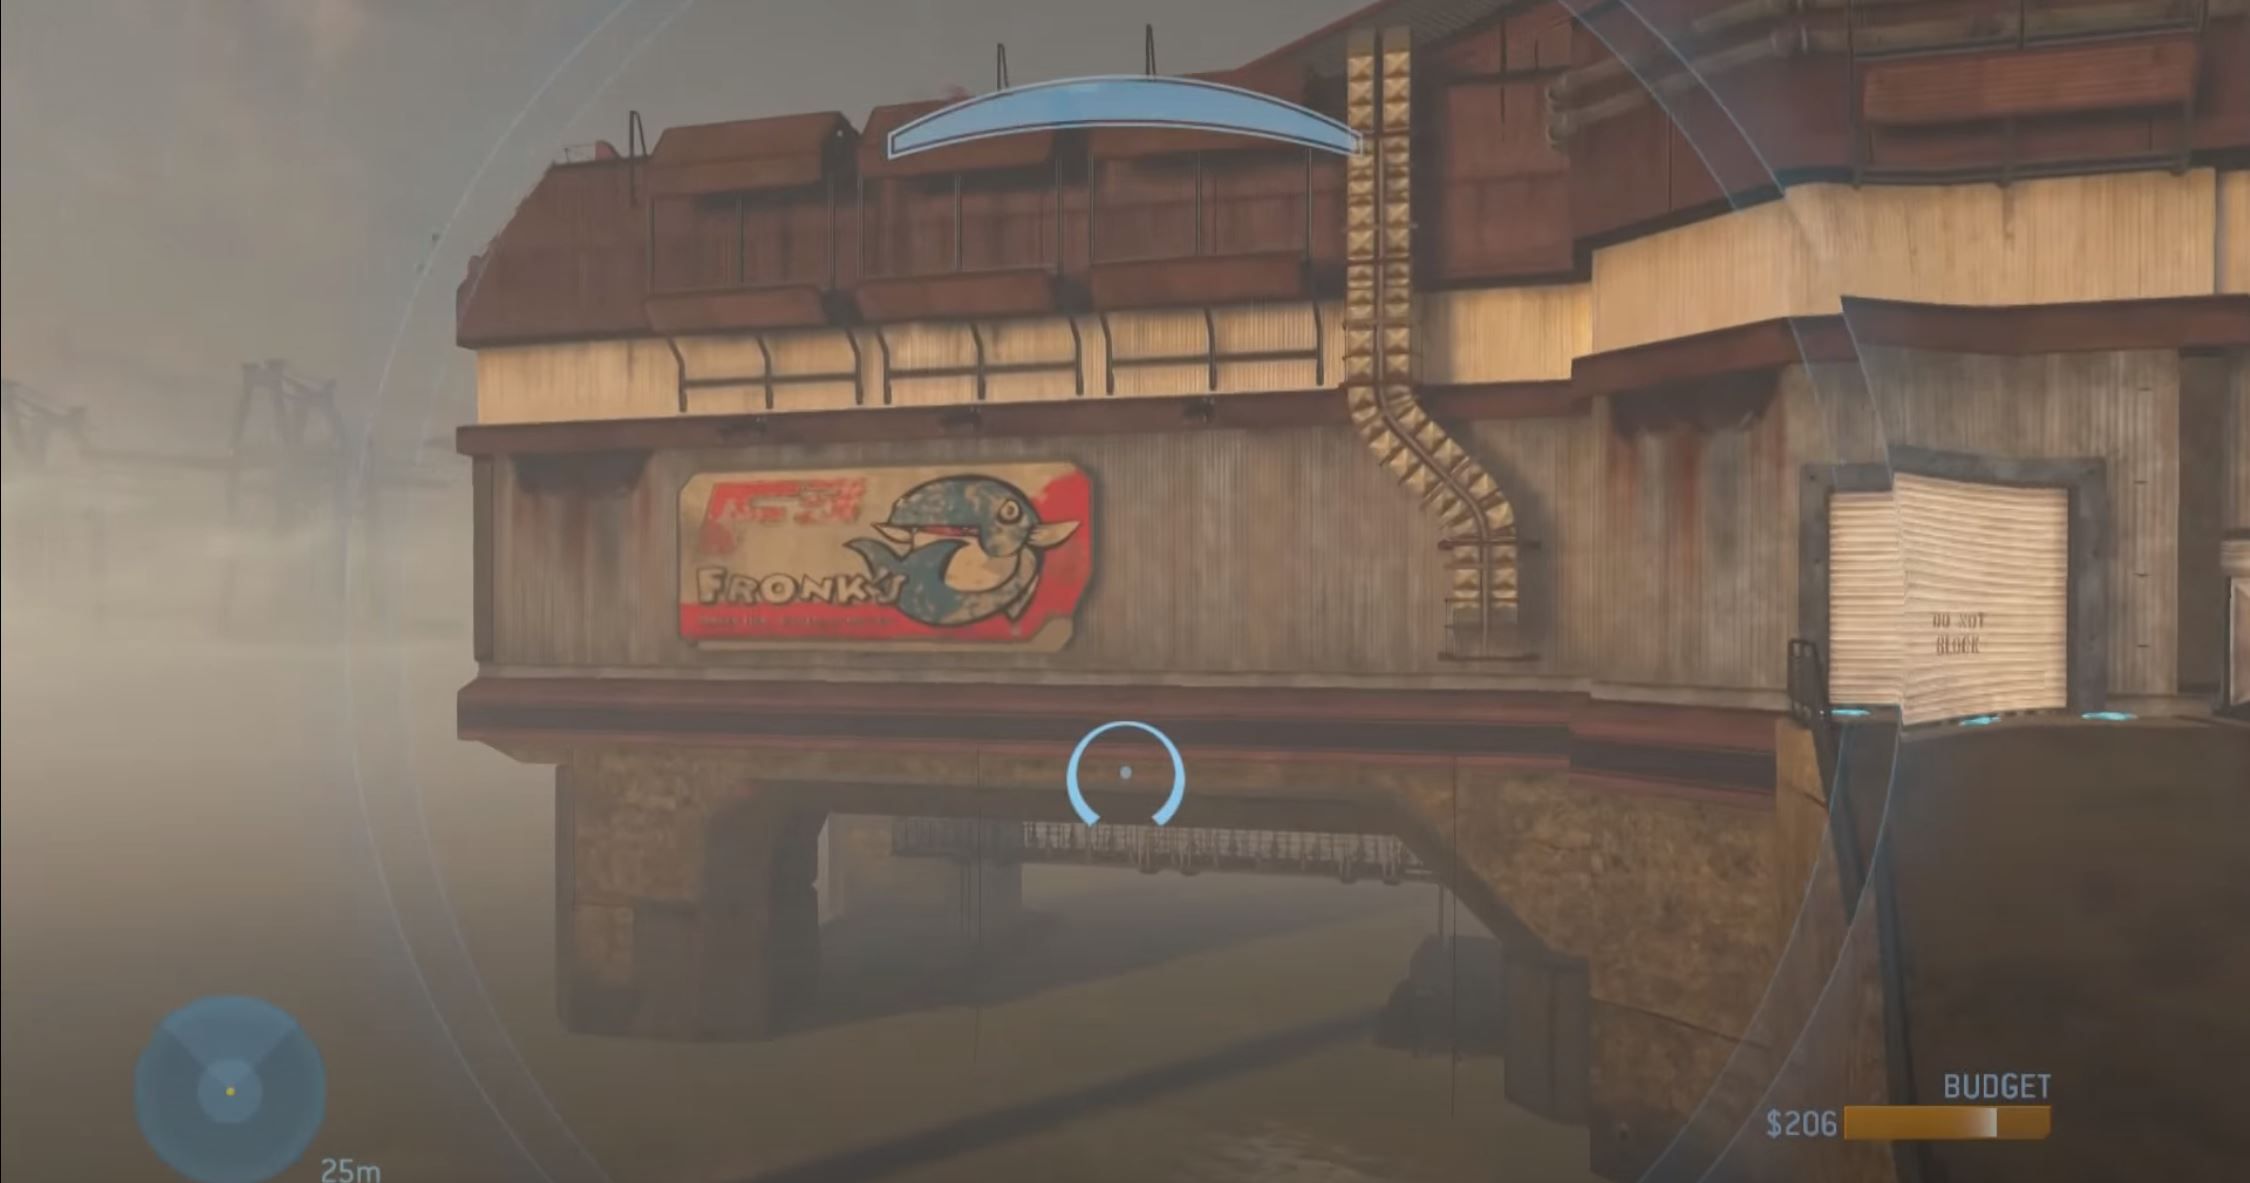
Longshore houses another very easy skull. This one can be found over the water, so head towards the “Fronk’s” sign with the large cartoon whale. Just to the right of it are some ventilation shafts leading up the building. The skull can be found at the very bottom, so turn into a player and grab it quickly.
Source: Read Full Article
