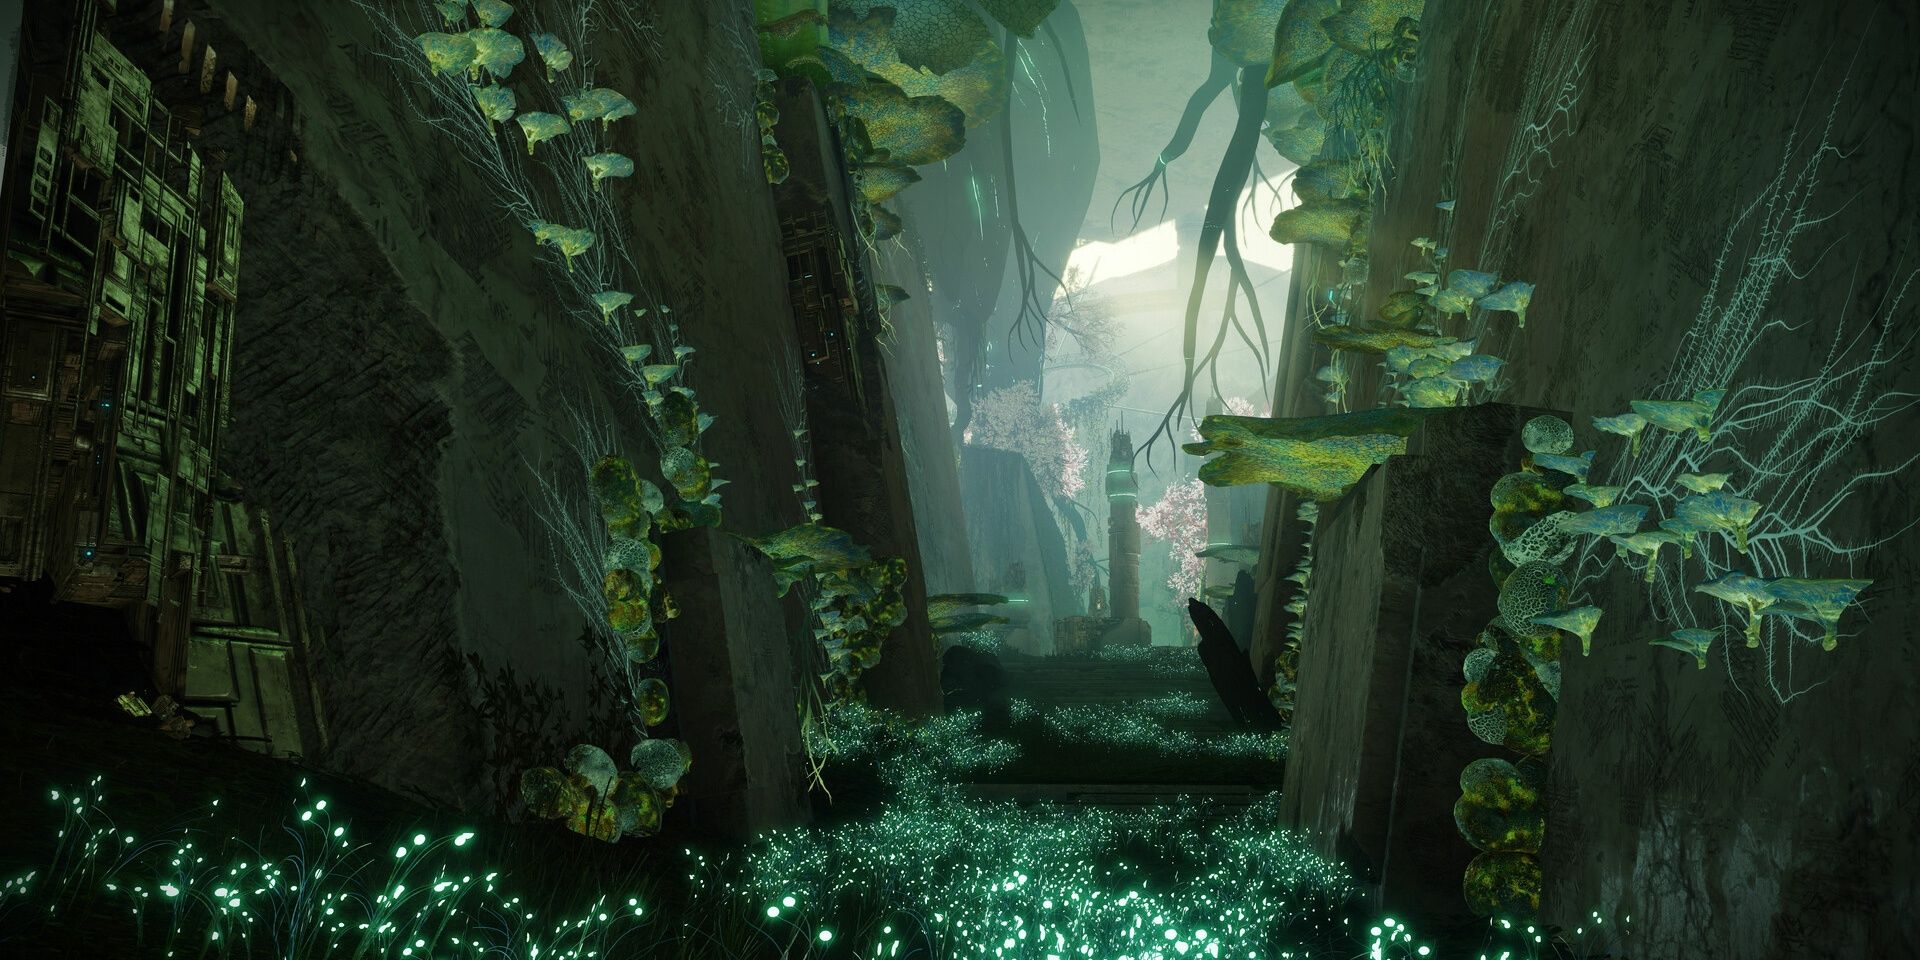
Every available raid in Destiny 2 has a title that players can chase. These titles require you to demonstrate mastery of that raid, demanding tough challenge completions or flawless raid completions. Enlightened is one such title, requiring players to master every aspect of the Garden of Salvation raid.
With how many mechanics are tied to the Garden of Salvation raid, most players avoid the Triumphs tied to Enlightened altogether. That’s a shame considering that all except two challenges are relatively easy. As long as you are patient, earning Enlightened is doable for any Guardian. Here is a complete guide to earning the Enlightened title in Destiny 2.
Sacred Duty
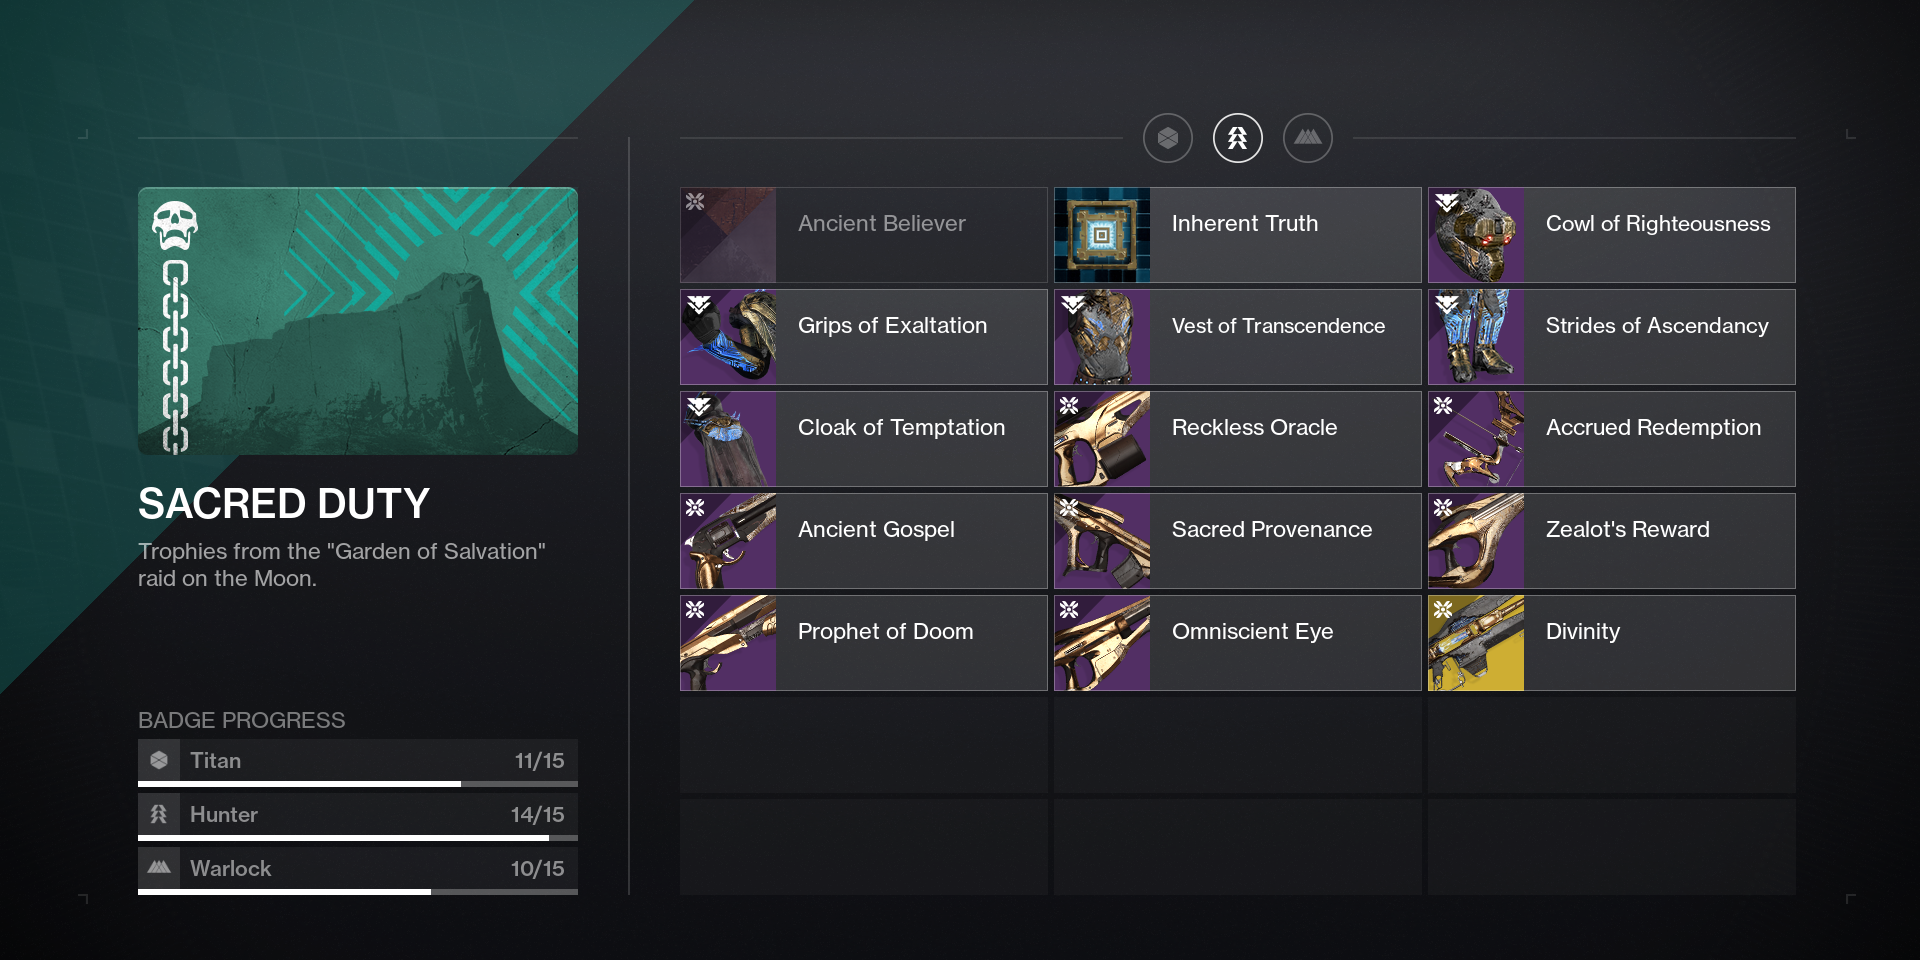
Sacred Duty requires you to complete the Garden of Salvation badge. This badge can be found in the Collections tab and requires the following items:
- Ancient Believer: Obtained from a flawless Garden of Salvation run
- Inherent Truth: Complete the Garden of Salvation raid
- Kentarch 3 Helmet: Drops from the final encounter
- Kentarch 3 Arms: Drops from the second encounter
- Kentarch 3 Chest: Drops from the third encounter
- Kentarch 3 Boots: Drops from the first encounter
- Kentarch 3 Class Item: Drops from the final encounter
- Reckless Oracle: Drops in the second encounter
- Accrued Redemption: Drops in the first encounter
- Ancient Gospel: Drops in the third encounter
- Sacred Provenance: Drops in the third encounter
- Zealot’s Reward: Drops in the first encounter
- Prophet of Doom: Drops in the second encounter
- Omniscient Eye: Drops in the final encounter
- Divinity: Obtained by completing Divinity’s Exotic quest (see the Divinity’s Call Triumph)
Raid Completion Triumphs
Certain Triumphs require your fireteam to complete the Garden of Salvation raid under certain conditions. These range from completing the raid with only clanmates to completing encounters with matching subclass elements.
- Garden of Salvation: Complete the “Garden of Salvation” raid.
- Clan Night: Garden of Salvation: Complete the “Garden of Salvation” raid with a team made entirely of clanmates.
- Fluorescent Foliage: Complete all raid encounters with a fireteam made entirely of Arc subclasses.
- Shade in the Green: Complete all raid encounters with a fireteam made entirely of Void subclasses.
- Photosynthesis: Complete all raid encounters with a fireteam made entirely of Solar subclasses.
For the elemental subclass Triumphs, you can swap to the designated element at the end of the encounter to gain progress. For example, you could complete the Photosynthesis Triumph by switching to a Solar subclass right before the encounter ends, even if you played a different subclass for most of the encounter. Progress is also saved on a per-encounter basis.
Secret Garden
Secret Garden: Loot ten hidden chests in the “Garden of Salvation” raid.
There are two hidden chests in this raid, both of which are found in between encounters. You’ll have to loot ten hidden chests in total to earn this Triumph.
Hidden Chest #1
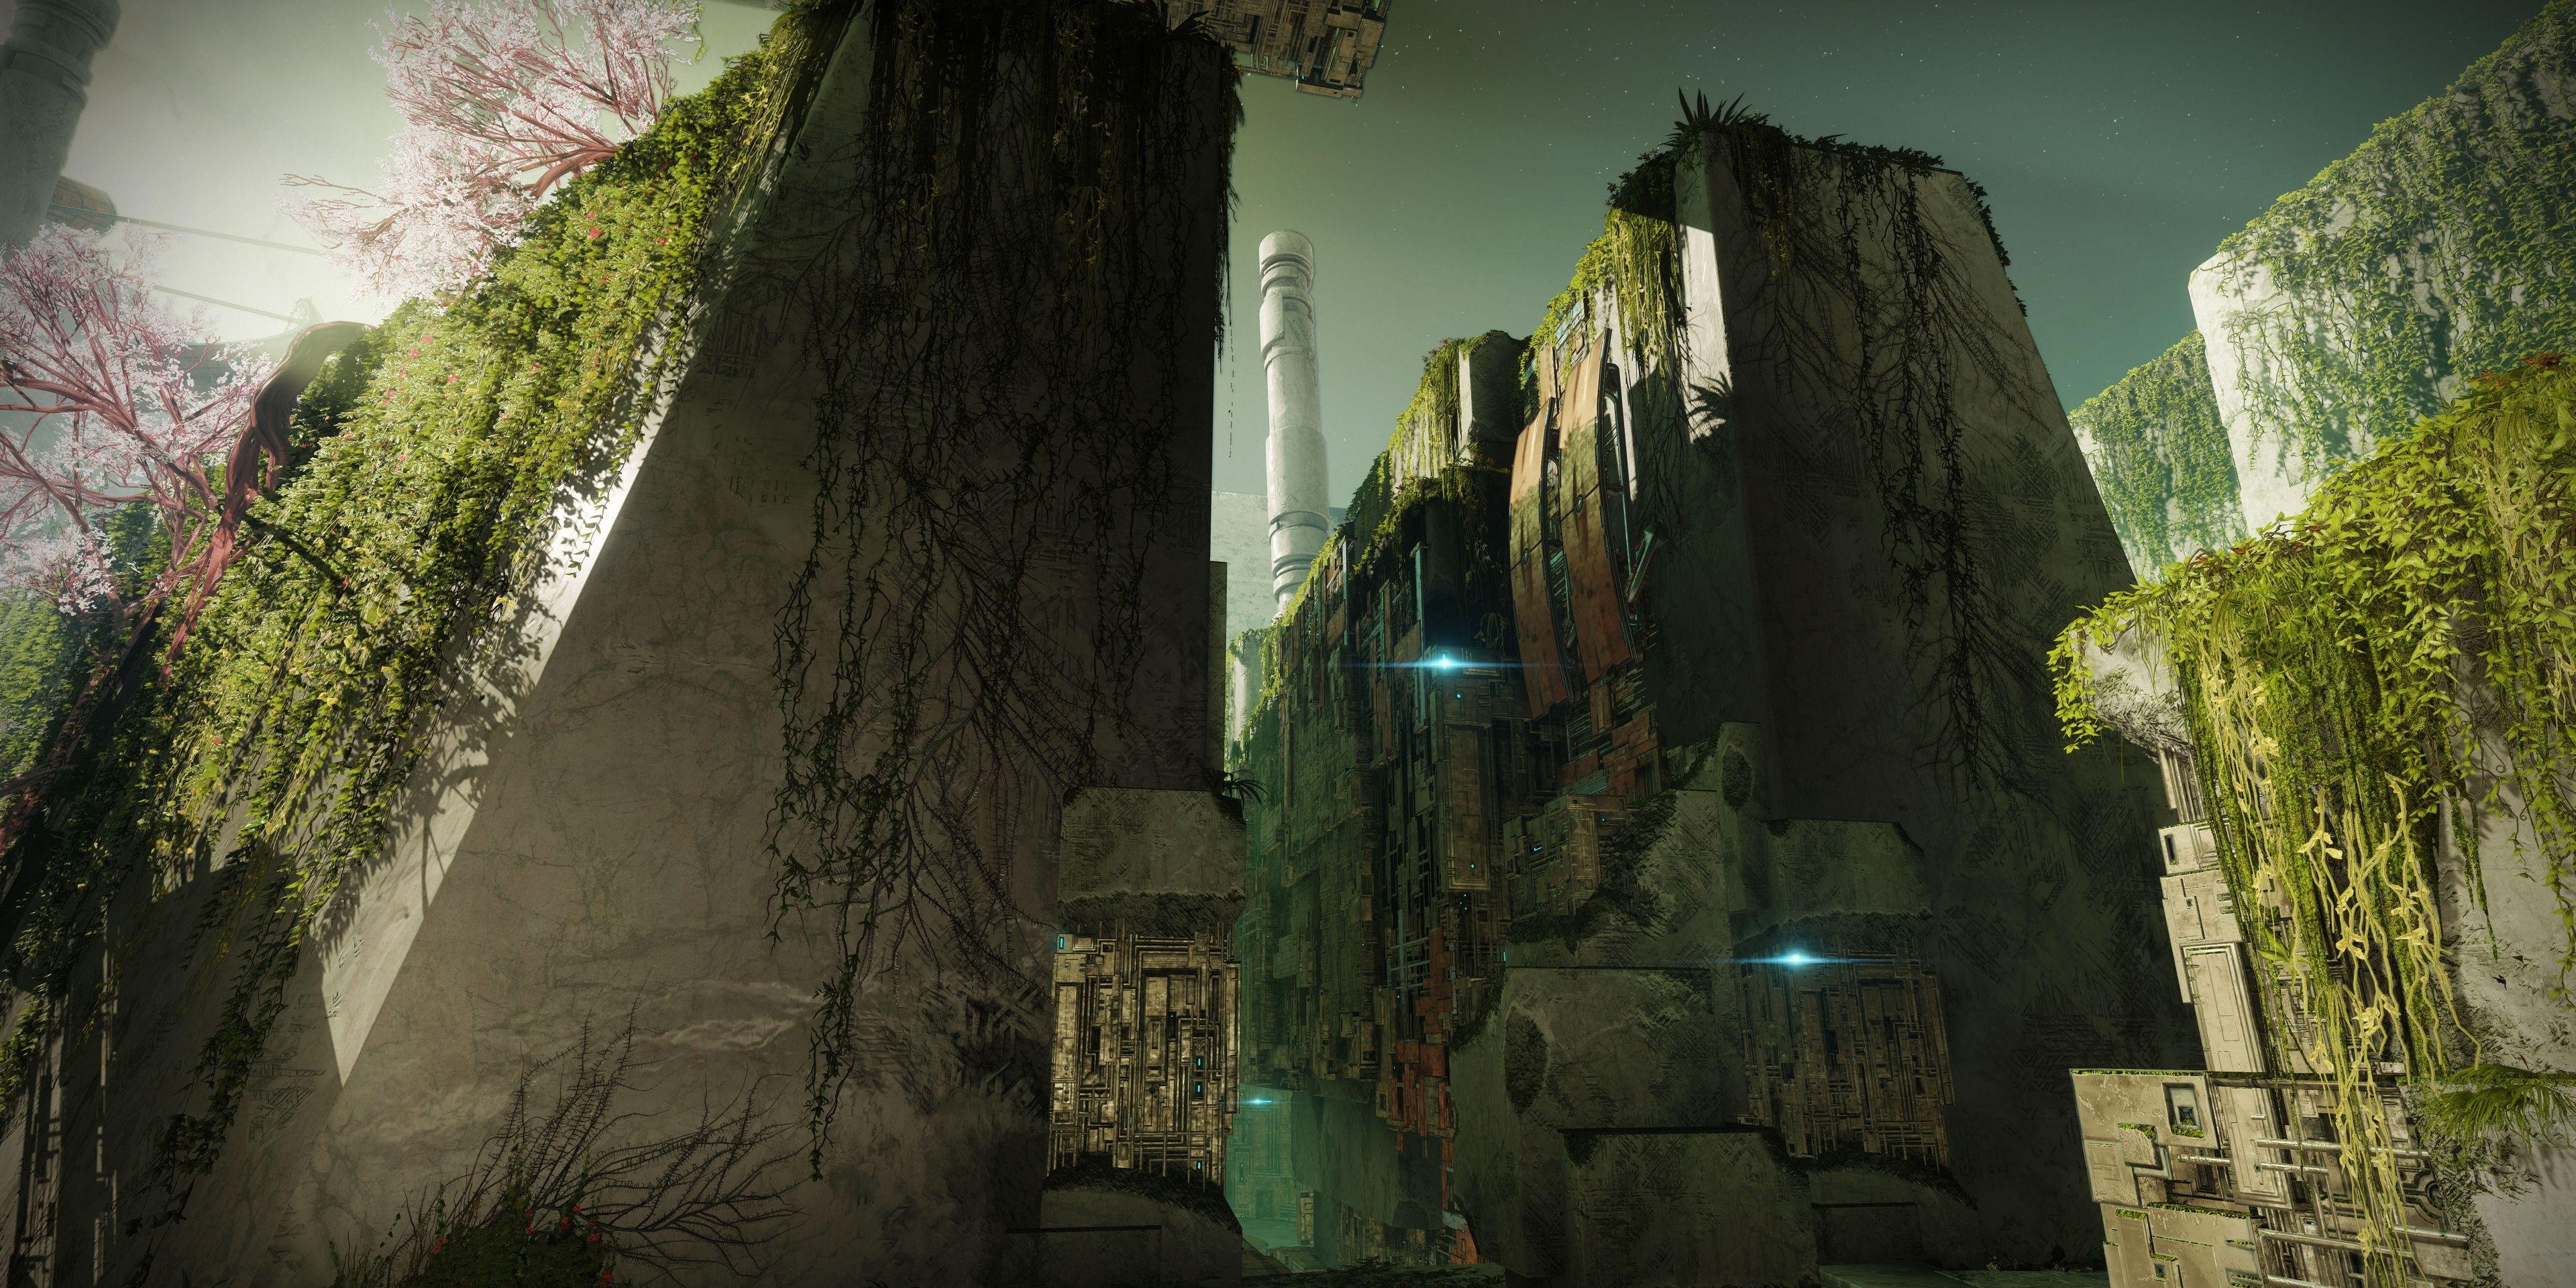
The first hidden chest can be found right after the first encounter. Descend into the underground section as usual. Instead of traveling forward, turn left and hug the Vex wall. You’ll eventually come across a hanging Vex rectangle with a moving elevator on its right side. Directly under that elevator is a small hole you can enter. The chest is inside that hole.
Hidden Chest #2
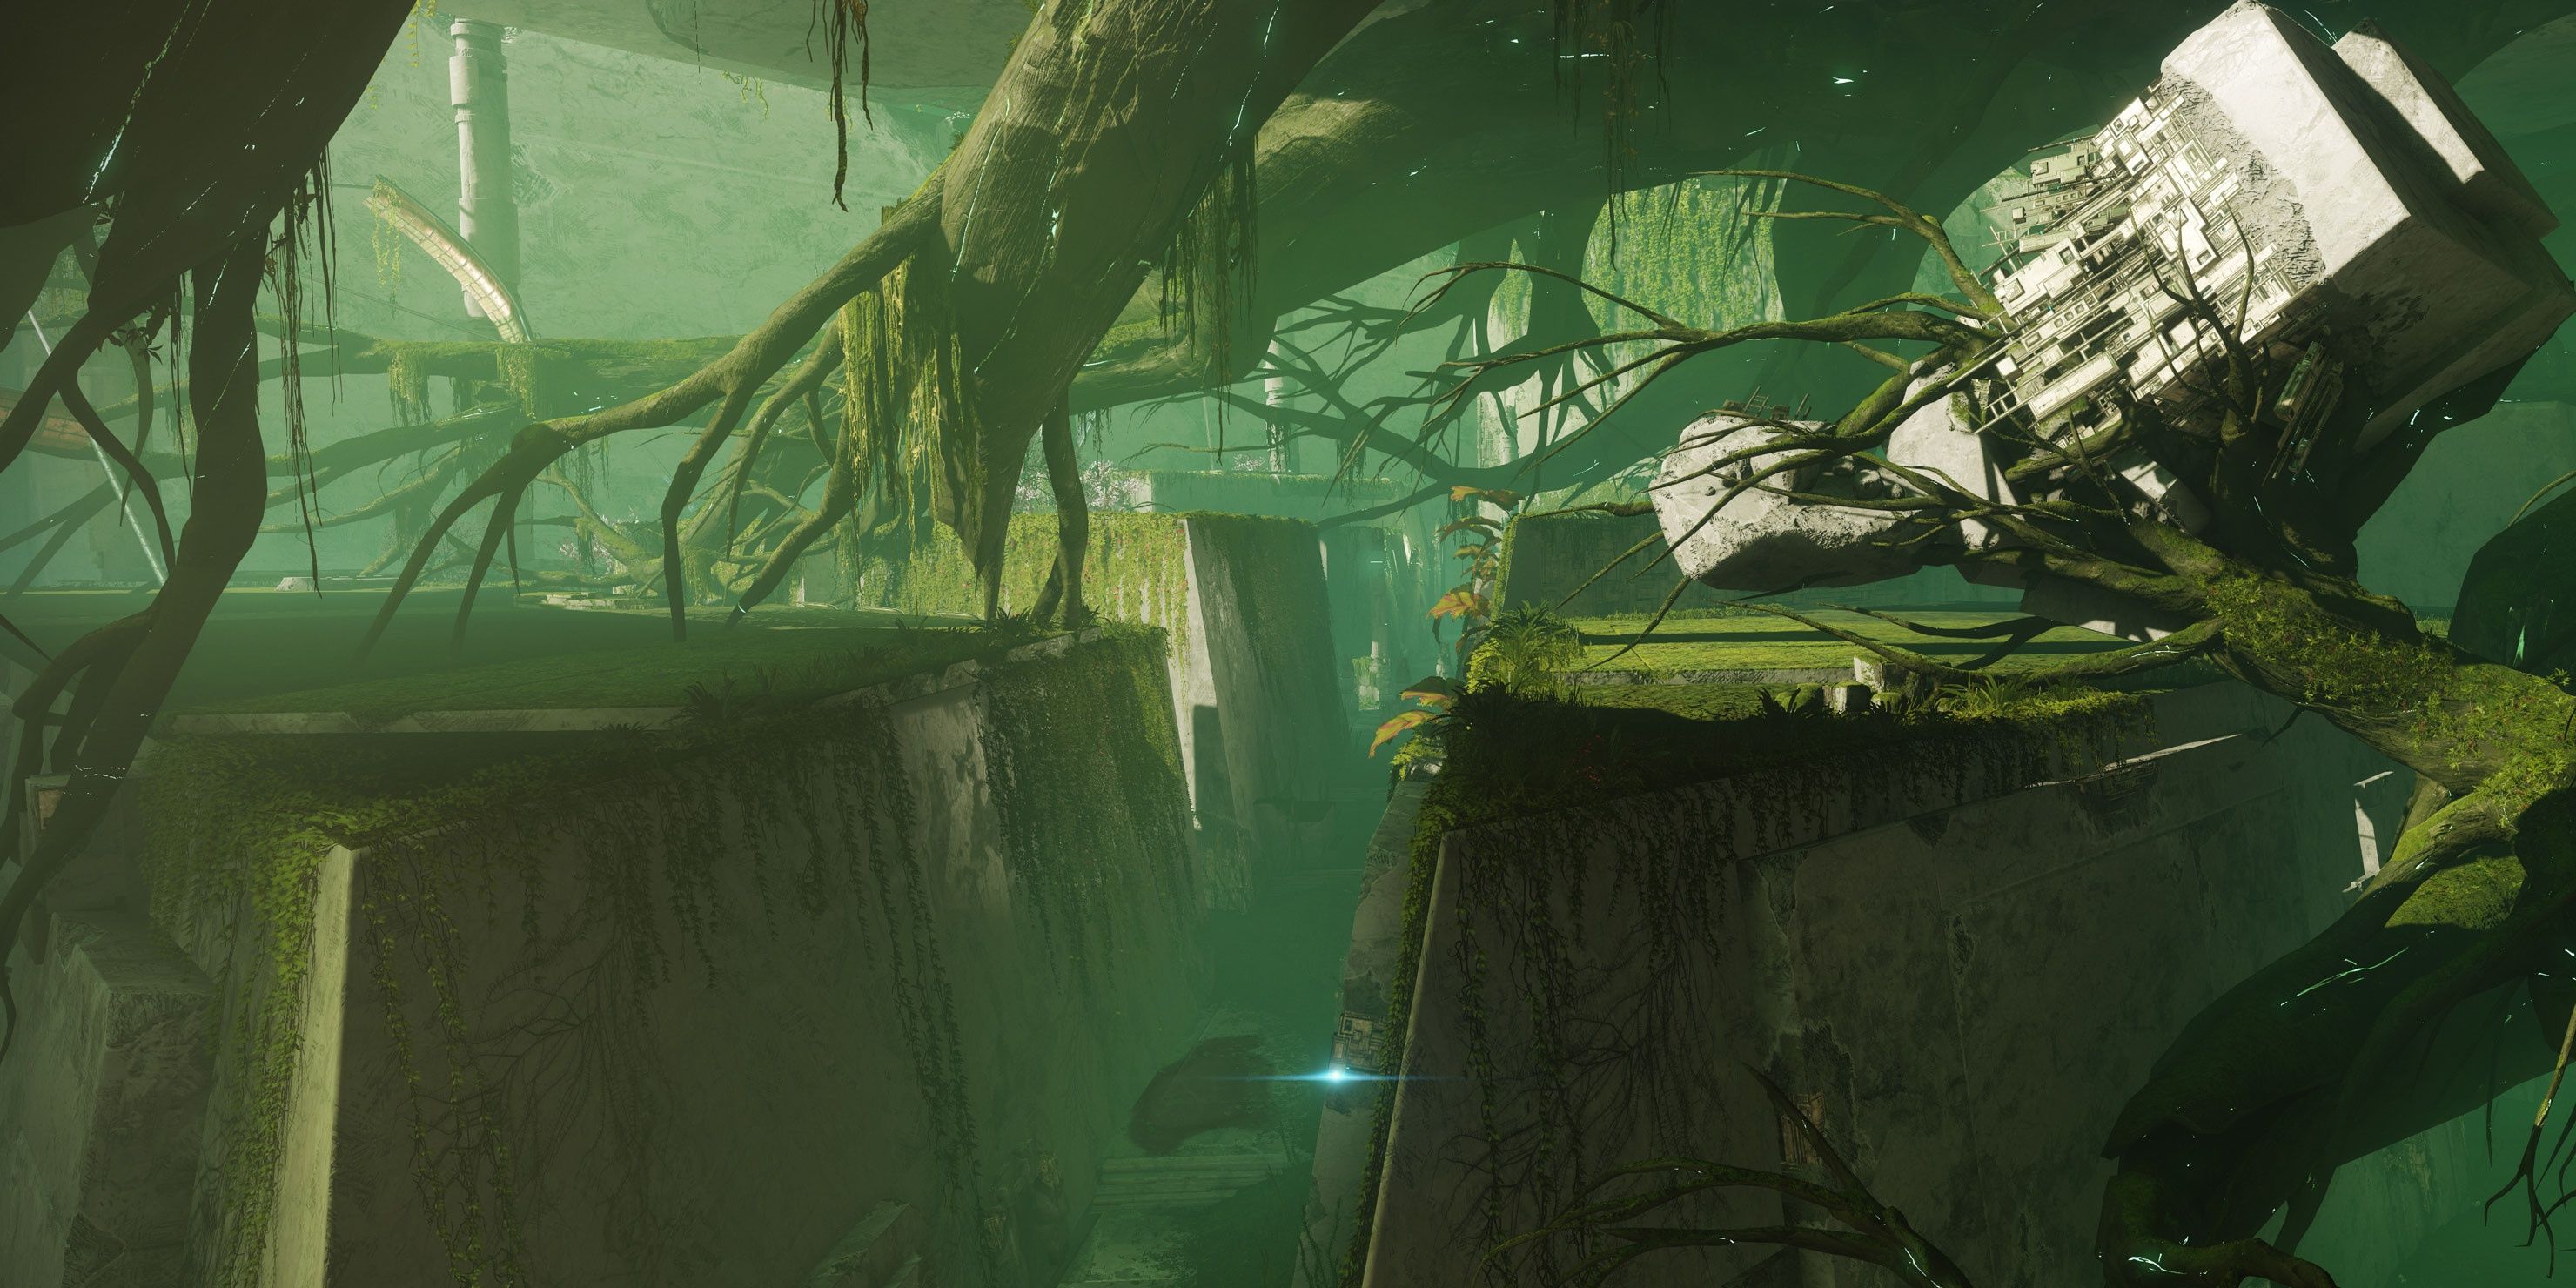
After you defeat the Consecrated Mind, follow the path to the Sanctified Mind as normal. When you reach the garden area with Radiolarion waterfalls, travel up the path on your right. This path will fork two directions, leading into a tree or an exterior section. Go left to enter the tree. Once inside, turn around, then climb up to the highest tree branch to find a hidden chest.
Leftovers
Leftovers: During the opening encounter, keep pairs of Cyclopses alive in every room.
This challenge is a weekly modifier named “Staying Alive.”
Every room in the first encounter spawns one Cyclops that players need to destroy. Once eliminated, two more Cyclopses will spawn in the same room. To complete this Triumph, you must keep the pair of spawning Cyclopses alive in every room. Eliminating a lone Cyclops does not void this challenge; killing those that spawn as a pair will fail this challenge.
This can get tricky since Cyclopses can quickly kill you if you aren’t careful. Bring mods like Protective Light and Warmind’s Protection to make this easier. Besides that, try to stick to cover whenever you aren’t tethering or grabbing a debuff from the Consecrated Mind.
Voltaic Tether
Voltaic Tether: Escape the Consecrated Mind while allowing only players with Voltaic Overflow to tether.
During the opening encounter, only players with the Voltaic Overflow buff can tether each other. This is much easier to pull off than it sounds. The main difference comes in how you start the encounter.
Assign each of your fireteam members a number, ranging from one to six. Players one, two, and three make up one team, while players four, five, and six make up a second team. Start the encounter by killing the Minotaur the Consecrated Mind is consuming. When it spawns the first buff, have player six grab it. This ensures that team one has enough time to clear out their room.
Players one and two grab their buffs when available, then players six, one, and two tether to open the first room. At this point, players one and two will clear out the next room while player three grabs their buff. Player three moves to where players one and two are, and now the encounter plays out exactly the same as usual. Teams will leapfrog from each room to make sure only players with Voltaic Overflow are tethering the door.
To recap:
- Kill the Minotaur the Consecrated Mind is eating.
- Player six grabs the first buff.
- Players one and two grab the second and third buff.
- Players one, two, and six tether to open the first room.
- Players one and two leave to clear out the newly unlocked room.
- Player three grabs their buff and regroups with players one and two.
- Teams one and two leapfrog from each room to ensure that only Voltaic Overflow players tether with each other.
A Link To The Chain
A Link to the Chain: Complete the second encounter by having everyone gain the Enlightened buff at the same time.
This challenge is a weekly modifier named “A Link to the Chain.”
A Link to the Chain can be a royal pain for LFG teams, but this shouldn’t be too stressful for coordinated teams. The objective here is to complete the second encounter by coordinating Enlightened buff refreshes. Players can refresh their buff from different relays, but they must all gain the Enlightened buff at the same time. If it’s more than three to five seconds off, the challenge automatically fails.
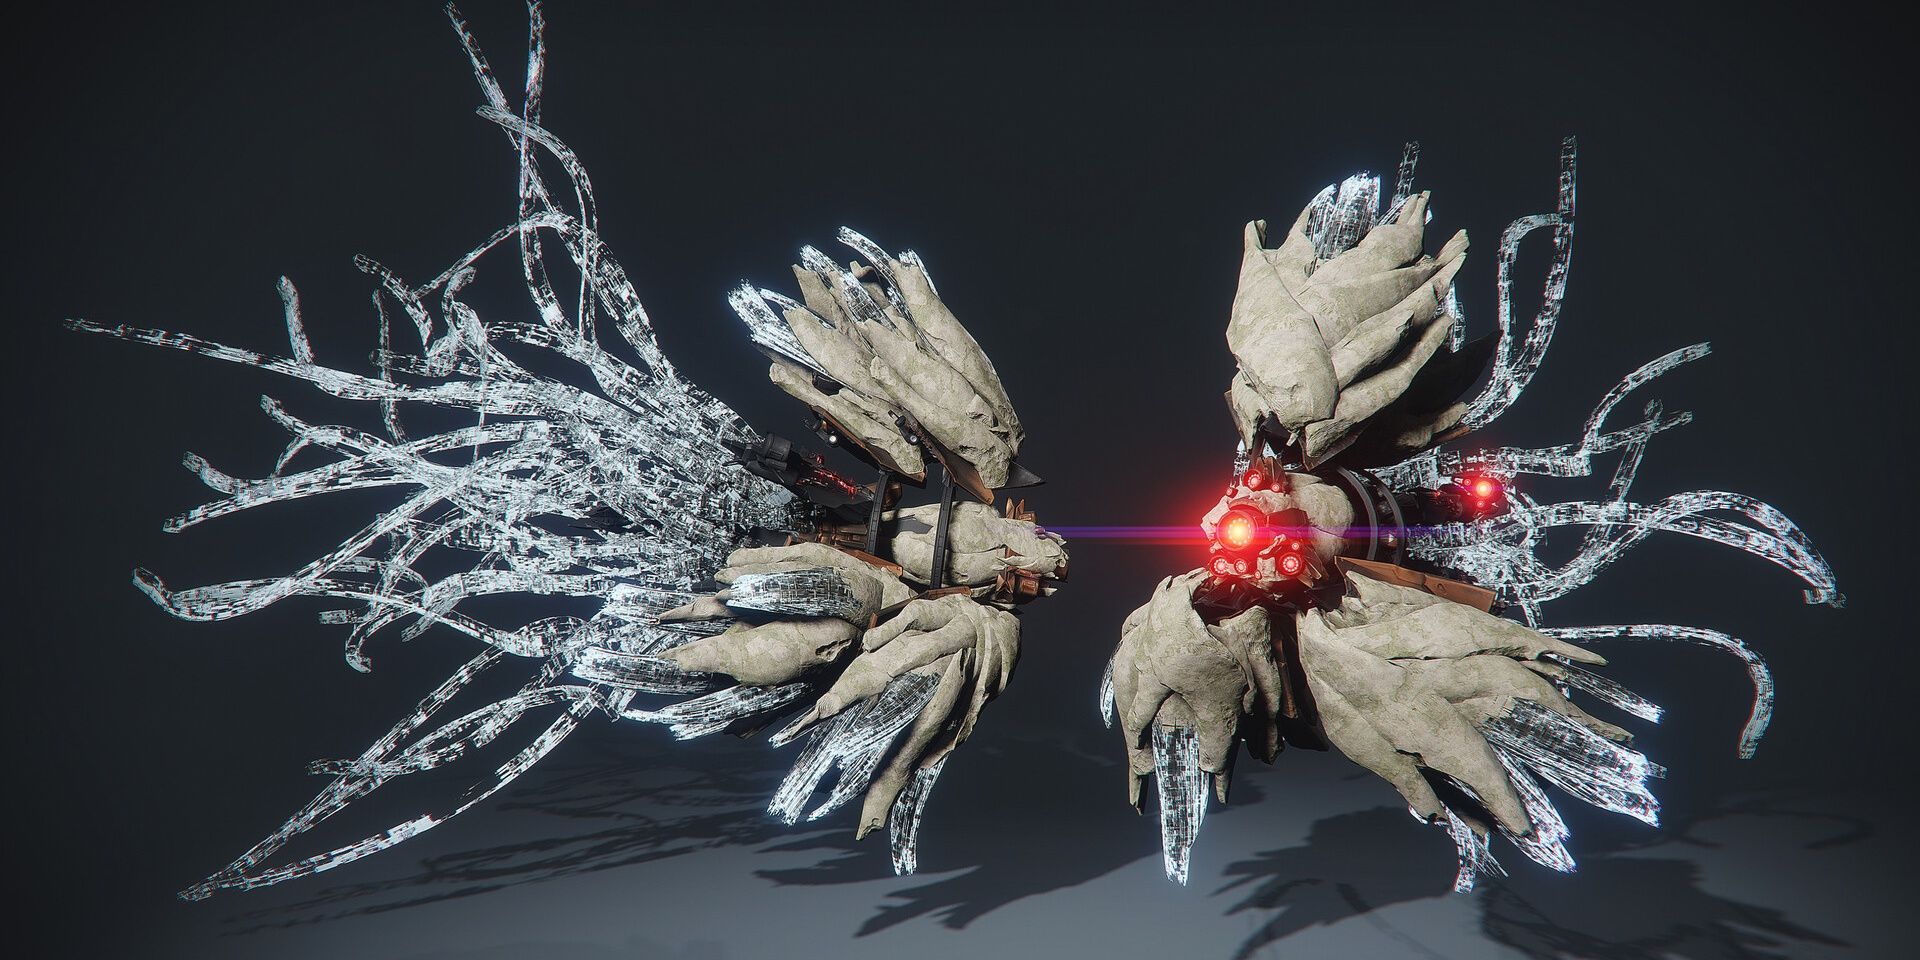
Start the encounter by splitting your team into three groups of two. One team heads to the left relay, one stays at bottom, and the third pair heads to the right side. Kill the adds, then have every player kill their Angelics at the same time. This gives you a small 15-second grace period to gain the Enlightened buff. Coordinate with your team to shoot the tether box at the exact same time.
Once everyone is buffed, one player from the left and right relay head to the top relay to clear it out. You can also send two from left side and one from right to the top relay if clearing it out is too stressful for two people. Kill the adds until it’s just the Angelic. Have the remaining members on the left and right relays run down to the bottom relay. Kill the Angelic, then tether. Four people should be tethered at bottom, and two people will tether at top.
For the third tether, have one player from the bottom relay head to the top relay. Kill the adds then tether (no Angelics spawn during the third tether). Repeat this particular pattern until the walls dissipate, cleansing at relays where an Angelic has recently been defeated at, if possible.
At this point, the wall at the center of the arena should dissipate. Everyone will run to the center, refresh their Enlightened buff in a conga line, then finish the encounter by defeating the remaining Vex adds.
To recap:
- First Tether: Two at bottom, two at left, two at right
- One from left and right relays head to the top relay and clear it out. The remaining players head to bottom.
- Second Tether: Four at bottom, two at top
- One player migrates from bottom to top.
- Third+ Tethers: Three at bottom, three at top
- Head to the center of the arena; then everyone refreshes the buff together.
- Kill the rest of the Vex.
If you need more time to tether, consider leaving a Vex Goblin alive before you tether. This gives you a few extra seconds to work with.
Repulsion Theory
Repulsion Theory: Summon the Consecrated Mind without tethering to a relay while Enlightened.
Repulsion Theory is very similar to A Link in the Chain. You must now avoid tethering when you have the Enlightened buff. Fortunately, this is fairly easy to do.
You do not have to have players tether simultaneously, making this much easier to complete than A Link in the Chain. Use any preferred strategy to complete this encounter, remembering to refresh with at least one person every 45 seconds. This typically happens right after an Angelic is slain, so keep an eye out for the “defenses have subsided” message; you’ll usually lose the buff by then. Besides that, complete the encounter as usual.
To The Top
To the Top: Defeat the Consecrated Mind by only depositing 10 Motes at a time.
This challenge is a weekly modifier named “To the Top.”
To the Top is a trivially easy encounter, requiring the “Gambit team” to deposit ten Motes at a time instead of the usual five. Instead of using the popular “5-10-10-5” strategy for banking Motes, your team will need to bank ten motes three times, otherwise known as the “10-10-10” strategy.
Gambit players just need to be quicker with clearing out Minotaurs at the center of the arena. To help with this, one player can be designated to stay at the center of the arena to assist in killing these Minotaurs. Besides that, this encounter plays out virtually the same.
Relay Rally
Relay Rally: Defeat the Consecrated Mind without allowing any player with the Relay buff to kill a combatant.
Whenever a Mote runner deposits their Motes to a relay, they will gain the Enlightened buff for 45 seconds. To complete Relay Rally, they can’t kill a single enemy while they have this buff.
Assign one non-Mote player as a relay defender. Their sole job is to clear out Vex at that relay. Make sure that the Mote player with the Enlightened buff stays at the relay as well to shred the Vex shields. This does put a little bit of pressure on the eye-reading team since they don’t have a flexible fourth player, but seasoned raid teams should have no trouble completing this Triumph.
Zero To One Hundred
Zero to One Hundred: During the Sanctified Mind fight, recharge a relay with 30 Motes in ten seconds or less.
This challenge is a weekly modifier named “Zero to One Hundred.”
Whenever a relay receives Motes, it must be fully charged within ten seconds. In other words, you need to deposit 30 motes into a relay at once. Note that this timer only starts for one relay; it does not affect the other side’s relay.
Send the first two players into a portal. They should only grab nine Motes each instead of ten. When both have 18 Motes, they get pulled out. The third player from that side hops in, grabs 10 Motes, then leaves. The first two players then jump into the portal one more time, grab one Mote each, then are pulled back. Players one, two, and three now dunk their Motes at the same time.
That might sound confusing, so let’s break it down into steps:
- Two players enter a portal.
- Each player grabs nine Motes, then both get pulled back.
- A third player enters the portal and grabs ten Motes.
- The third player is pulled back, allowing the first two players to enter a portal again.
- Both players get one Mote each to refresh their timer. Both players should now have ten Motes each.
- The duo is pulled back.
- All three players dunk their Motes into the same relay.
In practice, you’re just delaying Mote deposits with a third portal visit by the first duo. That’s it. It is highly recommended to have both sides use this strategy simultaneously. Doing so will prevent shielded Vex from spawning, although this comes at the cost of stable ground. Bring one or two Warlocks with Well of Radiance to ensure you don’t die to Radiolarion Fluid during the DPS phase. The stun and DPS phases of this encounter play out the same as normal.
Stop Hitting Yourself
Stop Hitting Yourself: Defeat the Sanctified Mind after destroying 20 combatants with Vex Instantiation.
Stop Hitting Yourself requires your fireteam to kill 20 Vex by having the land under them either be rebuilt or destroyed. To do this consistently, shoot off the heads of any Vex that approach the relays. Instead of migrating to the relay, they will focus on killing your team. Use this aggro to lure hordes of headless Vex into plots of land that will either be rebuilt or destroyed. Using Tractor Cannon from a distance can also push Vex onto changing plots of land. When 20 Vex have died this way, kill the Sanctified Mind to complete this Triumph.
Divinity’s Call
Divinity’s Call: Acquire the Exotic Trace Rifle Divinity.
To start this quest, head to the Garden of Salvation starting zone on the Moon. From Sorrow’s Harbor, head to the southeast part of the zone and cross the bridge. You should now be at the Lunar Battlegrounds. To your left should be a path that leads to a Vex portal. Kill the Minotaur residing there to start the quest.
This will start a quest step named “Divine Fragmentation.” You will have to complete multiple Lost Sectors and defeat Vex. We have a detailed guide on how to complete this step that you can view here.
Once this step is complete, you must find and complete seven tether-related puzzles in the Garden of Salvation raid. Explaining all of these would take an article by itself, and these puzzles are better off explained in video form. YouTuber Datto has made an excellent video detailing how to complete each of these Divinity raid puzzles. You can watch it here.
When all seven puzzles are completed, a second chest will spawn at the end of the raid. Open this chest to receive your Divinity Exotic Trace Rifle, completing the Triumph.
Next: Destiny 2: Beyond Light Complete Guide And Walkthrough
- Guides
- Destiny 2
- Destiny 2: Beyond Light
Charles Burgar is an expert on all things tech and gaming. Graduating from Pikes Peak Community College in 2018 with an Associate of Science, Charles has spent his time dissecting popular video games, movies, and technology. With an understanding of games for as long as he can remember, Charles has a large interest in understanding what makes things fun. He is currently a Freelance writer for TheGamer and Game Rant.
Source: Read Full Article
