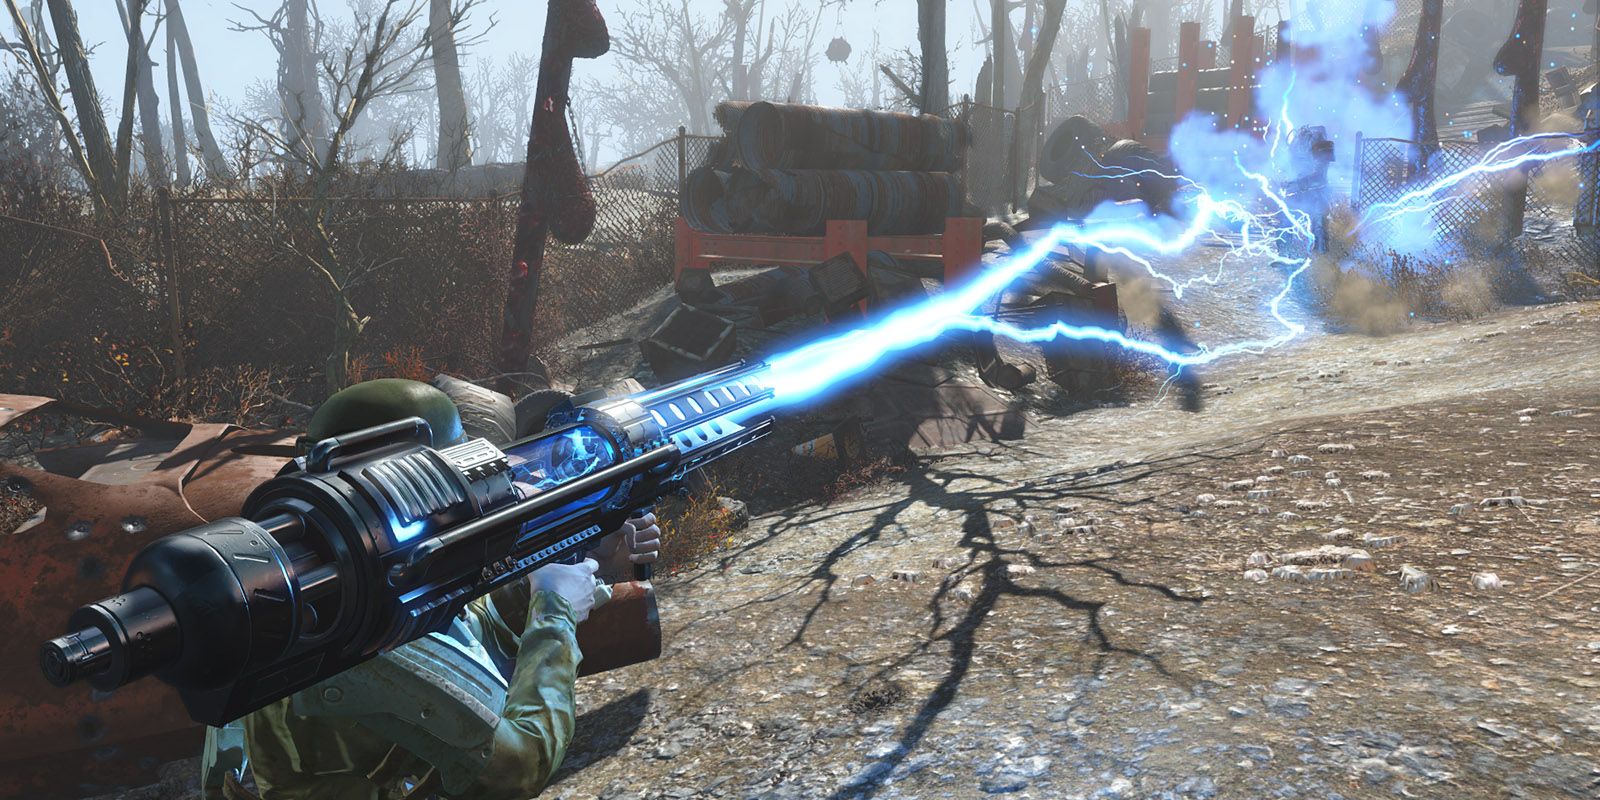
Bethesda games are known for many things, ranging from their immersive worlds to the plethora of bugs each game seems to have. Despite all of that, what keeps games like Skyrim relevant for years well after its release boils down to one thing: mods.
The modding community has radically changed the face of Morrowind, Oblivion, Skyrim, Fallout 3, and are starting to make some major overhauls for Fallout 4. Mods have become so integral to these games that Bethesda has added a modding platform for console players to use, allowing all players to experience the joys of modding. Today, we’ll be going over how you can mod Fallout 4 and some useful modding tools you should be aware of.
Modding Terms
Before you start modding your game, there are a few terms you might stumble across while browsing various guides or forums. Here’s a quick rundown of what certain terms and acronyms mean.
- Cleaning: Refers to removing duplicate and unused entries from certain files, done through a tool named FO4Edit
- CTD: Crash to desktop
- ENB: Short for “Enhanced Natural Beauty,” these mods implement post-processing effects and other graphical tweaks to Fallout 4. We won’t be covering them in this guide, although tutorials around ENBs can be found here.
- F4SE: Short for “Fallout 4 Script Extender.” This mod is required for many advanced PC mods to function. Console modders do not have script extenders.
- Load Order: The order in which your mods load.
- Mod Manager: A tool used to install, manage, and organize mods. Only PC users use mod managers.
- Root Directory: Where Fallout 4 is installed to.
Finding Mods
Your main source of mods will depend on the platform you’re playing on. PC players have many more options than console users, but most users generally go to one of two places:
- Nexus Mods (PC): This is the hotspot for PC Fallout 4 mods. If you plan to obtain your mods here, use a mod manager (explained in the “Modding Tools” section).
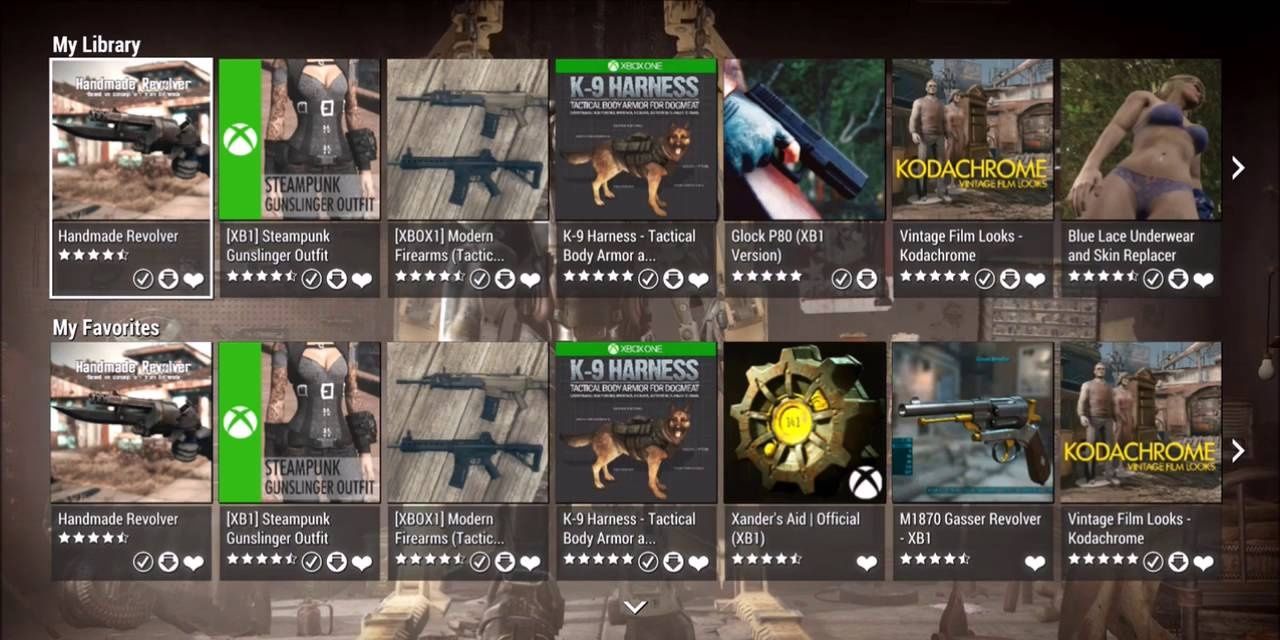
- Bethesda.net (Everyone): Console players and some PC users get their mods from Bethesda.net. All mods that appear in Fallout 4’s in-game modding menu are pulled from this website.
Installing Mods
Installing mods is a little different depending on your platform of choice. Let’s go over what the installation process is like for both PC and console platforms.
Installing Mods On Console
Fortunately, installing mods on a console is surprisingly easy. The only requirement is that you have a Bethesda.net account. If you don’t have one, selecting the “Creation Club” or “Mods” options in the main menu should give you a prompt for making one.
Installing a mod on your console looks something like this:
- Browse Bethesda.net (in-game or online) for a mod you wish to install.
- Select the “Add to Library” option and wait for the installation to complete.
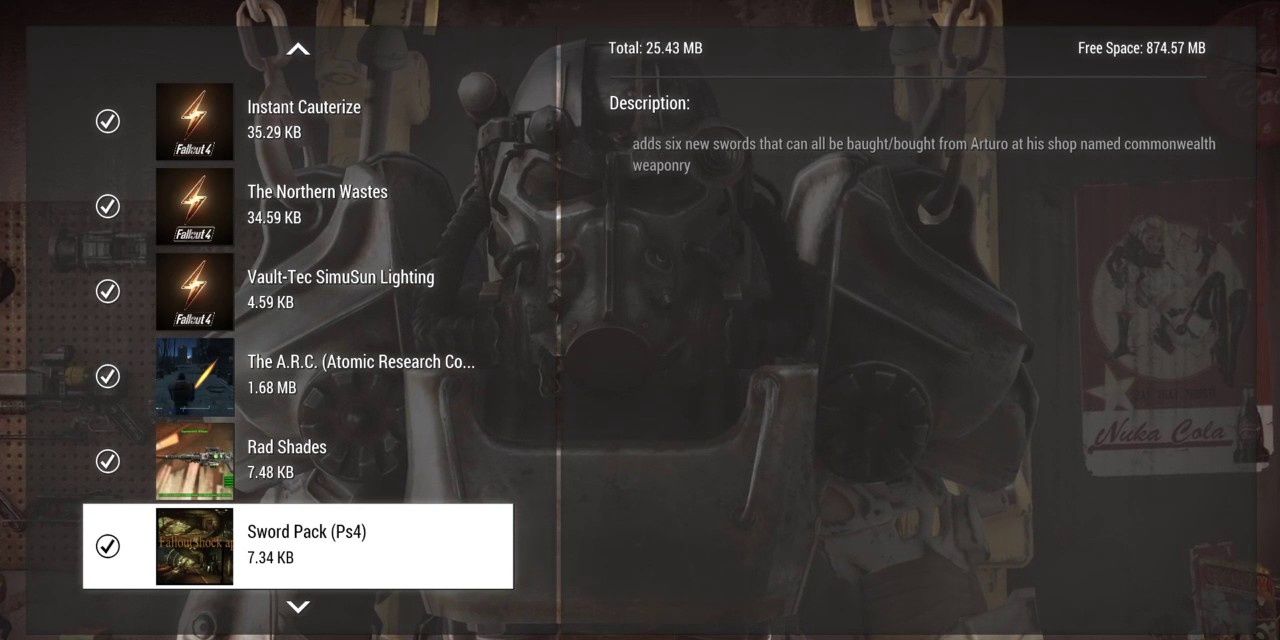
That’s it! It’s incredibly easy on a console. Uninstalling or disabling a mod is just as easy, both of which can be done from the load order submenu.
There can be some potential conflicts you’ll experience if multiple mods alter the same thing (for example, if you install two mods that alter the game’s performance), but you can fix these with either compatibility patches or your load order. Check a mod’s description to see if there are any compatibility issues with other mods you’re thinking of using. We’ll cover mod load order in the next section.
Installing Mods On PC
PC users get multiple options on how they wish to install mods into their game.
- Install mods through a mod manager.
- Use Bethesda.net to install mods, using the same process as console users.
- Install mods to their root directory manually (not recommended).
Most PC users stick with the first option, as it gives you the most flexibility with where your mods can come from. Mods that originate from Nexus Mods typically use the first option, so let’s cover what that process looks like.
Using a mod manager and downloading from Nexus Mods, here’s what installing a mod would look like:
- Install a mod manager of your choice to your PC.
- Link your mod manager to your Nexus Mods account (most mod managers guide you through this).
- Find a mod that interests you.
- Click the “Download with Manager” button. Confirm any on-screen prompts.
- Enter your mod manager and double-click on the mod you download.
- Wait for the install process to complete.
- Boot Fallout 4 from your mod manager (this is extremely important).
You’ll only need to complete the first two steps once. After you’ve installed a manager and linked it, you only need to complete steps three through seven. As with console modding, you’ll also have to keep track of your game’s load order as you add mods.
Load Order
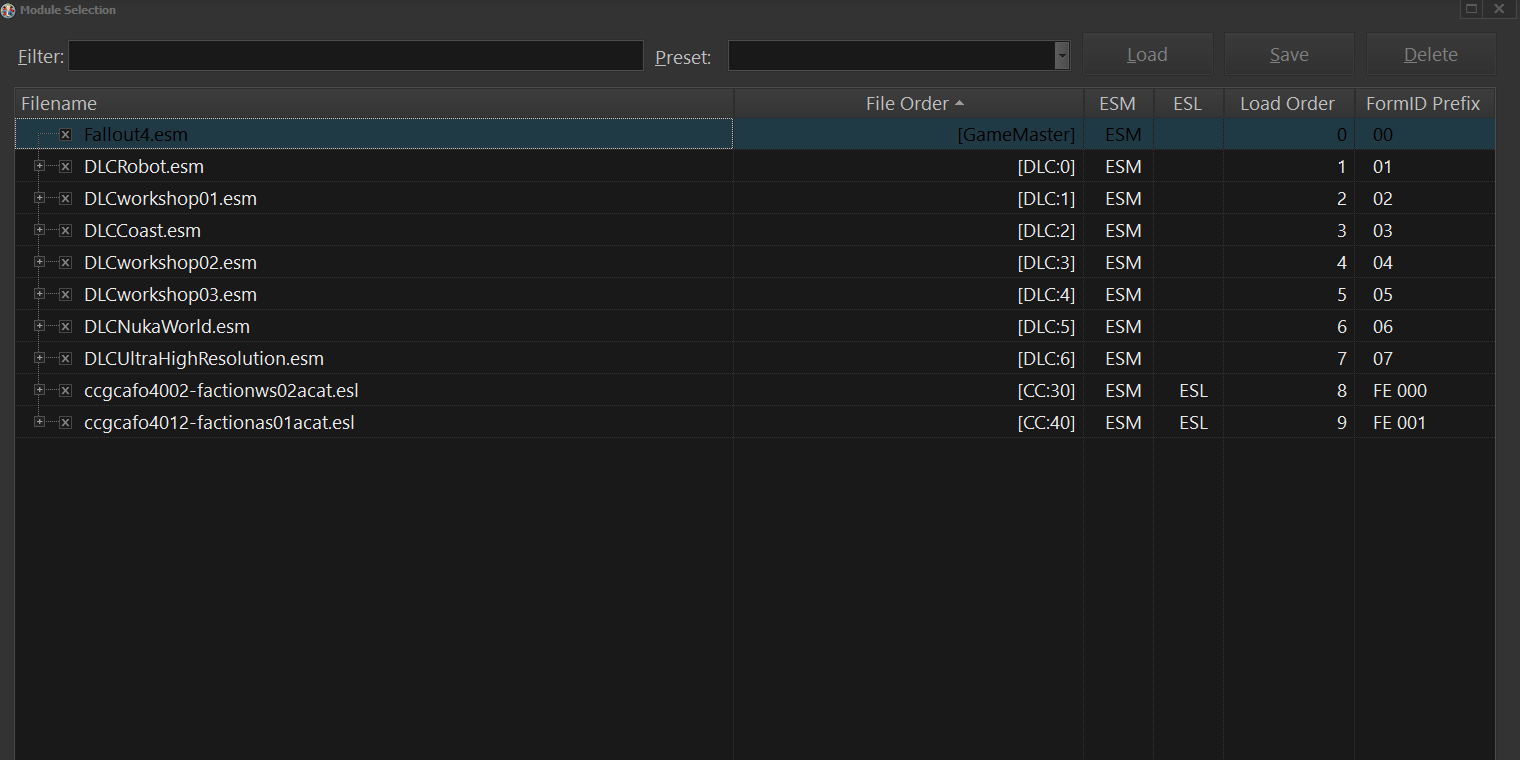
In essence, a load order displays the sequence of how Fallout 4 will load its content. Nearly every mod you install will come with a .esp file that must be loaded when Fallout 4 is booted. The order in which your mods load can be particularly important.
Bethesda games load files sequentially, meaning the file lowest in the load order gets priority. This can be problematic if two mods override the same content. If you want a certain mod to override another, make its file lower in your load order. Load order isn’t an end-all solution to mod conflicts, but many stability issues and unintended effects stem from a bad load order.
How Do I Change My Load Order?
Bethesda.net mods can be managed from the “Mods” menu. A button prompt will let you access your load order, allowing you to sort your mods as you see fit.
PC users that use mod managers can alter their load order through their mod manager. Certain tools, most notably LOOT, were made specifically for managing your load order. Only PC users can use LOOT, so console players will need to be especially conscious of their load order.
In general, read the description of your mods before installing them to see if there are any major incompatibility issues you need to account for. If a mod needs to be placed in a certain spot in your load order, chances are the mod author stated as much in the mod’s description.
Modding Tools
This section is for PC users only.
Console players don’t have external modding tools, so this section will just focus on PC users. Unlike Skyrim, Fallout 4 doesn’t have many external tools you’ll need to mess with. We’ll cover three notable tools: mod managers, Fallout 4 Script Extender, and FO4Edit.
Mod Managers
Every PC user that wants to mod Fallout 4 should have a mod manager. This piece of software will download, install, and maintain your mods without breaking your Fallout 4 installation.
There are two major mod managers that most PC players use:
- Mod Organizer 2: Most consider this the gold standard. It supports mod profiles, .ini tweaking, load order sorting, and has many tutorials on how to use it.
- Vortex: Nexus’ take on a mod manager, Vortex aims to be more user friendly than Mod Organizer 2.
Most players would recommend that you use Mod Organizer 2 due to its stability and frequent support. Vortex is fantastic for users that want a simple mod manager that’s incredibly easy to use.
Note: If you use either of these managers, you’ll need to boot Fallout 4 from your mod manager directly from now on. Otherwise, your game will launch without any mods installed.
Fallout 4 Script Extender
Known as F4SE, this allows more script-heavy mods to work for Fallout 4. You can download it here. Drop the contents of the file to your Fallout 4 root directory. Launch the script extender instead of the Fallout4.exe file whenever you want to use its features.
FO4Edit
This tool is incredibly powerful, letting you tinker with virtually everything tied to Fallout 4. Most notably, FO4Edit lets you “clean” Fallout 4’s master files and other “dirty” mods you install. Cleaning these files is useful for increasing your game’s stability, as it removes duplicate and unreferenced data that is prone to making your game crash. A tutorial on how to use this tool can be found here.
Troubleshooting
Once you get deep into modding Fallout 4, you might start experiencing some serious stability issues or unintended effects with certain mods. These instances will require you to troubleshoot the issue. While each person’s mod setup is unique to them, there are a few tips you can use to figure out the issue quickly.
Read Mod Descriptions
You can save yourself hours of headache by spending a few minutes reading the mod description of each mod you install. These descriptions will tell you of any known issues, compatibility problems, or other issues you should be aware of.
Disable Half Of Your Mods
If you have a massive load order and need to quickly boil down which mod is causing an issue, disable half of your currently active mods. Should the problem persist, disable half of your remaining mods. Repeat this until the problem goes away. This lets you quickly narrow down which mods could be causing issues with your game.
Check Your .INI Files
This applies to PC only.
Your game can perform exponentially worse if you’re using certain .ini settings after installing multiple graphic or script-heavy mods. In these situations, it’s best to check your .ini files. BethINI is a fantastic tool for configuring your .ini files quickly, giving a noticeable performance increase for older PCs. You can download BethINI here.
Reinstall The Mod Or Fallout 4
When something simply refuses to work, a simple reinstall of that mod or Fallout 4 itself can fix your issues. This should only be done as a last resort, but a clean install can do wonders for convoluted issues you can’t find a solution to.
Next: The 10 Biggest Fallout 4 Mods Ever Made (By File Size)
- Guides
- Fallout
- Fallout 4
Charles Burgar is an expert on all things tech and gaming. Graduating from Pikes Peak Community College in 2018 with an Associate of Science, Charles has spent his time dissecting popular video games, movies, and technology. With an understanding of games for as long as he can remember, Charles has a large interest in understanding what makes things fun. He is currently a Freelance writer for TheGamer and Game Rant.
Source: Read Full Article

