If you’ve been lucky enough to scoop up a house in Final Fantasy 14, then it’s time to get to work and get it decorated. The game’s default editor is fine enough, but clever players have discovered ways to glitch pieces of furniture and float items. The technique results in some seriously cool Final Fantasy 14 housing designs, so if you’re interested in stepping up your housing game, it’s time to learn how to float.
For starters, if the term “float” is throwing you off, don’t be intimidated. Floating items just refers to the act of placing them in the air where they wouldn’t go on their own with the housing editor. Some players also refer to this as glitching items or lofting items, but the housing community has largely adopted “float.”
How To Float Tabletop Items
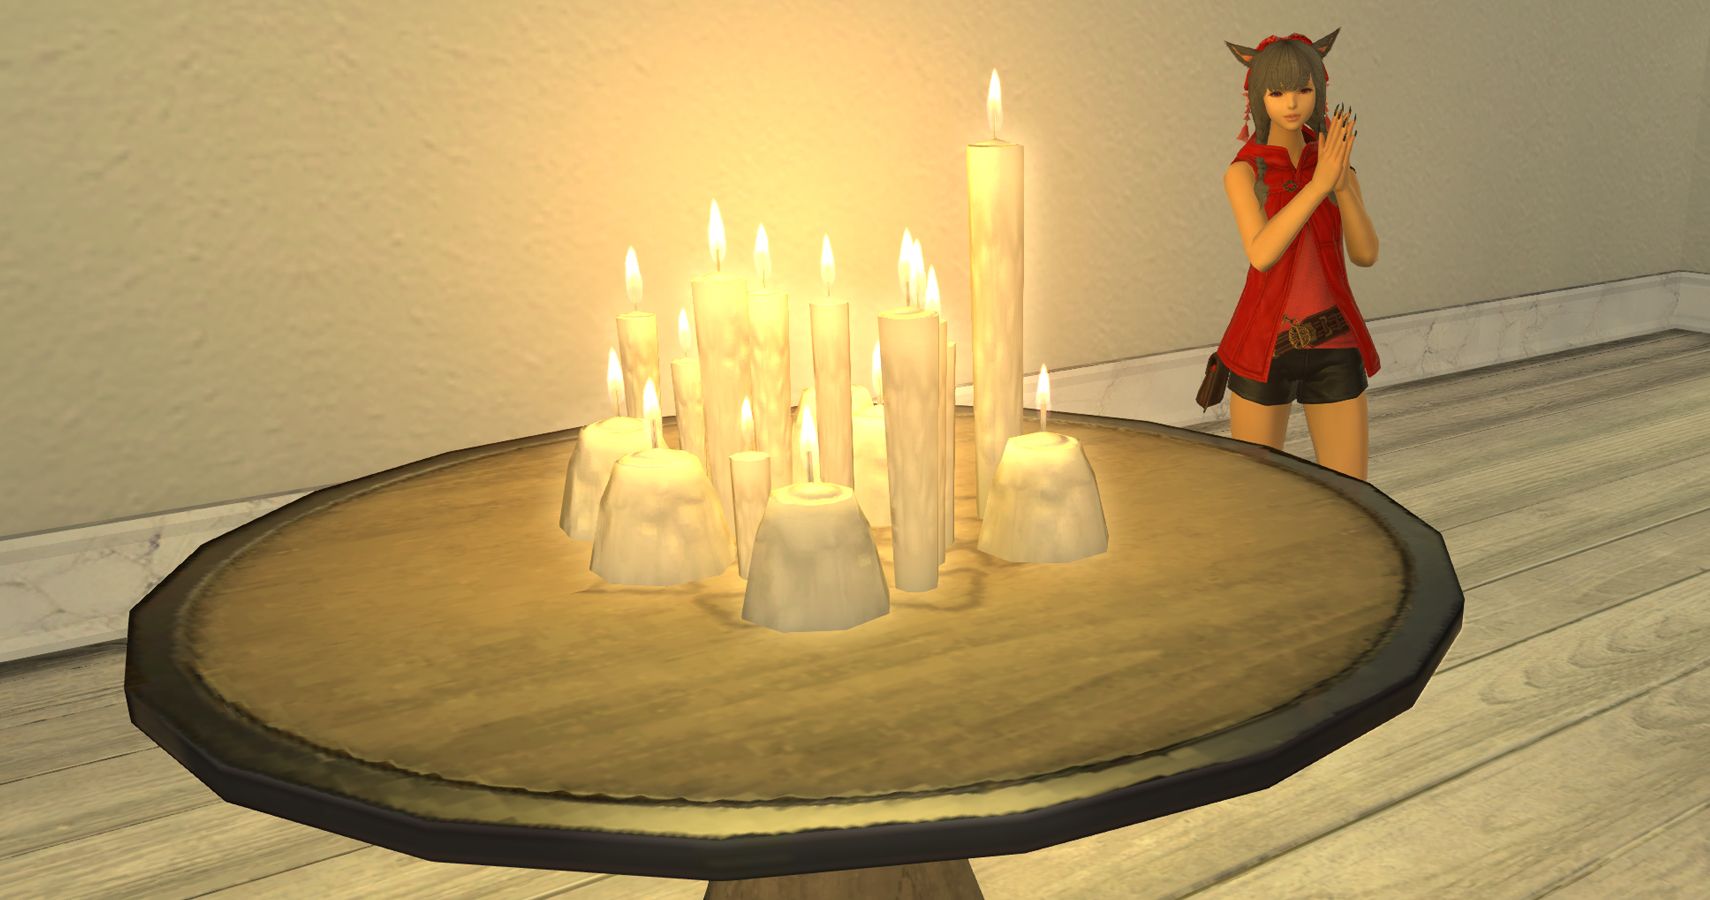
Floating tabletop items is an easy first trick to learn. First, you’ll want to grab an item that counts as a tabletop surface, then the actual tabletop item you’ll be floating. For this demonstration, I’ve selected the Glade Round Table as my surface and will be floating Assorted Candles.
When you’ve got your item placed where you would like it to float in the air, simply uncheck the “Toggle counter surface placement on/off” and left click to grab your item again before right-clicking to release the item. It should snap back to the old location. In this instance, I turned counter placement off, left-clicked my Assorted Candles like I was going to move them, but then right-clicked to cancel the action.
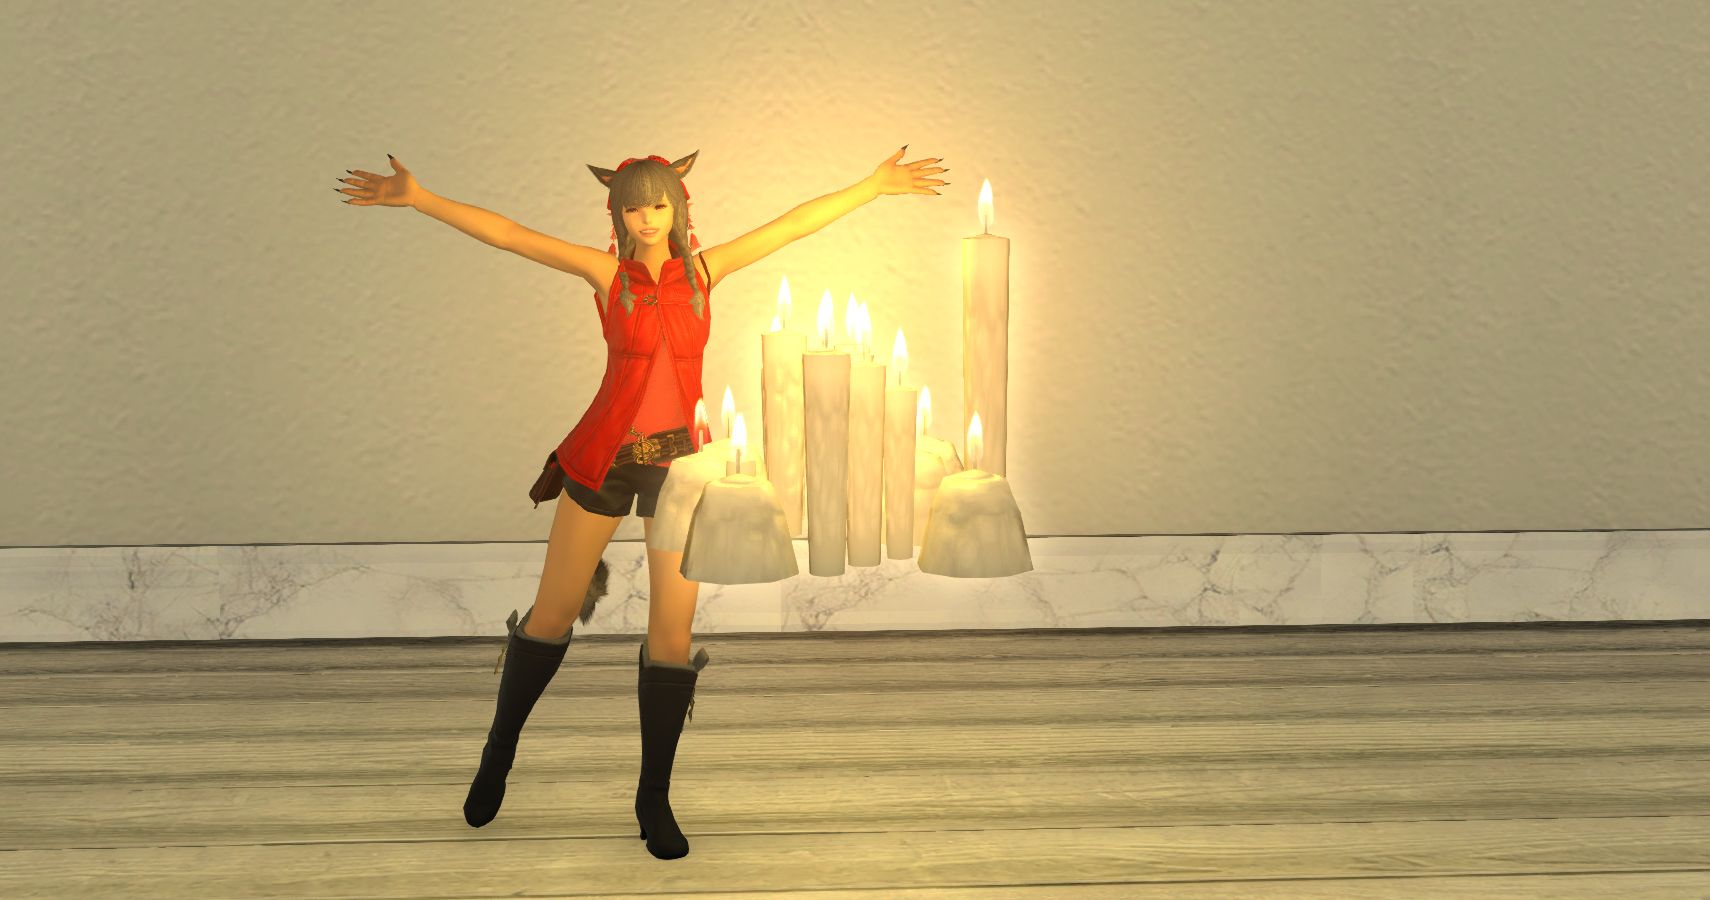
Now your items should be floating. In this screenshot, I can come and go as I please and the Assorted Candles should continue to just hover in the air. You can do this with shelves on walls to float tabletop items even higher, then remove the shelves and walls when you’re done.
How To Float Large Items
This is where things get a bit trickier. Floating items that are not tabletop items requires glitching the item by forcing it into the air. It’s tedious, but floating items like this can create some incredible results Final Fantasy 14’s housing editor typically wouldn’t let you create. So, to get started, you’ll need to buy:
- 1 – Riviera Wall Shelf
- 1 – Stage Panel/Partition
- The item you want to float
Now you’re ready to get started. The basic idea behind floating is that you want to place the furniture you want to float on top of a counter surface so it will snap to the grid. Every time the counter surface inches higher, the item you want to float should go with it. Let’s break that down. I’m going to use my Riviera Wall Shelf and Stage Panel to float Used Banquet Table into the air.
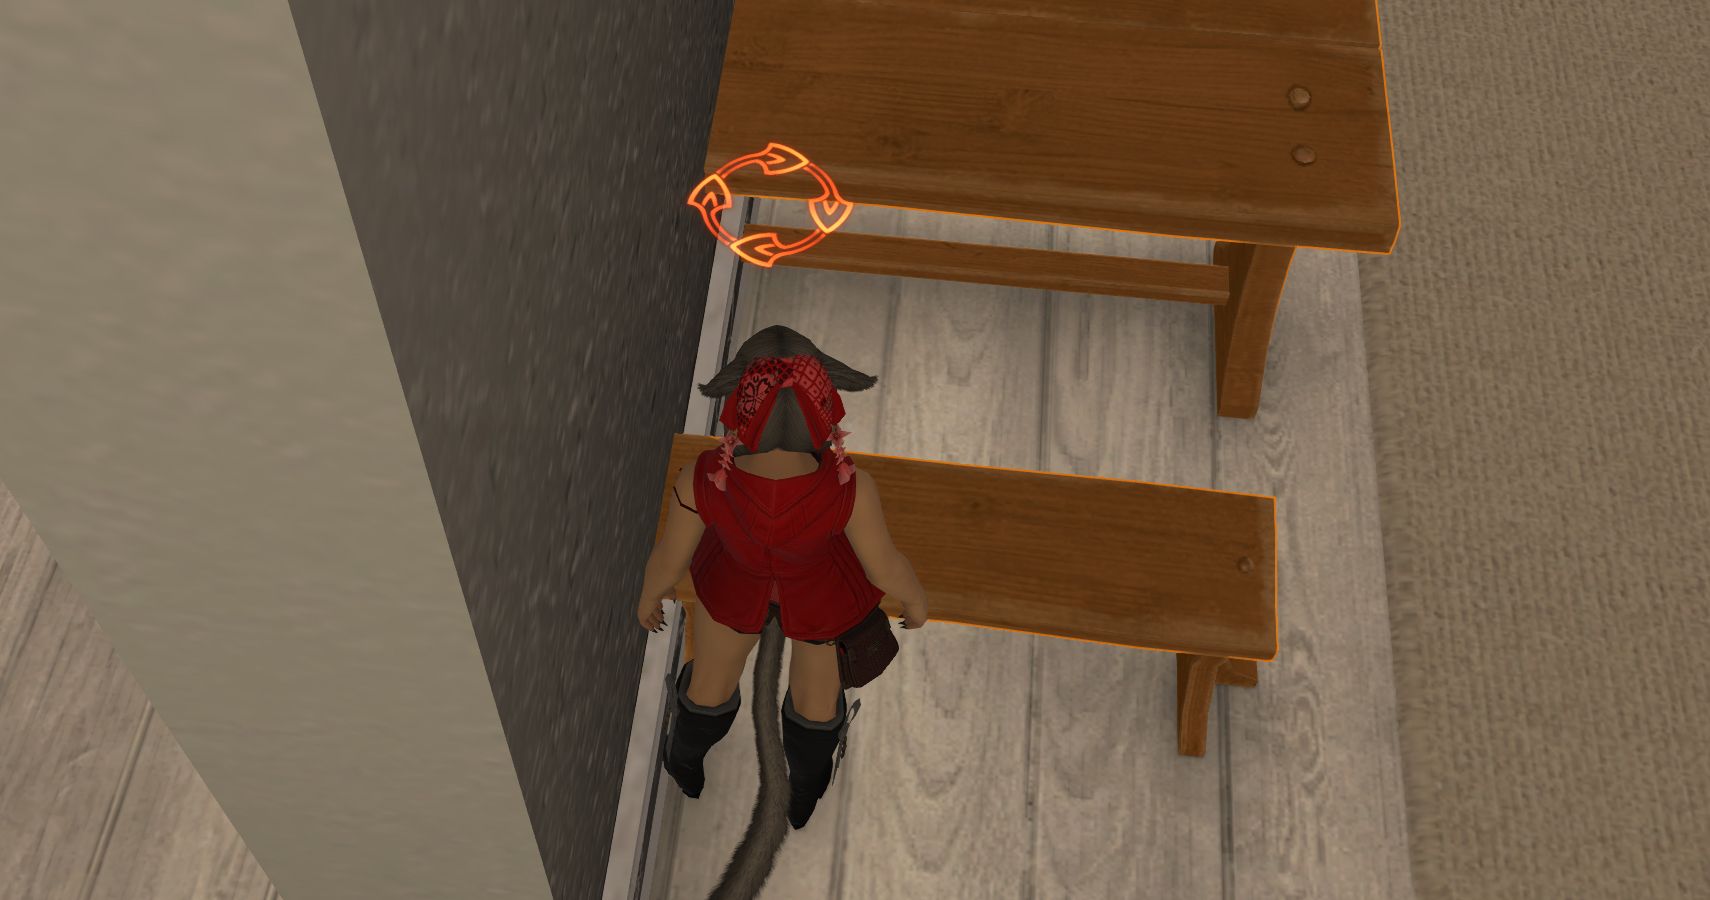
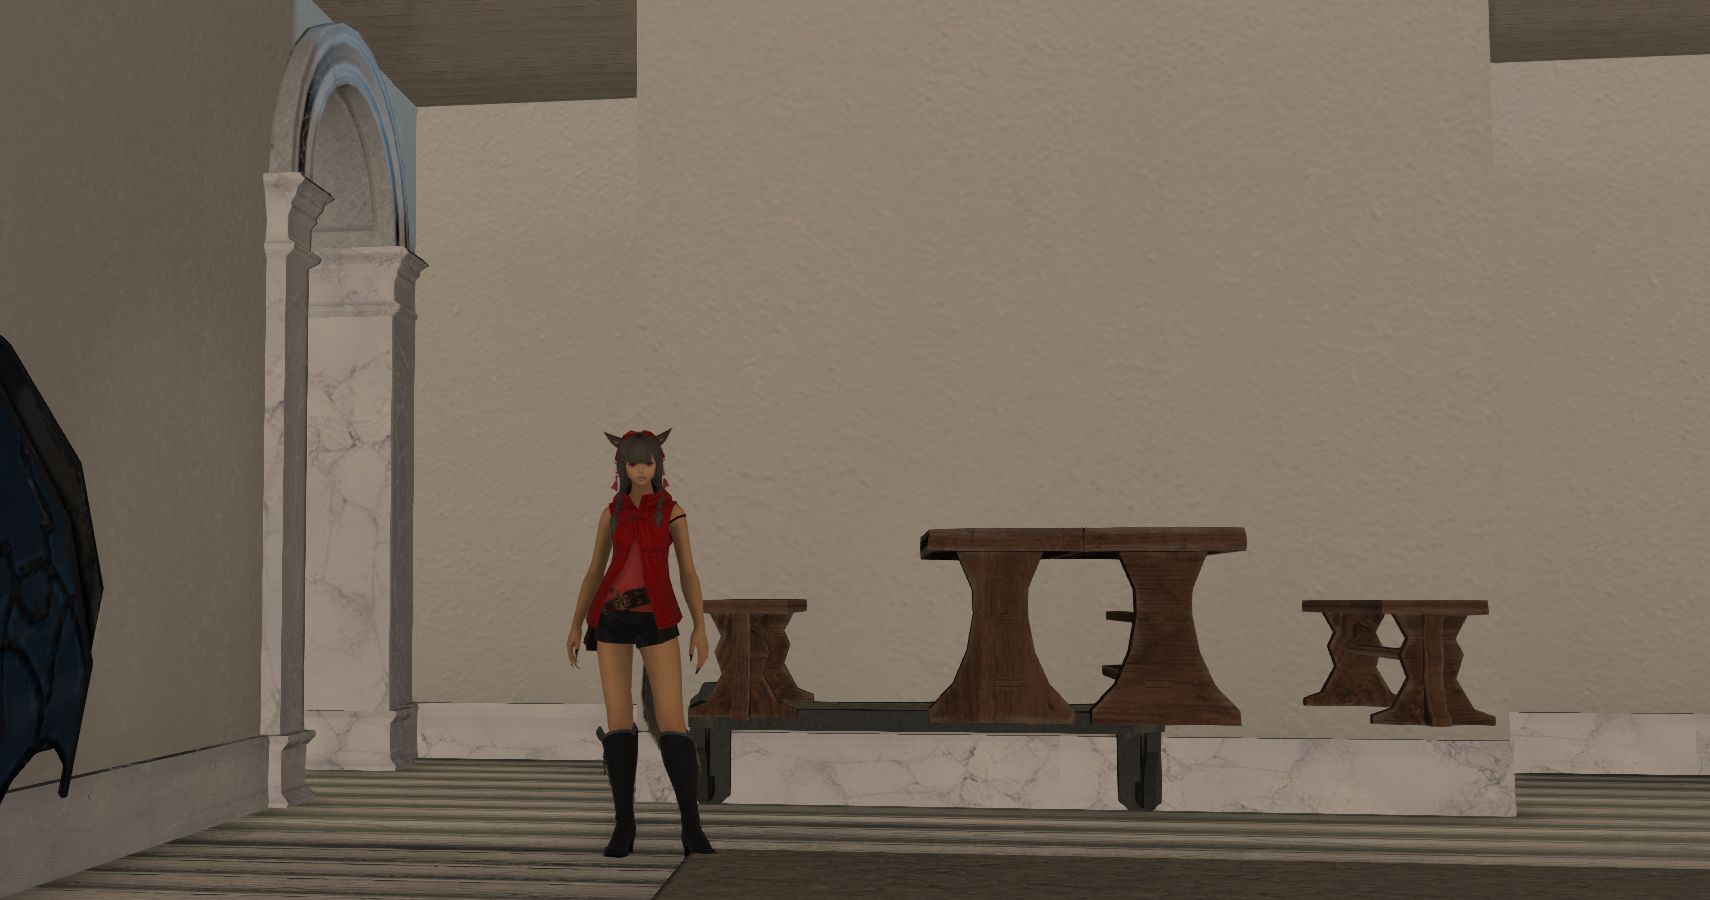
First, locate the orange circle in the item you want to float that appears when the item is selected. Think of this as your item’s hitbox. We have to line this orange circle up to where the middle of it can be hit by your Riviera Wall Shelf. So, I’m going to take my Used Banquet Table and rotate it so the orange circle is in the middle of the Stage Panel.
In this screenshot, you can see that I’ve lined the orange circle of the Used Banquet Table to sit just underneath the Stage Panel. I am now ready to place my Riviera Wall Shelf down to pull the Used Banquet Table up into the air. So, I will hover the Riviera Wall Shelf just slightly above the Used Banquet Table and place it on the Stage Panel with a left-click, then immediately hit escape once the item has lifted into the air. This image demonstrates where I am placing the Riviera Wall Shelf before using the left-click.
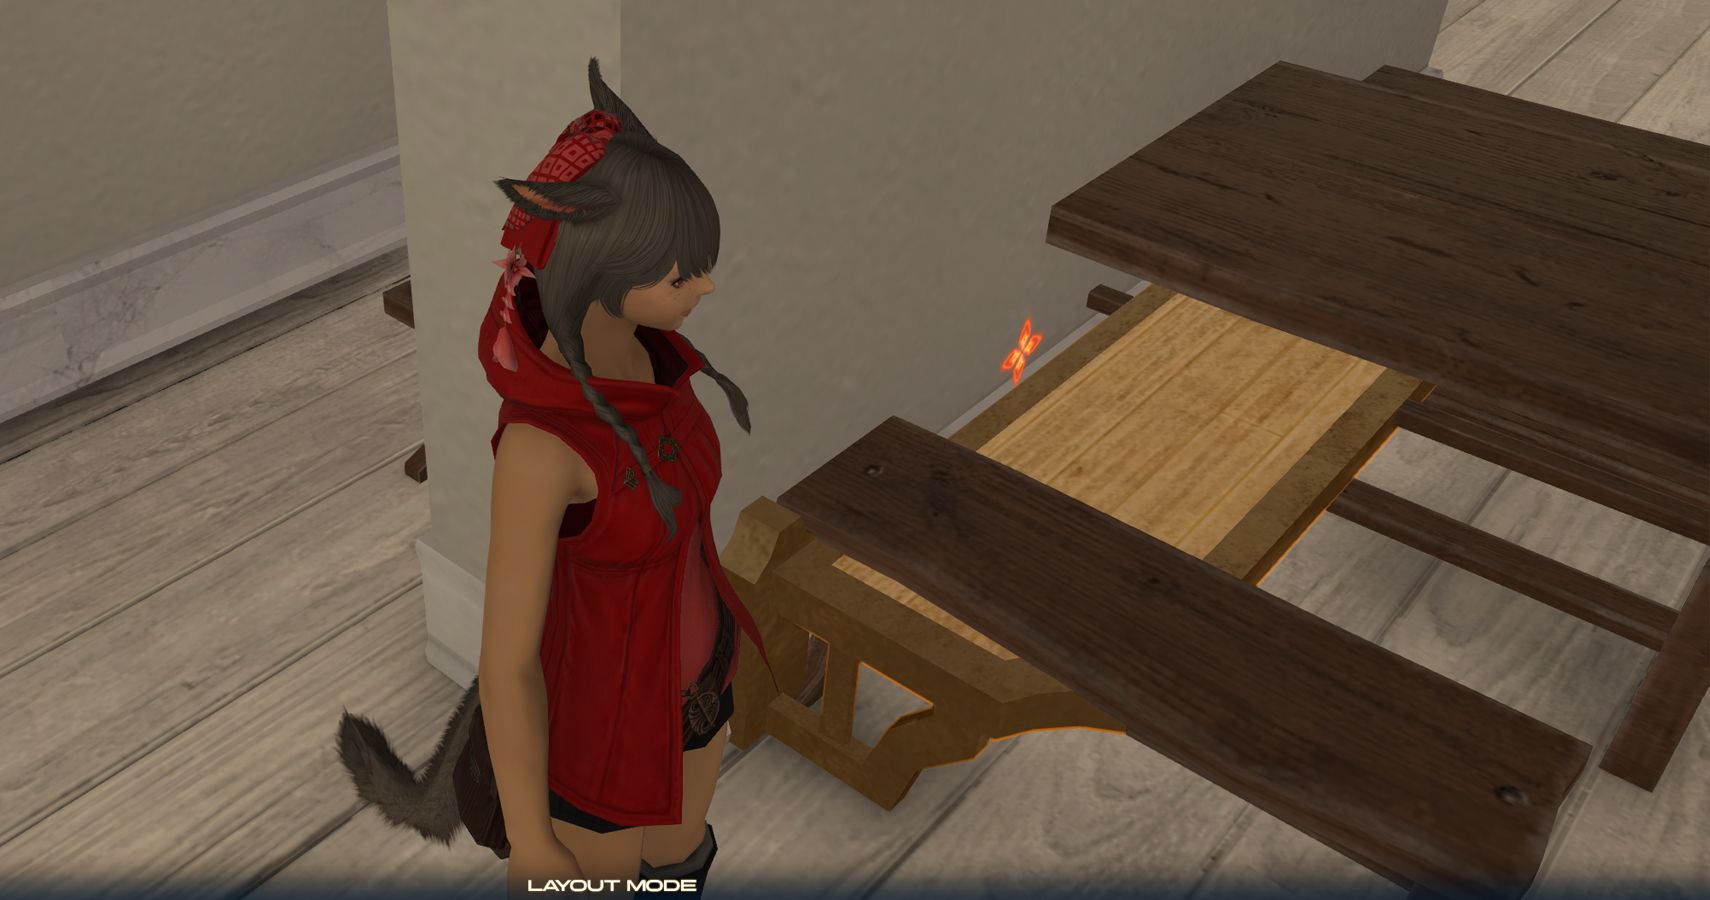
After I left-click, then quickly hit escape, the Used Banquet Table will jump into the air and snap on top of the shelf. It should look something like this:
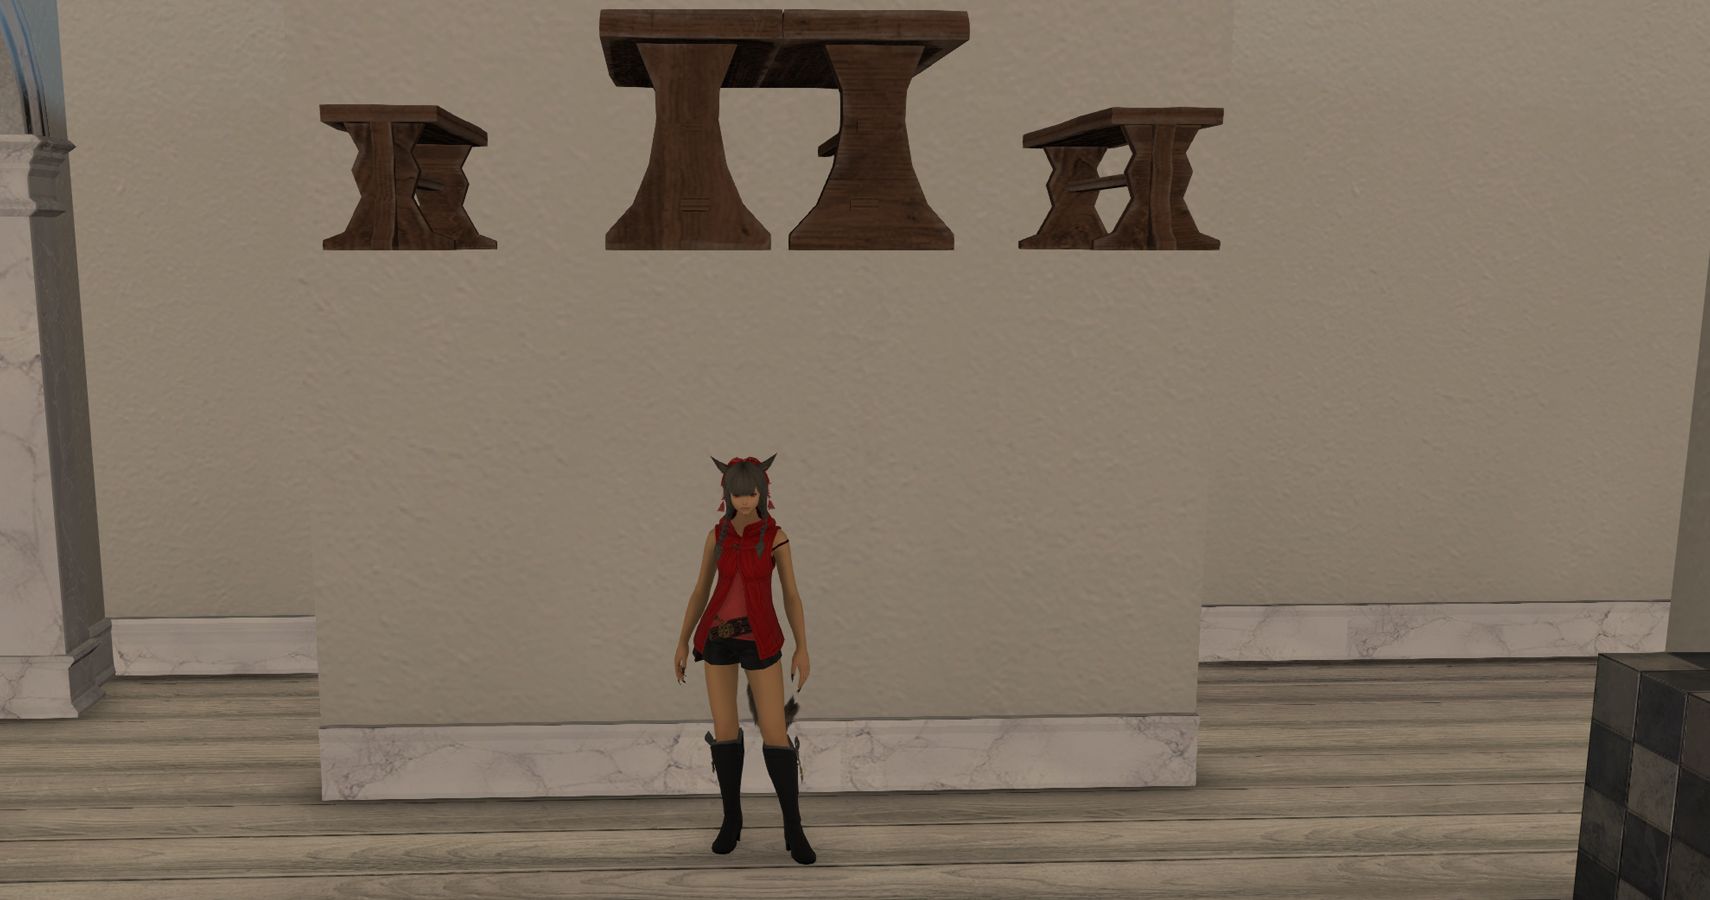
Notice how it’s not floating very high? That’s because this is a slow process. You have to get the Riviera Wall Shelf close to the ground and pull up your item little by little. You can repeat this process over and over until you get an item the height you want. In this case, I’m going to float the item over and over until I get the table high in the air. To do that, I will need to select “Place selected object in your inventory” and bring the wall shelf back into my character’s inventory to use it again. After, I can use the “Move selected object” function to put it down.
The table is pretty high up now, but we aren’t done yet. I’ve put the shelf back in my inventory. I can do the same with the partition. Do not leave your item this way though, it must be locked in place before you exit the house.
To lock your item in place, select Rotate from the house menu. Rotate the item in any direction and accept the change. It may not look how you want it, that’s okay. You are now free to rotate it back to its original position. It should be locked in place after rotating the object in the air. Now, when I leave and come back into my house, my Used Banquet Table will still be in the air.
I’m not sure what you’ll do with a table in the air, but it’s there. You can float most objects this way, creating some really neat depth to more basic housing designs.
Next: Final Fantasy 14: Everything We Know About the New Endwalker Expansion
- Guides
- PC
- Ps5
- ps4
- Final Fantasy 14
Andrea Shearon is a news editor at TheGamer who loves RPGs and anything horror related. Find her on Twitter via @Maajora.
Source: Read Full Article
