Indie darling Stardew Valley is packed with content. From creating the ultimate farm to marrying a townsperson, there is no shortage of stuff to do. In addition to this, there are arcade games.
While building your farm, you will also have the opportunity to play Journey of the Prairie King. This is a cowboy-themed shooting game that can be quite difficult. Fortunately, this guide is here to help. Keep reading to learn all about Journey of the Prairie King, as well as how to beat the game.
Where To Find Journey Of The Prairie King
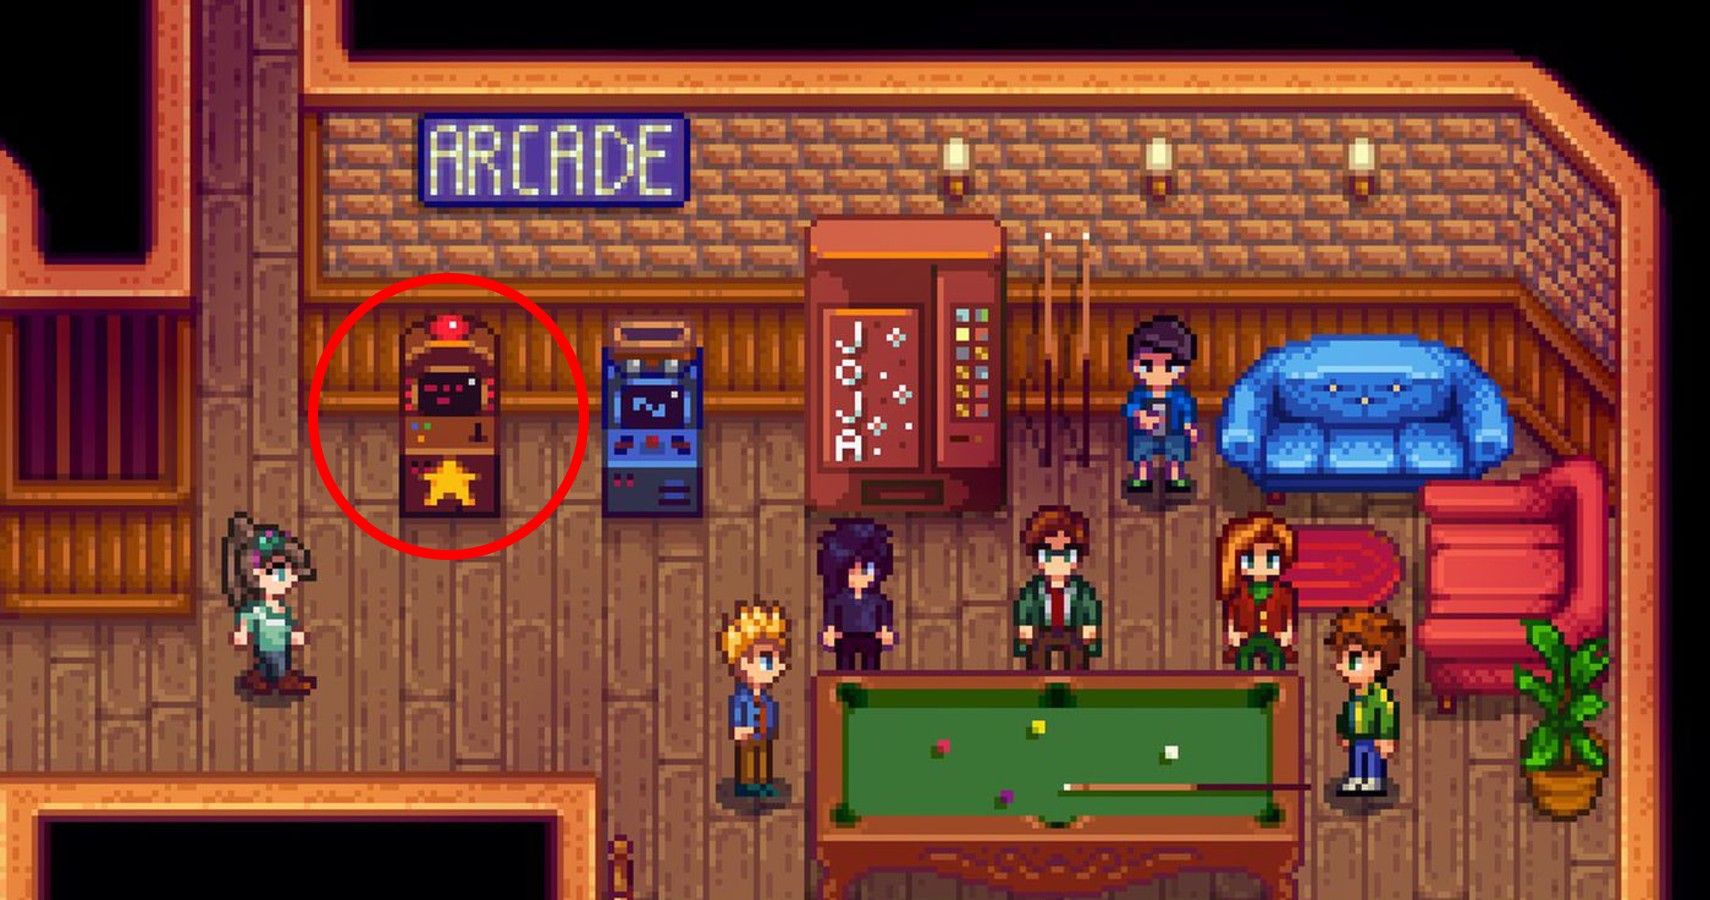
The Journey of the Prairie King arcade game is located inside of the Stardroop Saloon. When you enter the saloon, turn right and enter the back room that has a pool table and couches.
The game is available on the first arcade machine with a yellow star on the front. All you have to do is walk up to it, and you are ready to play.
In-Game Items And Their Uses
Journey of the Prairie King features a variety of items to use. There are two types of items; ones dropped from enemies and upgrades that can be purchased. We are going to go over both types and what they do.
When killing an enemy, there is a chance that they will drop an item in addition to coins. These items can only be used once and will disappear after use. Additionally, if you are already holding an item, and pick up another, the second item will be consumed immediately. Below, you will see a list of all items and what they do.
Items Dropped From Enemies:
- 1-Up: Allows one additional life.
- Coffee: Increases movement speed for 16 seconds.
- Heavy Machine Gun: Increases fire rate for 12 seconds.
- Screen Nuke: Instantly destroys all enemies on screen.
- Shotgun: Shoots three bullets at once, lasting 12 seconds.
- Smoke Bomb: Teleport to a random spot, confusing enemies for four seconds.
- Sherrif Badge: Increases movement and fire rate, and allows three bullets to be shot for 24 seconds (combines Coffee, Machine Gun, and Shotgun).
- Tombstone: Become a zombie for a short time, with the ability to kill on contact. All enemies will flee from the player.
- Wagon Wheel: Able to shoot in eight directions at once for 12 seconds.
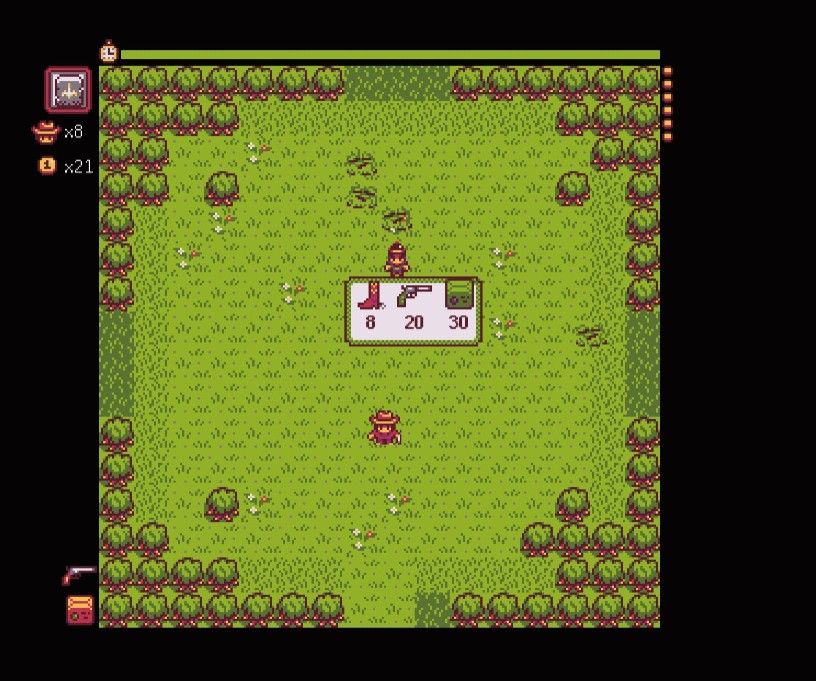
As mentioned above, you can also purchase items. These items will be available to buy at the end of every second level. The Vendor will appear with a selection of three items, however, you are only allowed to buy one, so choose wisely!
Items such as the Sheriff Badge and 1-Up can be purchased with coin, in addition to dropping from enemies.
Purchasable Upgrades:
- Boots: 8 to 20 coins. Upgrades movement speed.
- 1-Up: 10 coins. Allows additional life.
- Gun: 10 to 30 coins. Increases fire rate.
- Super Gun: 99 coins. Permanent Shotgun effect. Only available in hard mode, with all other guns/ammo purchased.
- Sheriff Badge: 10 coins. Buy the Sherrif Badge instead of waiting for it to drop.
- Ammo: 15 to 45 coins. Increases bullet damage, gain penetration and allow multiple enemies to be killed with one shot.
Level Progression And Enemies
There are three stages in Journey of the Prairie King, consisting of Prairie, Forest, and Graveyard. Each stage brings different challenges and enemies, so we are going to go over what to expect for each stage.
- The first stage is the Prairie (five levels), where you are first introduced to the game. Enemies in this stage include Orcs, Spikeballs, and Ogres.
- After clearing the Prairie, you will head to the Forest (four levels). This stage contains Ogres, Mushrooms, and Evil Butterflies.
- Finally, you will move on to the last stage. The Graveyard (four levels) will spawn Mummies and Imps.
In addition to these enemies, you will also come across two different bosses; the Cowboy and Fector. The Cowboy will appear in 1-5 and 2-4. He will spawn across a ravine from you. Fighting him is pretty straightforward; just shoot and avoid being shot. In addition to the ravine, you will also have a little covered area to hide behind. Use this as often as possible to avoid being shot. Run around, chipping at the Cowboy’s health, and duck behind the cover as often as possible.
Fector appears in 3-4. which is the final stage of the game. He is considerably harder to fight than the Cowboy. There is no ravine to separate you from him, and he is able to shoot in any direction (with the Wagon Wheel). As his health declines, he will begin to summon enemies as well. Before entering into this battle, make sure you have an item. You will want items such as the Sherrif’s Badge or Ammo to do additional damage. The boot upgrades are also incredibly useful to dodge bullets quickly. If you don’t have any items or power-ups, then you can still chip away at his health while running around the map and avoiding attacks.
It is important to keep moving while fighting Fector. He is able to shoot homing missiles and you can avoid these by moving around often. Fector tends to stick to the sides, while occasionally moving to the center of the stage to fire in all eight directions. You will want to keep your distance since it is easier to avoid bullets if you are farther away.
When his health gets low, Fector will start to summon enemies from every previous stage. Continue to run around the map, attacking Fector and the summoned enemies. When his health is low enough, Fector stops attacking and focuses on summoning. This is a perfect window to get close and take him out.
Once you have defeated Fector, you have beaten the game! A cutscene will play, showing what happens after you successfully kill Fector. After completing the game, you will be able to start again on hard mode. This mode is basically just a harder version of the game, however coins and upgrades will carry over.
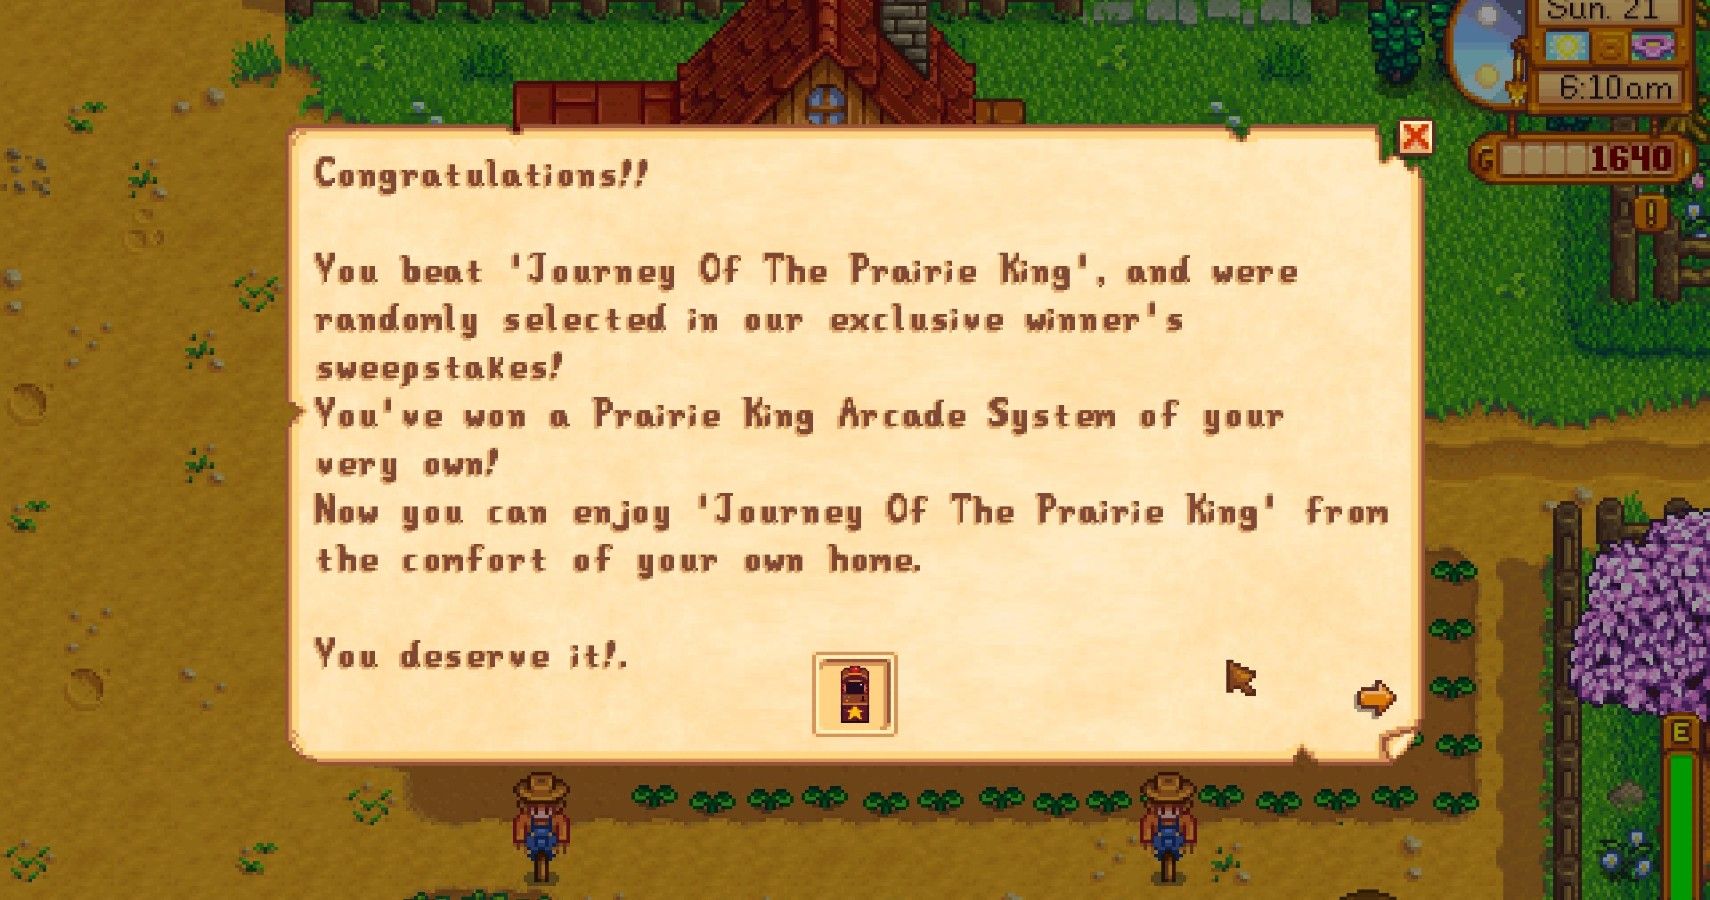
Beating the game will also reward you with your own arcade machine! You will get a letter in the mail with a personal Journey of the Prairie King arcade machine attached.
Tips And Tricks
Journey of the Prairie King starts off fairly simple but can become quite difficult. Here are some tips and tricks to help you beat the game.
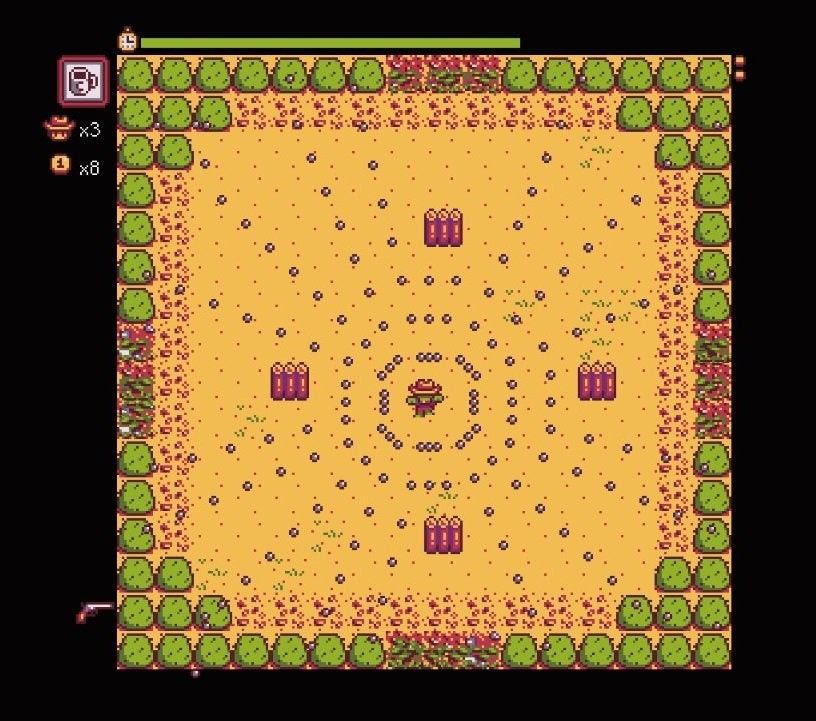
Firstly, you should stay in the center of the map as often as possible. It is very easy to get trapped along the side or in a corner. Instead of hugging the walls, stay in the center.
Additionally, you have unlimited ammo so you should constantly be shooting. Even if you are not aiming, there’s a good chance that a continuous fire will hit some enemies. You should also utilize the ability to shoot in diagonals. When holding down two adjacent buttons, your bullets will shoot diagonally across the map, allowing you to attack even more enemies.
Different power-ups and items may seem important, but don’t be afraid to use them. Many of us like to hold onto an upgrade as long as possible, but for Journey of the Prairie King, use them whenever they feel needed! New items will drop from enemies, and you can buy more from the vendor. Certain items are also useless against bosses. For example, the tombstone will not help you defeat the Cowboy or Fector, so it’s best to use it before entering a boss area.
Remember, this game is not timed. You can take as long as you want. Instead of rushing through a stage and risking death, take your time to avoid enemies before attacking.
Now, you should be able to beat Journey of the Prairie King! Next, you can play Junimo Kart, the arcade game right next to the Prairie King.
Source: Read Full Article


