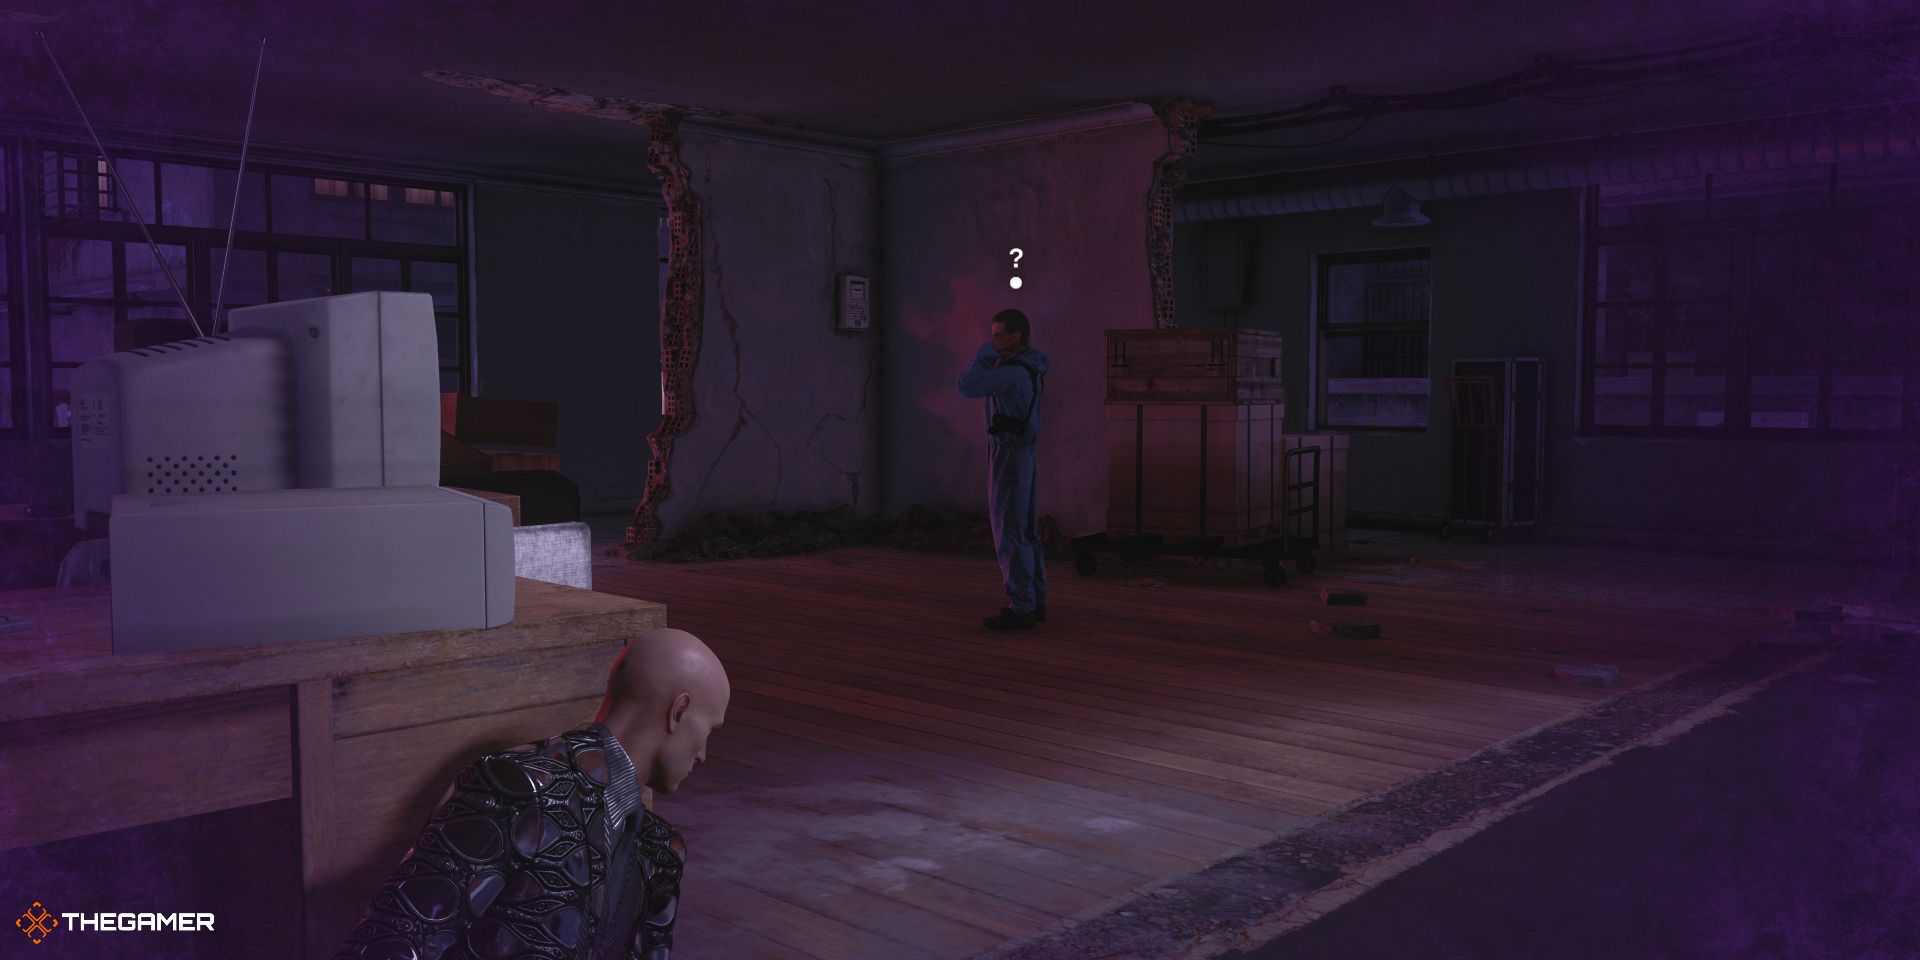
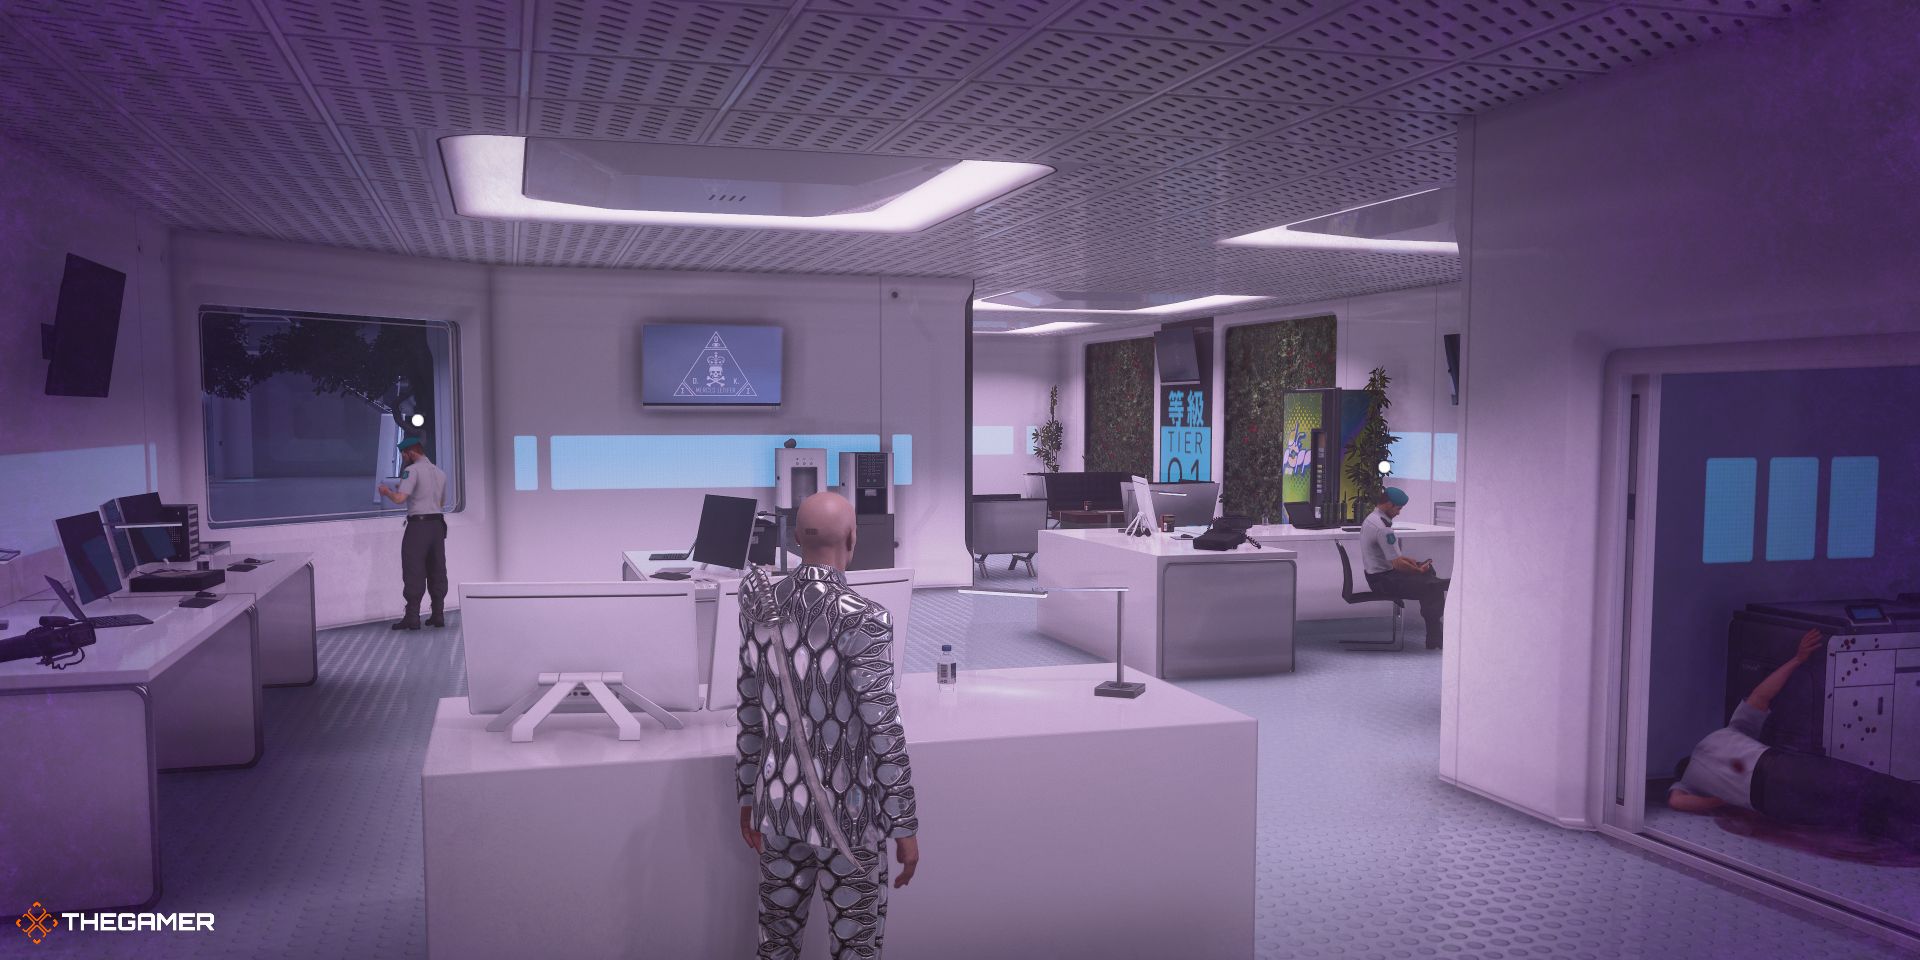
The Pride Profusion Escalation Contract is the second DLC included in the Seven Deadly Sins Collection for Hitman 3. Just like the Greed Enumeration Escalation from the first DLC, this contract has three escalation levels. Also, like the previous escalation, you have important choices to make as you progress through the contract.
Your first task on each escalation level is to locate the Peacock Statue and decide if you want to take out your targets the easy way or stay true to Agent 47’s silent assassin mentality, hence the concept of Pride in this season’s DLC. This guide will show you how to complete the contract both ways, and how to unlock the Hubris, Humility, and Ambivalence redacted challenges.
Escalation Level 1 – Hubris
- Find the Peacock
- Start with a restricted loadout
- If you change your starting disguise at any point you will immediately fail the mission
- *Hide all bodies (this objective is added when you pick up the Tanto)
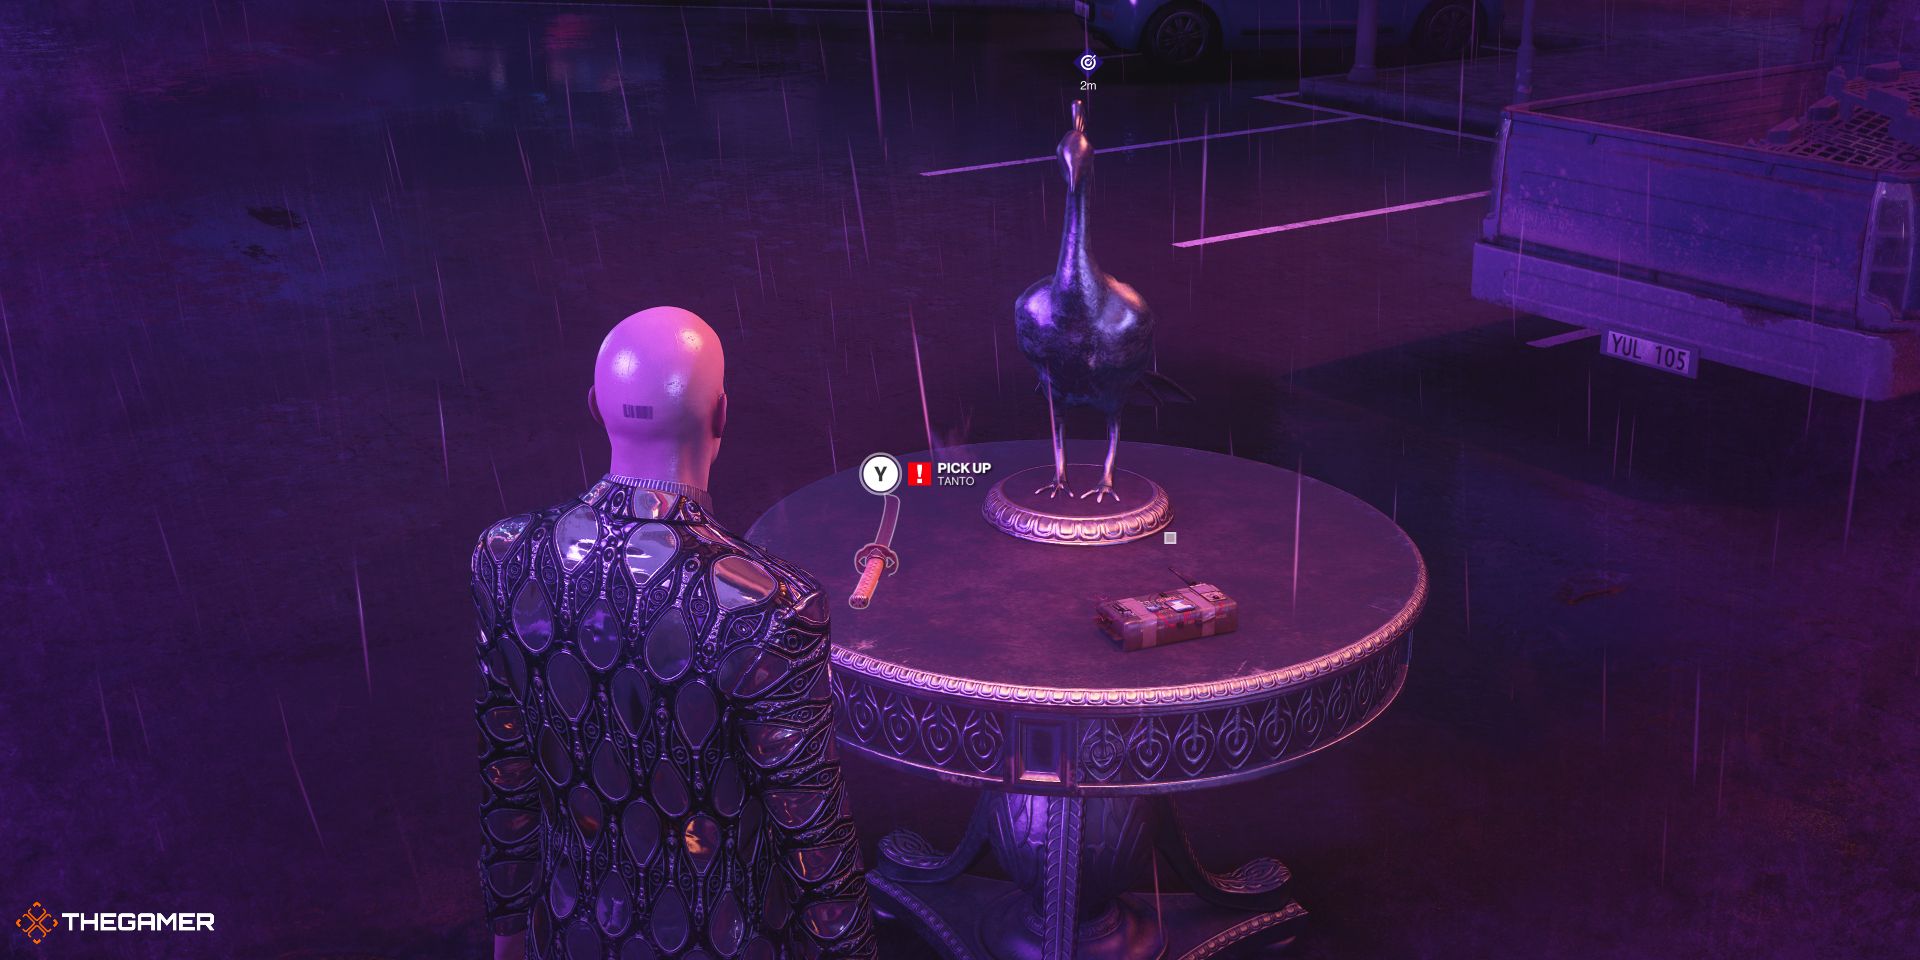
Agent 47 starts this level at the train station in Chongqing. Follow the walkway around and head up the stairs into the main plaza. Once there, walk up to the Peacock Statue and grab the tanto. After you pick up the tanto, your two targets will show up.
Target 1
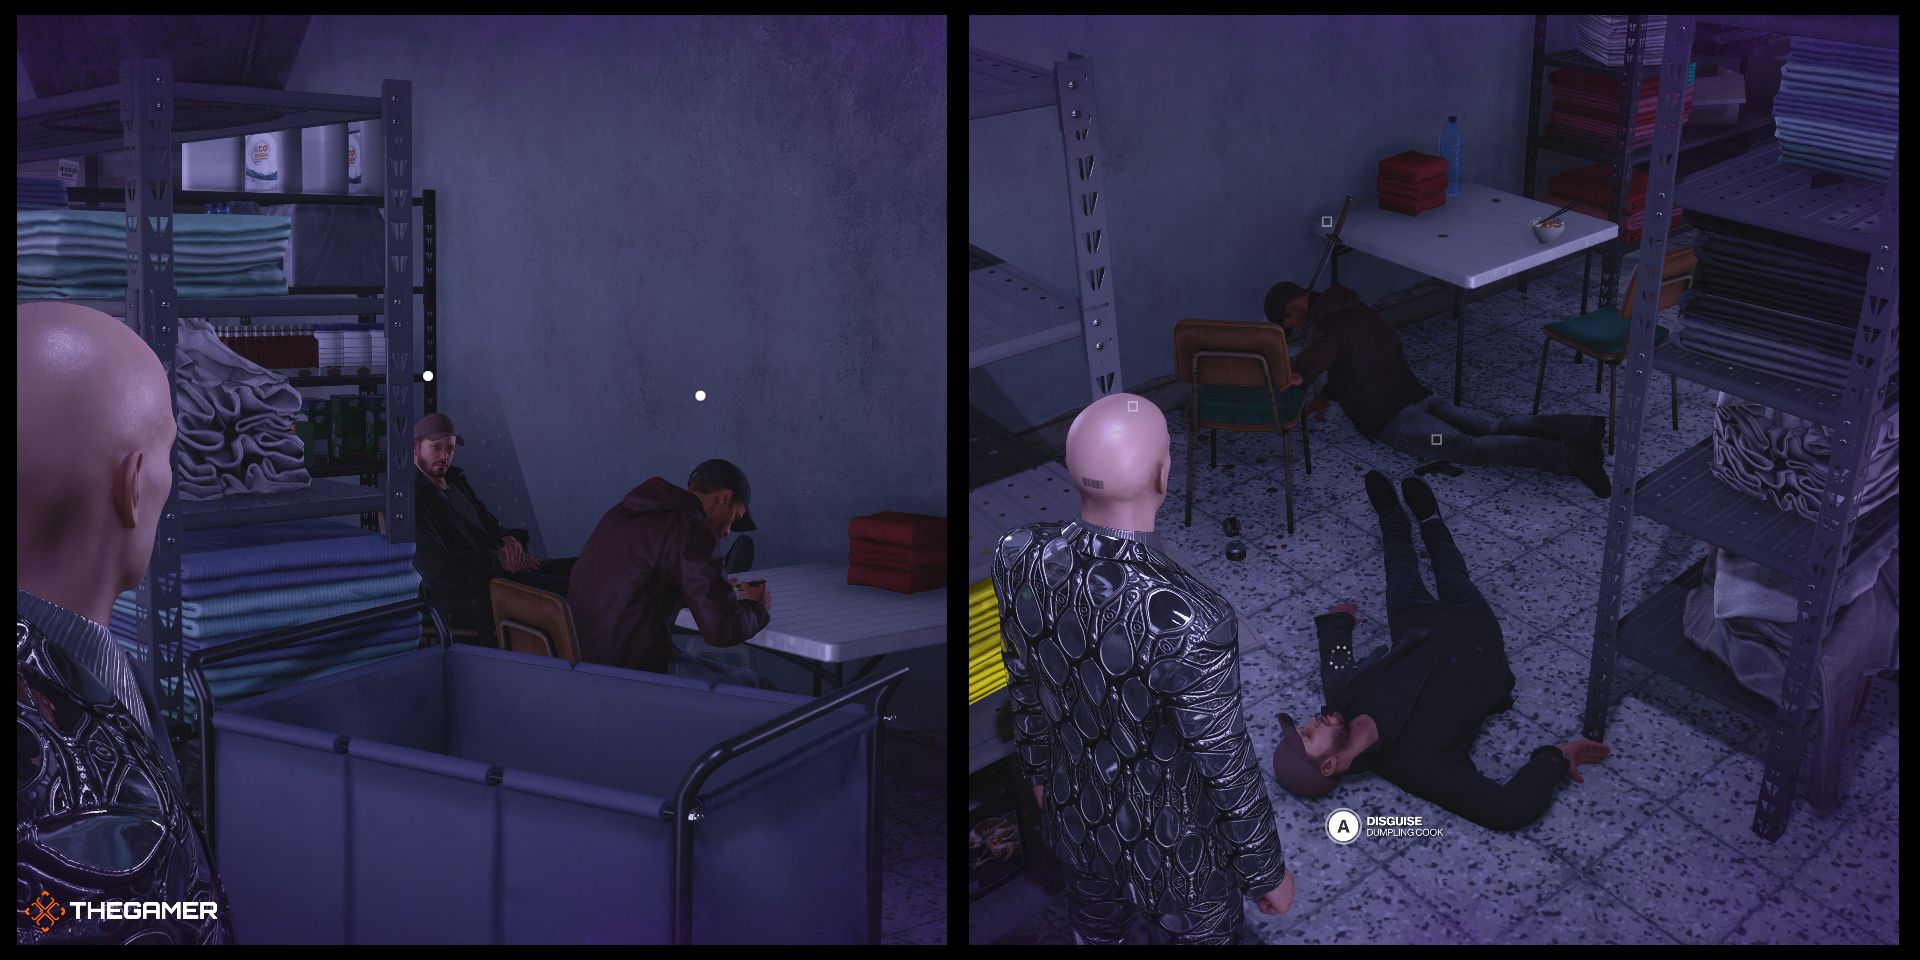
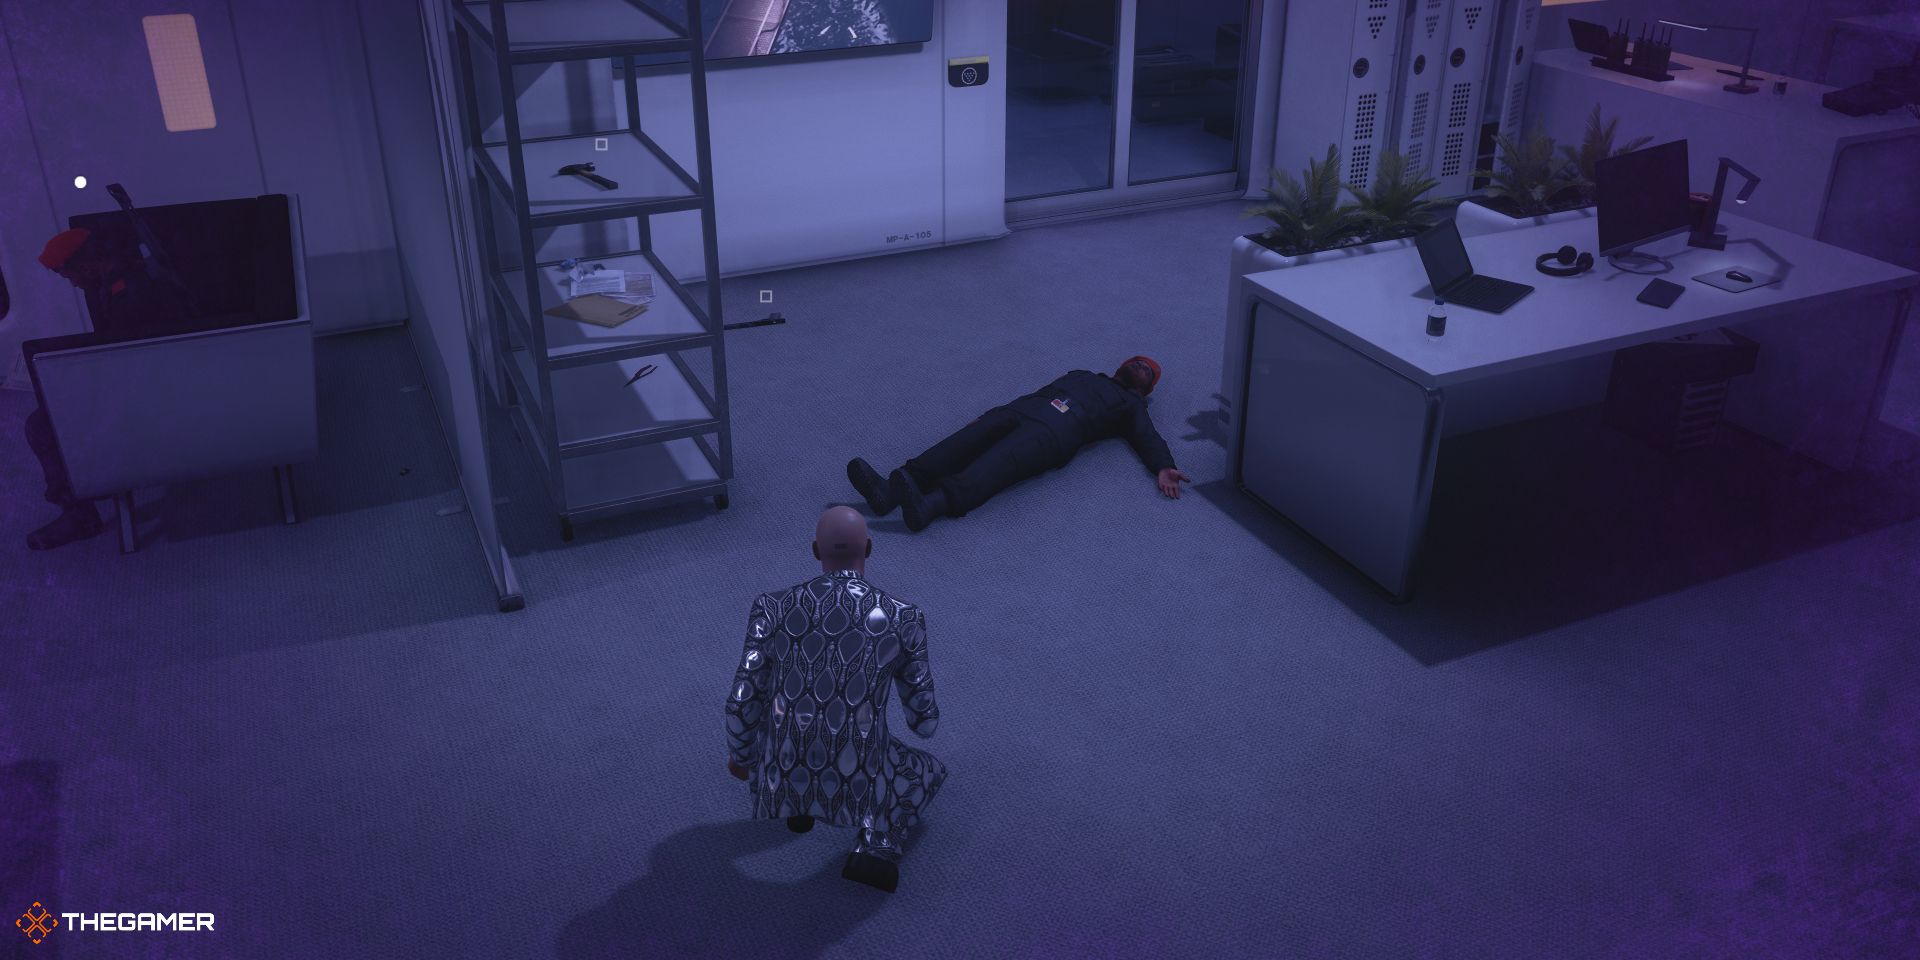
Head to the back of laundromat and enter 0118 on the keypad. This will give you easy access to your first target. Grab the wrench and/or soda can as you approach your target and use it to knock out the guard sitting next to your target. While your target is distracted, eliminate him with your tanto. Hide both bodies in the nearby cabinet and head upstairs.
Target 2
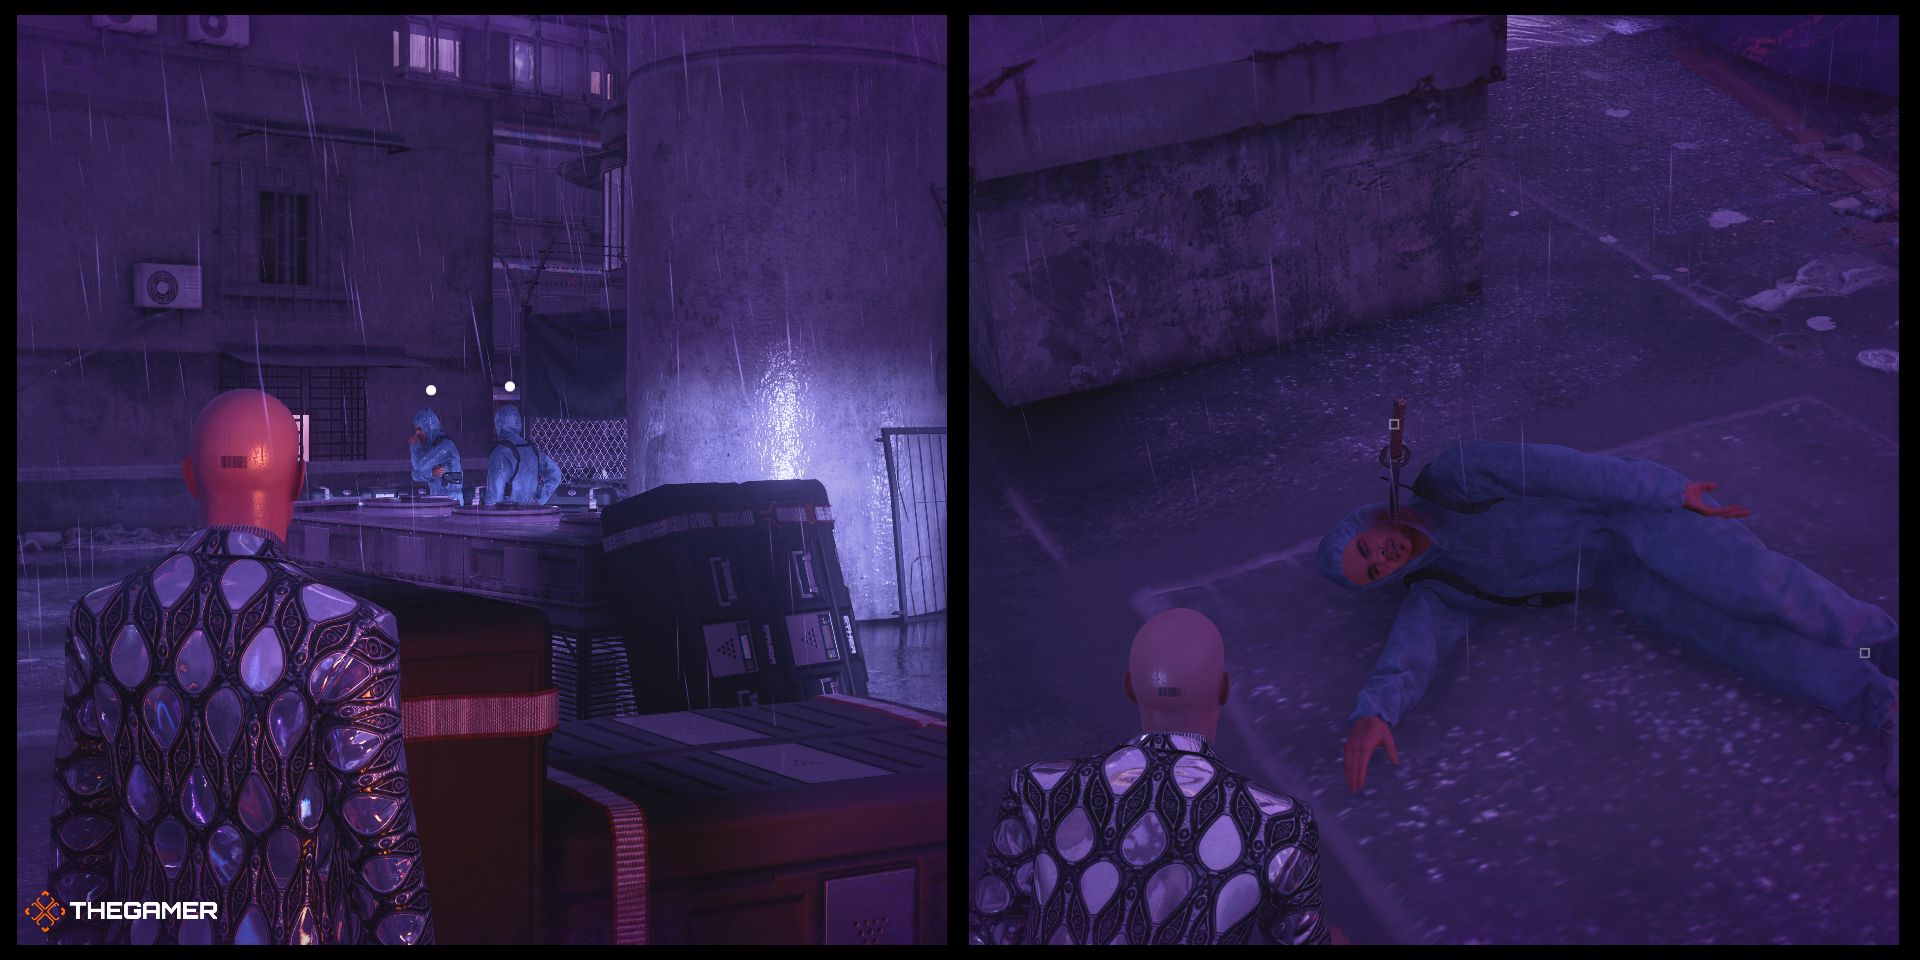
Follow the stairs up to the roof and look out for the guard outside. Head left and look for the section of broken wall from the rooftop. Climb down, then make your way along the balcony of the round building and toward the next rooftop. Climb over the railing (don’t worry, it’s not trespassing on this part of the rooftop, so the guards won’t harass you here) and run toward the broken wall. Climb down, then shimmy over to the pipe and climb it up to the rooftop. Wait for your target to walk to the right to smoke his cigarette, then eliminate him with your tanto. Hide his body in the nearby container and head towards an exit.
The Escape
Head back the way you came, climbing back down the drainpipe and shimmying back onto the roof. Climb over the railing towards the round building and climb up the drainpipe once you reach the other side. Again, be mindful of the guard here. Walk towards the door and exit the mission to complete Level 1.
Escalation Level 2 – Hubris
- Find the Peacock
- Start with restricted loadout
- If you change your disguise at any point you will immediately fail the mission
- *Do not get spotted (This objective is added once you pick up the antique lethal syringes)
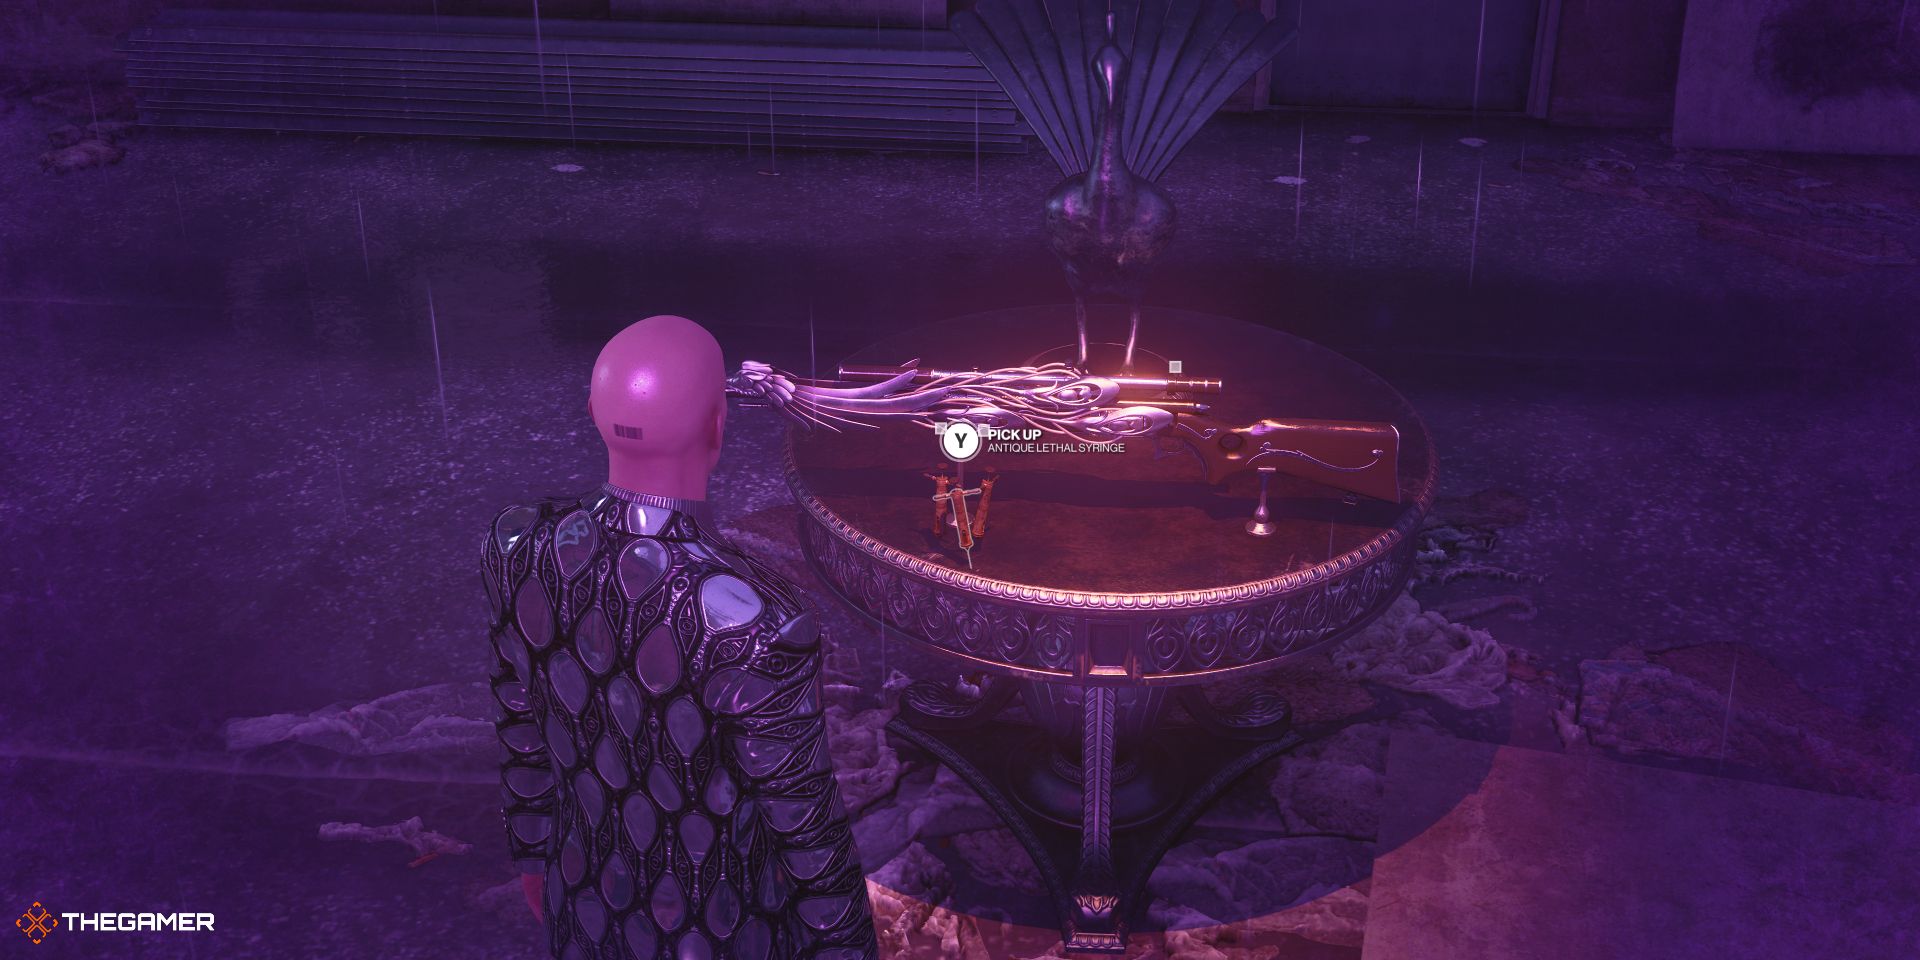
This level starts you in the main plaza, with the Peacock Statue located on the roof of the Laundromat. Head to the back of the Laundromat again, enter 0118 on the keypad, then make your way to the roof. Once outside, make sure both guards are facing away from the metal stairs, then ascend the stairs to the Peacock Statue. Grab the three Antique Lethal Syringes.
Target 1
Head back down the stairs to the entrance of the Laundromat and run straight ahead through the alley toward the blue The Block sign. Hang a left around the corner and enter the building through the ground floor window. Go through the door on your left and grab a crowbar on top of the crate at the foot of the stairs. Head back upstairs through the door then turn around and climb the pipe. Run straight ahead and break the lock on the chain-link fence with your crowbar.
At the top of the stairs, run straight across the hall into the room with your target and the two guards sitting down. Once your target is facing toward the window in the back of the room, toss something in front of him from behind the desk to distract him. Once he goes over to investigate, inject him with the Lethal Syringe.
Target 2
Exit through the door near Target 1 and re-enter the apartment through the other door on the balcony using your crowbar. Make your way toward the far right corner of the apartment where all the security equipment is and wait until one of the guards moves to the screens on the left. While his back is turned, climb over the crate and head upstairs.
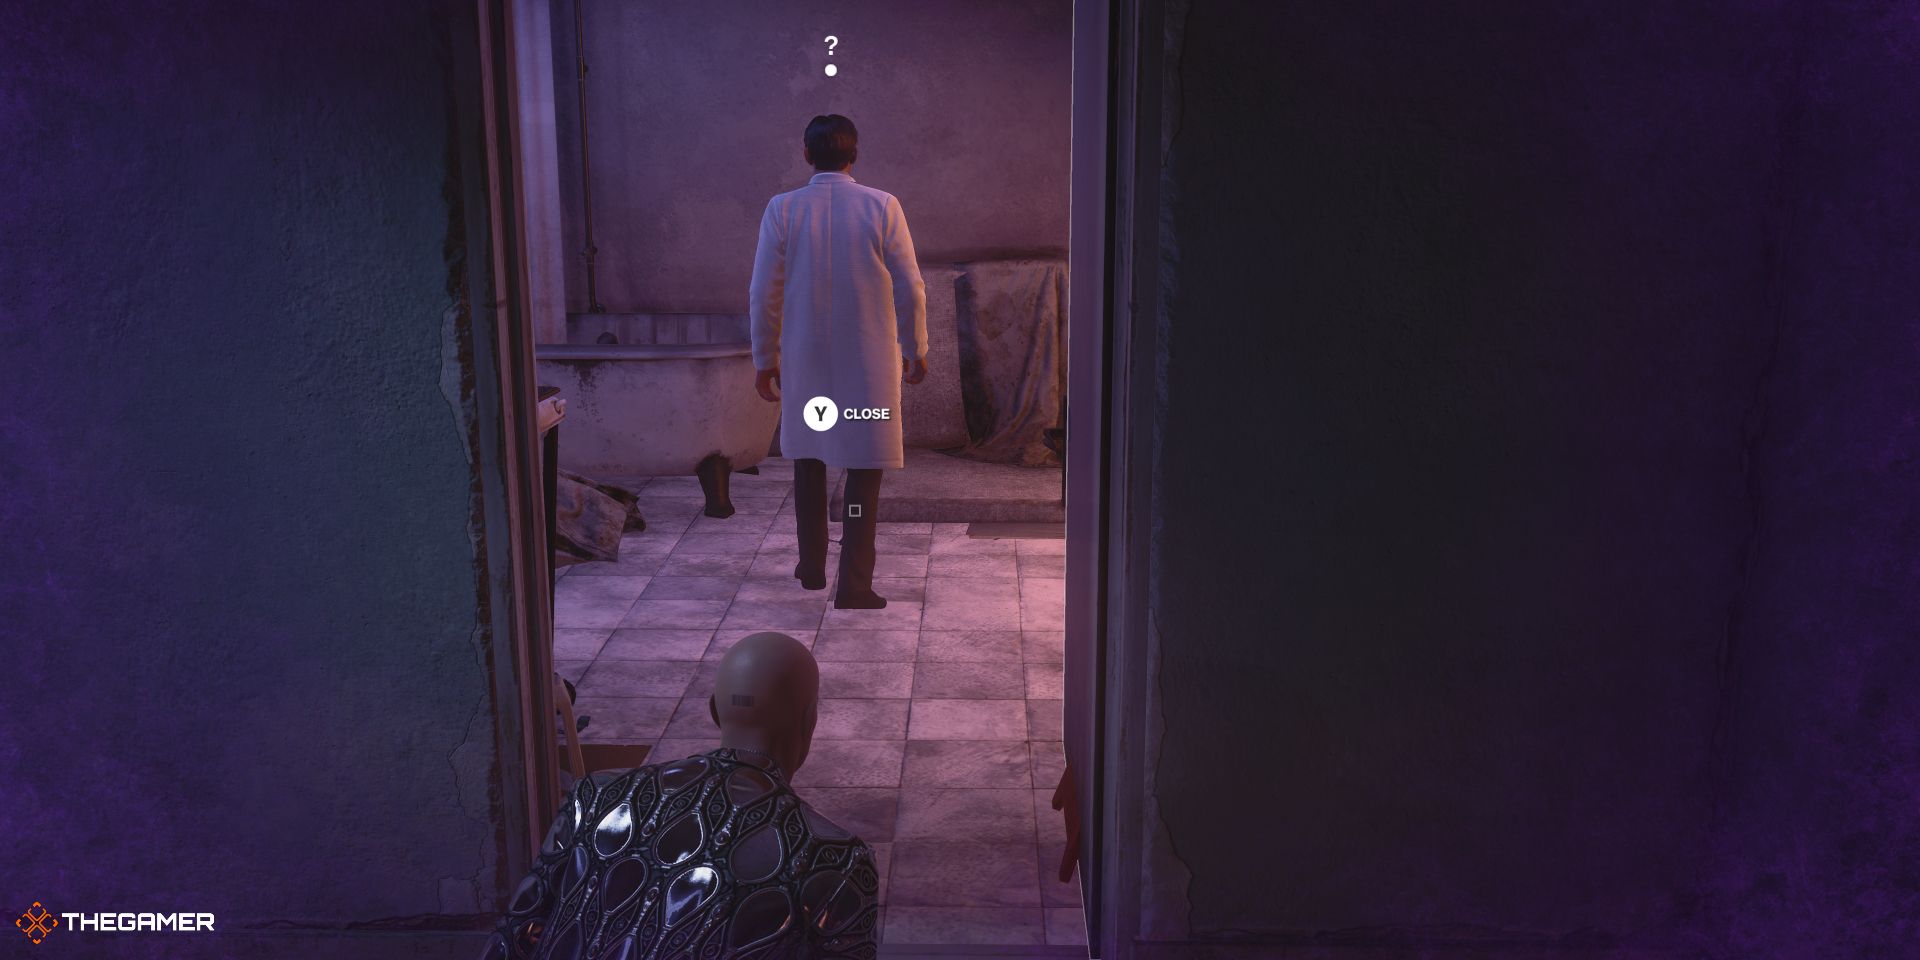
Hang a left around the corner but be careful the guard doesn’t spot you. Quickly run to the door on the left and into the bathroom immediately to the right. Wait for your target to face the bathroom, then exit the room and toss something on the floor inside while the door is still open. While your target goes to investigate, turn around and hide up against the server towers. Follow him into the bathroom and inject him with the Lethal Syringe. Hide his body, just in case someone decides to wander in here.
Target 3
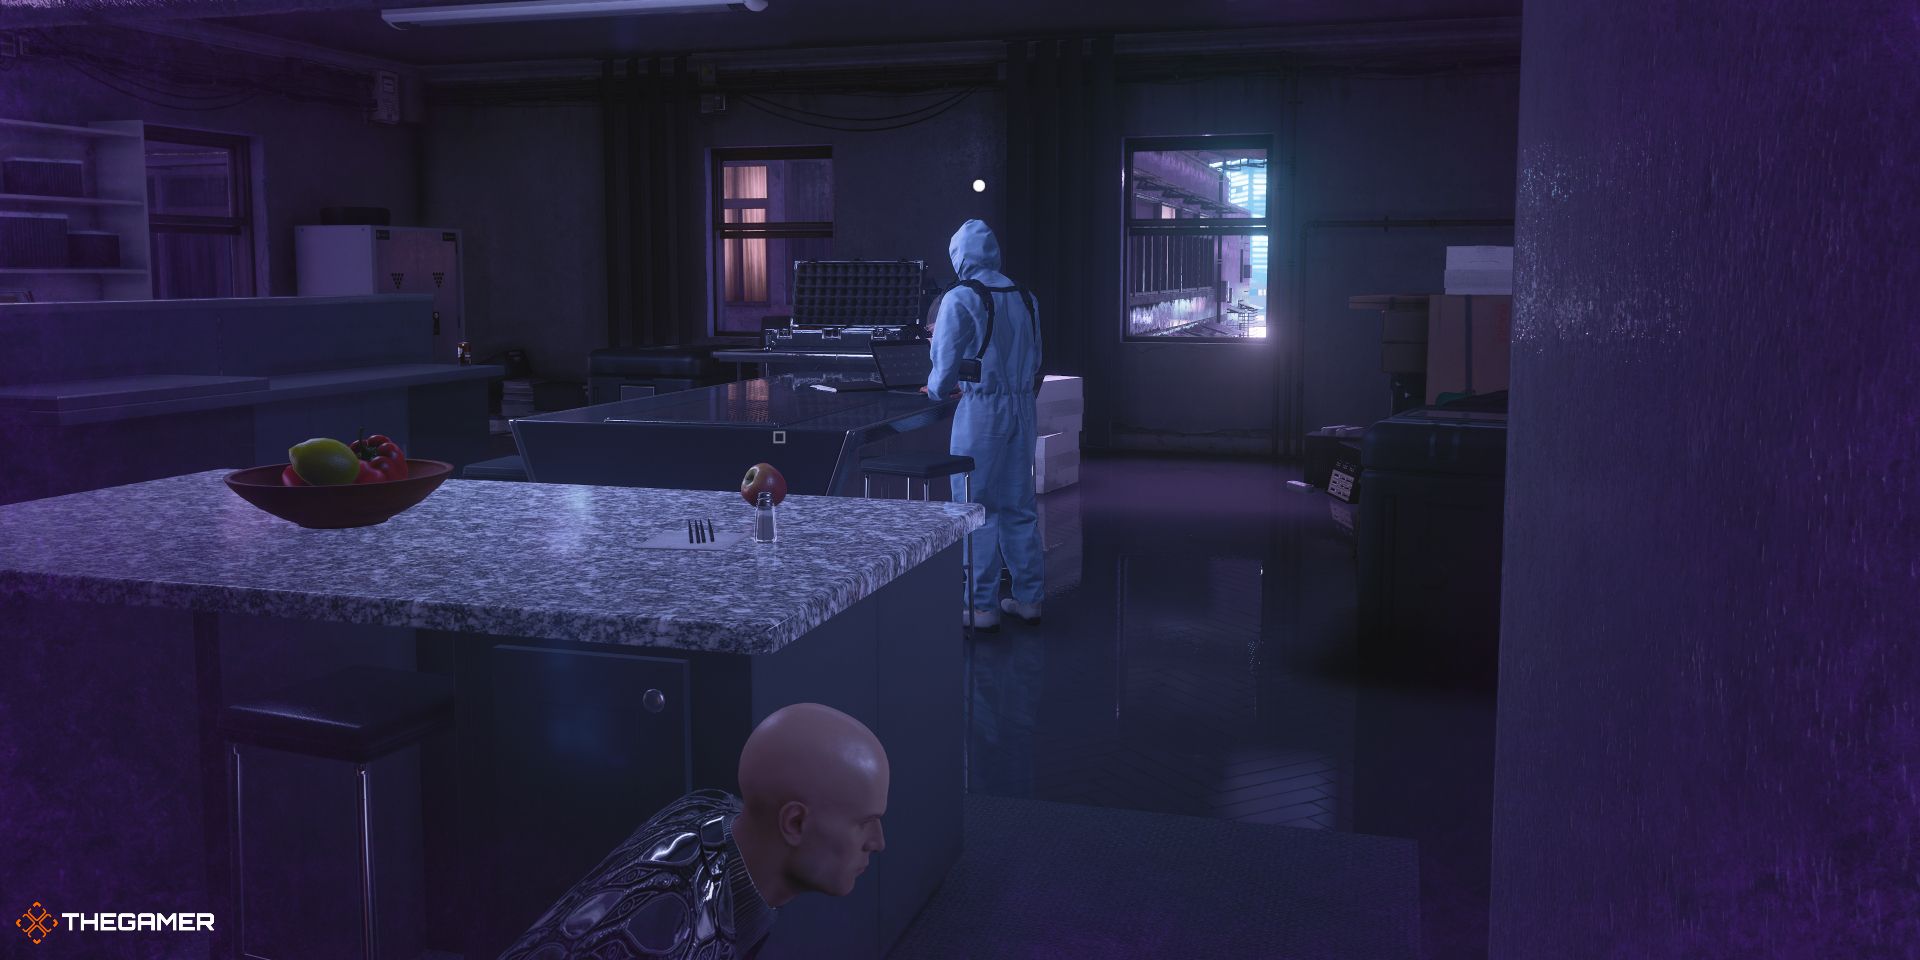
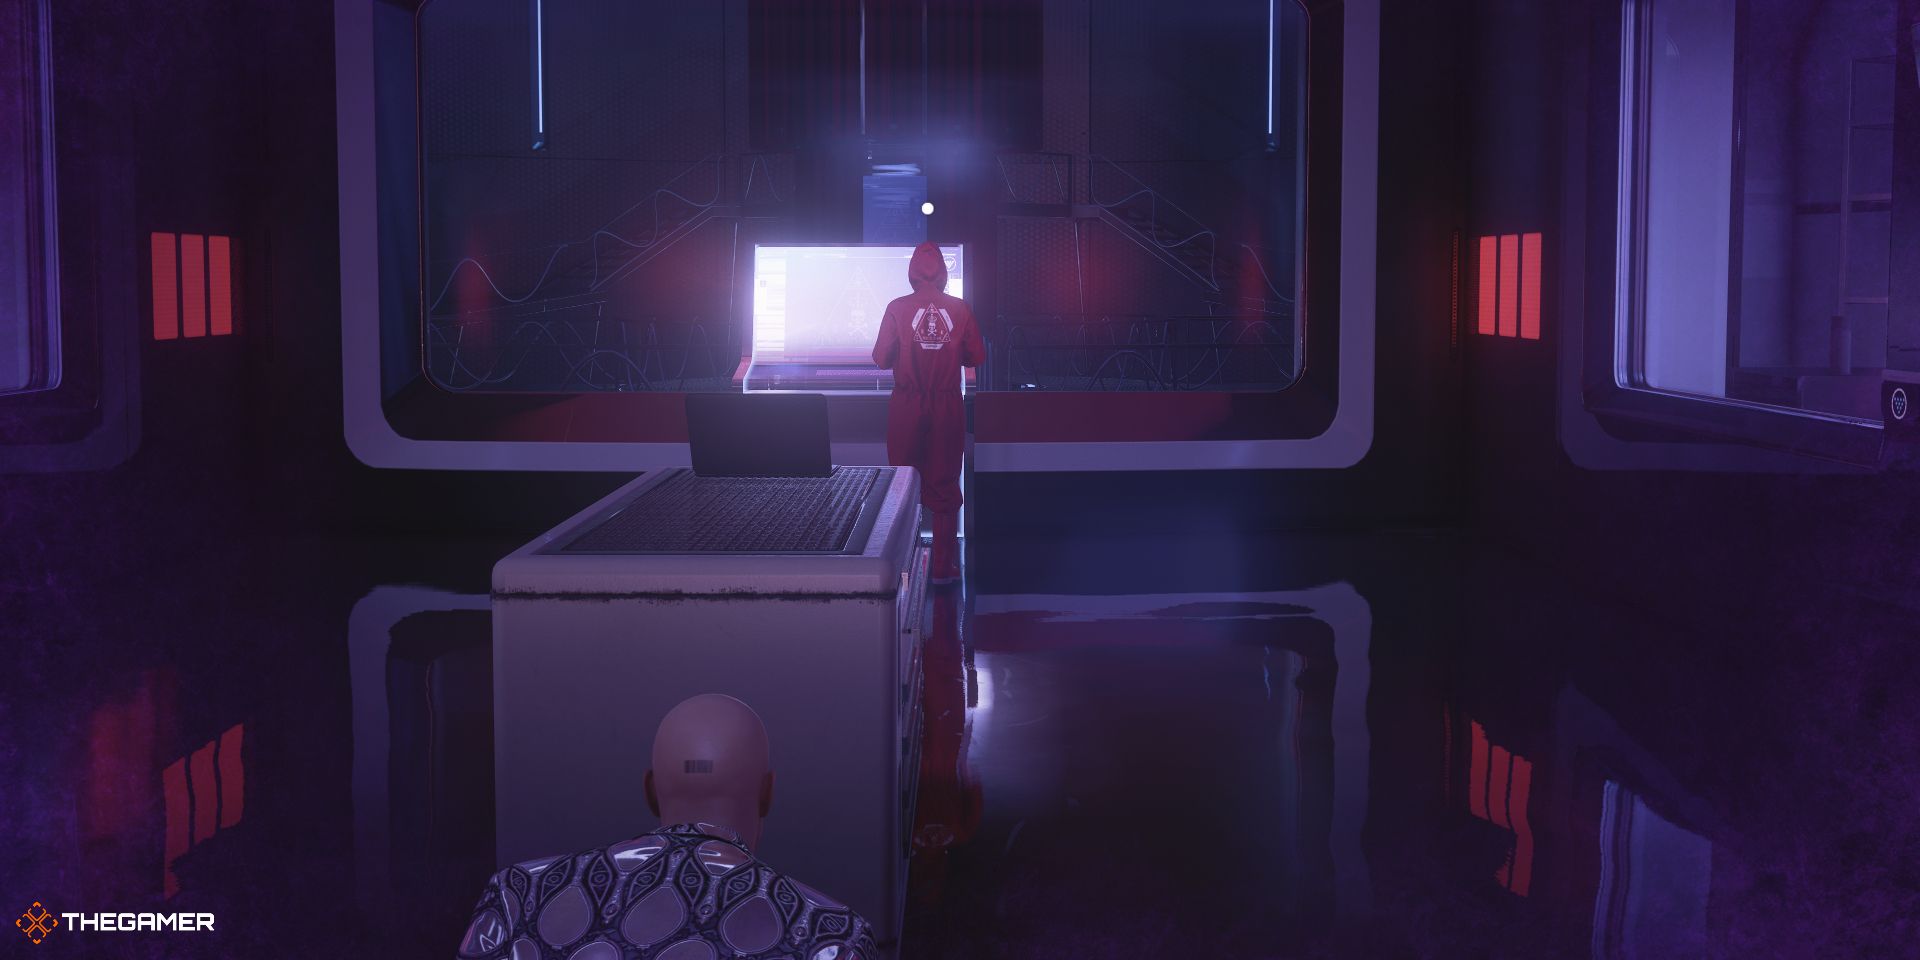
Exit the bathroom, turn right, and head outside through the blue door in front of you. Climb the bamboo scaffolding, hop over the railing, then enter 2552 on the keypad next to the door. Enter the room carefully, then quickly run toward the hallway on the eastern side of the Lab. Wait until the other guard faces the window on the left or the case on the far side of the room, and eliminate your target with the Lethal Syringe.
The Escape
Make your way back through the lab and outside onto the balcony. Walk across the catwalk onto the nearby rooftop, being careful not to get spotted by the camera, then follow the left wall around all the crates to get by the guards. If this place looks familiar, it’s because it’s the same exit strategy we used from Level 1. Follow the same path until you get to the exit door on the roof of the Laundromat.
Escalation Level 3 – Hubris
- Find the Peacock
- Start with restricted loadout
- If you change your starting disguise at any point you will immediately fail the mission
- *Do not harm or pacify anyone (this objective is added when you pick up the Fiber Wire)
This level of the escalation has you starting in the inner courtyard in front of a camera. Go down the stairs, turn around, and grab the crowbar next to the dumpster. Carefully avoid the camera, and break the lock on the blue double doors with your crowbar.
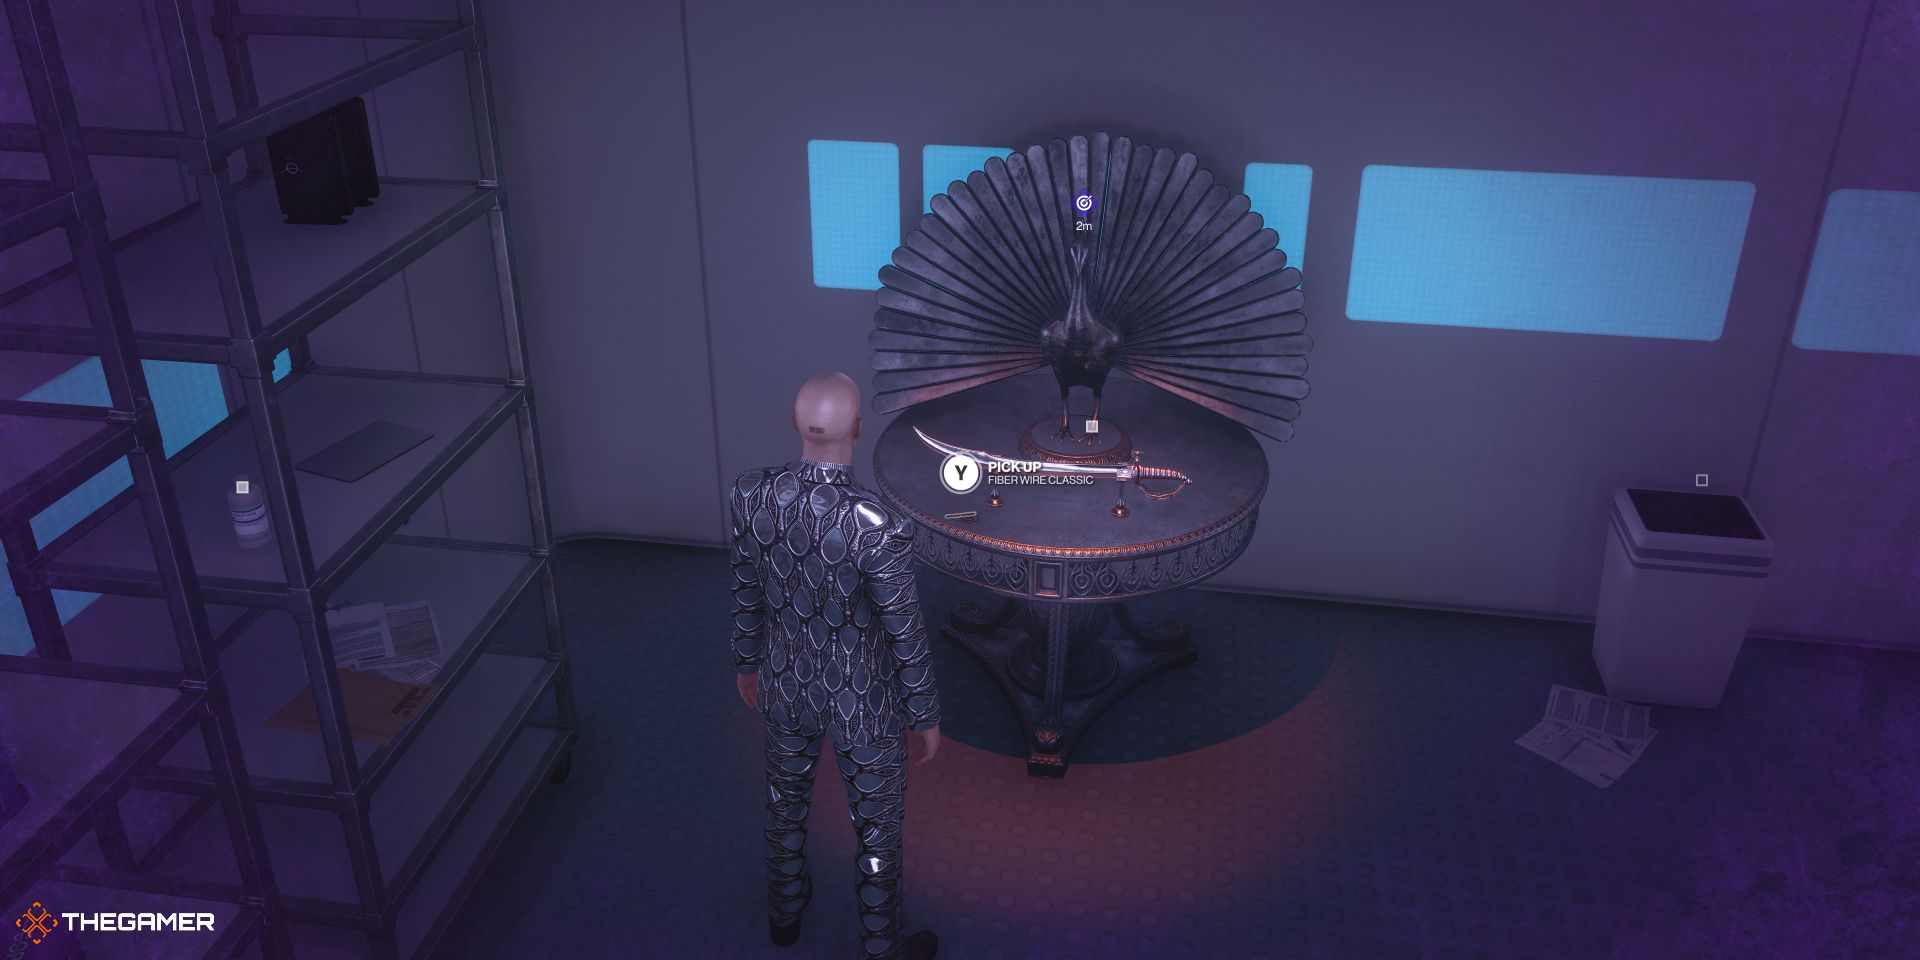
Proceed down the stairs and take a right at the end of the hallway. Run down the stairs and hack the glass panel with your phone so you don’t get spotted. Enter the room on your left, hack the vent panel, and climb through. Run through the office, grabbing the blue access key, and enter the room on your left to find the Peacock Statue. Grab the Fiber Wire.
Target 1
Hang a right from the statue, and run through both glass doors, being careful to avoid the camera, and hang out by the storage cabinet. Wait until the other guard starts to walk down the hall away from your target, then quickly run up and garrote your target and drag him back through the door. Hide his body in the storage cabinet. While the other guard isn’t watching, grab the yellow access key from the desk.
Target 2
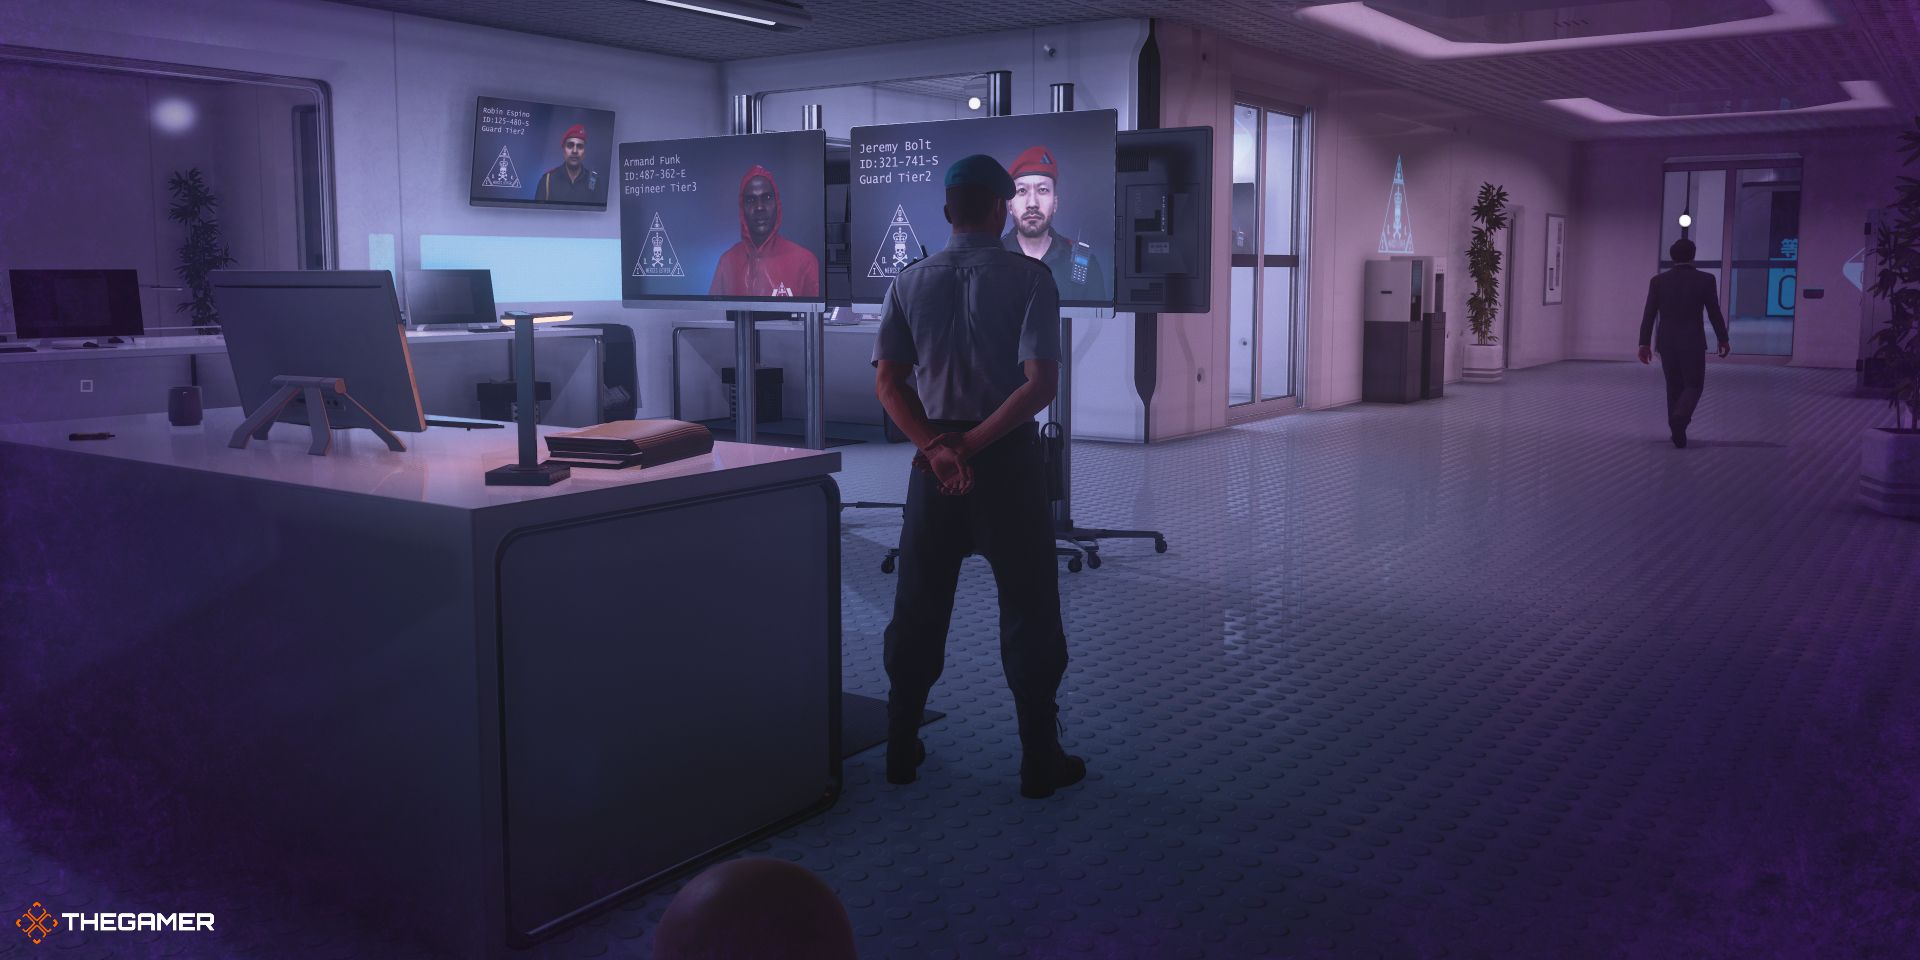
Head back toward the hallway with the camera, and use your newly acquired yellow access key to hack the panel by the door. Walk down the stairs and hang a right. Hide behind the desk and make sure that Royce isn’t in the room next to you. If she is, wait until she leaves, then run by the two researchers and into the room with the camera. Hack the glass panel with your camera, then run by into the Security Office. Your target patrols this room and has several stopping points. Wait until he is looking at the TV screen near the Armory door, then strangle him. Leave his body there, since nobody in this room seems to have a sense of awareness.
Target 3
Head back the way you came, and head toward the wall vent panel in the room that had the camera behind a window. Head through the vent into the maintenance tunnels and grab the screwdriver on the ground. Follow the tunnels to a ladder and climb down. Take a left and use your screwdriver on the vent panel to unlock it. Climb through and head towards the room your target is located in.
Wait until your target turns around, then hack the glass panels on the left and right side of the room so nobody see you when you kill them. When your target is not looking, run up and garrote your target.
The Escape
Head back into the maintenance tunnel and climb the ladder. Use your camera or screwdriver to open the panel and climb through when the researcher isn’t looking. Proceed through the door to the right and up the stairs, being mindful of the camera on the other side of the door. Take a right and go through the security door to the room with the Peacock Statue. Enter the elevator shaft and climb up through the vent panel.
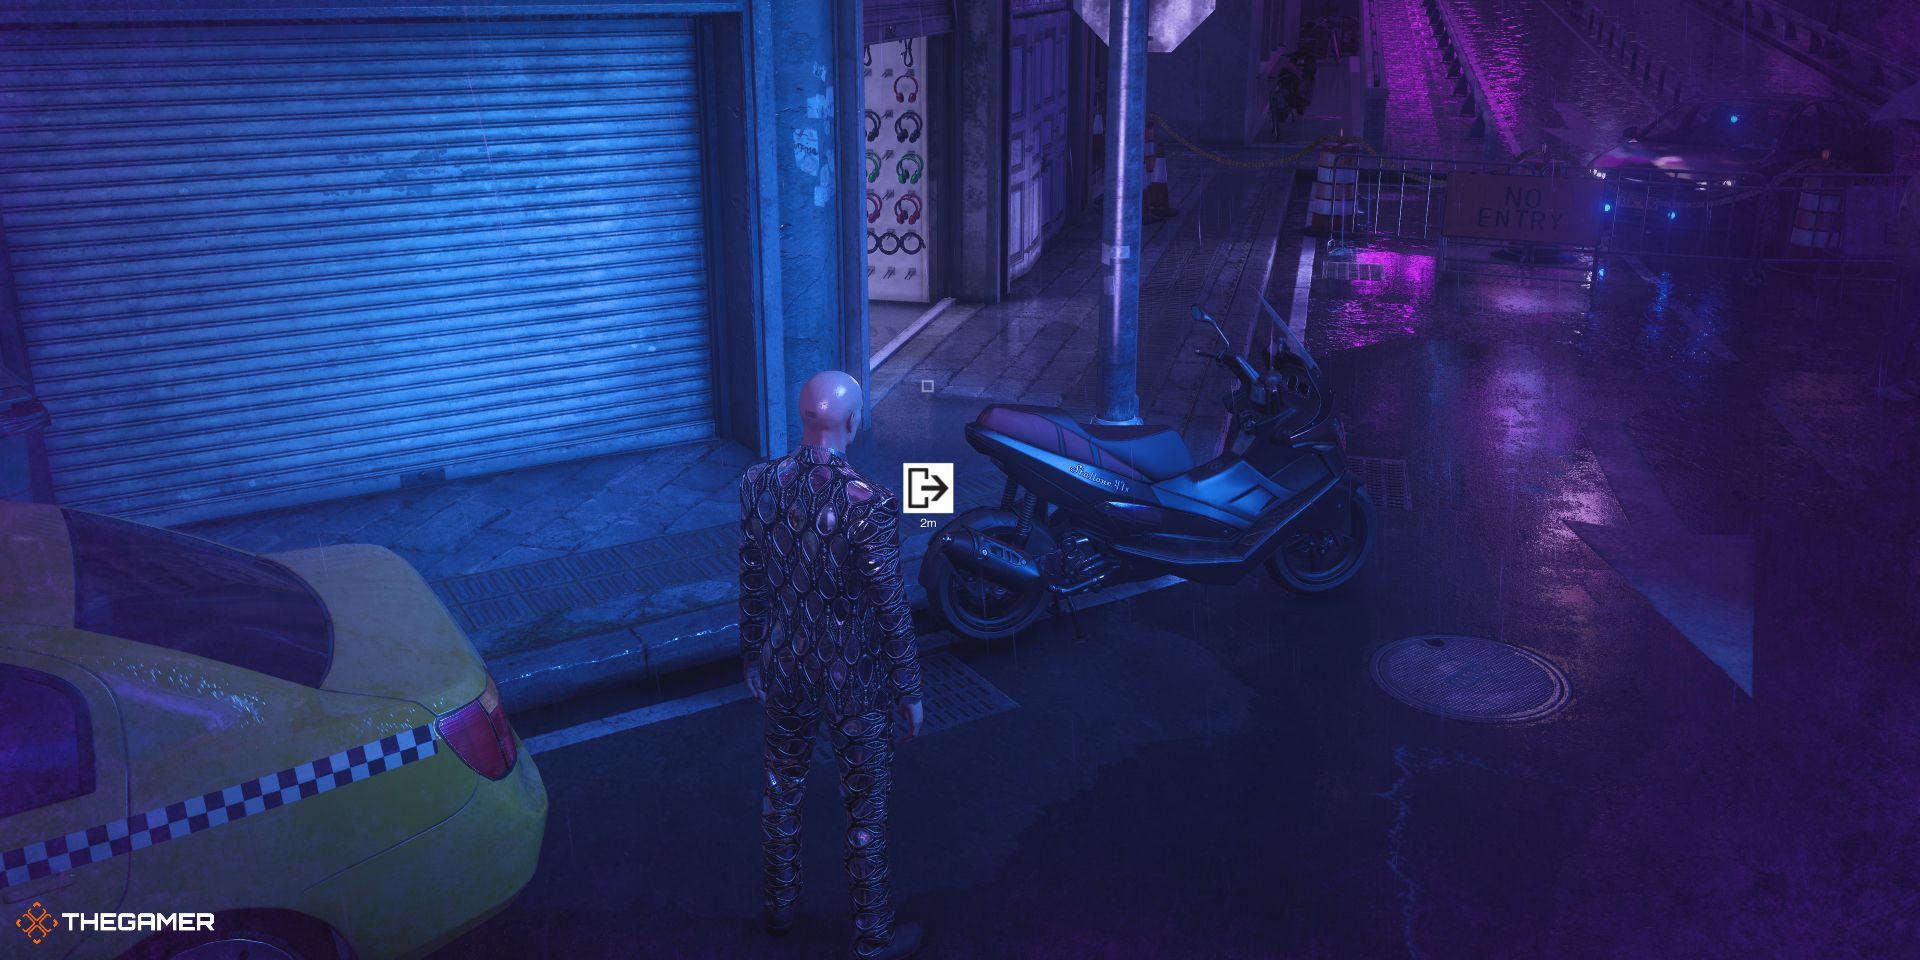
Once outside, toss an object over the shipping container onto the ground to distract the nearby guard. While his back is turned, take a right and exit the restricted area by running past the two guards. Now hang a right and run up the street, exiting the mission via the moped at the top of the hill.
Completing the Escalation this way will unlock the Hubris Challenge.
Escalation Level 1 – Humility
- Find the Peacock
- Start with restricted loadout
- If you change your starting disguise at any point you will immediately fail the mission
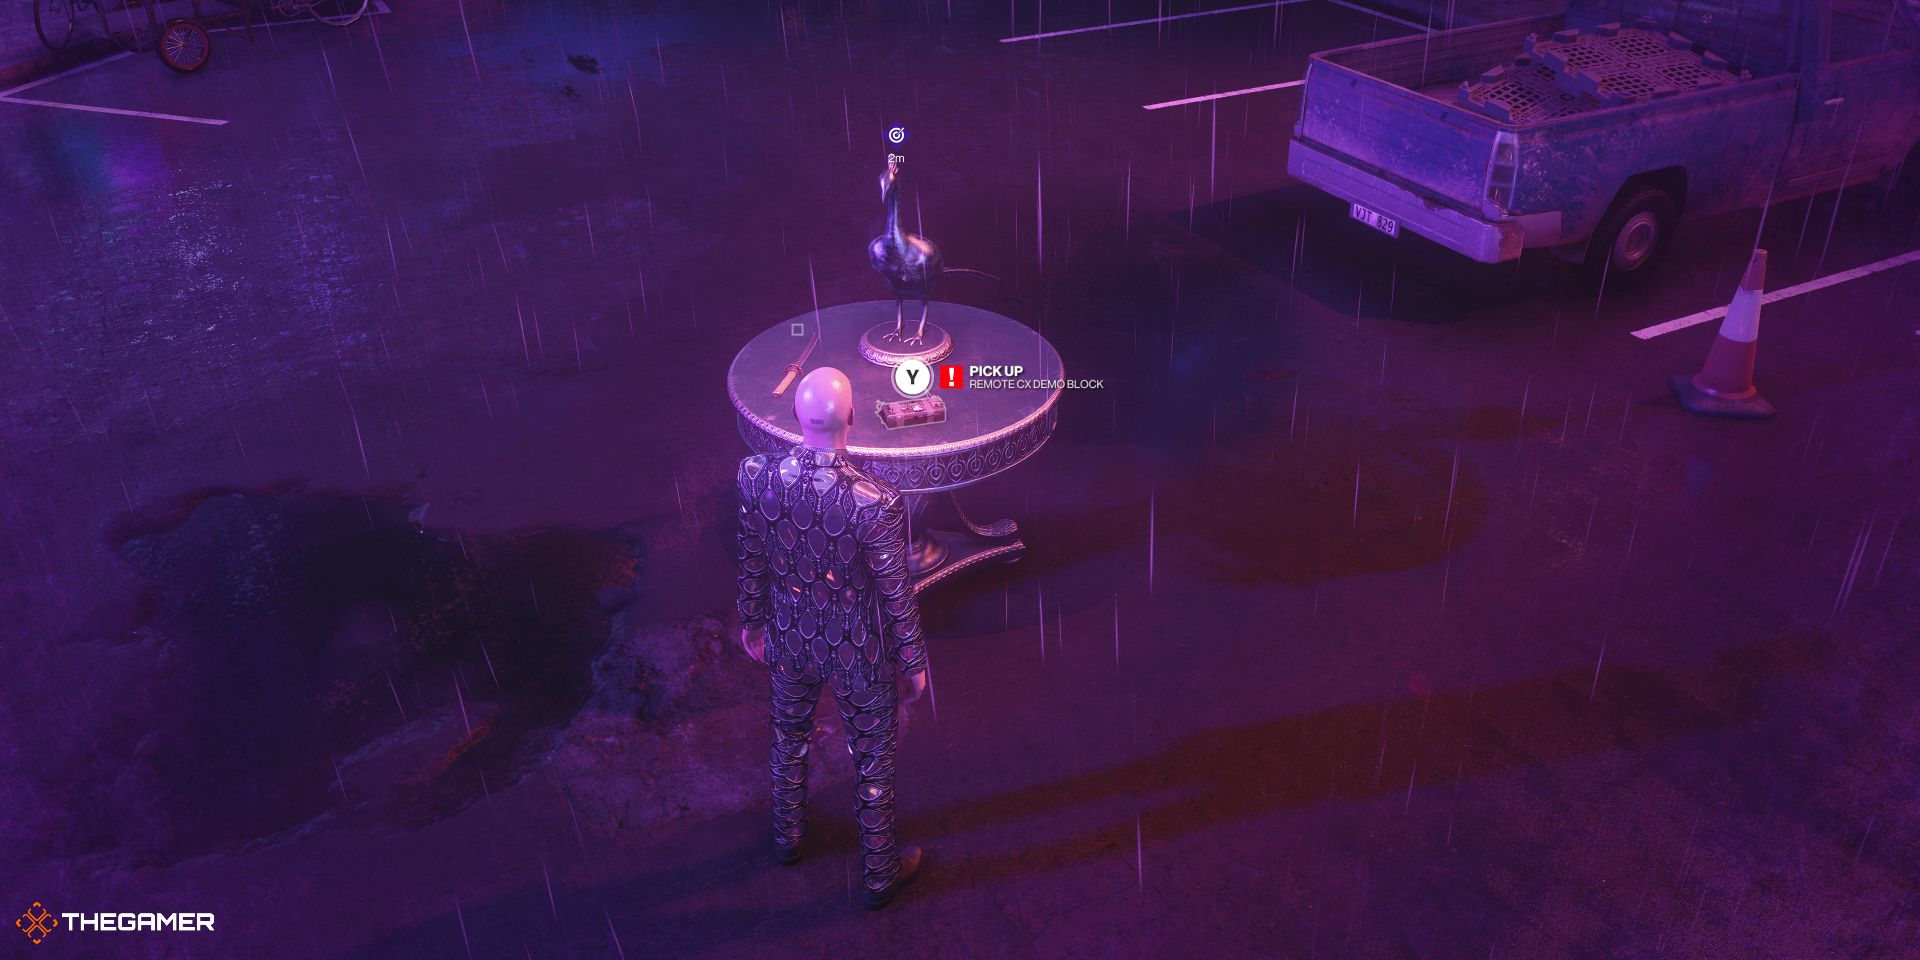
Follow the walkway then up the stairs to the Peacock Statue in the main plaza. Grab the Remote CX Demo Block.
Target 1 & 2
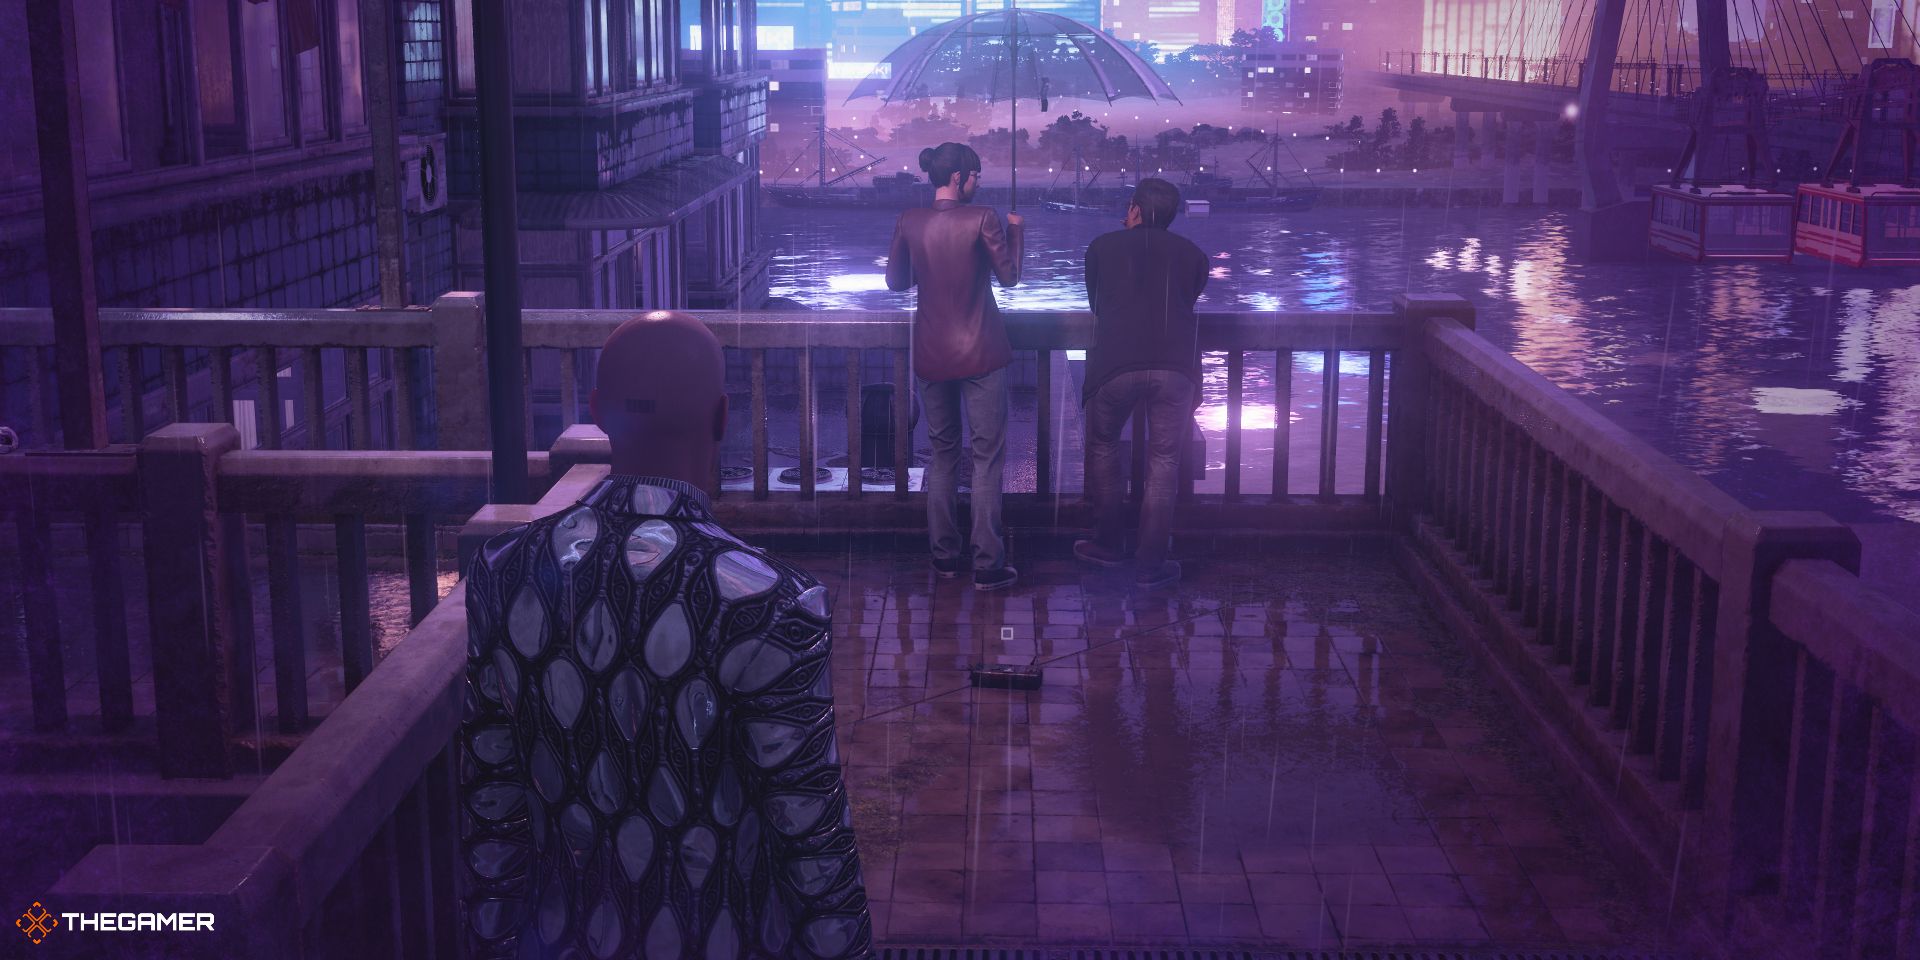
Turn around and head toward the walkway near the tree. Follow it until you see the two targets standing at the corner. Equip the Remote CX Demo Block and place it on the ground behind them. Walk away and detonate the explosive.
The Escape
Head back to the main plaza, hang a right, and run up the street to the moped to exit the mission.
Escalation Level 2 – Humility
- Find the Peacock
- Start with restricted loadout
- If you change your starting disguise at any point you will immediately fail the mission
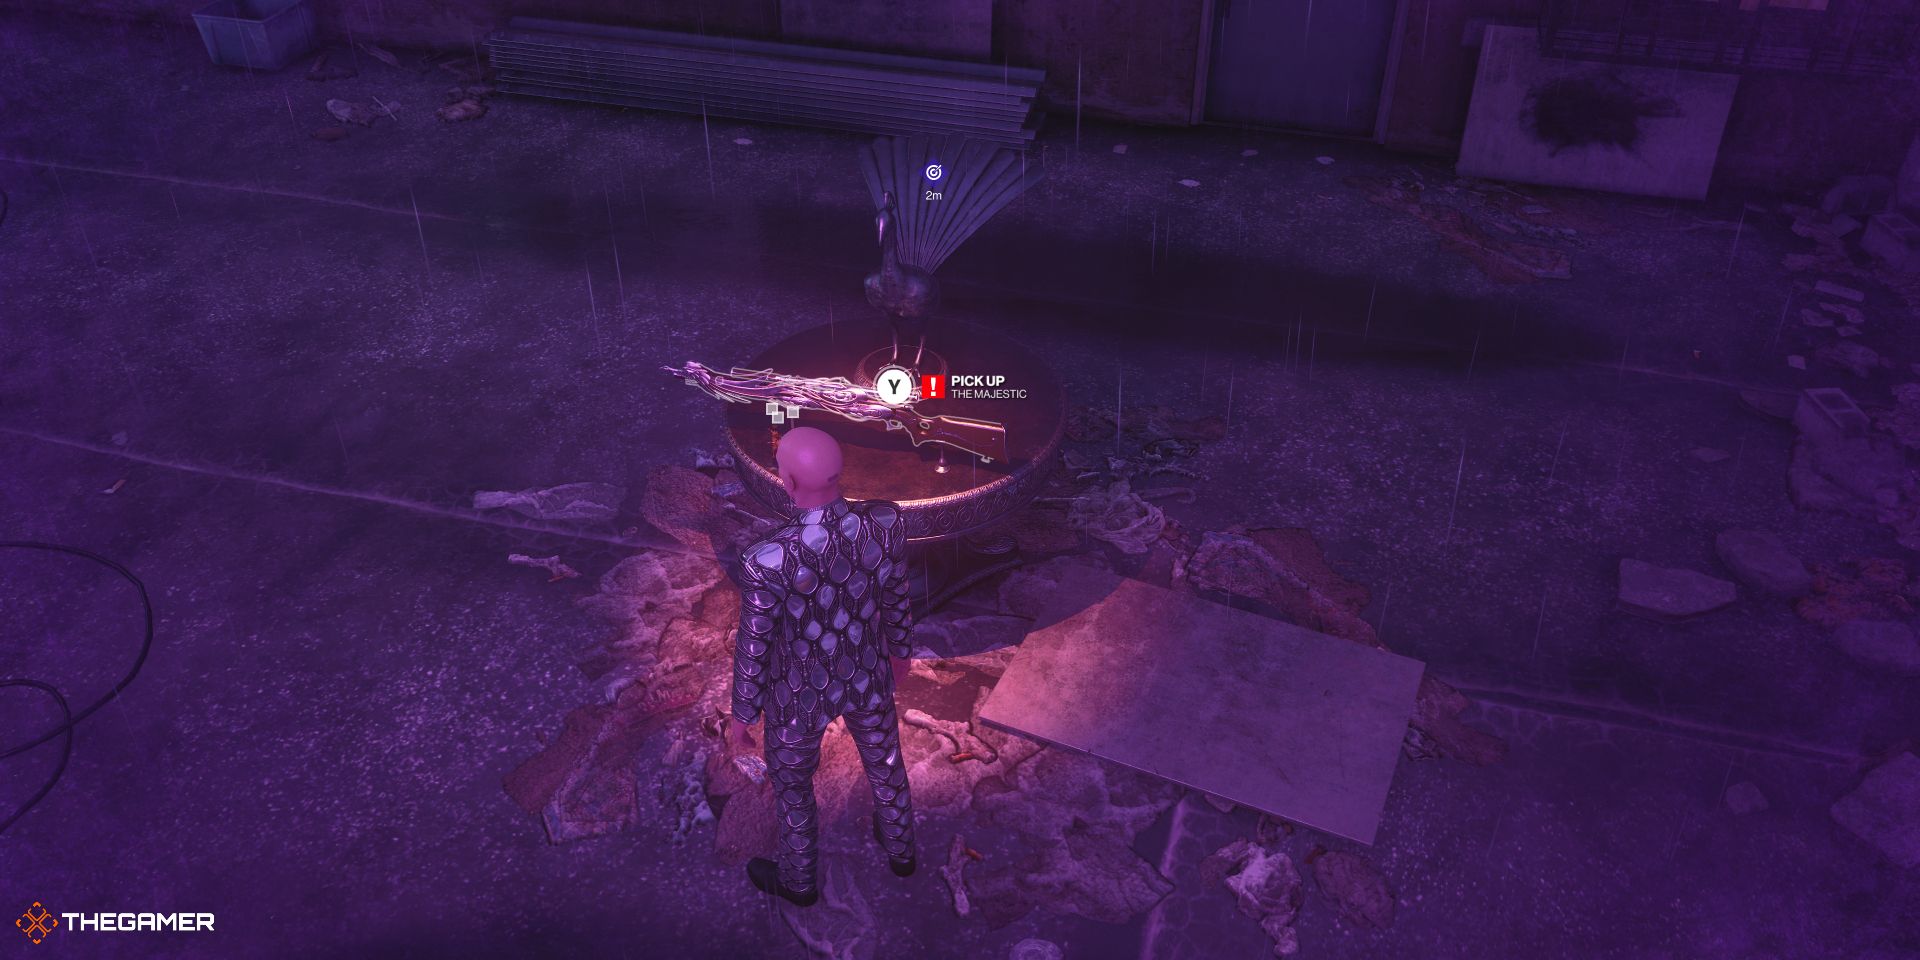
Head up the stairs and through the Laundromat, using 0118 on the keypad. Go all the way up the stairs to the roof, grabbing whatever blunt objects you want along the way. Proceed through the door leading outside to find the Peacock Statue on the rooftop. Grab The Majestic Sniper Rifle and head up to the sign where you post up for The Lee Hong Derivation Escalation.
Targets 1 & 2
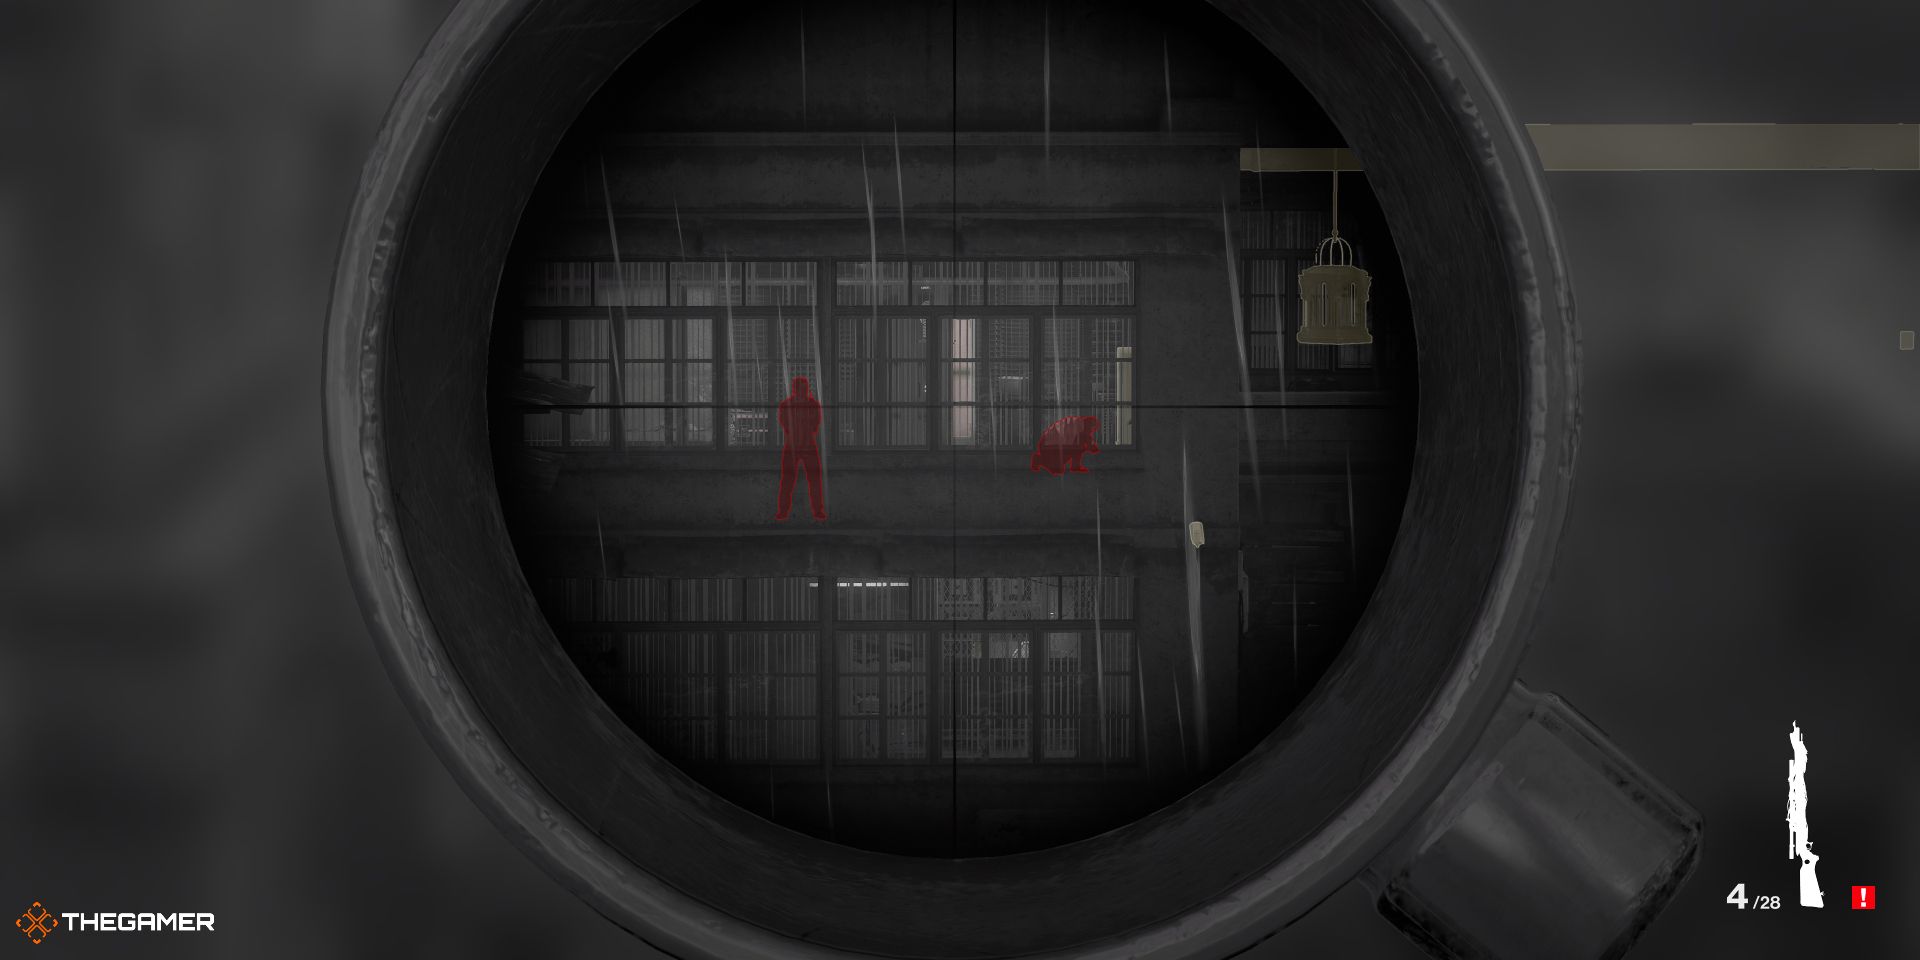
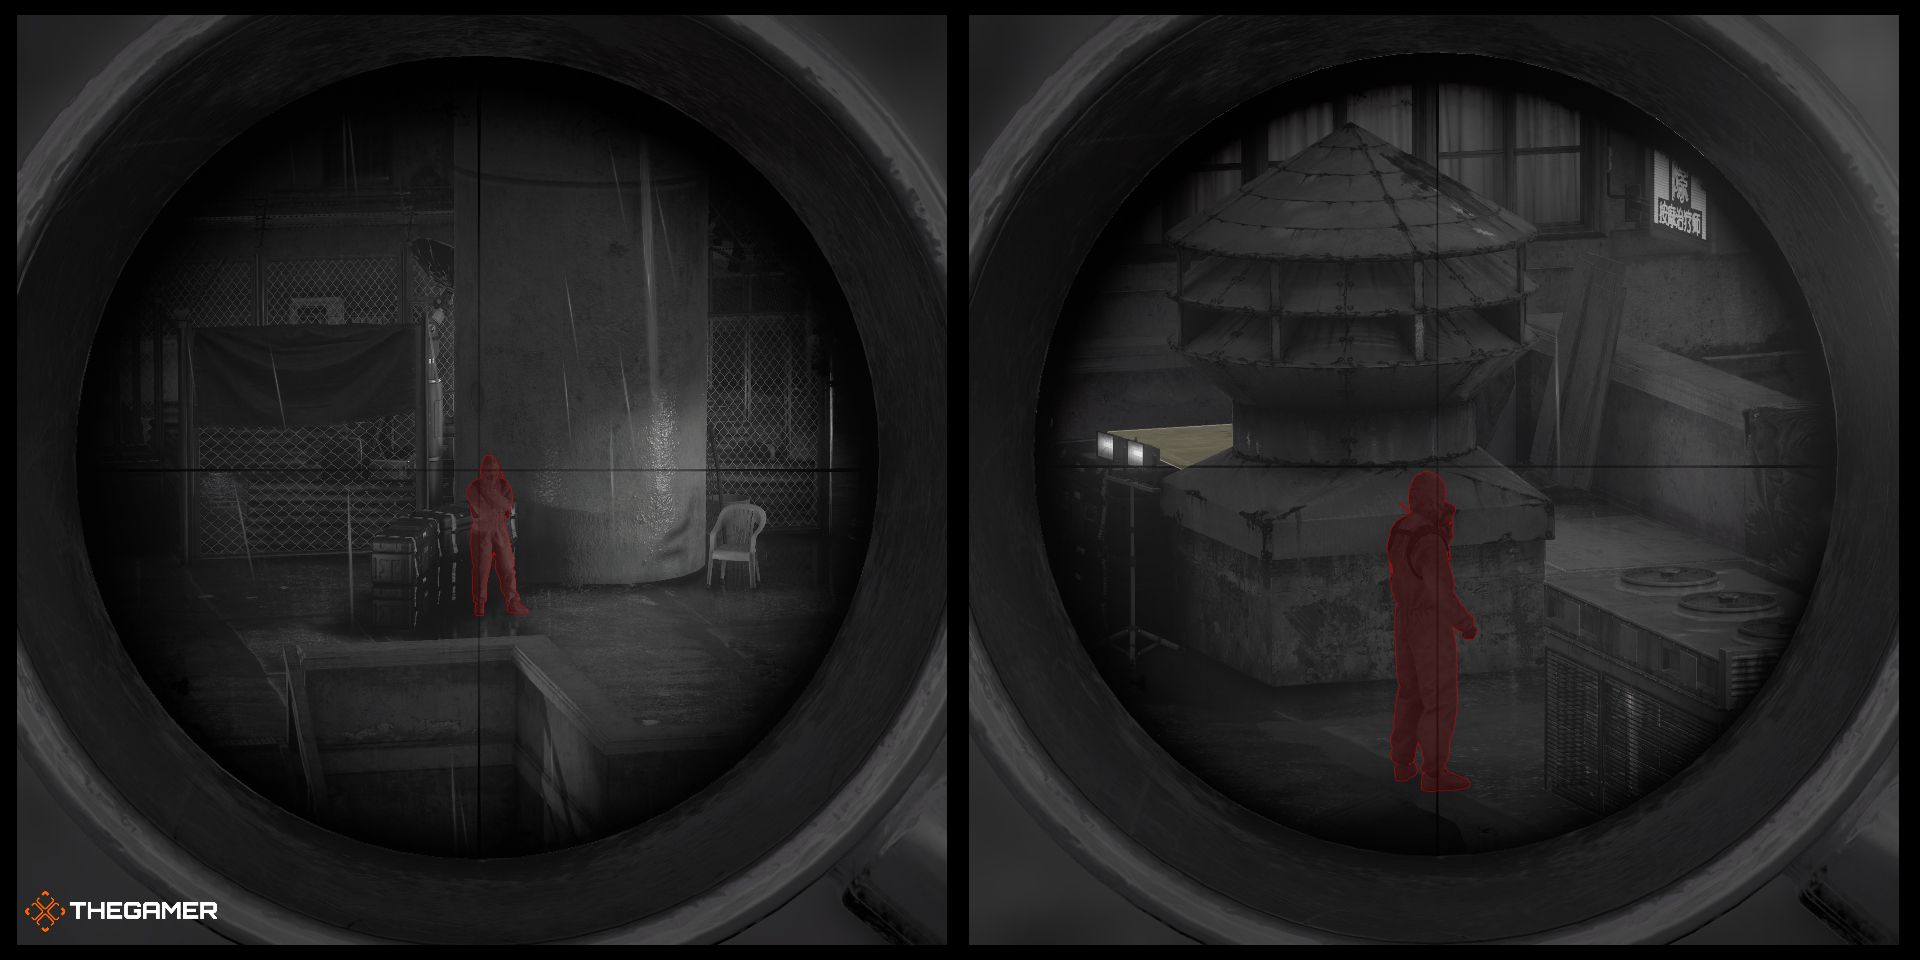
Your first two targets can be found in the room where Hush keeps his sensory deprivation machine. One of them stands in front of the window and doesn’t move, and the other moves back and forth to work on the machine. Take out the researcher first.
Targets 3 & 4
Your next target is on the rooftop just below where you found Targets 1 and 2. Wait until the other guard walks to the right to take a smoke break and take out your target. Once he’s down, quickly shoot the other guard before his break ends.
Targets 5, 6, And 7
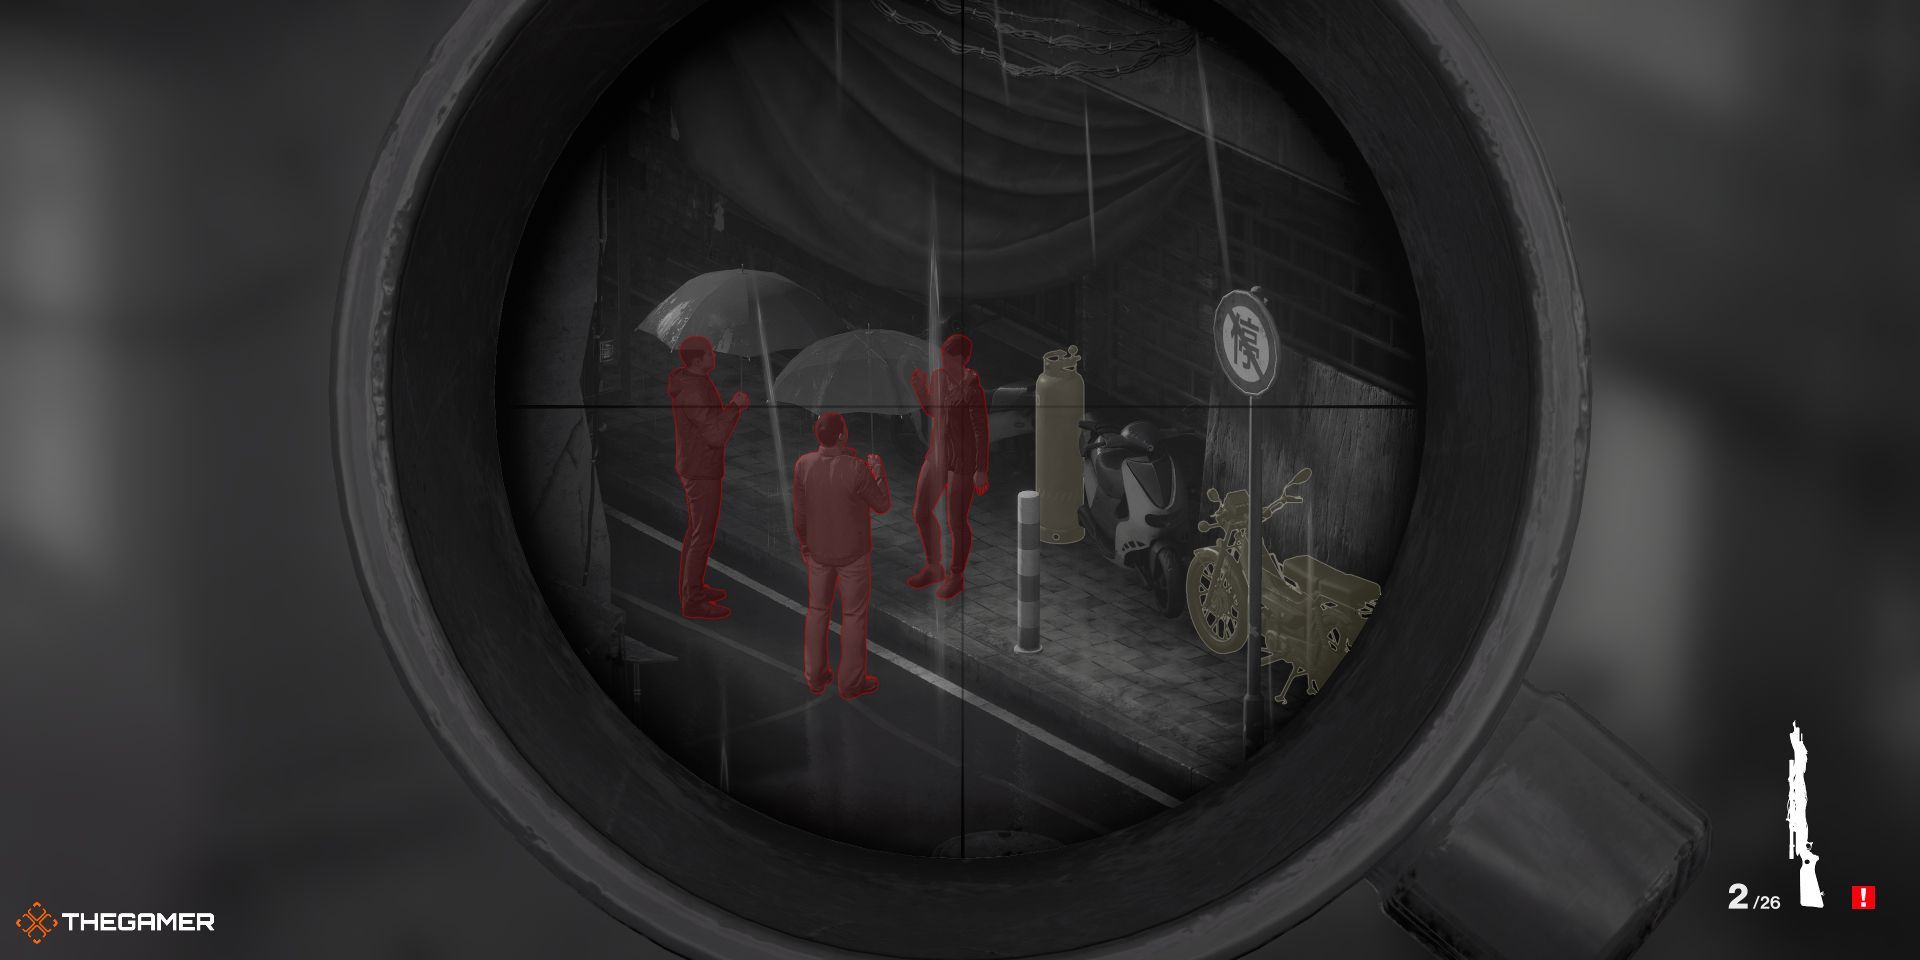
Your next three targets need to be killed in an explosion, and while that may seem difficult at first, based on some of the Redacted challenges in this game, thankfully all three of them are standing next to an explosive gas cylinder.
The Escape
Walk down the stairs and exit through the door at the bottom.
Escalation Level 3 – Humility
- Find the Peacock
- Start with a restricted loadout
- If you change your starting disguise at any point you will immediately fail the mission
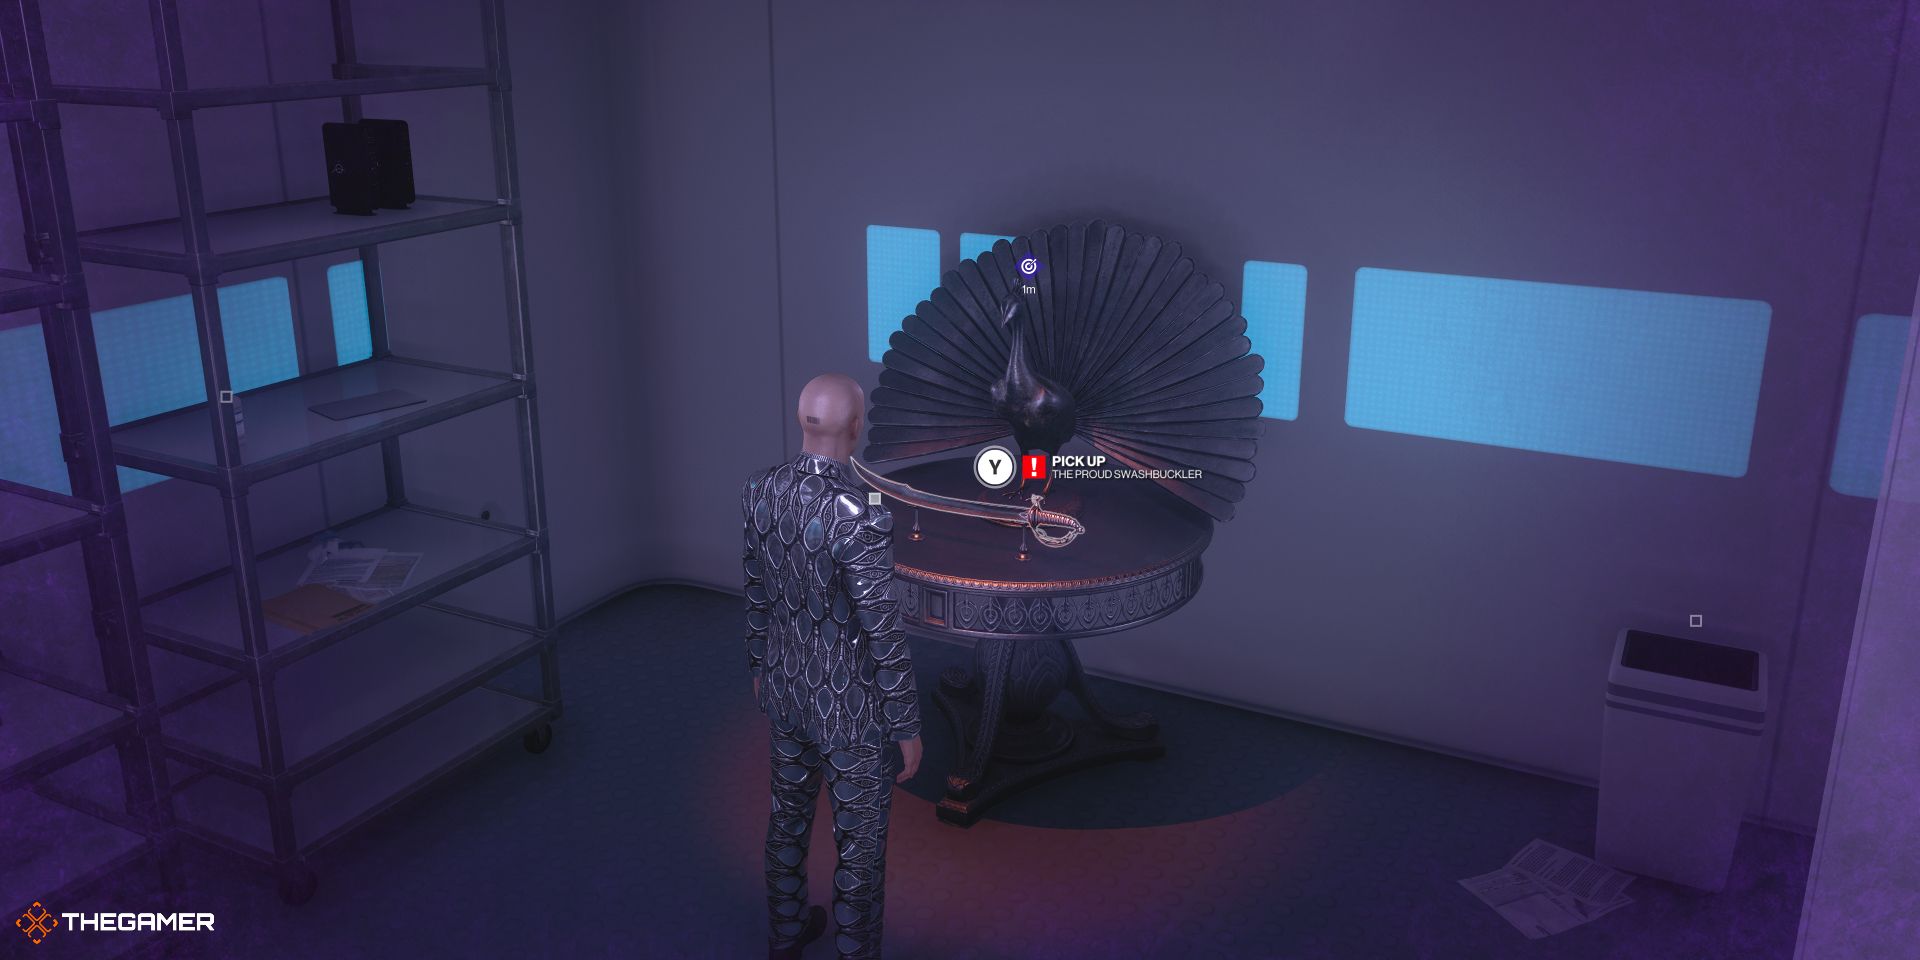
Once the contract starts, grab the crowbar beneath the staircase and use it to break the lock on the double doors in front of you. Mind the camera. Head downstairs and down the hall to the right. Walk down and hack the glass panel with your camera to block the bystanders’ view. Proceed through the door on your left and through the office to the storage room where you will find the Peacock Statue. Grab the Proud Swashbuckler Sword.
Targets 1 & 2
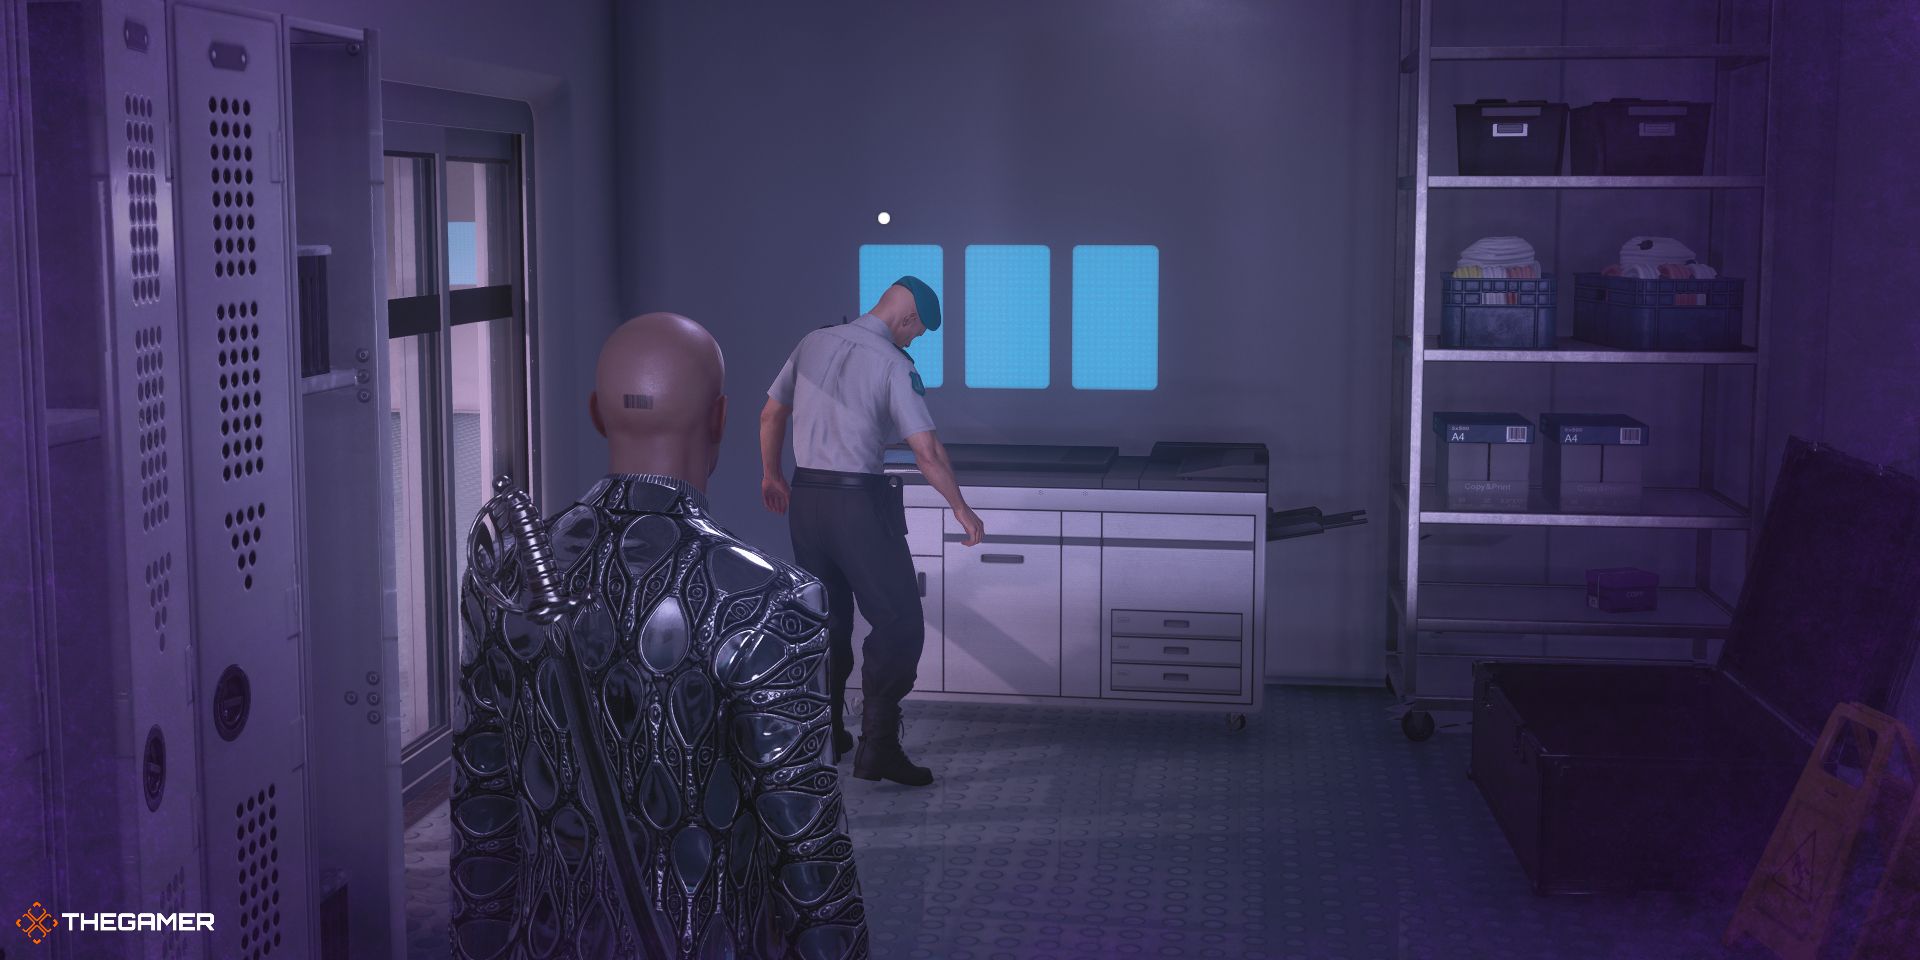
All four of your targets appear in the office you just ran through. Turn on the copier in the room with the Peacock Statue, wait for a guard to investigate and shut it off, then kill him with the sword. Dispose of the body in the elevator shaft, then do it again for the next target.
Targets 3 & 4
The other two targets in the office can be killed with the sword where they are situated, nothing fancy here.
The Escape
First things first — drop the sword, because it is an illegal item no matter where you are on the map. Head back through the office, then up the stairs, and to the left down the hallway leading up to the inner courtyard. Be careful of the patrolling guard and the camera on the other side of the doors, then hang a right, leaving the courtyard between the two guards. Take another right at the main plaza and head up the road to the moped to exit the mission.
Completing the Escalation this way will unlock the Humility Challenge.
Escalation – Ambivalence
This method is actually easy if you’ve done either of the other methods already. All that you are required to do is choose the opposite of the Hubris or Humility weapons on one of the escalation levels (eg. CX Demo Block -> Antique Lethal Syringe -> Proud Swashbuckler Sword).
Completing a run through the Escalation with alternating methods one of the rounds will unlock the Ambivalence Challenge.
Source: Read Full Article
