As one of the biggest games of the year thus far, Monster Hunter Rise has become another successful release for the Nintendo Switch. This franchise melds addictive combat with exciting boss battles. The monsters of the game pose a substantial threat to any player. You’ll need plenty of preparation to take on these bosses.
To amply prepare for battle, hunters will need a slew of supplies and gear at the ready. There are many ways to procure the materials necessary for gear upgrades, and one of those processes requires hiring help. Those looking to get a few more materials with some Kamura Points to spare could hire the Meowcenaries.
These furry hands for hire are sure to help gather the materials players need to get the gear of their dreams. While the team is useful, it may be harder for new players to figure out how the Meowcenary system works. Luckily, we break down how players can hire and utilize these helpers with ease.
Visit The Buddy Plaza
The first step to adding this pint-sized team to your ranks involves traveling over to The Buddy Plaza. For the first time, those entering this area should head to the Village Entrance and run to the Smithy. Take a right turn and run to the bridge. Press A when prompted to travel to the Buddy Plaza.
If you’ve visited this area before, you can use your fast travel to return. To Fast Travel, press the plus button to open the menu and navigate the System Tab. Highlight the third option: Move Around The Village. Once in the Village Menu, the second option, Buddy Plaza, can be selected for instant access to returning players.
Approach Buddy Handler Iori
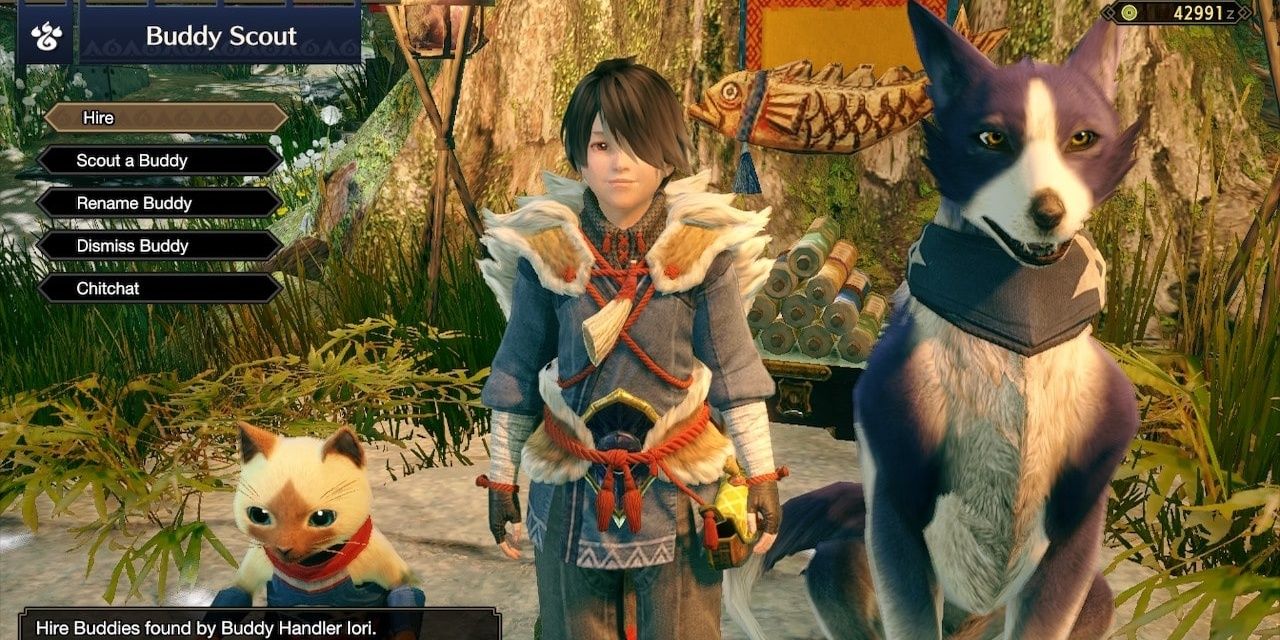
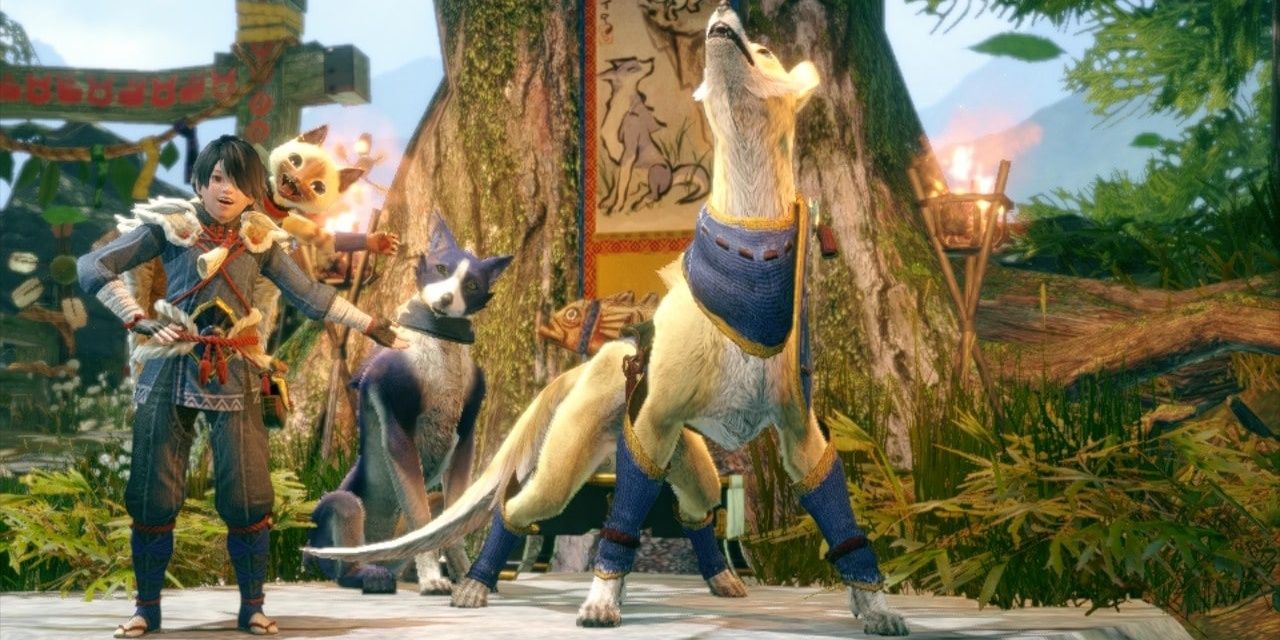
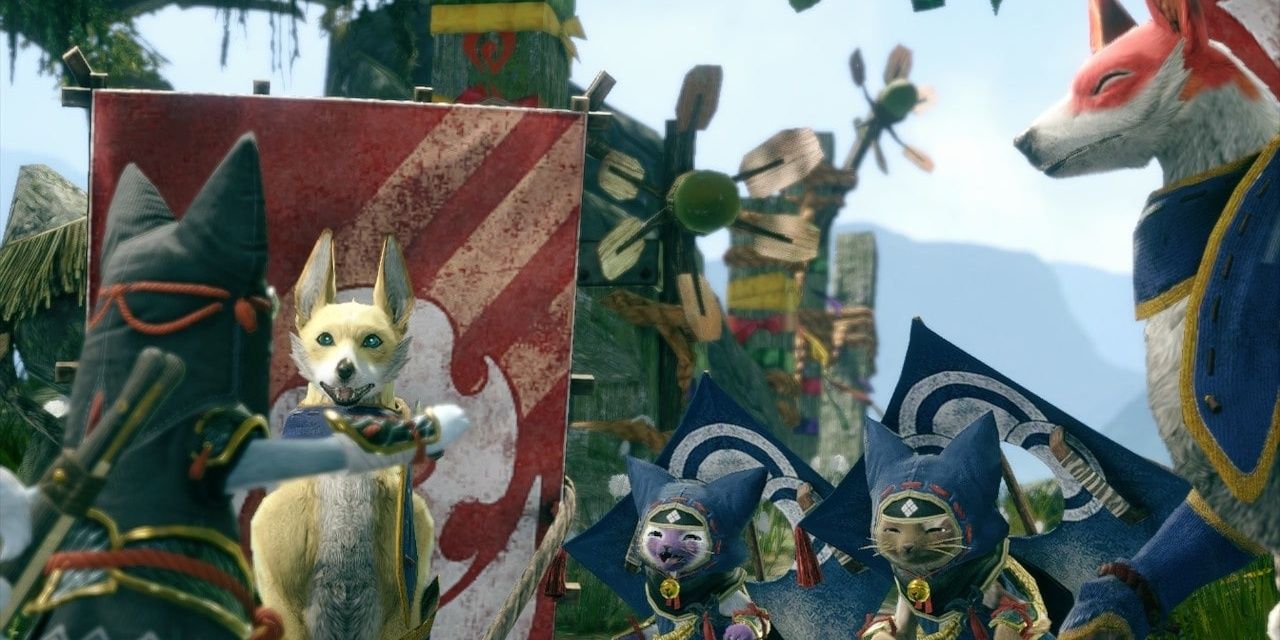
Once you’ve made your way to the Buddy Plaza, wander around the village until you find a small boy with a Palico and a Palamute by his side. This is Buddy Handler Iori, and all Meowcenaries are hired through him. There are several ways to get some helpers from Iori. Players can select a buddy from a predetermined list by selecting Hire on the Buddy Scout menu.
- To search for a Buddy with specific criteria, you can choose the Scout A Buddy instead.
- If you like a Buddy but not their name, choose the Rename Buddy to input your own choice.
There’s also an option to Dismiss a Buddy for those interested in freeing up space for new hires, as well.
Choose Which Companions To Hire
When you select the Hire Buddy option, Iori’ll show you a list of companions you can choose from. Each Palico and Palamute will have Equipped Moves, predetermined levels, and the Required Funds for hire displayed.
Browse the list and grab the Buddies you believe will be the most effective in scavenging materials. You’ll be able to recruit plenty of helpers should you have the money, so grab up to four for starts, as that’s the max that players can send out to scout for supplies.
Visit Felyne Chief Kogarashi
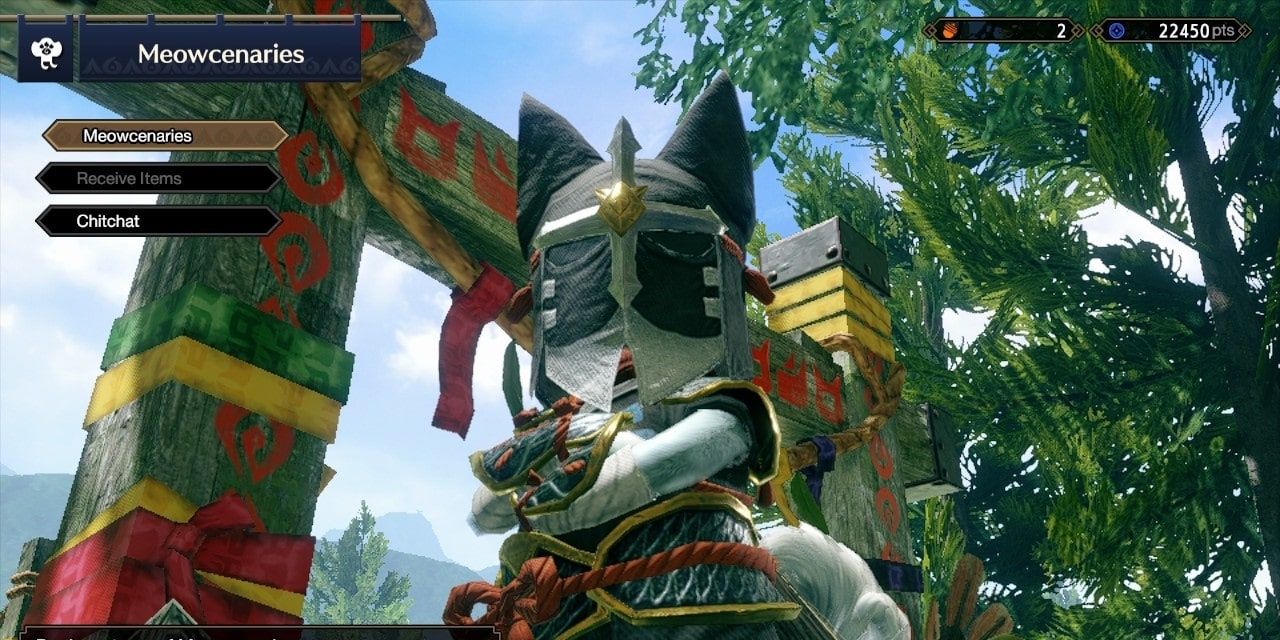
After you’ve hired your Buddies, head over to Felyne Chief Kogarashi, he’s not far from Iori, so try spotting the arch shown above and scout for a Palico perched atop a tree stump. Select the Meowcenaries option from his menu to bring up a list of activities for your newly acquired helpers.
Select Where To Send Your Meowcenaries
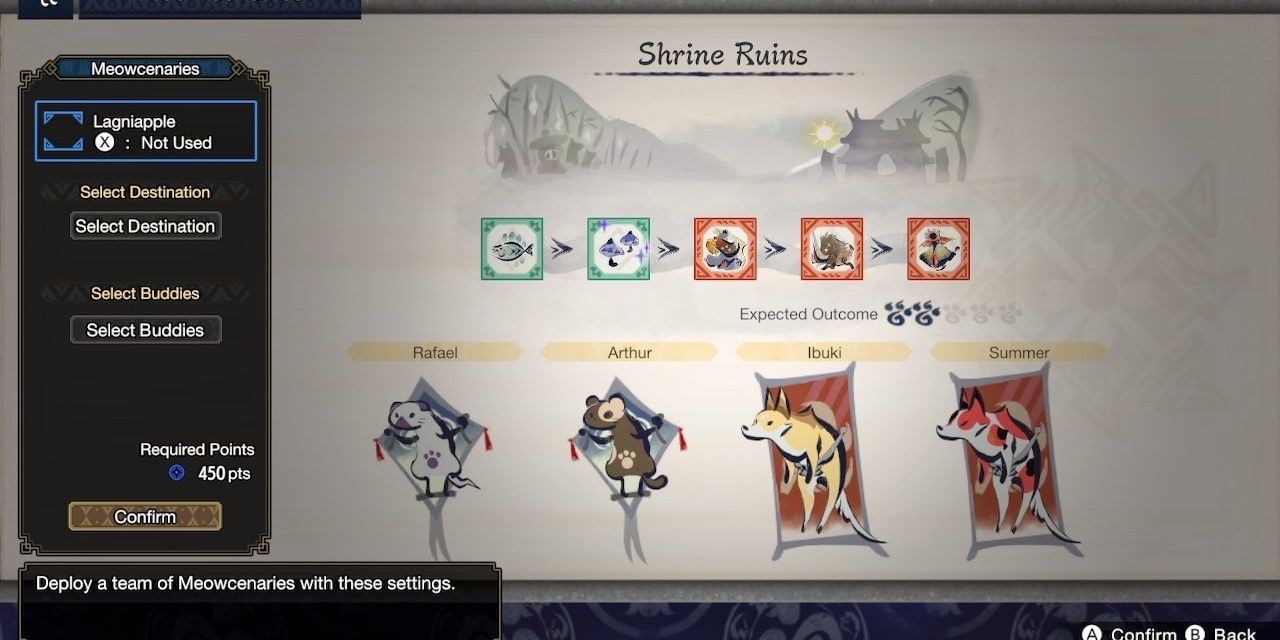
After you’ve pulled the menu up, Kogarashi’ll show you a list of locations that the Meowcenaries can visit. You’ll also be able to see what kind of monsters and resources are present in the area. There is often an assortment of resources, consumables, and monsters in each area.
It’s a good idea to send out as many Meowcenaries as possible. The more helpers you send out, the higher the expected outcome from a mission will be. Four Meowcenaries can travel at a time, so make sure you’ve got that many ready to head out. If you’ve got any Lagniapples in your inventory, you can use them to gain even more rewards at the end of a buddy hunt, as well.
Choose How Many Companions To Send
Once you know where you’d like your entourage to go, choose the number of Meowcenaries you’d like to head out into the wild. Be aware that once you send these helpers out, Felyne Chief Kogarashi will charge players Kamura Points. This transaction is nonrefundable, and even when you call your pals back, the points you’ve spent will stay with Kogarashi.
Because of this, you’ll want to be careful when choosing a location for your Meowcenaries, and if you make a mistake, it’s better to leave them out on a mission rather than waste points. Once your team leaves, they’ll be indisposed until you come back from your next hunt. Head out on a hunt of your own to pass the time once these furry friends are gone.
Return To Felyne Chief Kogarashi After A Hunt To Reap Your Rewards
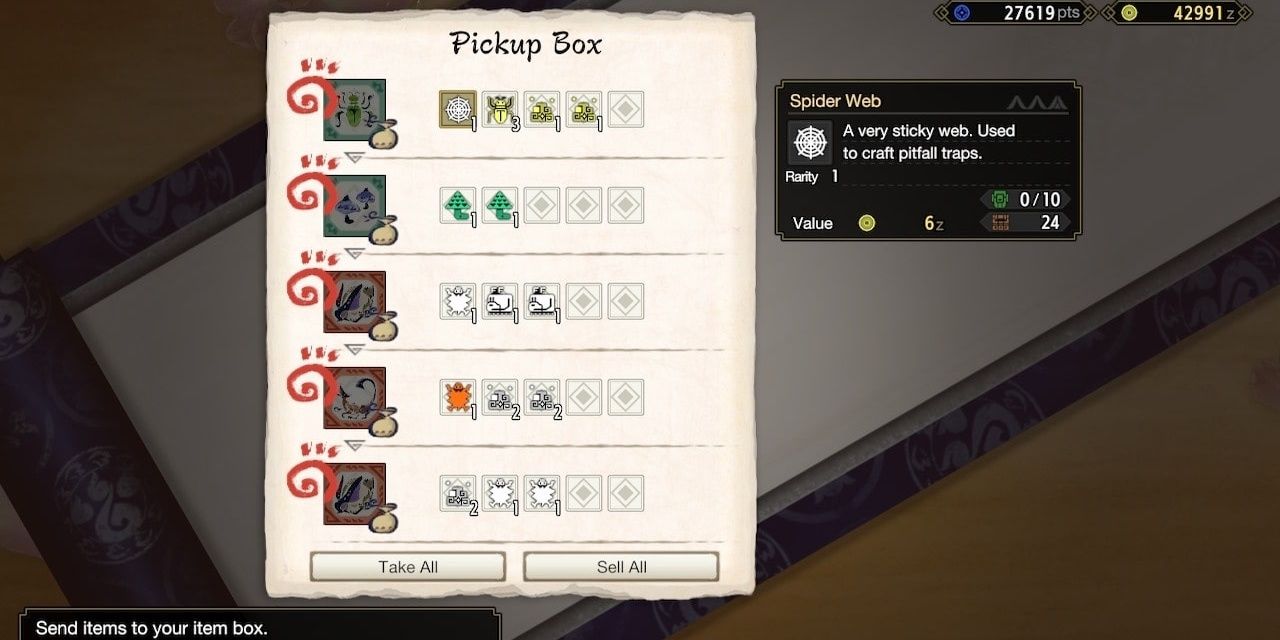
After you’ve returned from your next hunt, make your way back to the Buddy Plaza. Meet up with Felyne Chief Kogarashi to see how your team did. Talking to him will show off your Pickup Box. Here you can check out what your team got and where they got it. Each segment of the area they scouted will be split up into sections.
They’ll be able to grab up to five types of resources from each area with multiple pieces of each type. Players can select the resources they’d like to keep and sell the ones they don’t need in this menu.
Those looking to expedite the process can also select Take All and Sell All and sort through their goodies later as well. With this, you’ve got all the information you need to use your Meowcenaries to their full extent.
Next: Every Weapon In Monster Hunter Rise And Their Switch Skills
- Guides
- Nintendo Switch
- Monster Hunter
- Monster Hunter Rise
Tai Hofmann is a gaming guide writer for TheGamer and list writer for GameRant. You can find him on Twitter @MI2_PICKLES
Source: Read Full Article
